Posted in painting

Experiment upon Experiment

I had an inspiration recently to try painting some converging curved lines that I saw in a photograph. While perusing my supplies, I came across some 8 by 10 boards with paper stretched on top, promoted as suitable for watercolor paints. So I thought I would test them with my current inspiration.

Boards with curved lines drawn in colored pencil

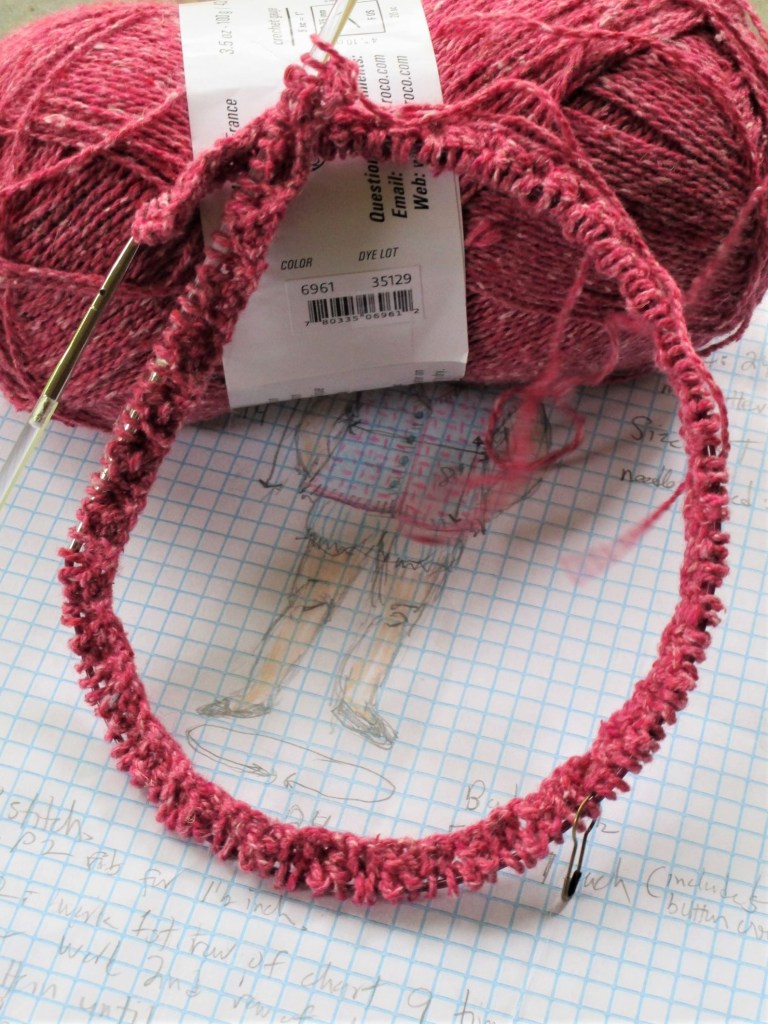
I plan to use staining pigments, starting with quinacridone rose and Thalo blue in the first two blocks. Why pink and blue? I think my brain was lingering on the yarns from my latest knitting project. Cast-on Monday – Summer Style

It took a little work to get the paper wet enough to lay on the wash. But eventually the paper was evenly wet and I laid down the paint using my biggest round brush.

So far so good. At this point, I was happy that the paper/board seemed to be performing well. After allowing the paint to dry overnight, I added two additional colors – gold and violet. This time, I let the colors bleed into the pink and blue, as a way to merge the two together. The work began to remind me of gender roles and society. Why? Again, the pink and blue, and the way the curves leveled out while flowing in a parallel fashion across the paper.

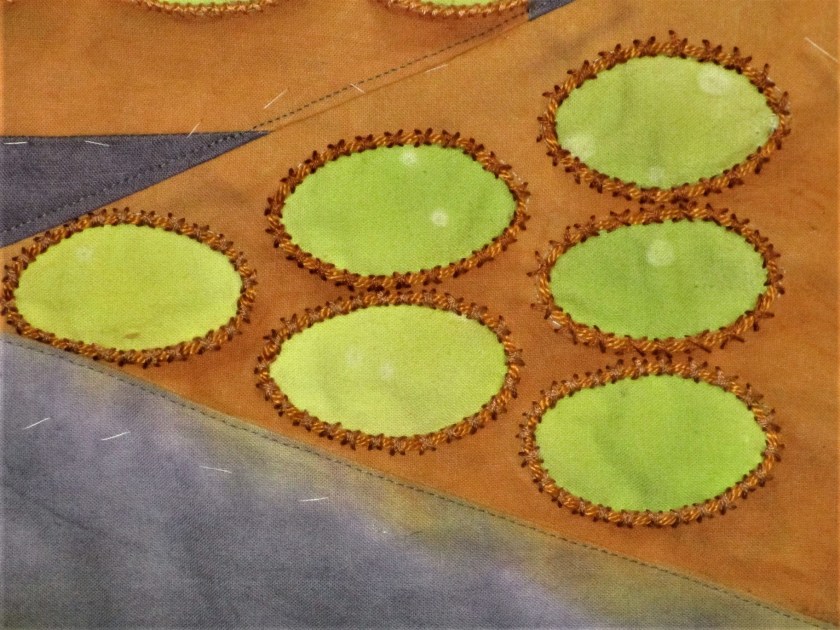
Here is the board immediately after laying down the two additional washes.

And 30 minutes later……

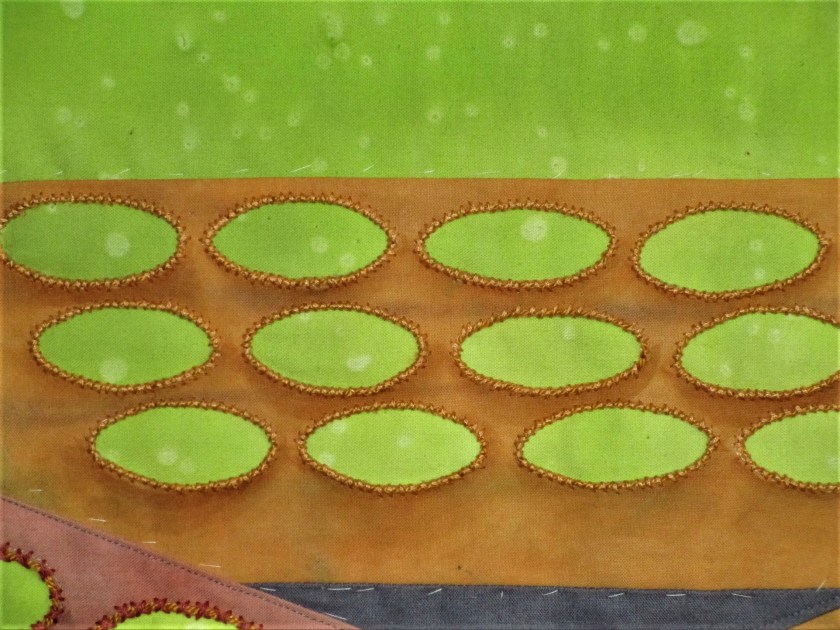
And here after completely dry.

Analysis: I’m not terribly sure what I am trying to say about gender and society. Something about shifting lines, blurring edges and the pressure to conform.

But the experiment on the watercolor board was successful enough to persuade me to try it again.

Posted in colorwork, knitting

Cast-on Monday – Summer Style

I’m a bit restless with knitting the Vogue sweater. I am about halfway finished with the sleeves and the back. There are long stretches of stockinette stitch yet to do. So to break things up a bit, I’ve cast on a new project using Berroco Remix yarn.

I picked up three skeins of this yarn while in Madison during March. Made from 100% recycled fibers, it is a blend of nylon, cotton, acrylic, silk and linen.

While perusing Ravelry, I spotted this pattern by Anna Schei which will be perfect for my intended use.

Ravelry: Polkastripe pattern by Trekkentar Deg

This vest will be for my granddaughter. She is not quite three and very interested in dressing herself. The sprightly mosaic stitch pattern reminds me of her crazy-happy personality.

One small concern: The pattern is written in Norwegian. Fortunately, the color chart transcends language limitations and it is all I really needed from the original pattern. I will be adapting it to include a button-up front. My little one needs to practice her buttoning skills.

And here is my swatch.

This stitch is pretty fun to work and to admire!

Okay, back to my needles.

Posted in painting

Learning Lessons, Trying Stuff

I’ve chosen the title to this blog because it’s the message I give students who are learning new skills in fiber arts (and other arts, in my case.) This blog is about my latest water color painting lesson and the resulting painting.

First, my inspiration. I have a lovely birdbath in my backyard. Everyday I watch the activity around the birdbath and think about painting it. So I chose it as my subject, for what I intend to be a series of paintings.

This is a morning shot. I am using this photo as a reference for my first painting of the backyard birdbath. In this first stage, I paint the subject.

I have sketched in a male cardinal to provide a focal point for the painting.

Next I used pale yellow and gold washes for the background underpainting. Let me say now that This was my Favorite Point in the process. Everything looks the way I want. The rocks, the pottery, even the background. From here on, it was a struggle.

Next came layer two. I added green to delineate the background and painted the cardinal with a wash of red. My instructor showed me how to paint a reflection in the birdbath and how to paint blades of grass in the middle ground.

Once everything dried, I added shadows to the birdbath, finished the bird, added the foreground, and dropped in a few spots of color to the middle ground. I also used a dark blue to under-paint the background. Here is the finished painting.

There’s a lot I like here, but there is plenty that I don’t.

I did Try Stuff. I Learned Lessons, and now I am ready for a Do-over.

Posted in hand embroidery

Shadow and Texture

In this post I am following up on the next steps for Spring Green.

Here is how the foreground looked after I finished piecing it.

With textile paint, I created shadows and deepened existing shadows.

It’s finally time to begin sewing. To start with, I added a layer of batting. So that the batting doesn’t shift, I hand-basted the two layers together, adding a few safety pins for good measure. Next came the embroidery. Using cotton twist and cotton floss, I outlined the rims of the pots with couching.

The two groups of pots nearest to the viewer got two strands of gold cotton twist couched with four strands of embroidery floss in a cross-stitch pattern. I matched the floss color to the fabric color.

For the flat of pots further from the viewer, I couched only one strand of cord, using three strands of floss and the whip stitch. This will create a bit of perspective.

I’m loving the texture that the thick stitches create. Now that I have finished couching, I will add the backing.

After that, I will throw on a bit of machine quilting, just to anchor the edges and define further the parts of the image. It will give me more time to consider exactly what I will do next.