One of six children, I was raised by a busy mom, who instilled in me a love of fabric. Though I learned to sew and knit at a young age, it was the arrival of my first grandchild that pushed me into action. A long-time knitter, I am now ready to explore all things fiber.
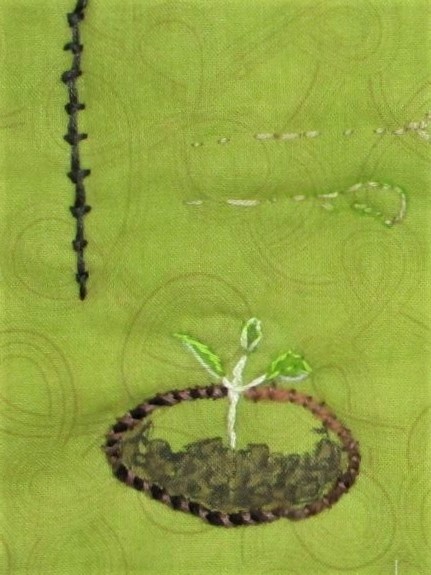
I am in the process of working out what stitches in which colors will be embroidered on to my Spring Green project. The wacky sampler you see above resulted from my random practice.
Just in case you are curious, here are the names of the stitches.
Clockwise from upper right:
Fly stitch worked in columns, Detached chain stitch, French knot on stalks (yellow flower.) I have no idea what the top left stitch is.
The goofy face on the left: running stitch (black) couch stitch (green yarn) woven back stitch (mouth)
The seedling: Stem is stem stitch, leaves are satin stitch tied with back stitch.
Black line is coral stitch. The seedling is growing from a pot outlined in couched yarn and cross stitched. The leaves are chain stitches and stem stitch. I used paint and fabric marker to add the color.
I think that’s enough for now. Time to get dinner.
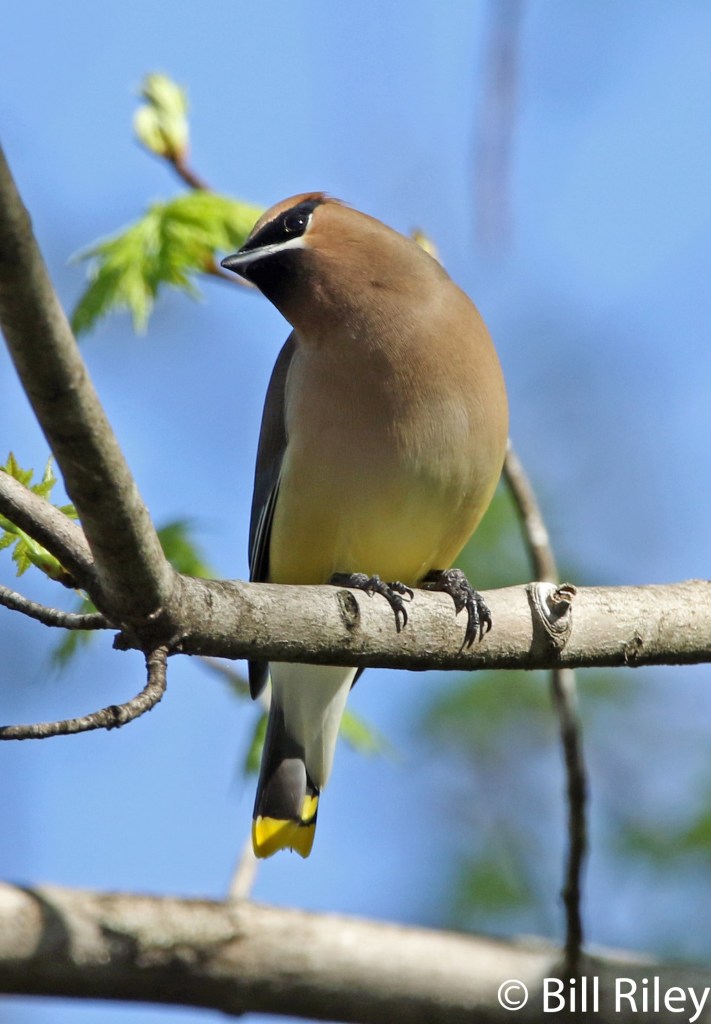
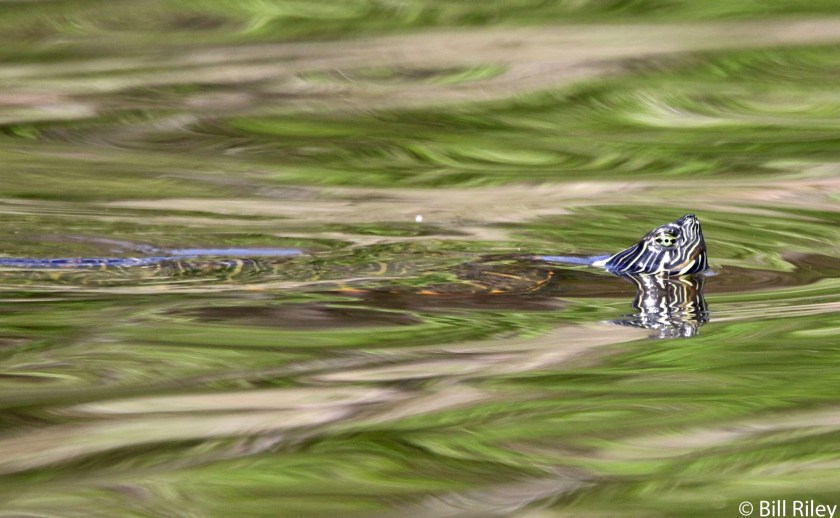
This is the second time I painted this bird, based on a photograph by Bill.
I’m pretty happy with my work. If I were to paint it a third time, I would choose a hot-press paper. It was difficult to get smooth washes and crisp lines on this paper. I would also use a non-granulating blue paint for the background.
I like the bird’s attitude. He is eye-balling the photographer, as if to size him up.
This past week I spent a good amount of time on this project. Since the background fabric is complete, I focused on the subject and the foreground. On Wednesday, I got out my fabric paints and created some terracotta and dark neutral colored swatches.
While the fabric was drying, I finalized the design layout. Because the foreground was the interior of a building, I decided to use the piecing instead of applique technique. The stitch lines would be straight and follow the lines of the greenhouse interior. Here is the full-scale drawing that I used to make the pattern pieces.
Next I traced each of the lettered sections, cut the traced images apart, pinned them to the fabric and cut each piece.
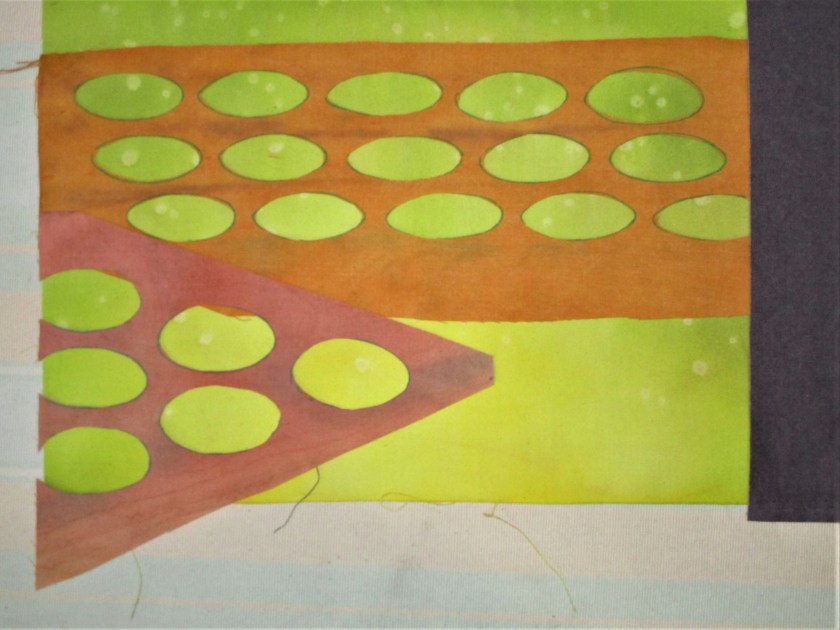
Following my decision to use a reverse-applique technique to replicate the little seed pots, I had made a template with elliptical shapes. I now traced these shapes onto the corresponding fabric pieces.
One of three sections that have seed pots.
Ellipses are cut out
Laying the cut-outs over the background fabric to check placement
Everything looked like it would fit. Starting with piece A, I sewed the pieces to each other in alphabetical order and stitched the resulting block to the background fabric.
Completed piecing.
My vision is that the bright green color glowing up from each seed pot symbolizes the energy released by the seed as it germinates. You know what I mean – like the way superheroes are drawn.
Here is an image of the project as it stands now.
I awoke several times during the night to ideas about the next step swirling around. I had so many of them! When I awoke early this morning, I could recall only a few. Too bad. I guess I could force myself to get out of bed when this happens, track down my notebook and write those ideas down. But I digress.
The next steps involve adding some final touches of paint, stitching down the raw edges of the ellipses and making the quilt sandwich.
I will also practice drawing and stitching the seedlings before working them on the real thing.