In this post I am following up on the next steps for Spring Green.
Here is how the foreground looked after I finished piecing it.

With textile paint, I created shadows and deepened existing shadows.

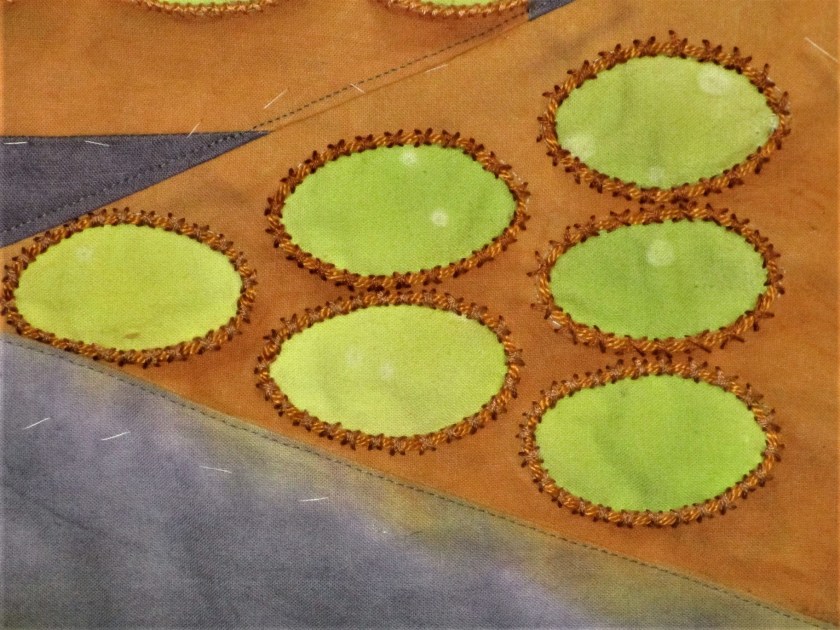
It’s finally time to begin sewing. To start with, I added a layer of batting. So that the batting doesn’t shift, I hand-basted the two layers together, adding a few safety pins for good measure. Next came the embroidery. Using cotton twist and cotton floss, I outlined the rims of the pots with couching.

The two groups of pots nearest to the viewer got two strands of gold cotton twist couched with four strands of embroidery floss in a cross-stitch pattern. I matched the floss color to the fabric color.
For the flat of pots further from the viewer, I couched only one strand of cord, using three strands of floss and the whip stitch. This will create a bit of perspective.
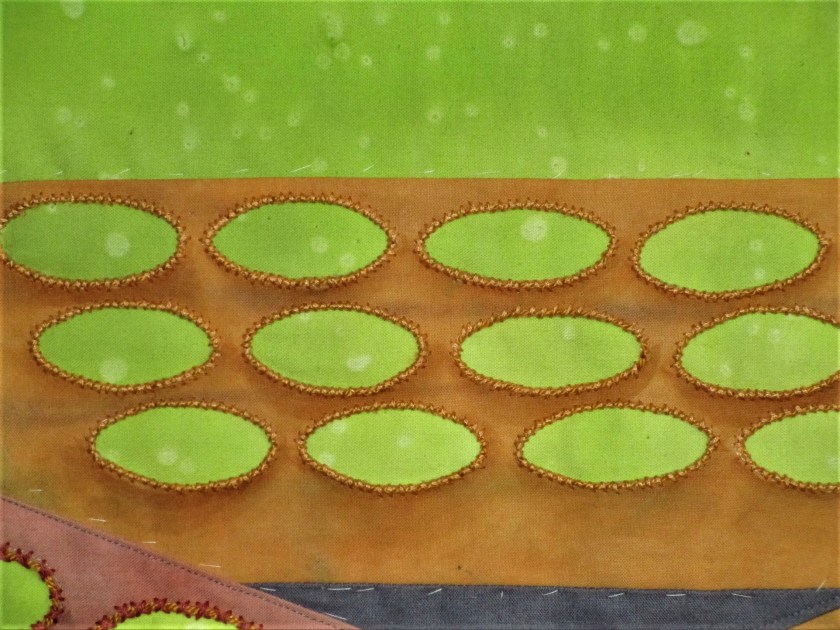
I’m loving the texture that the thick stitches create. Now that I have finished couching, I will add the backing.
After that, I will throw on a bit of machine quilting, just to anchor the edges and define further the parts of the image. It will give me more time to consider exactly what I will do next.


Very cool. I’m one who appreciates great texture additions on fiber art. This one showcases your hand stitching prowess well.
How large are you planning on making this as a complete piece?
LikeLiked by 1 person
It will be 18 by 24. I try to size my art quilts so that they will fit on a standard size stretched canvas.
LikeLiked by 1 person
The shadows are amazing. It looks 3D.
LikeLiked by 1 person
I. Issued this next step on my last pass. I too love texture on art work. Those stitches around the circles make me want to reach through and run my finger over them! Keep going!
LikeLiked by 1 person
And I meant … I missed this step on my last pass. Never type in an iPad in bed in the dark….
LikeLiked by 1 person
lol!
LikeLike