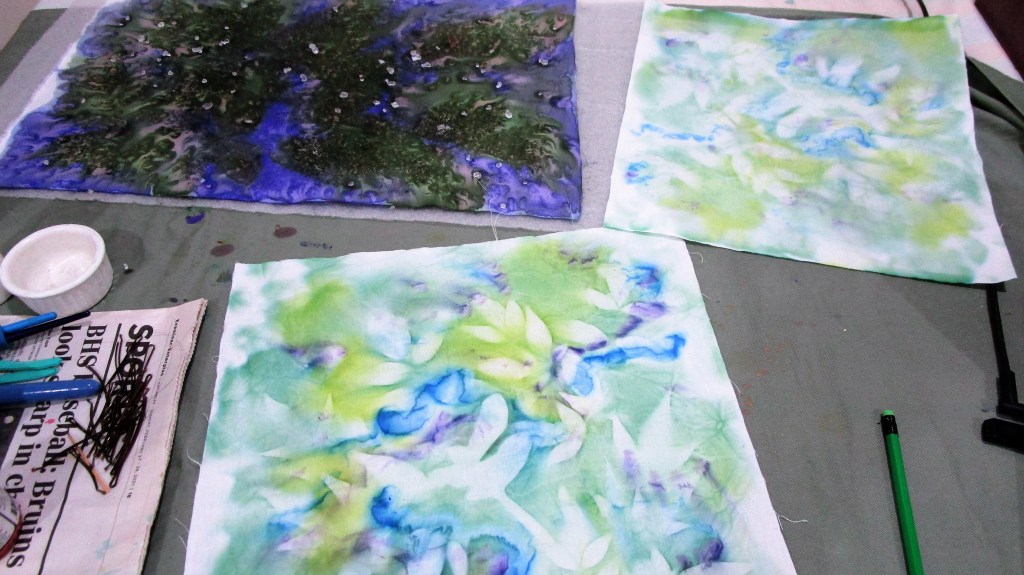
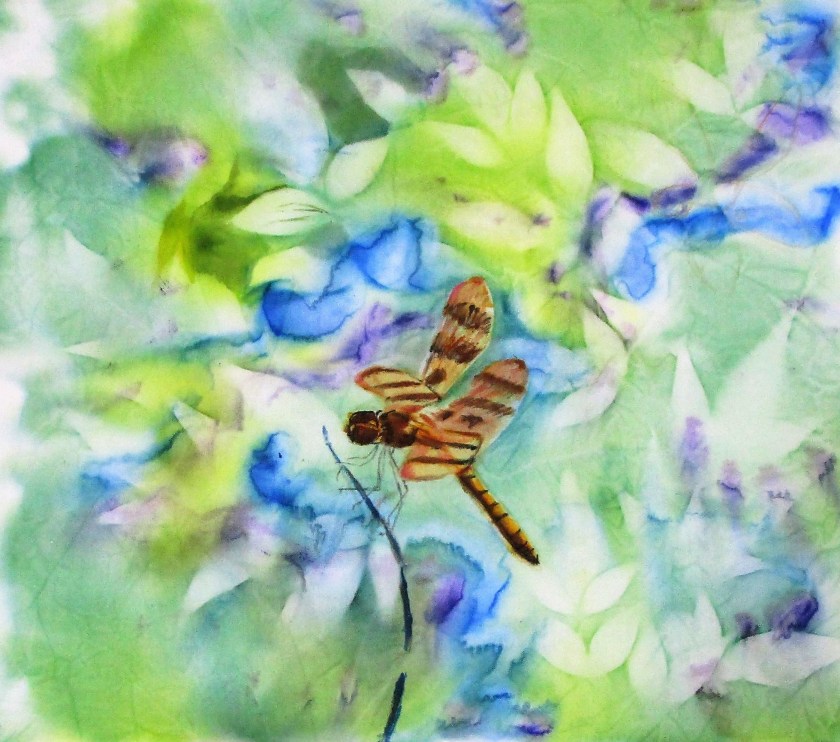
I have been busy painting dragonflies on my hand-painted backgrounds. The process is really fun! I have also been researching dragonflies. They are amazing animals.
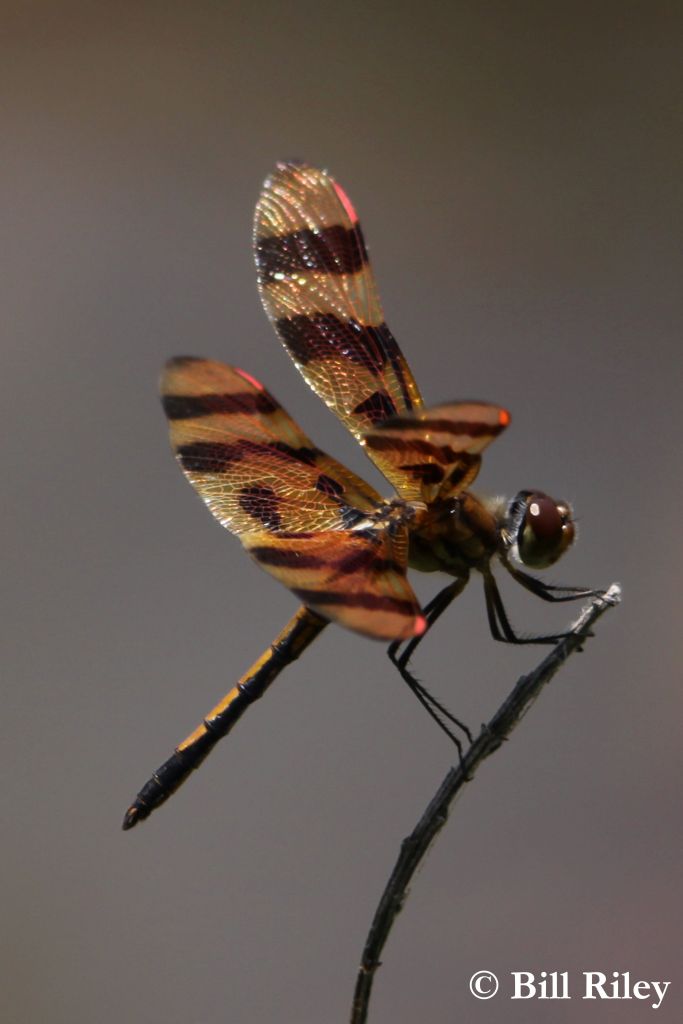
Did you know that some dragonflies can live for six years? That is pretty good for an insect. Granted, up to four years are spent as naiads, in water. They look kind of like shrimp. Adult dragonflies have six legs, yet they cannot walk. They use their legs to snatch prey in flight, which they then tear apart and eat while still flying. If you were the size of a fly, you would find dragonflies terrifying.
So far, five of my panels have dragonflies on them.


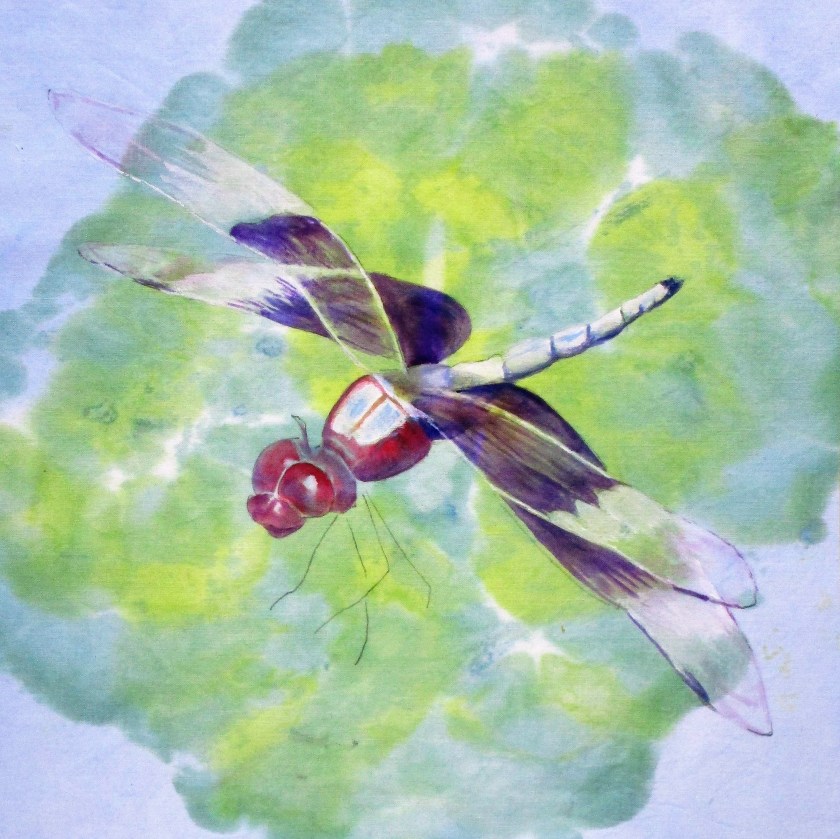
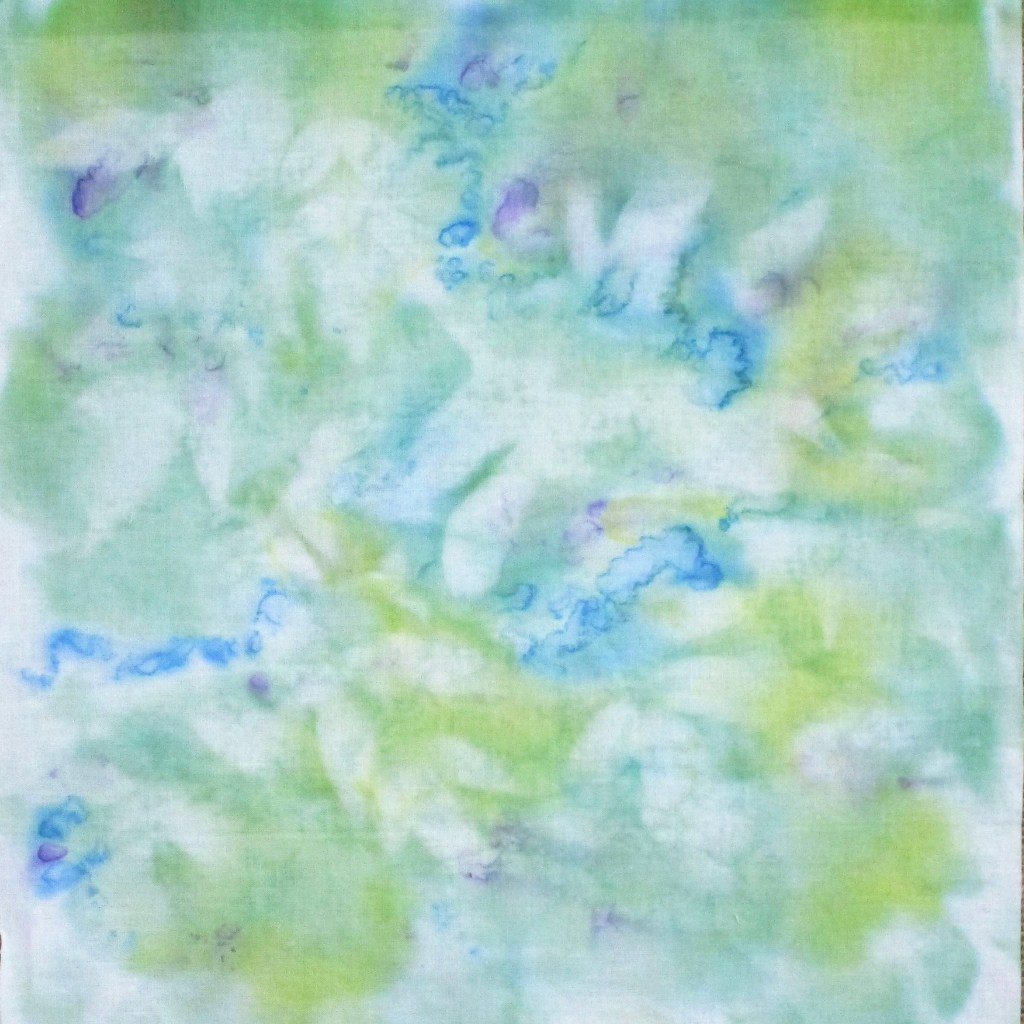
In addition to Jacquard textile paint, I am using watercolor pencils and Micron pens. The paint is thinned with FolkArt floating medium, which permits better blending and lengthens the drying time.
Here is a mock-up of the quilt layout I’m considering.
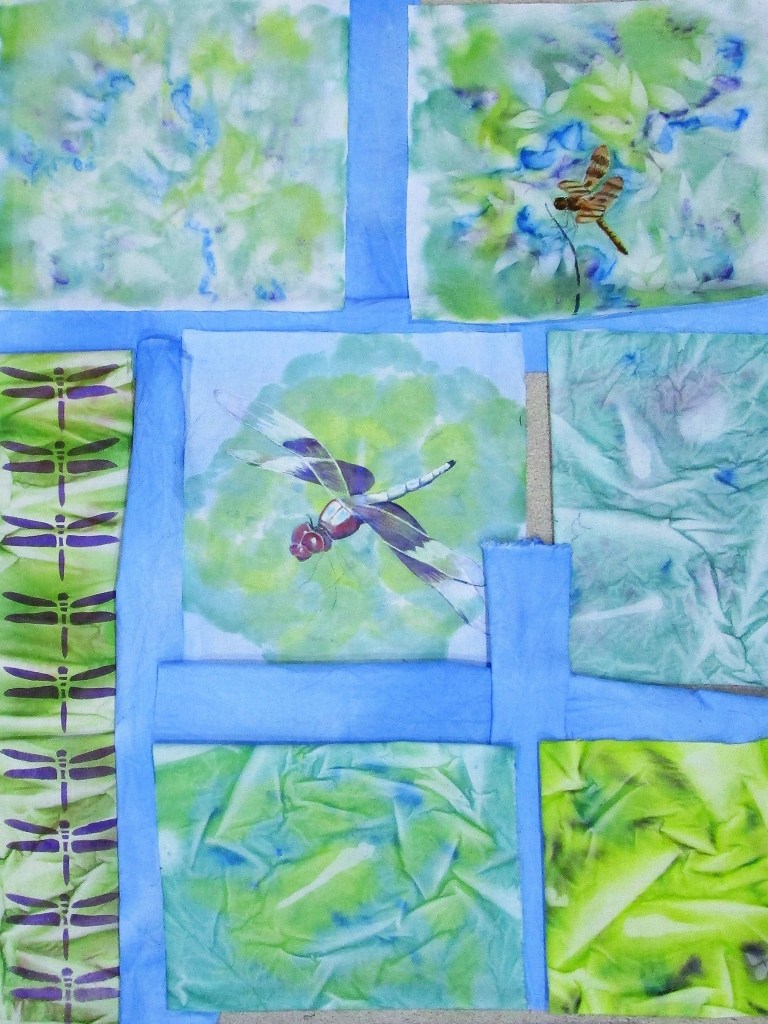
If I go with this layout, the finished piece will be 28 x 36 inches.
Two more panels need dragonflies, and then I will consider painting some details on some of the backgrounds.