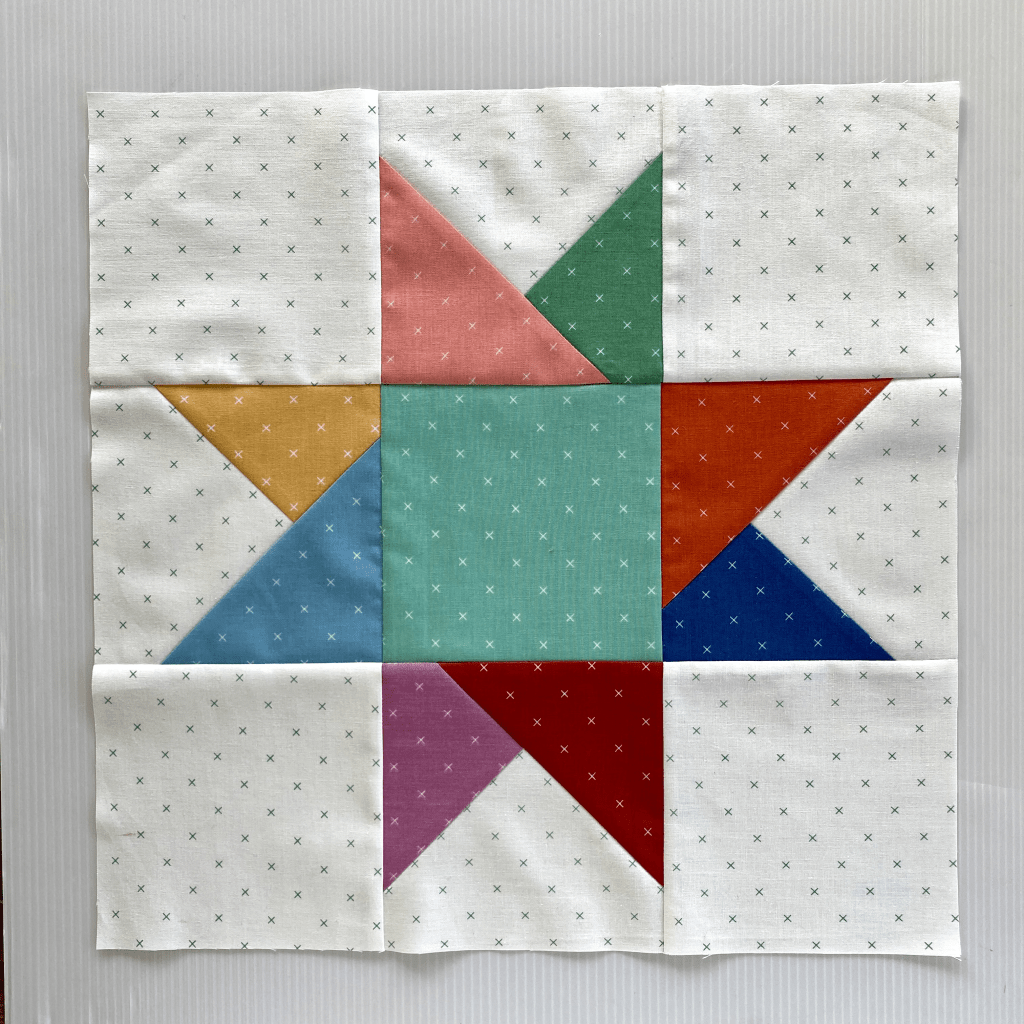
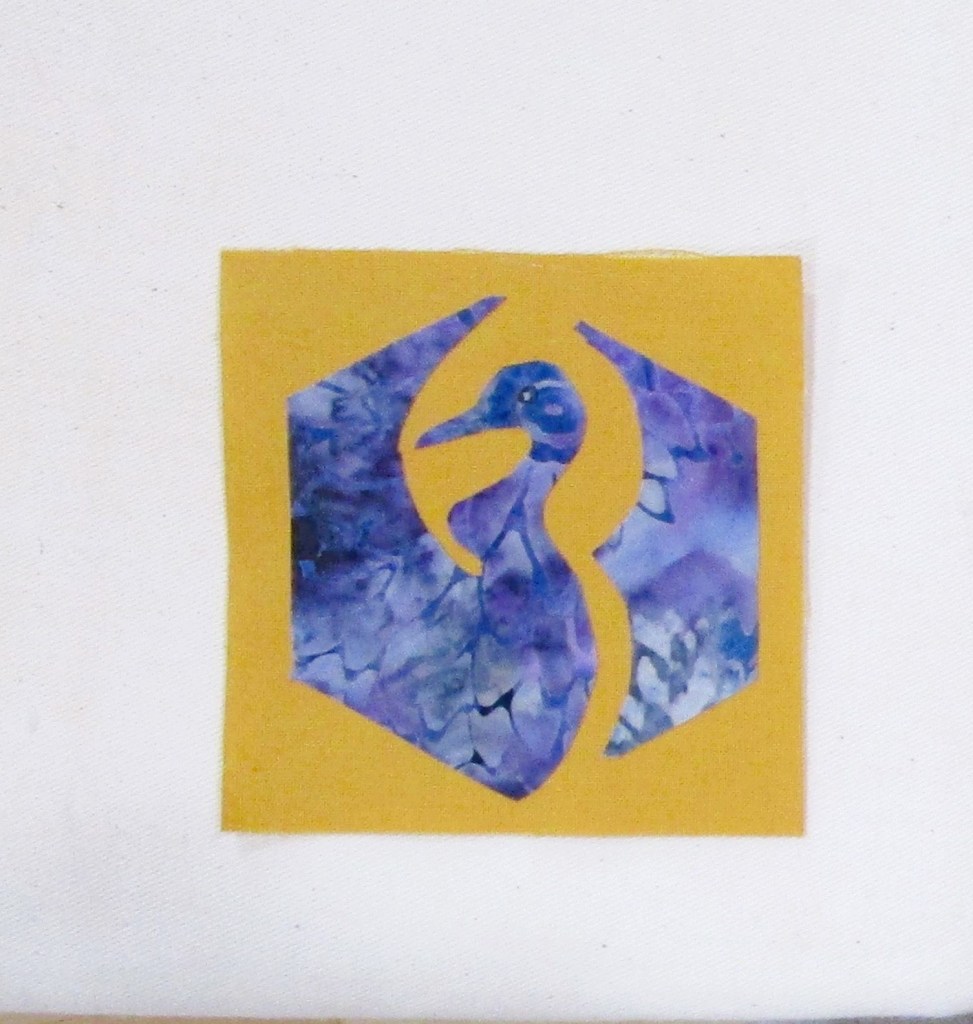
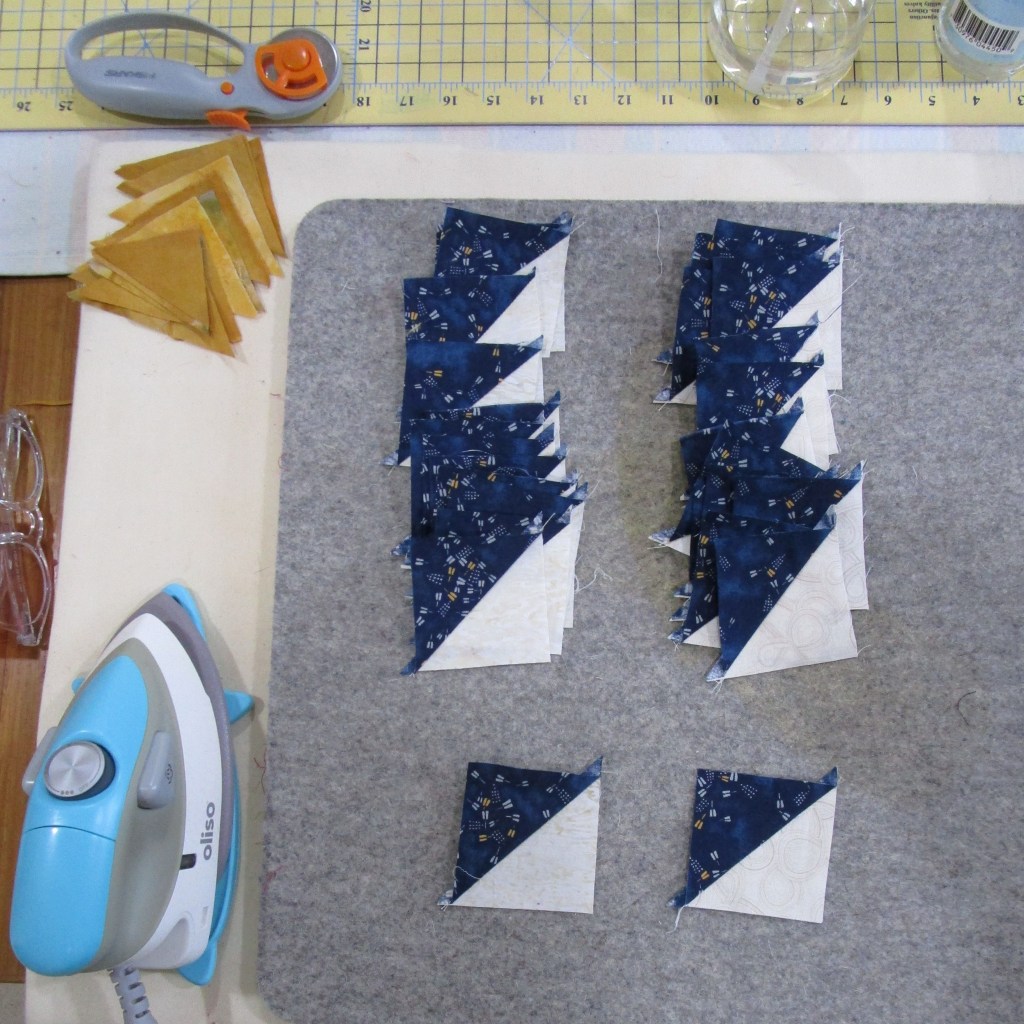
A brand-new-to-me quilt block, kites was select by Emily at the Darling Dogwood for the final round of the Stay at Home quilt challenge this year. First, I practiced making the shape with scrap fabric. I used instructions given by Diane at Little Penguin Quilts and came up with a decent sample. She recommended this site: Scrapdash, including a post called Catch That Kite Quilt Block.
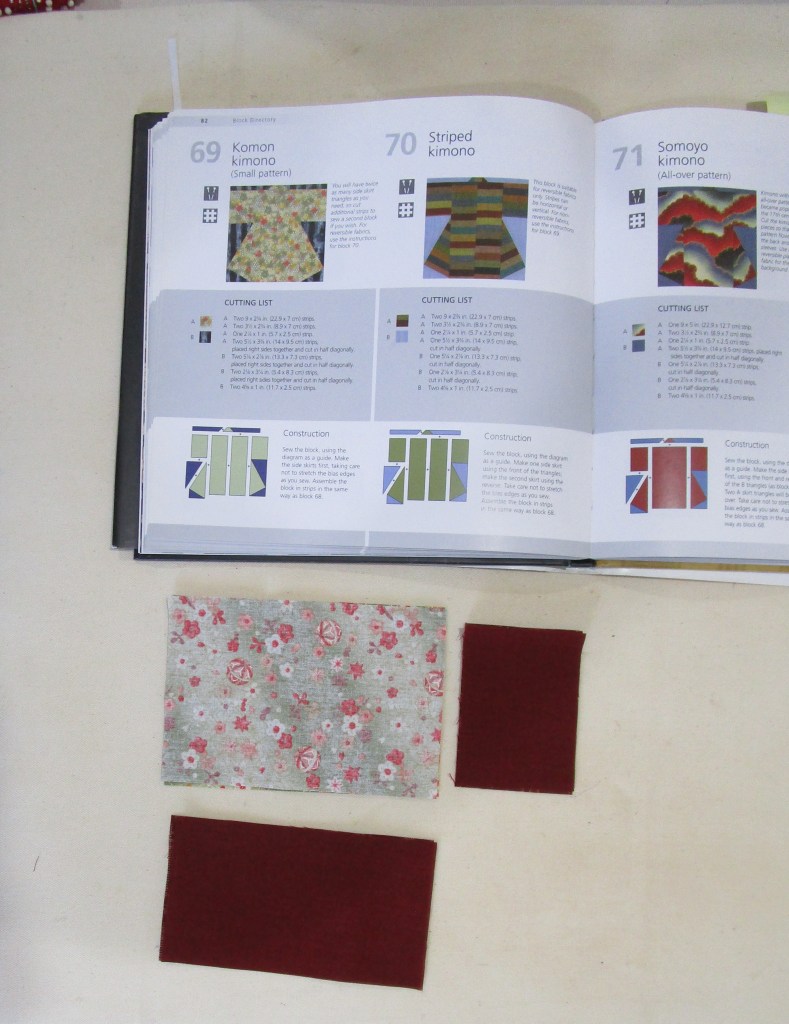
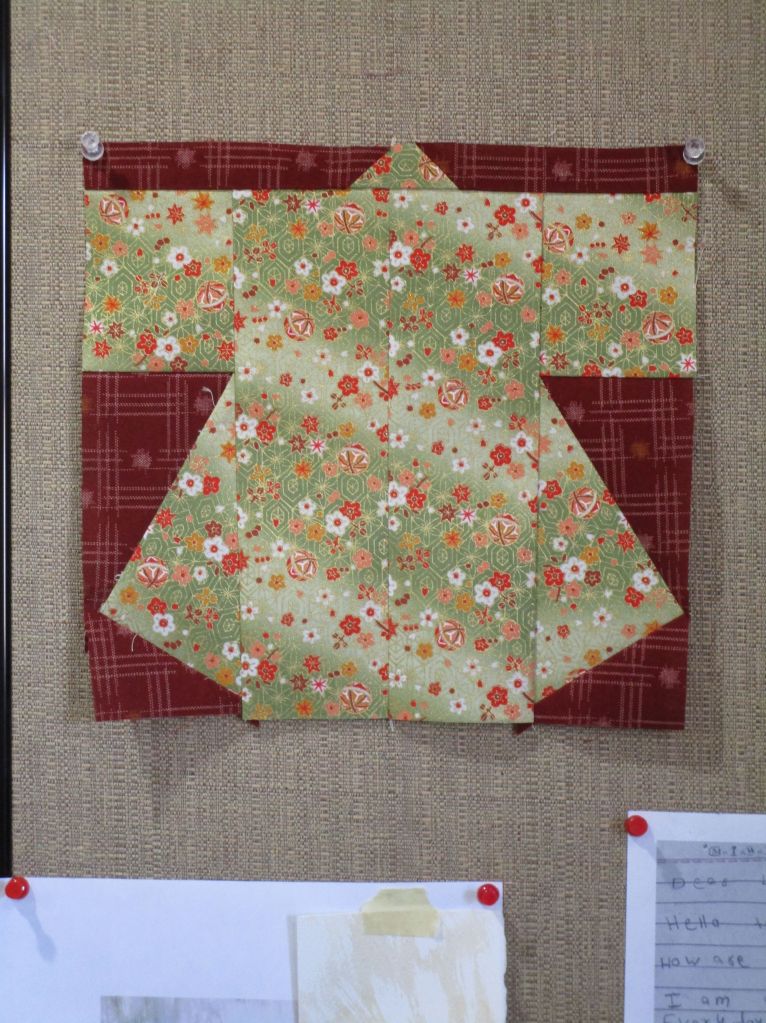
Flipping through my Japanese block directory, I discovered no kites at all. There was a block that started out as a kite, but ended up as a tiny kimono.

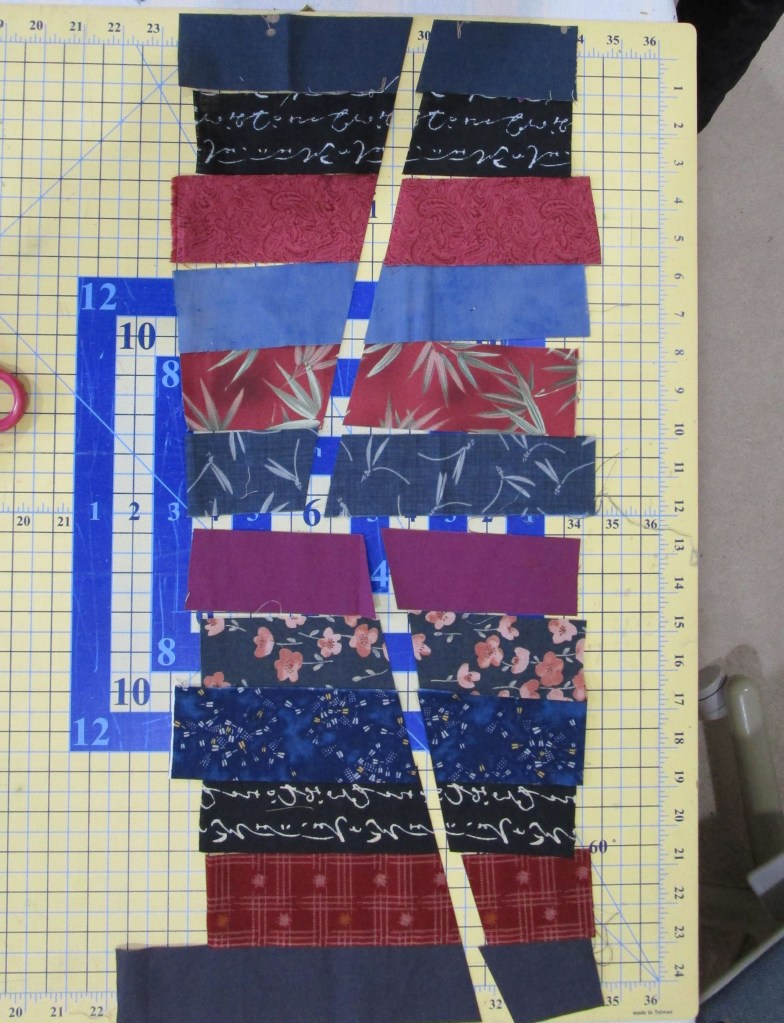
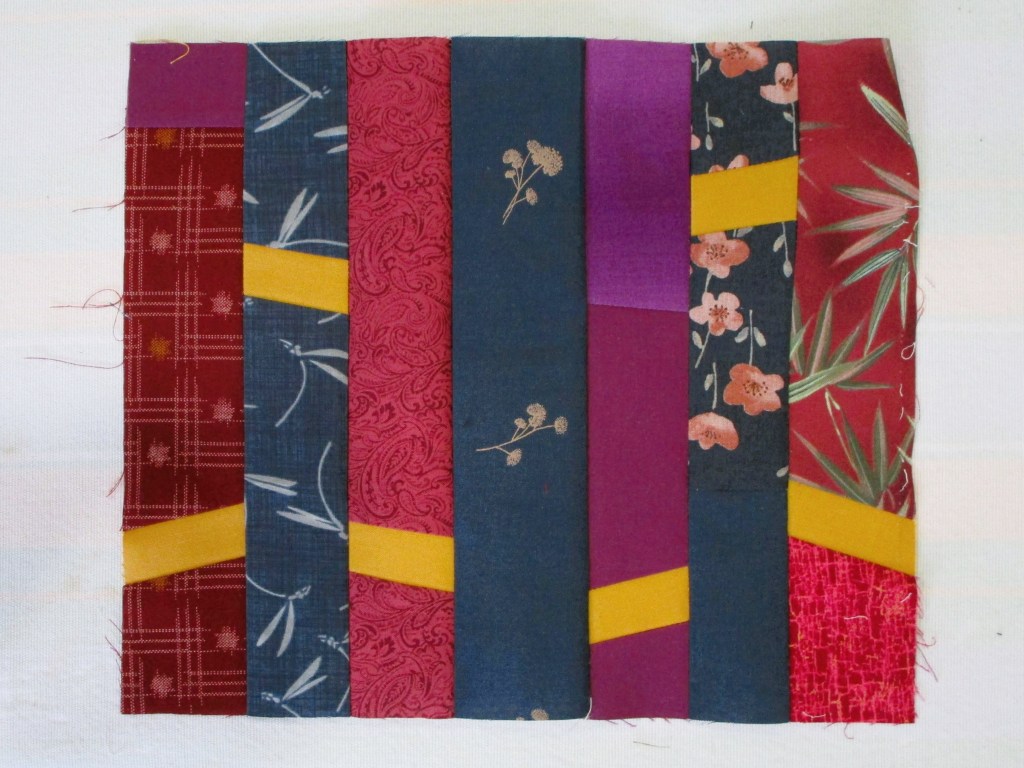
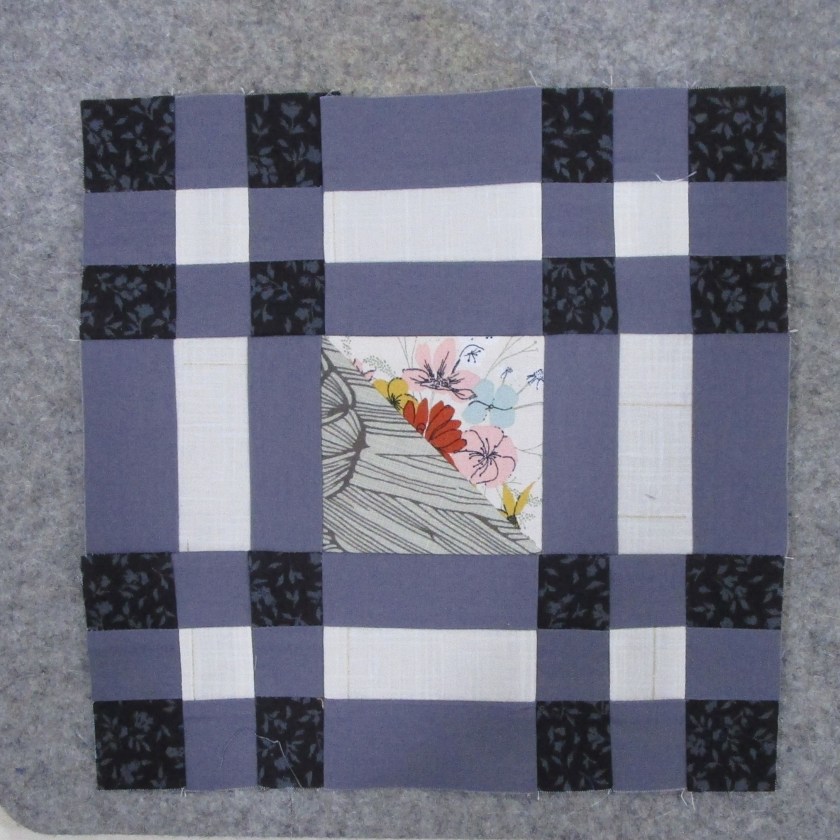
So I went a different direction. I decided to “fake” a japanese style block by selecting a general design, inserting small kite blocks into the design, and then finishing the block with sashing. It went like this:
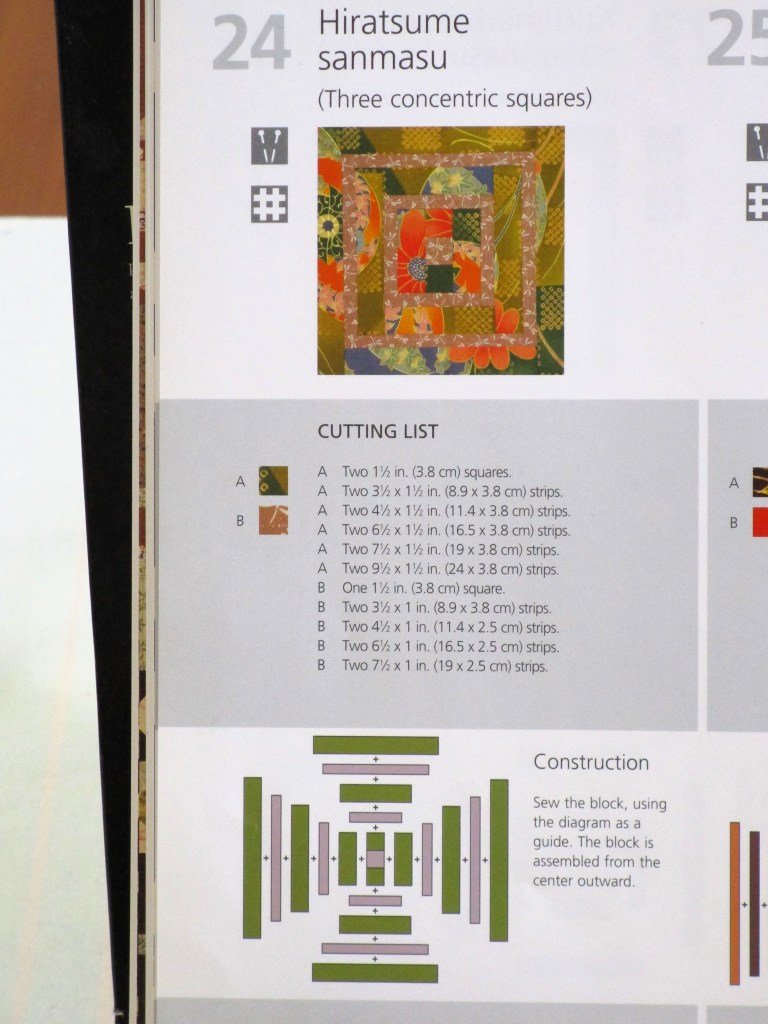
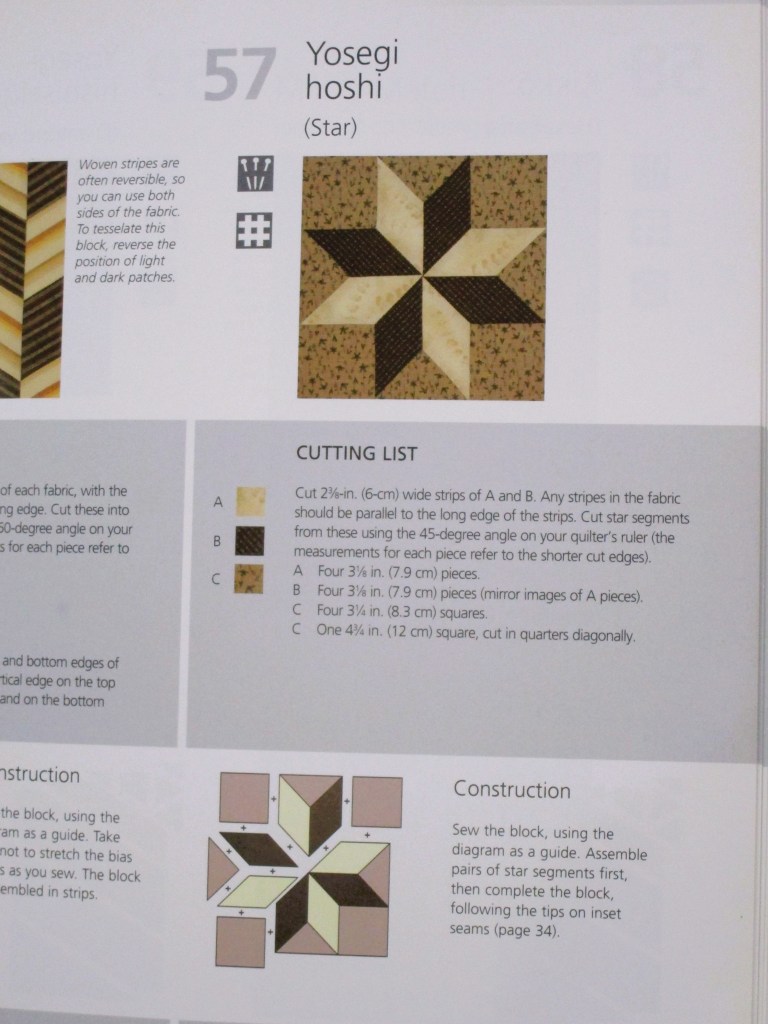
Kurume kasuri musubi is designed to be used with traditional kasuri fabrics (plain weaves in solid colors, also ikat fabrics) The design itself is based on a knot.

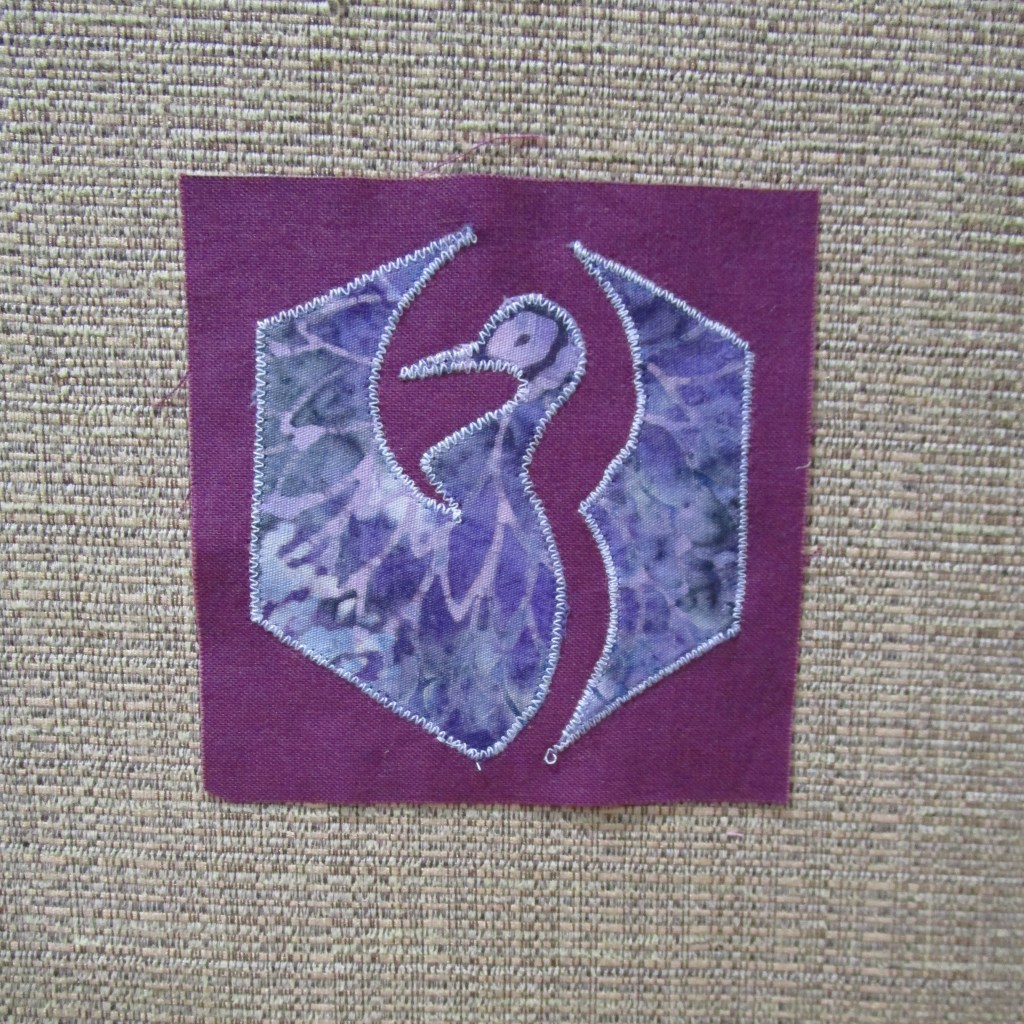
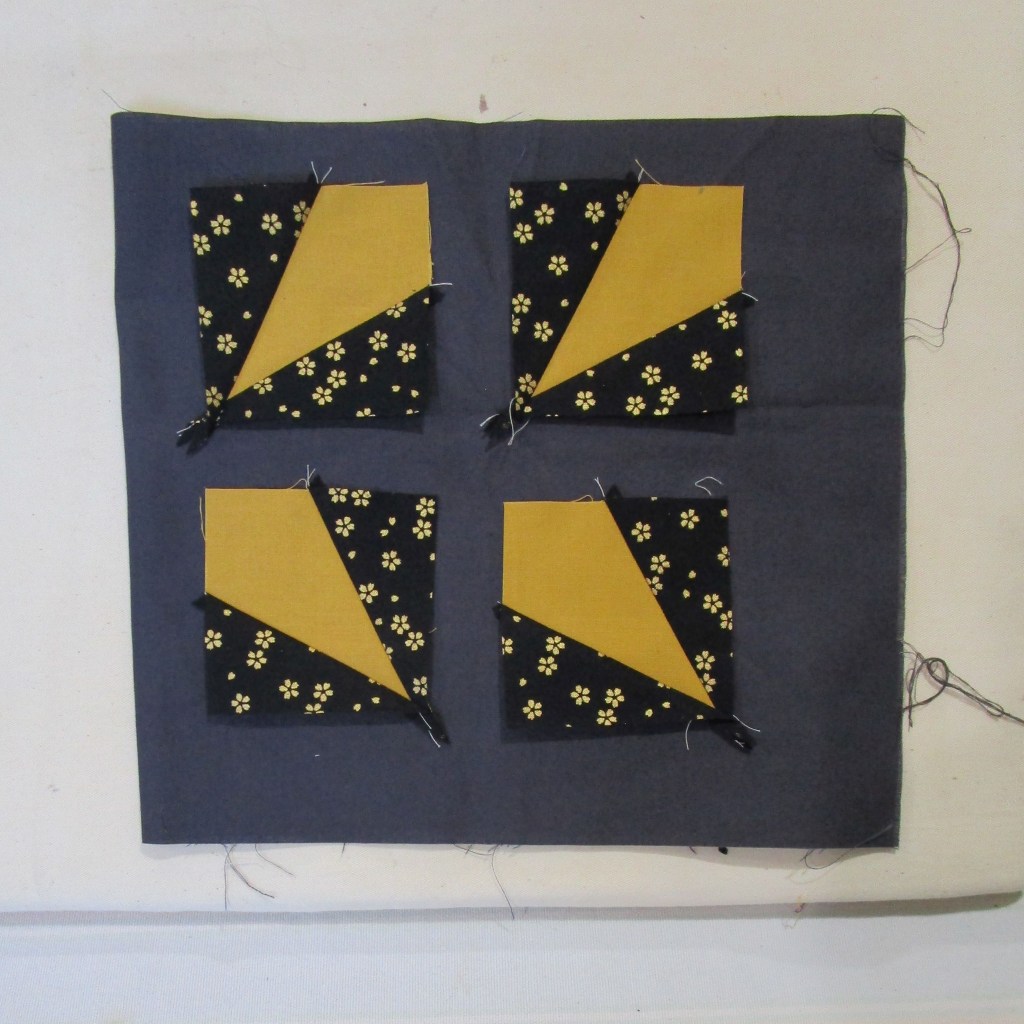
The four squares in the knot will be replaced with four kite squares. They finish at 3″ each, leaving room for the sashing and border in a dark color. I had to estimate my fabric cuts, but managed to figure it out.
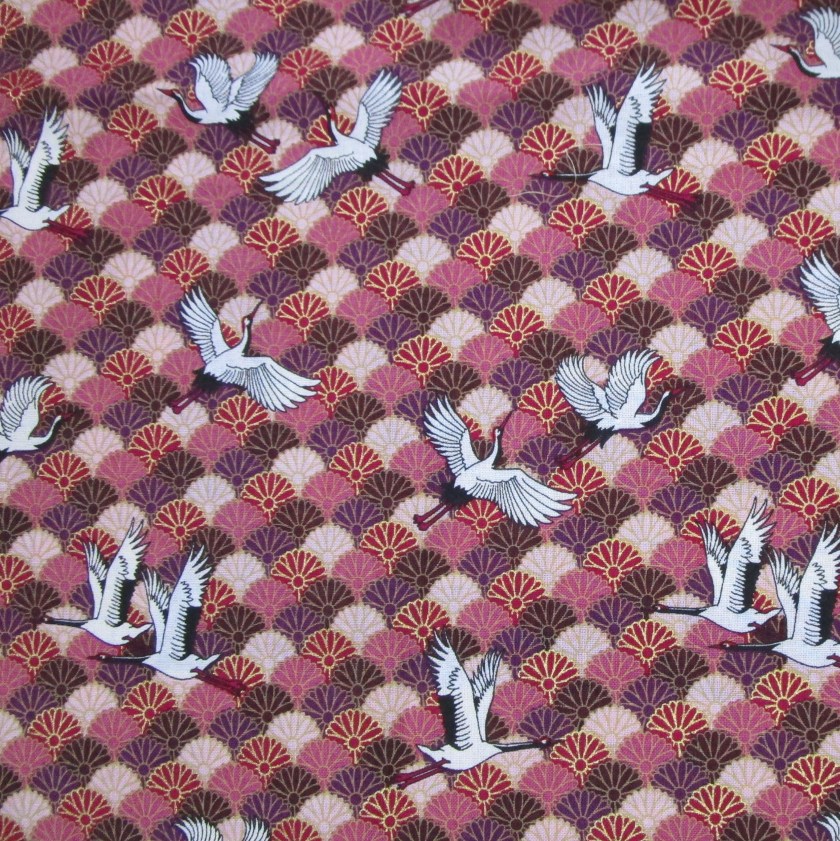
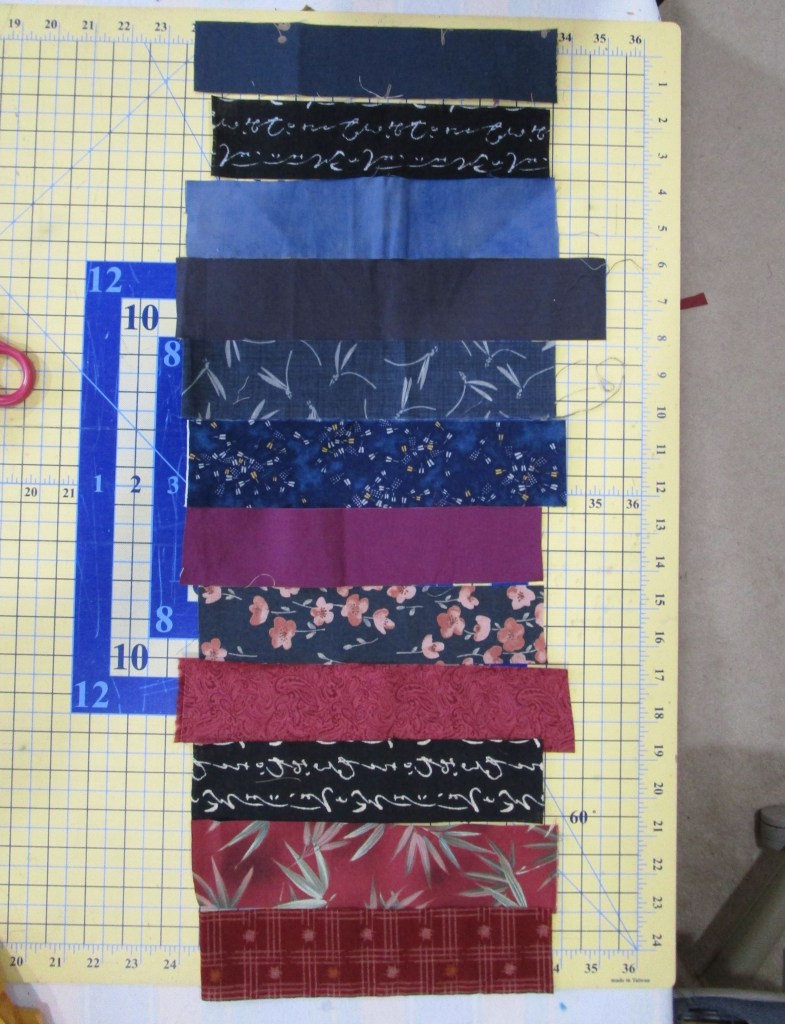
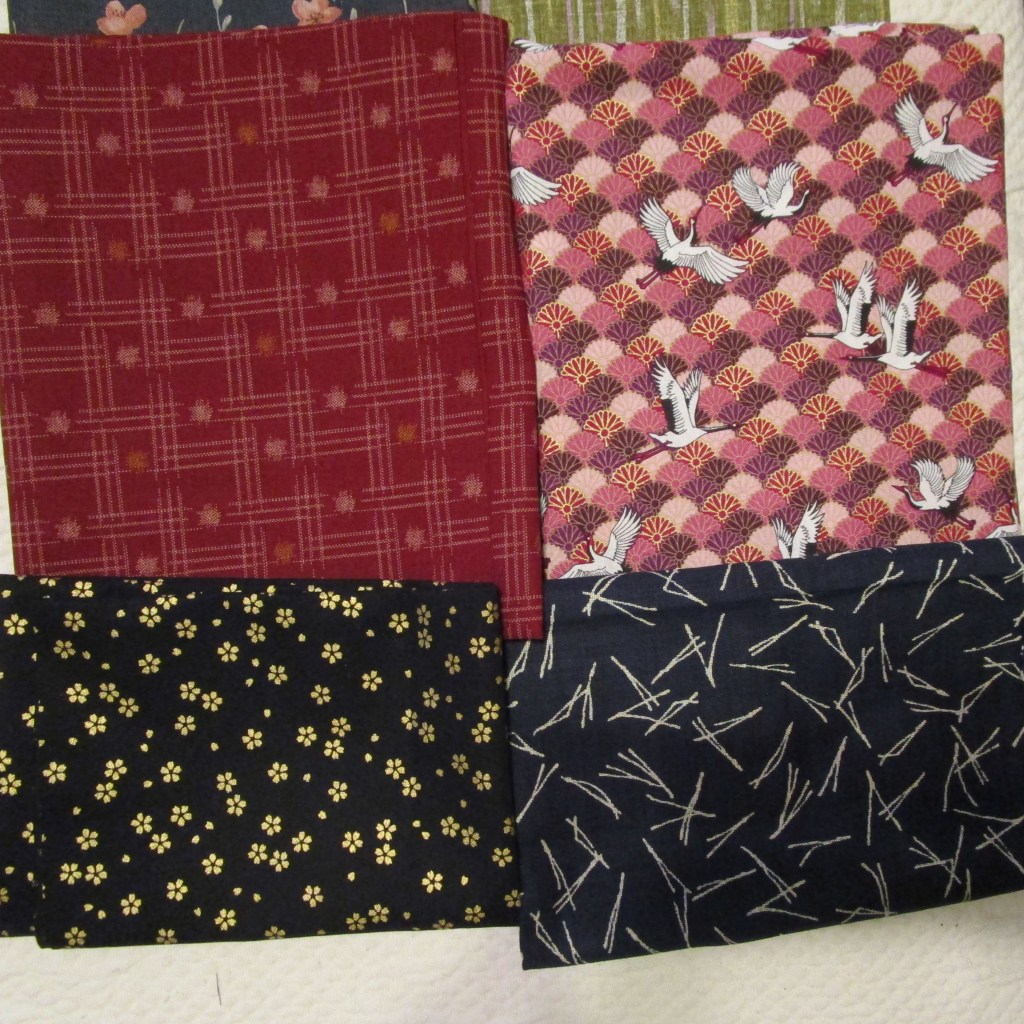
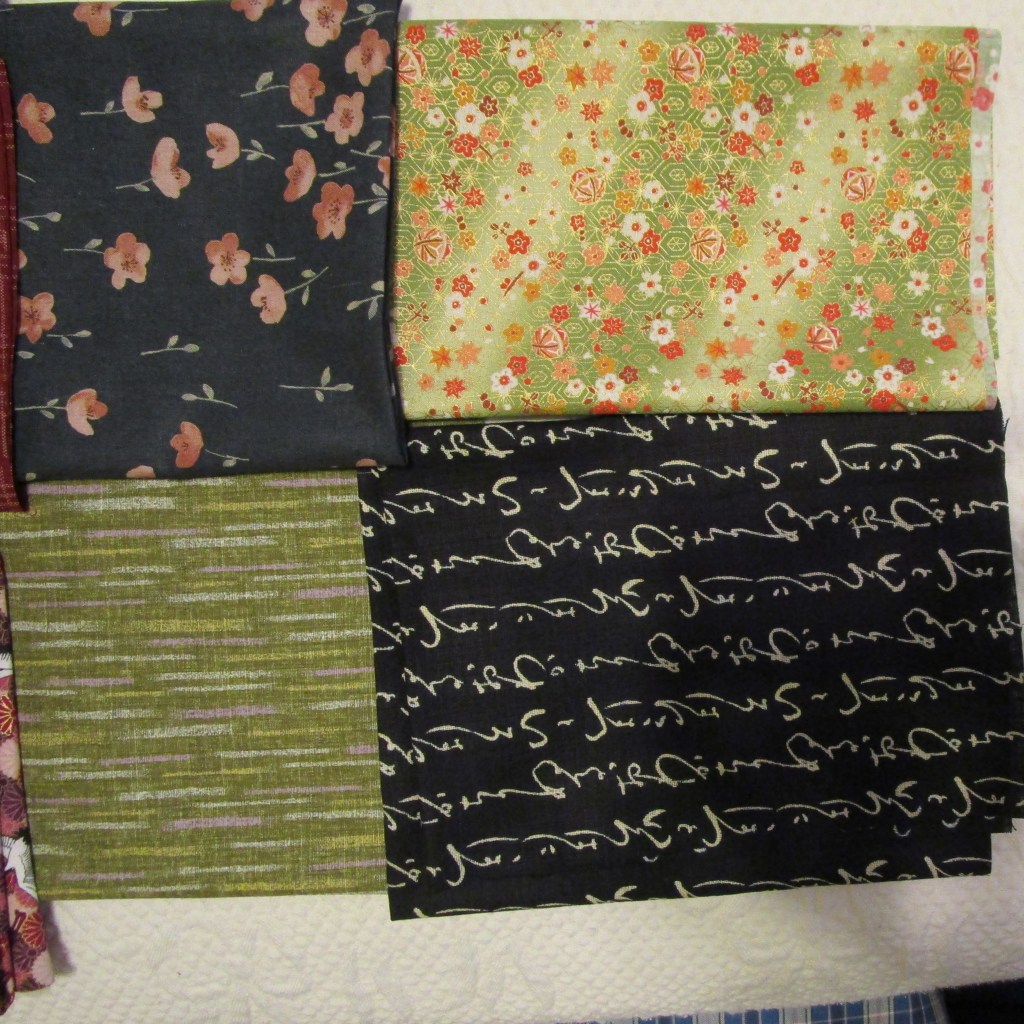
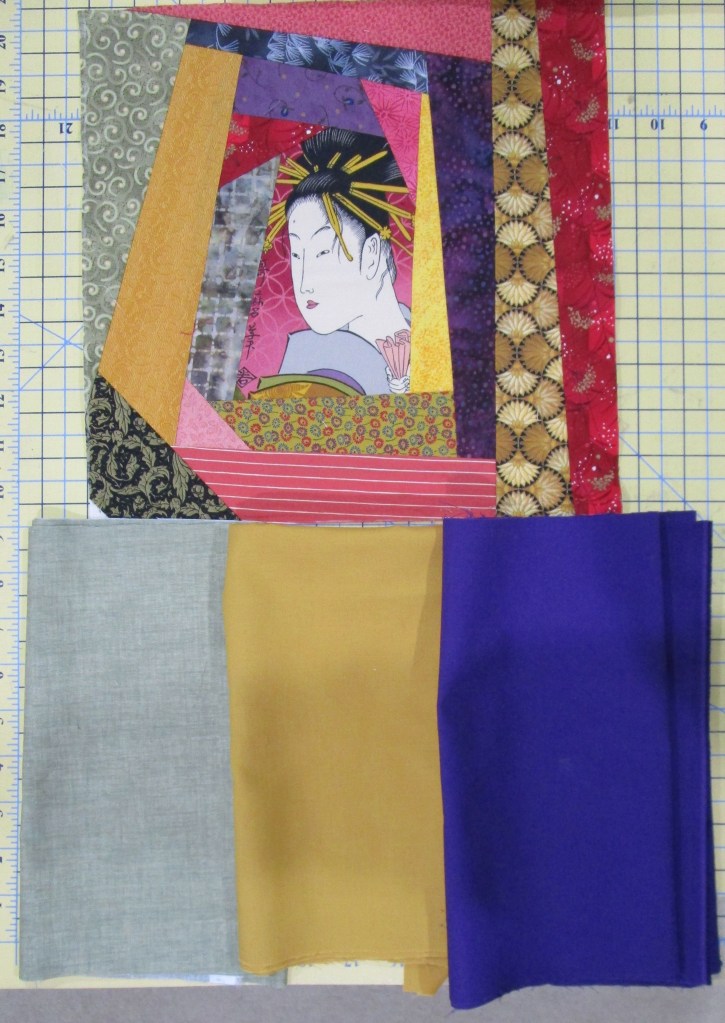
My fabric choices are solid gold, dark gray, and a metallic print black which features little flowers.


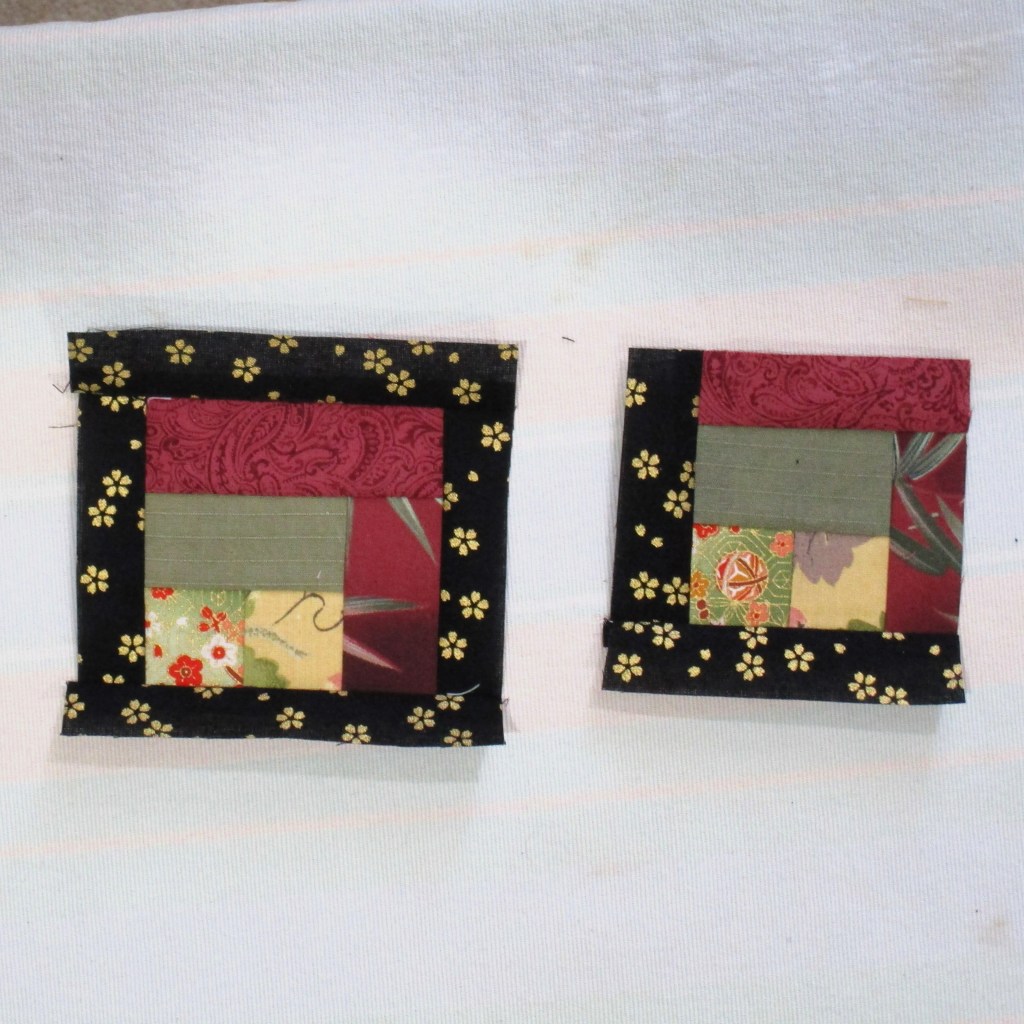
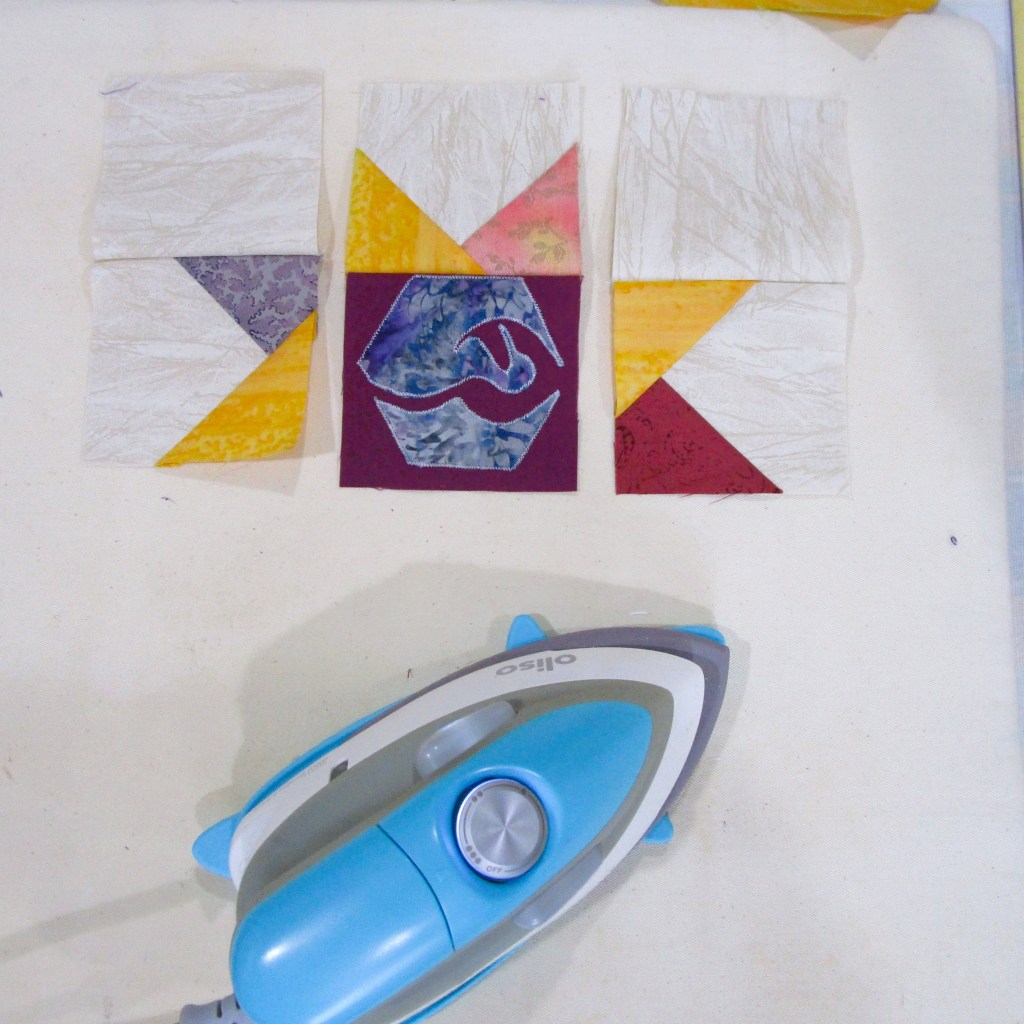
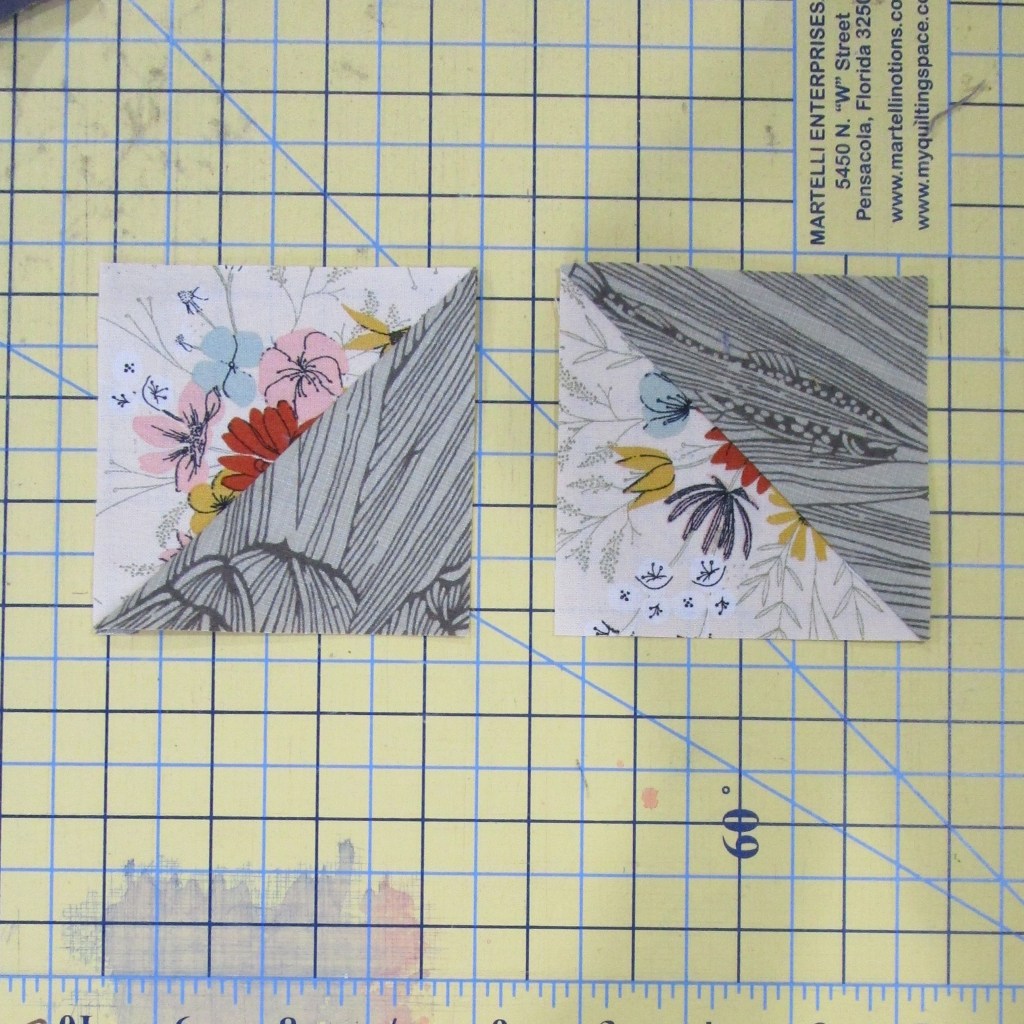
Now the fun design decision: how will I orient my four kites?
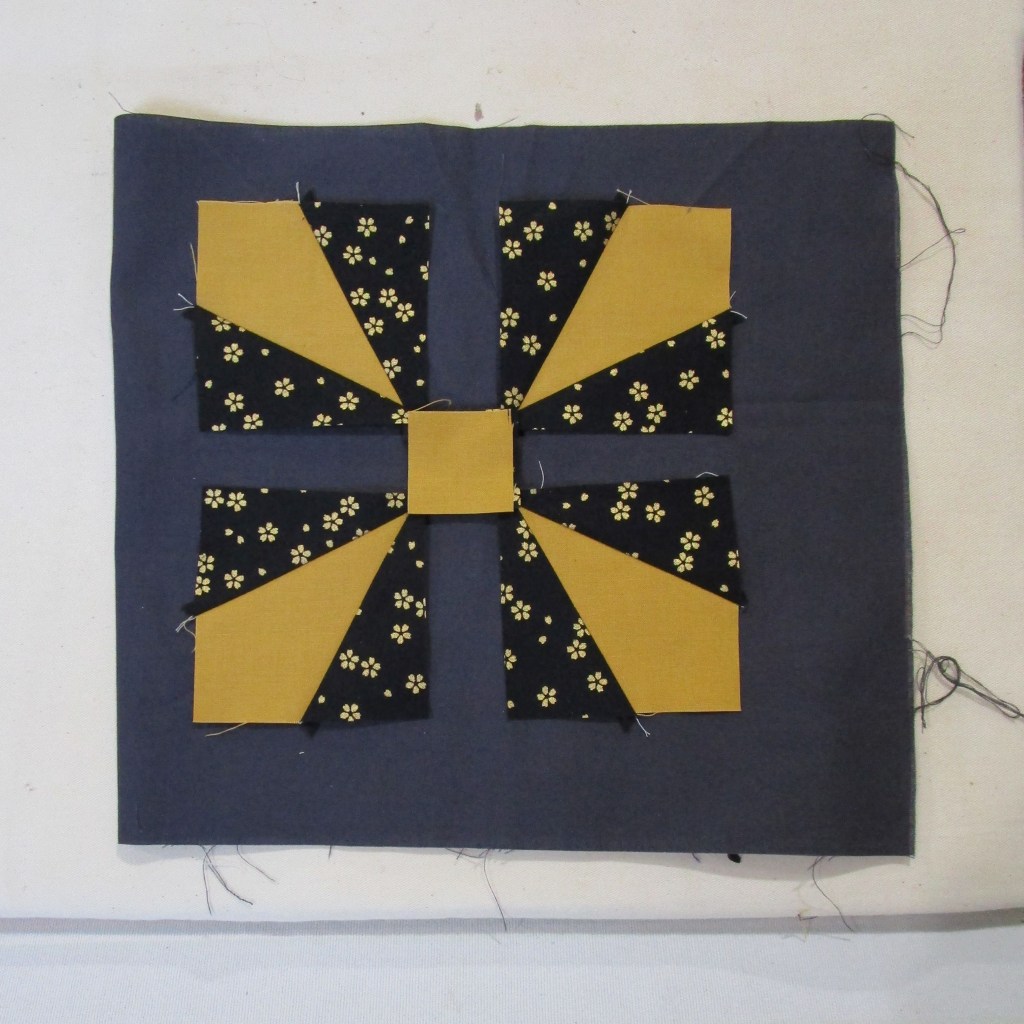

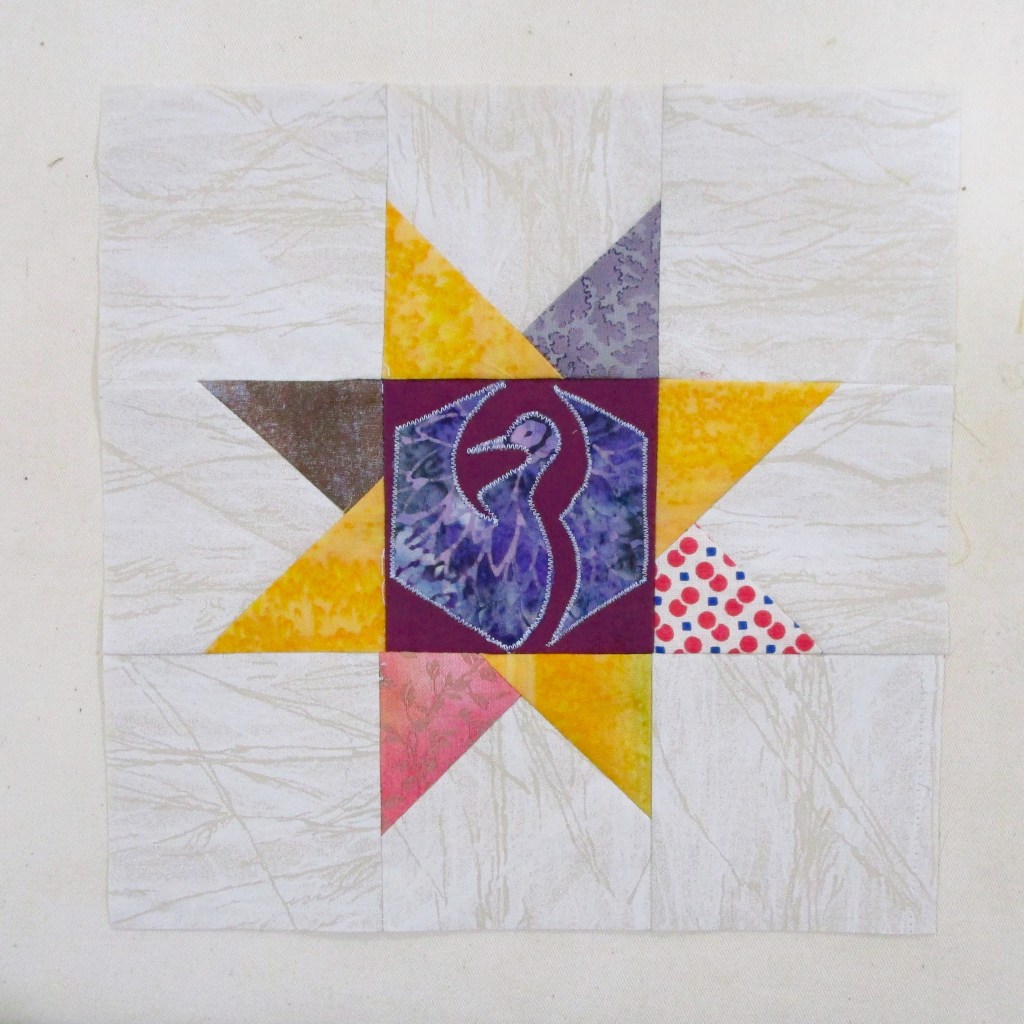
And the winner is……..
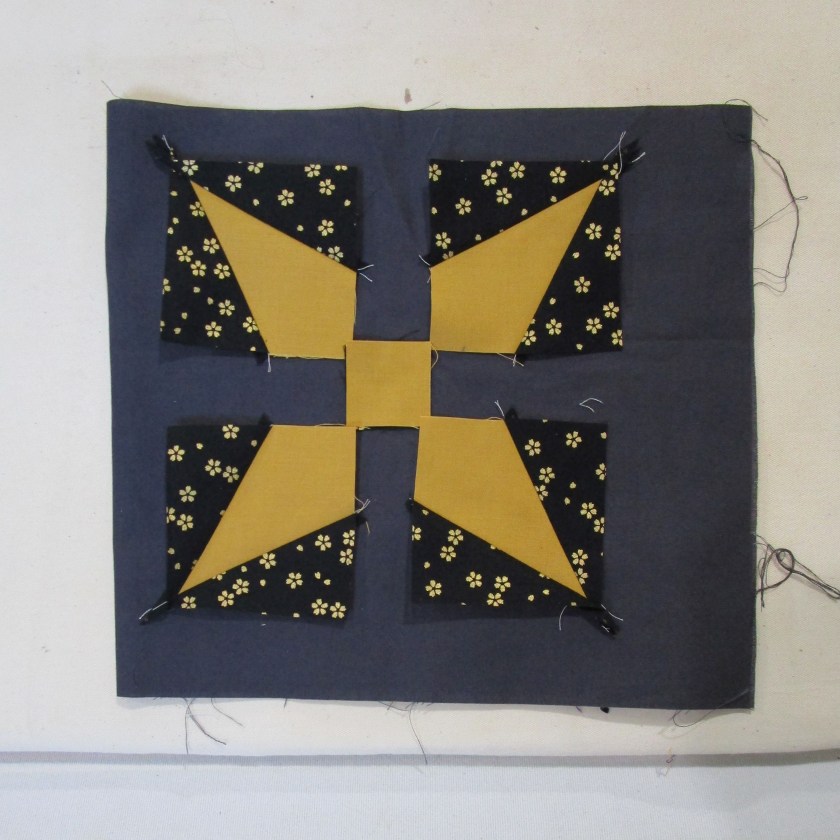
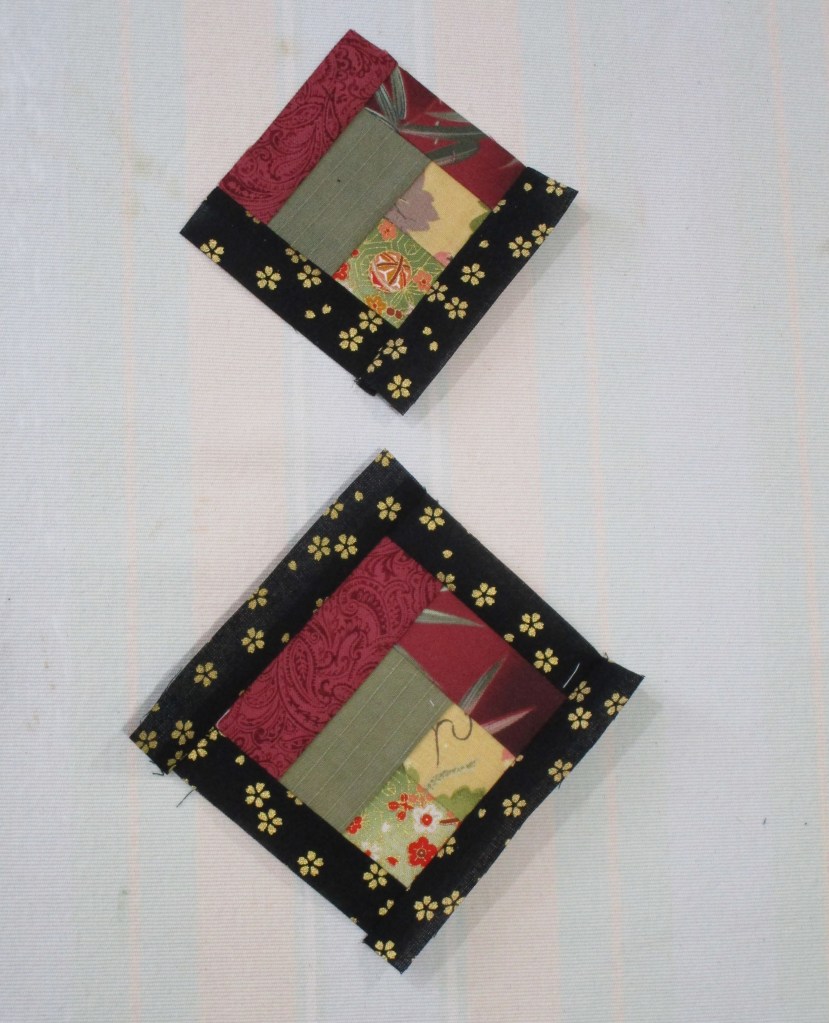
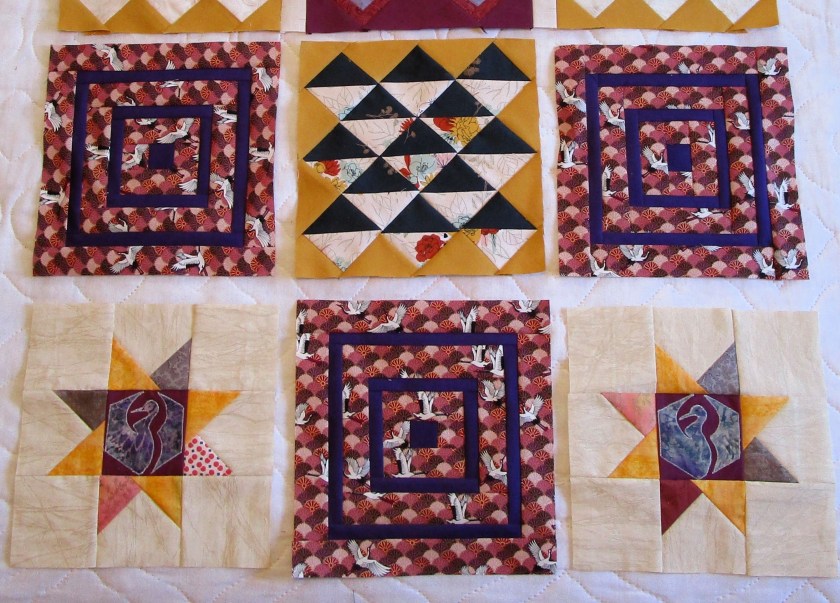
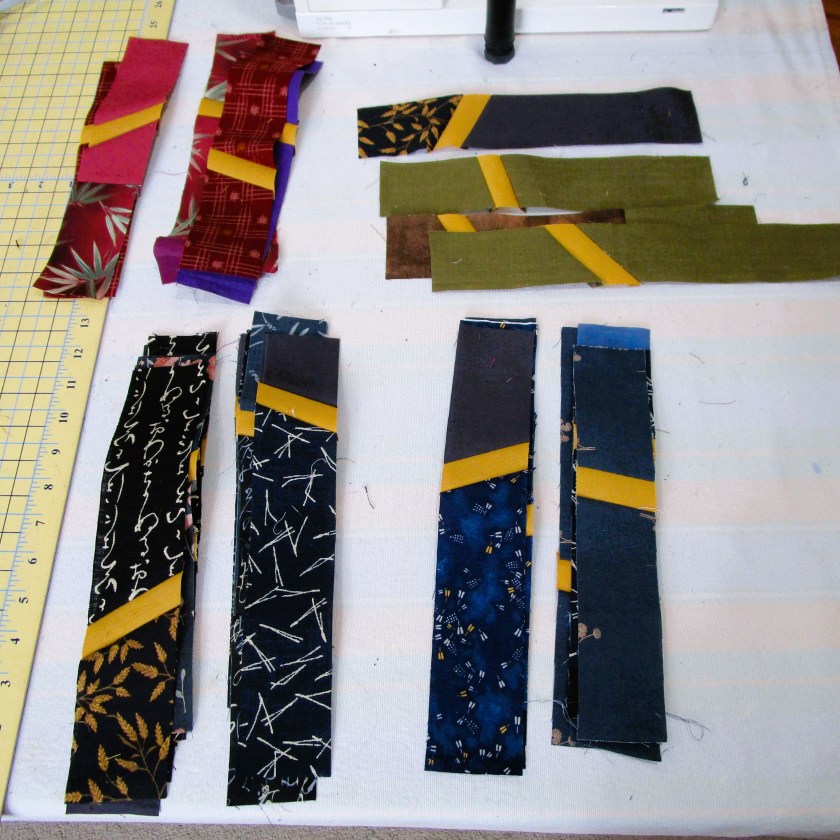
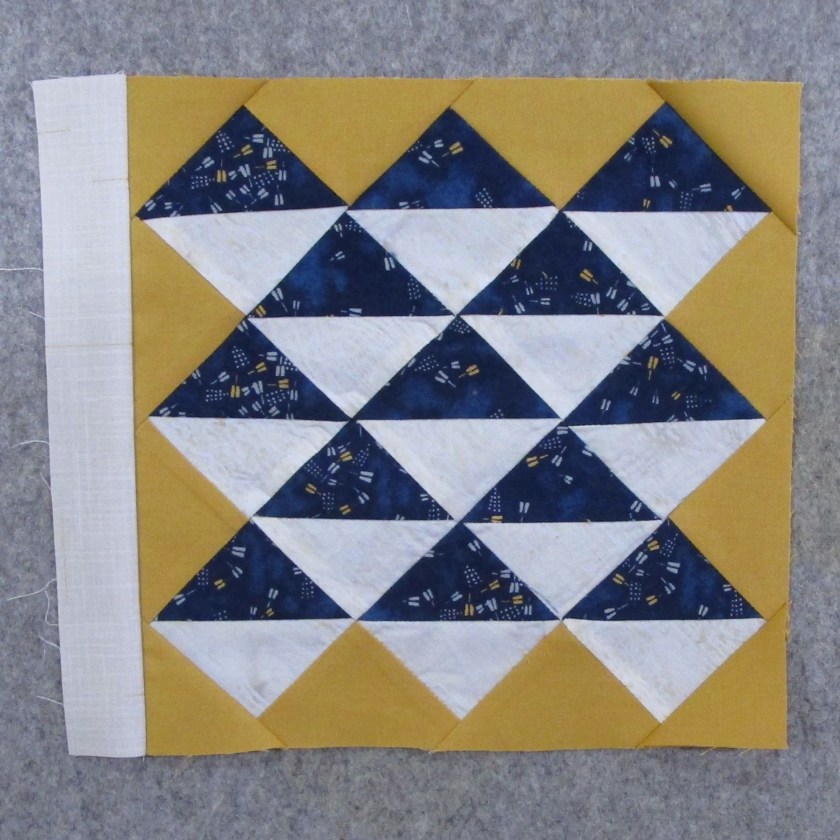
As you might expect, the assembly of my made-up block did not go smoothly. I had to rip apart my first try, re-cut some of the strips and sew it back together. The second block went much faster.
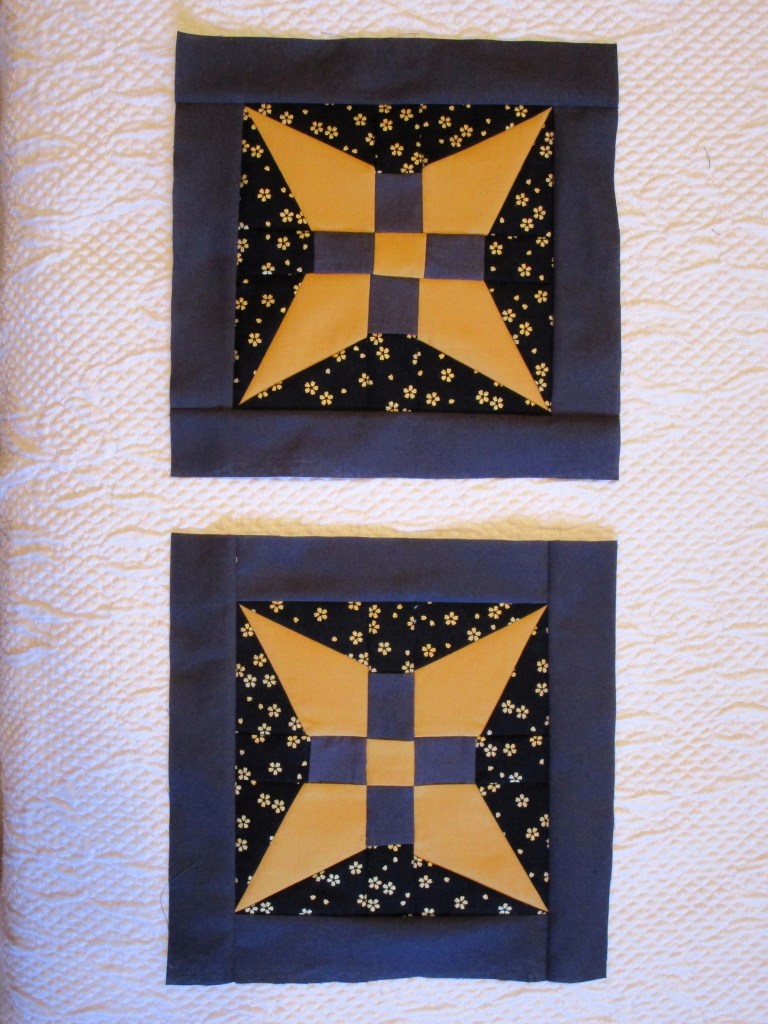
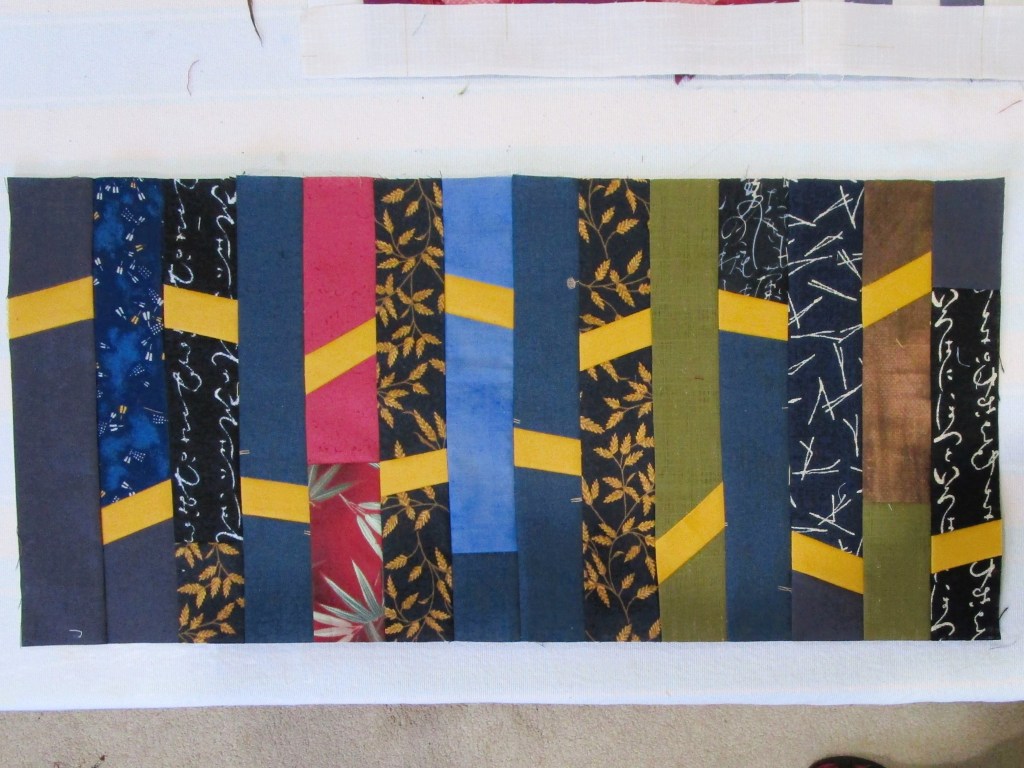
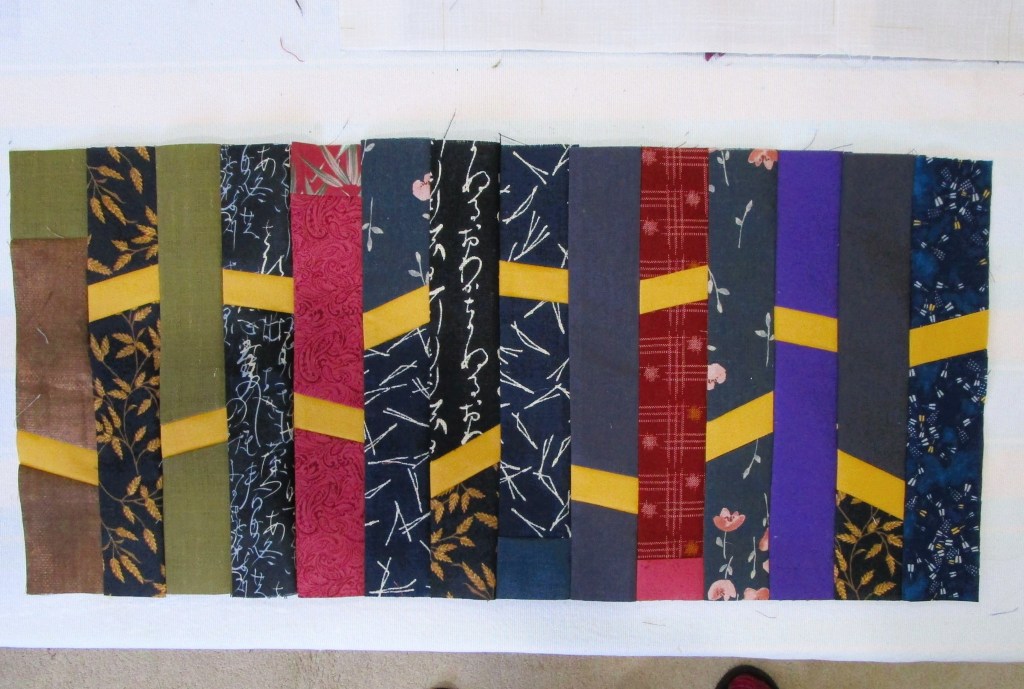
These two will be added to the front of the kimono, just below the sleeve section.
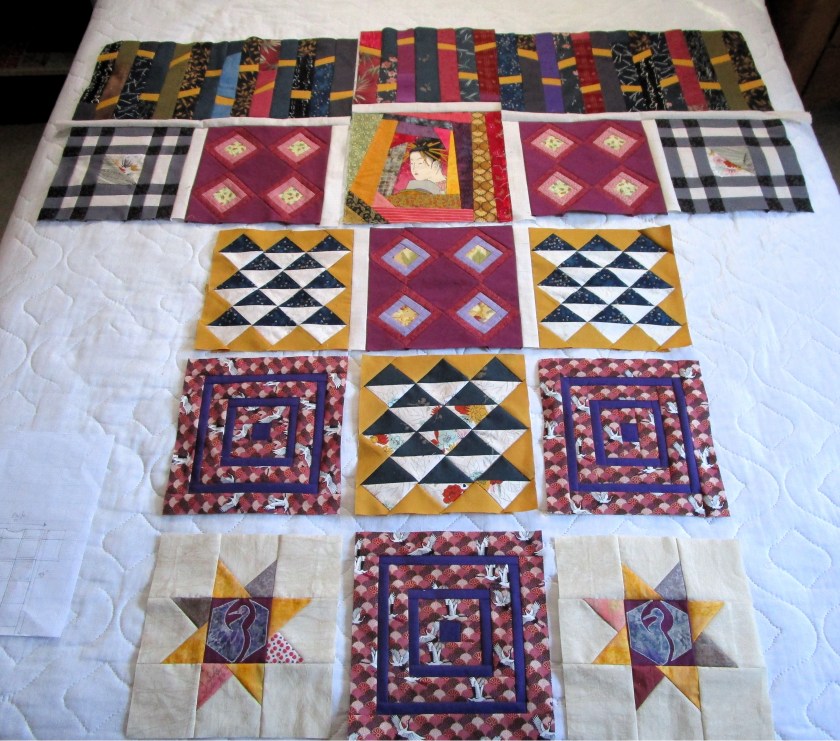
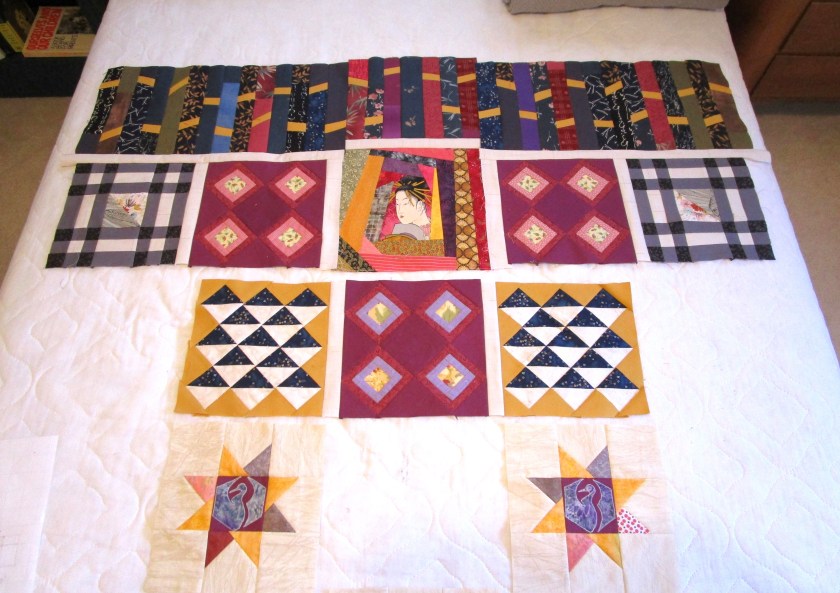
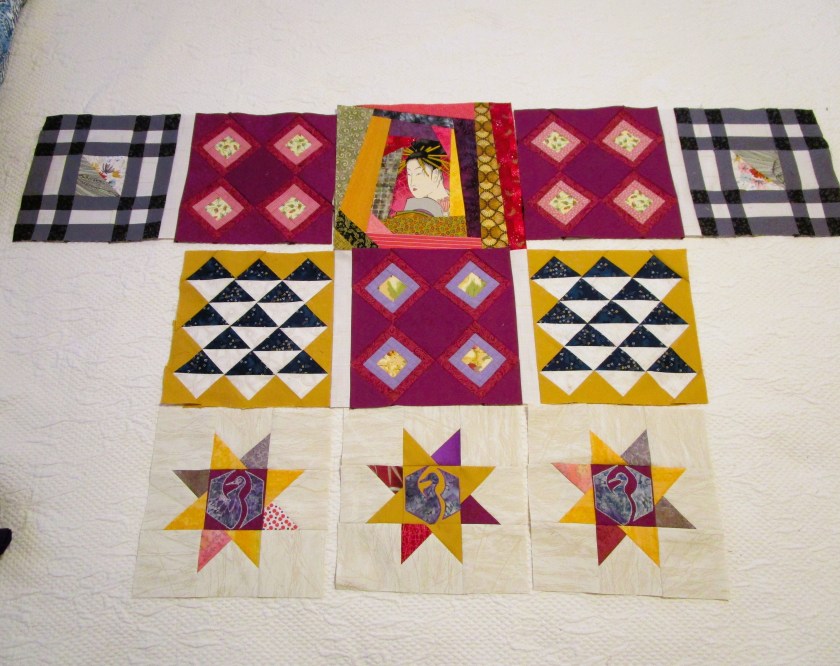
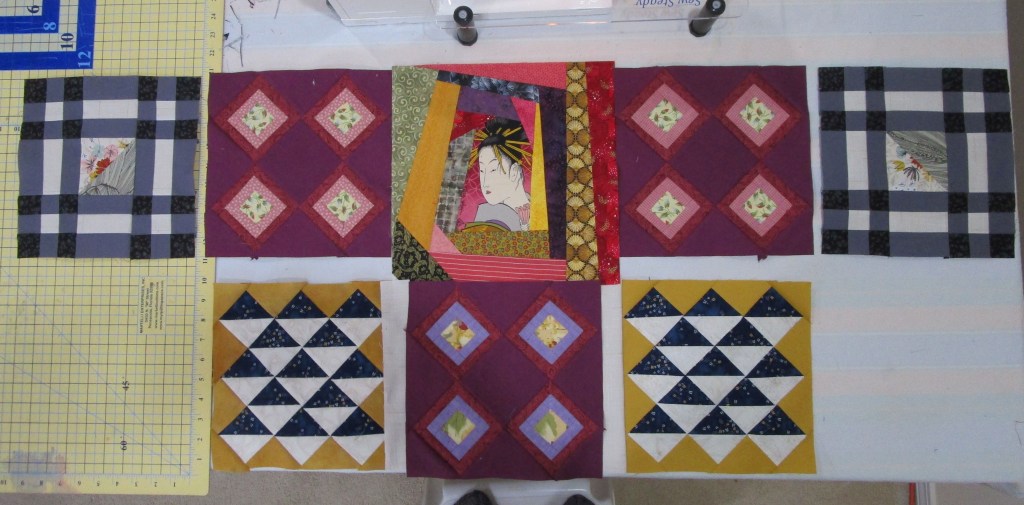
Here is how my quilt looks today.

I still have two rows to make up, and the whole center front, which will be built from half blocks on either side of the opening. No doubt you may have trouble visualizing it. Me too – honestly, I haven’t decided what patterns to use for the remaining rows. They could be some simple repeats of earlier rounds, such as half square triangles or quarter log cabins. Or more Japanese traditional blocks.
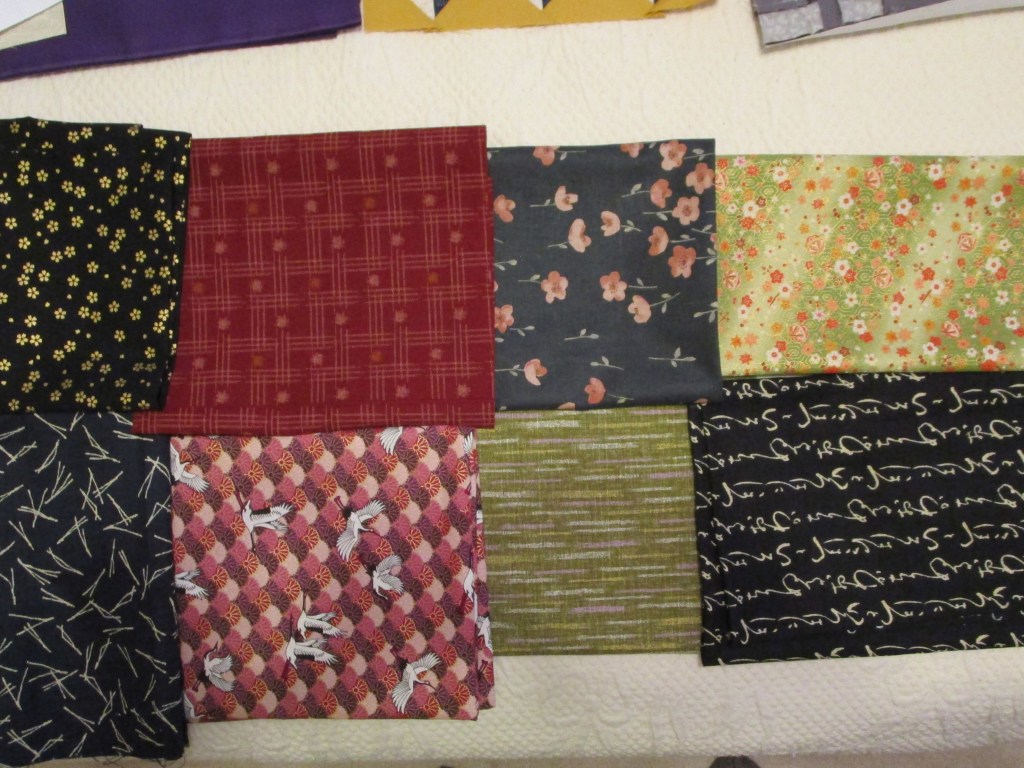
Fortunately, I seem to have enough fabric left.
I hope you have been enjoying all the products of on-line quilters who are making SAHRR quilts this year. Check out their work at our design creators’ sites.
- January 13th: Center: Gail @ Quilting Gail
- January 20th: 1st Round: King’s Crown block or inspired by your first initial Kathleen @ Kathleen McMusing
- January 27th: 2nd Round: Half Square Triangles Anja @ Anja Quilts
- February 3rd: 3rd Round: Stars Gail @ Quilting Gail
- February 10th: 4th Round: Slice & Insert Wendy @ Pieceful Thoughts of My Quilting Life
- February 17th:5th Round: Partial Log Cabins Brenda @ Songbird Designs
- February 24th: 6th Round: Kites or inspired by your first initial or the letter “k”
Emily @ The Darling Dogwood 🠜 You Are Here - March 24th: Finish Parade: Gail @ Quilting Gail
Be sure and check back with me after March 24th. Maybe I will be finished by then.