Posted in quilting

SAHRR 2025 Border 1 Japanese style

I wanted to write a bit about the traits of Japanese style quilting compared to Western style quilting, but today’s schedule is a bit tight and the posting deadline is here. I’ll just show a few pictures. Or maybe I’ll use bullet points:

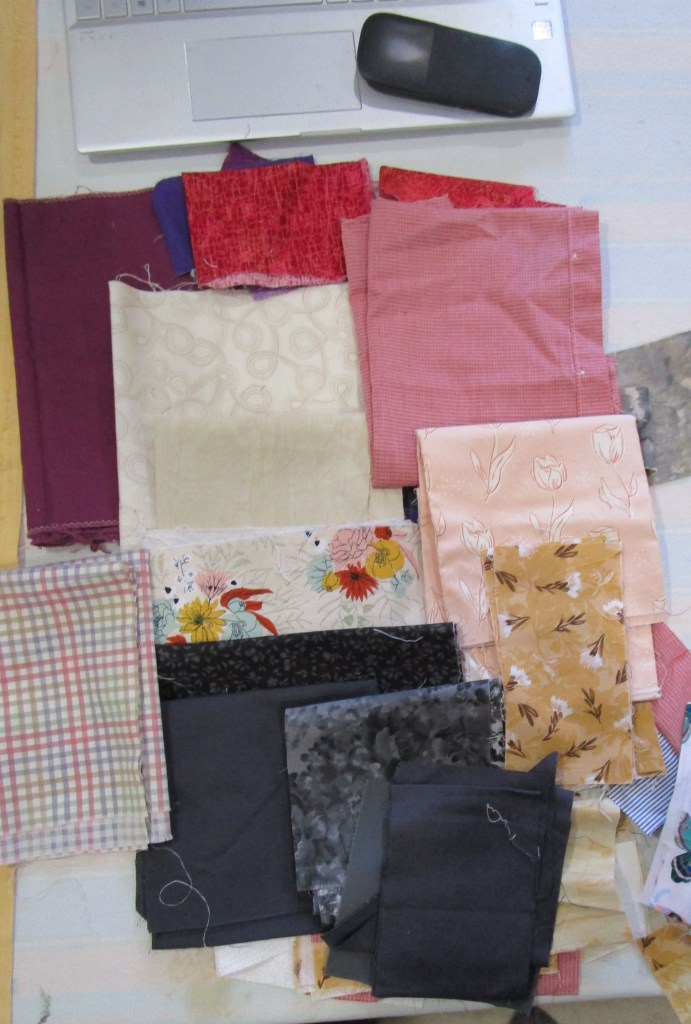
Types of fabric: plain cotton, woven patterns, large and small scale dyed patterns, stencil dyed cottons, silks and wool.

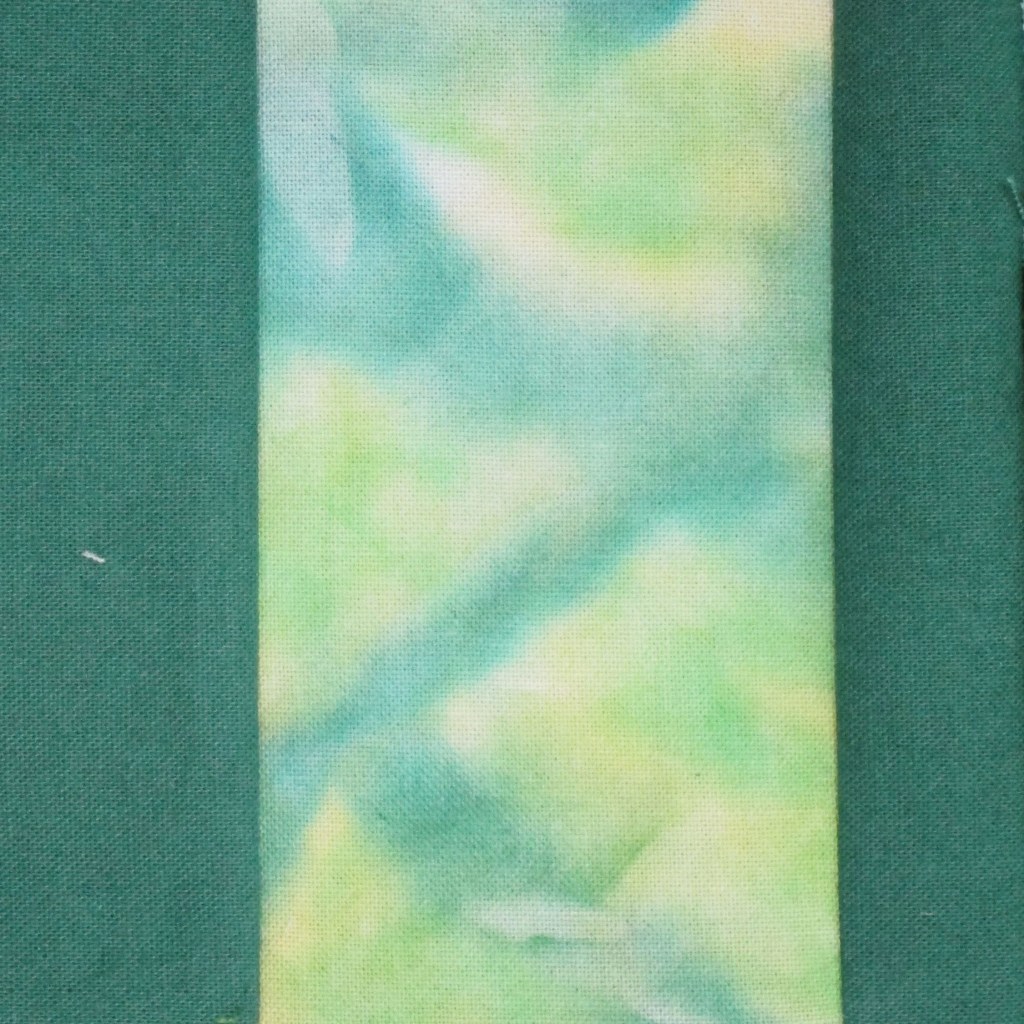
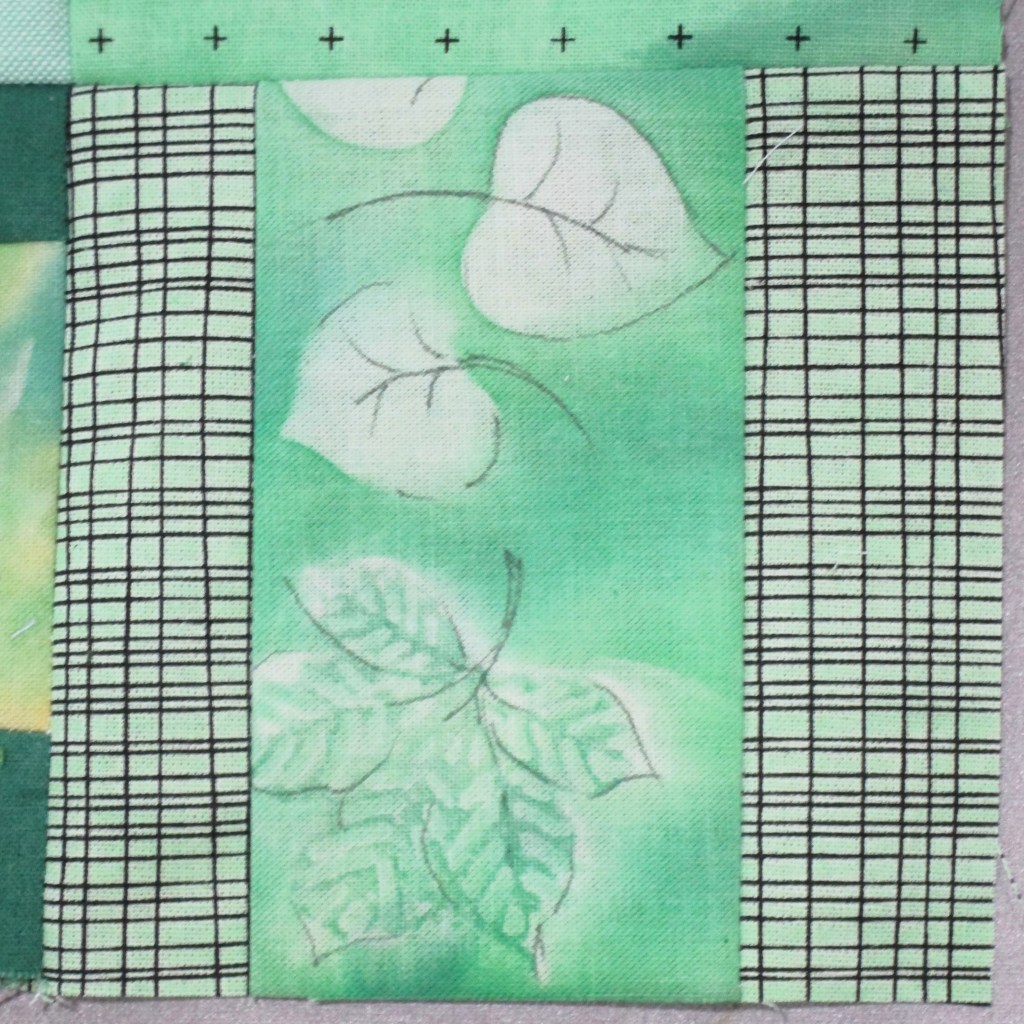
I tried to choose colors that were present in the center block.
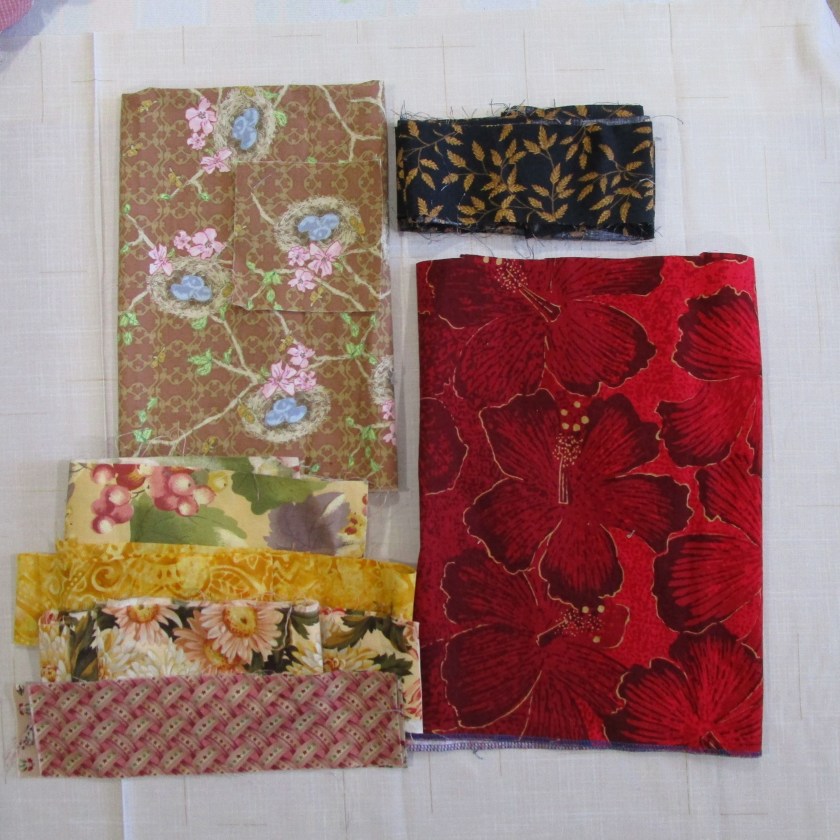
From my mother’s stash
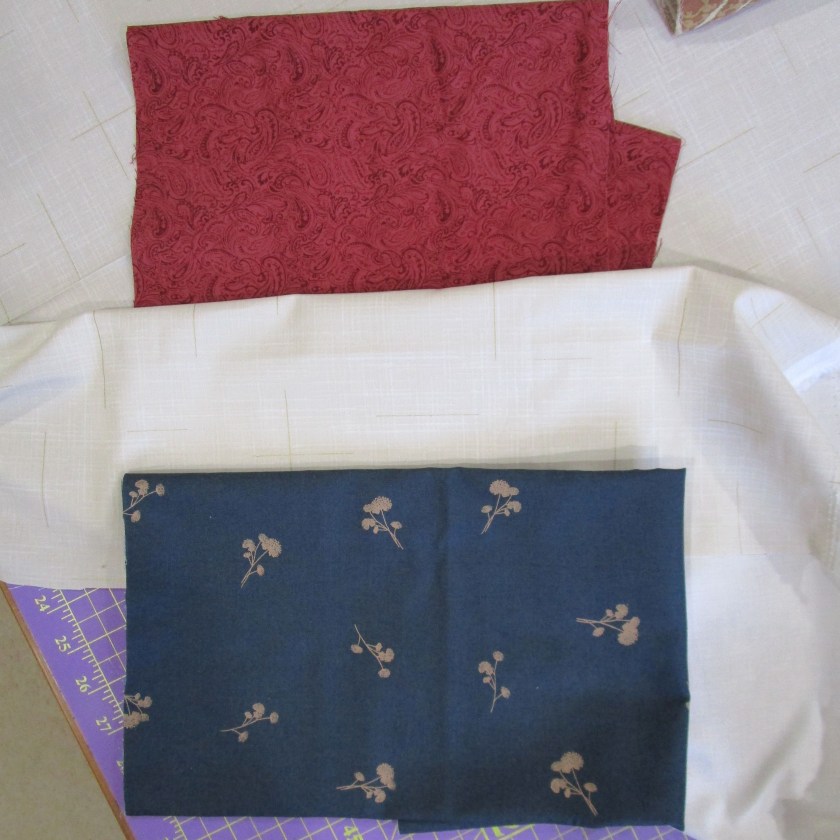
From my own stash
A few fabrics purchased from Hobby Lobby

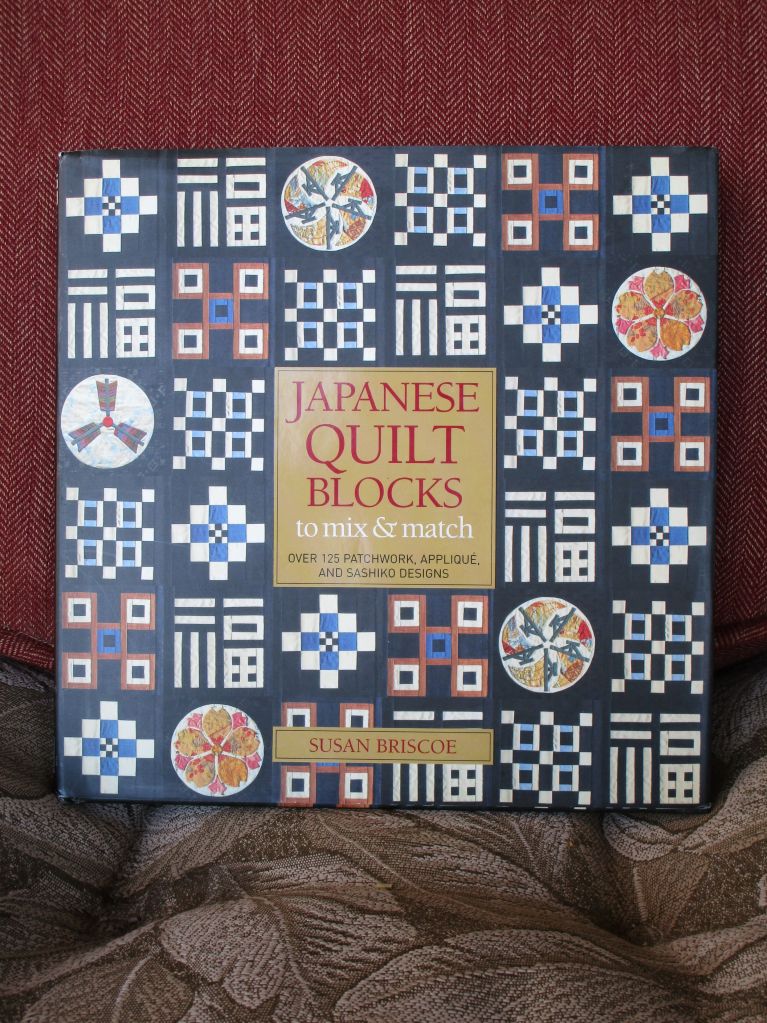
Block categories: patchwork, Sashiko, Kamon (traditional family crests worked as applique or sashiko) and Takarazukushi (good fortune symbols worked in applique.)

Now to the clue: Kathleen suggested King’s Crown pattern for this round, or choose a block that begins with a K, or that begins with the first letter of my name, L. I immediately thought of Log Cabin. But turning to my Japanese block design book, I saw no examples that looked like a log cabin. In studying the block names, I realized that the “L” sound is absent from the Japanese language! Lots of blocks start with a K. I settled on this pattern – Kumiko – which translates to Lattice.
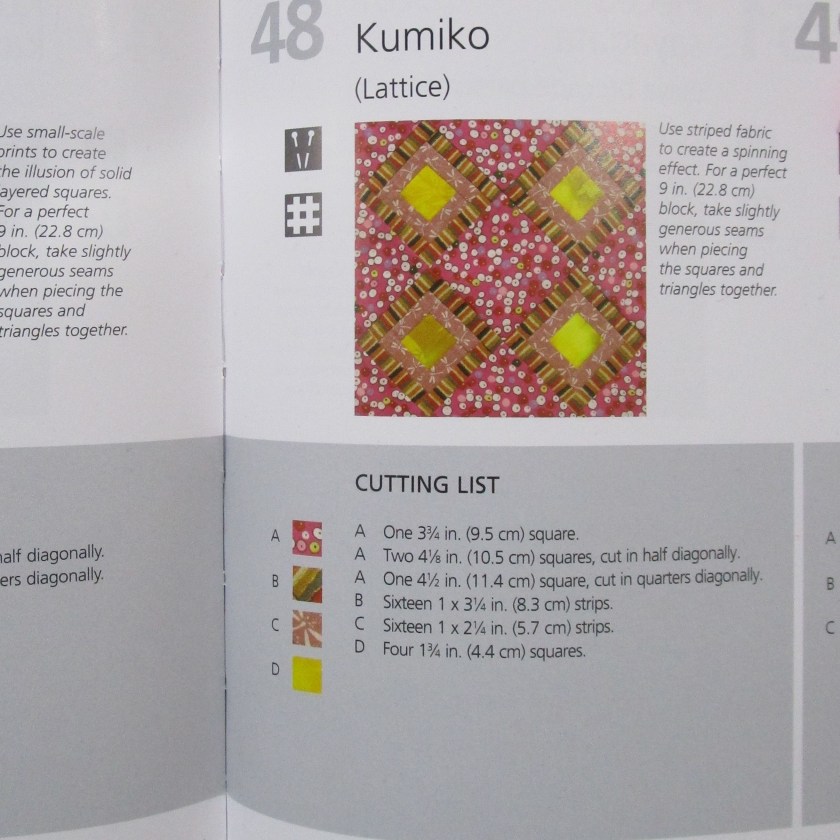
And its construction begins with making four strip-pieced squares built around a center square. Hm, that resembles the beginning of a log cabin.
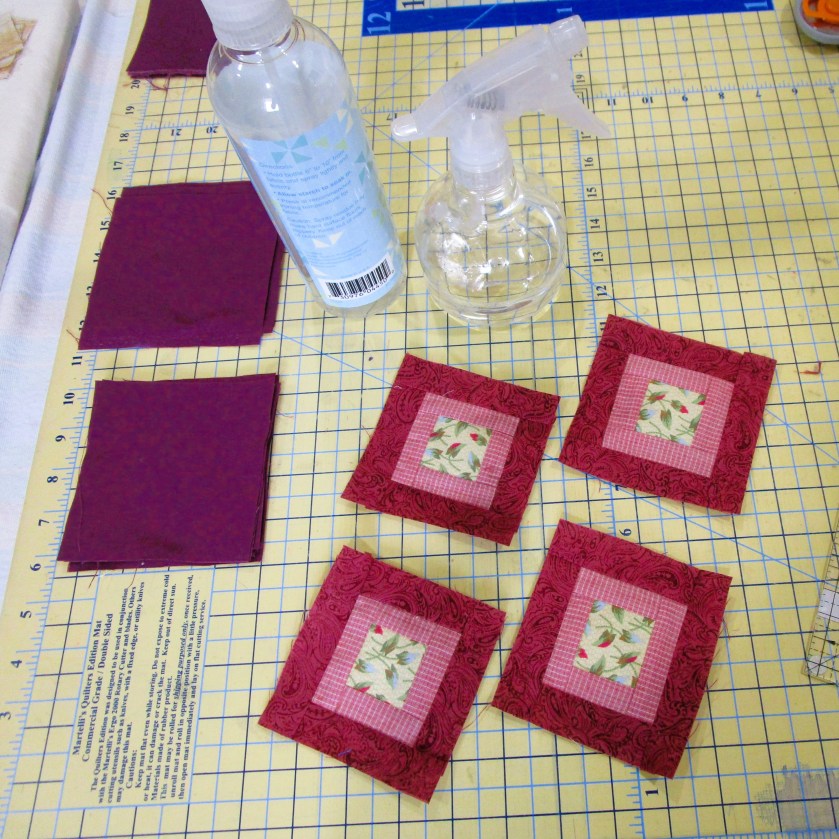
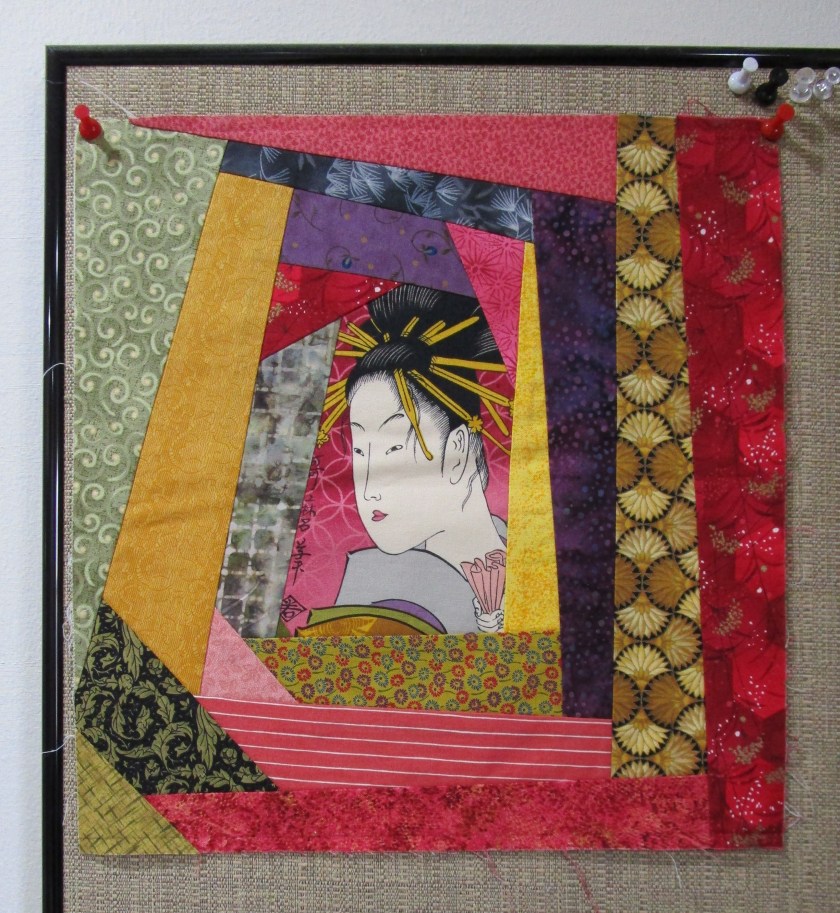
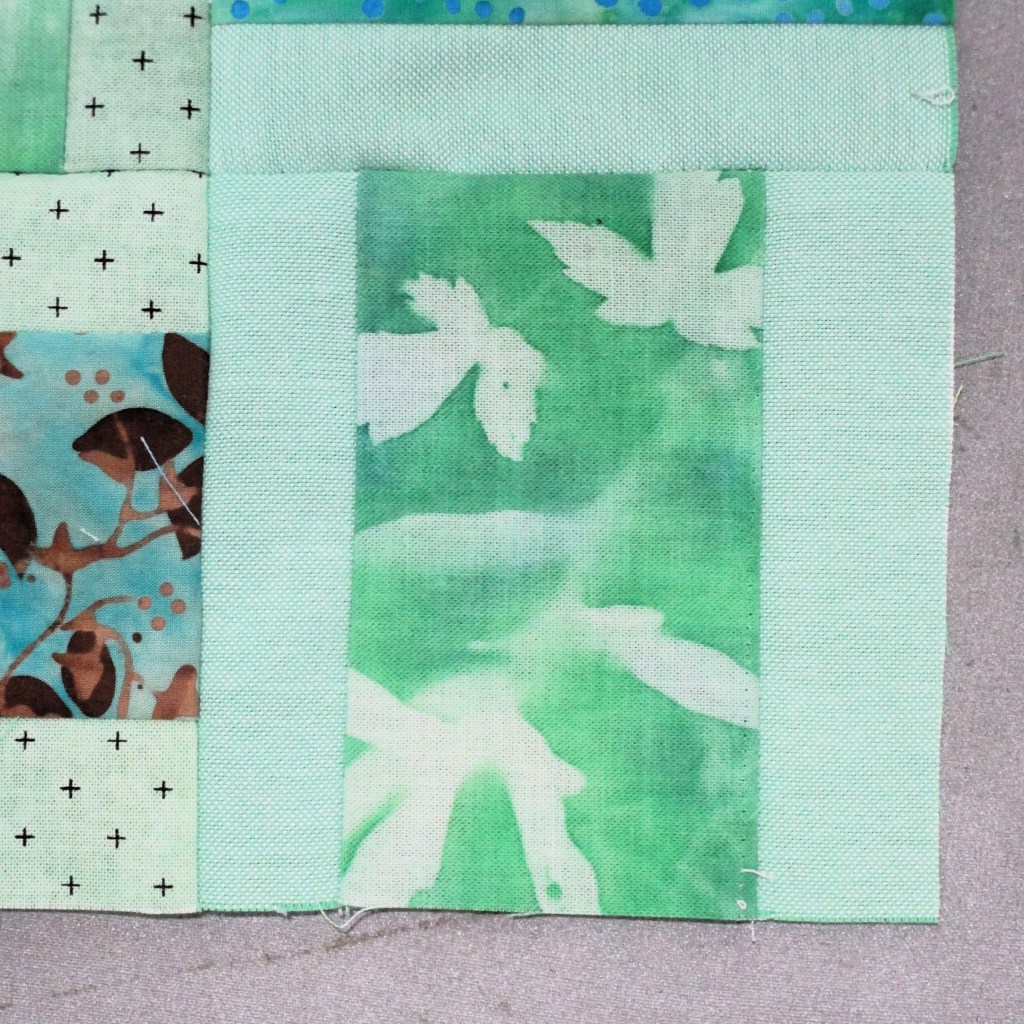
And here is my first block for Border One.
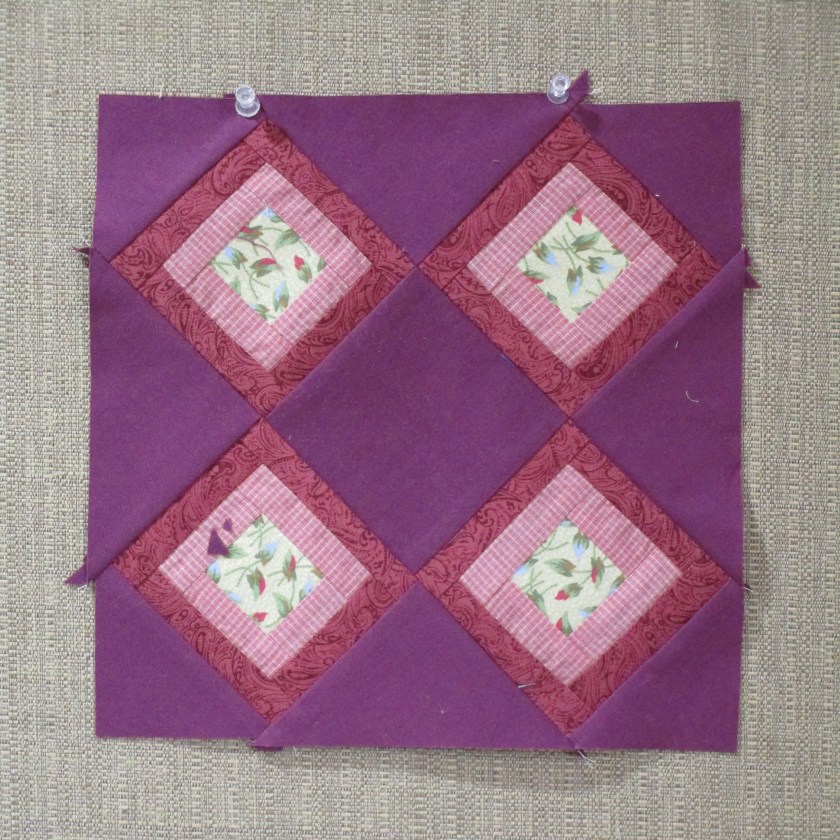
I ended up making three blocks, which I plan to place just below the center block row.
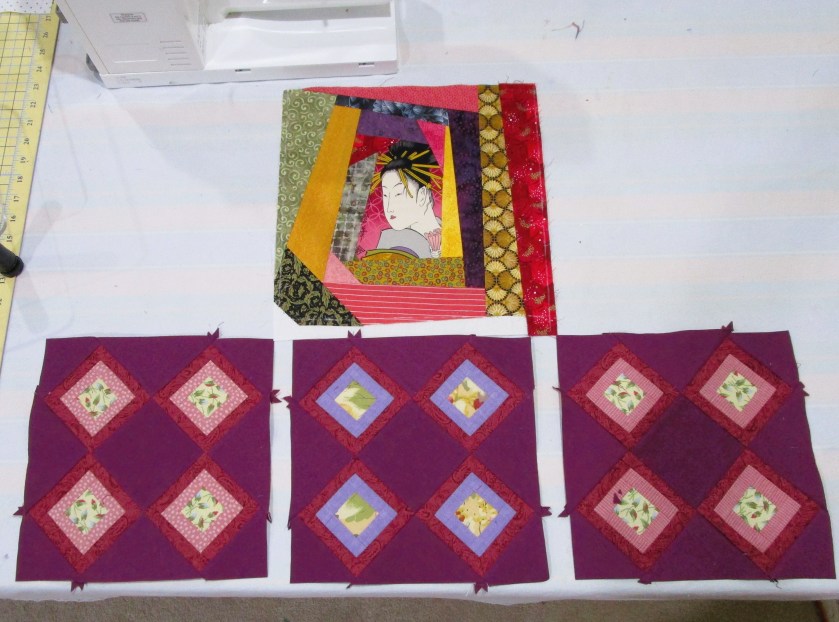
And so the first round is done, and my post written before the Linky party closes.

I see that my chosen path will hold much challenge if I stick to the plan.

If you want to follow along with Stay at Home Round Robin, here are the hosts and the weekly schedule. Check out their posts!

Posted in hand embroidery, painting, quilting

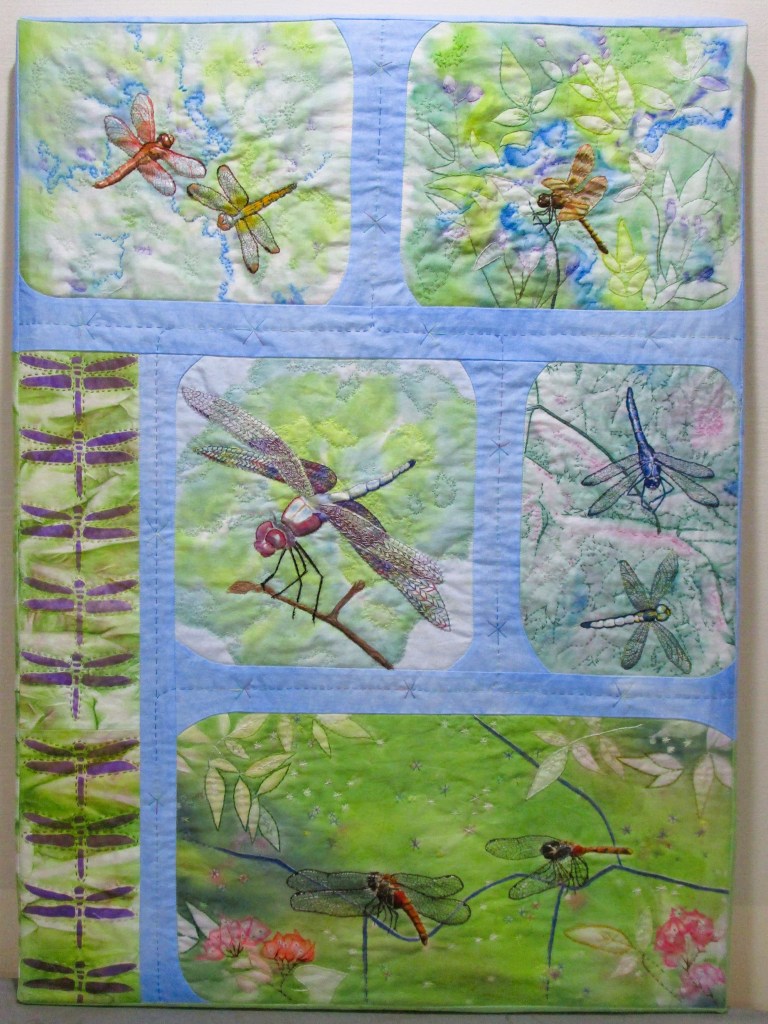
Friday Finish: Here Be Dragons

After eighteen months in process, my multi-panel quilt that explores the dragonfly is finally finished. The painting and the assembly of the quilt took place in 2023. Then it languished while I fiddled around with hand embroidery. Finally, I made the commitment in December 2024 to get this WIP done. It took an opportunity to display it at an exhibition to set me in motion.

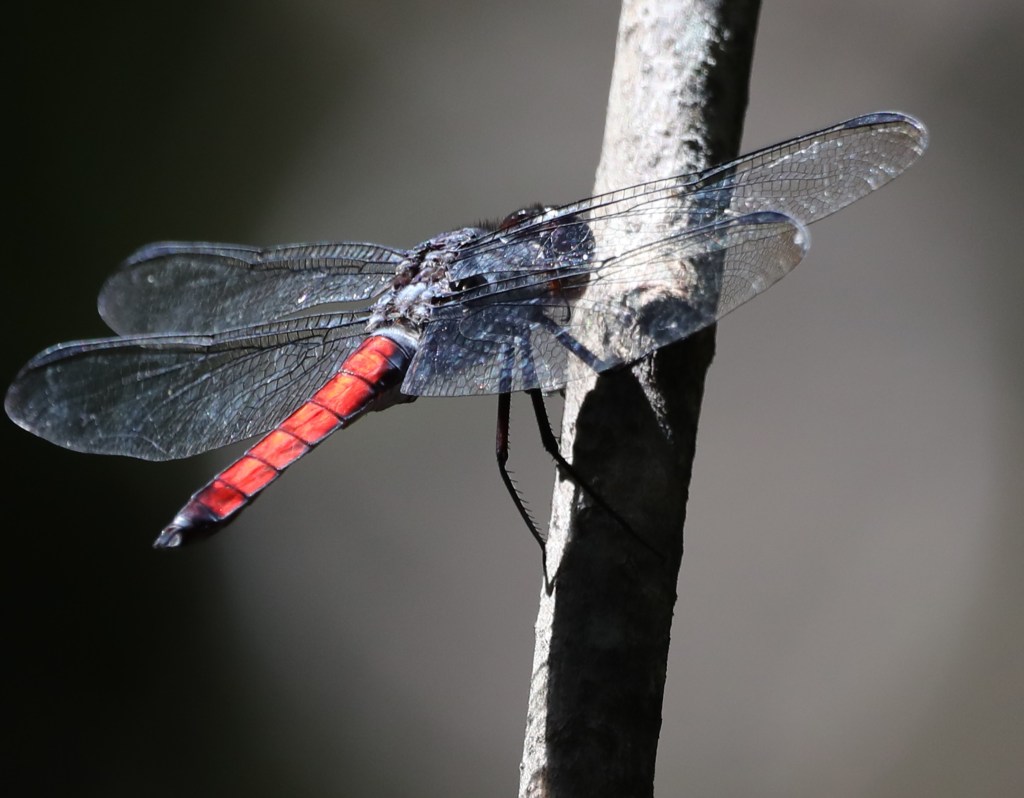
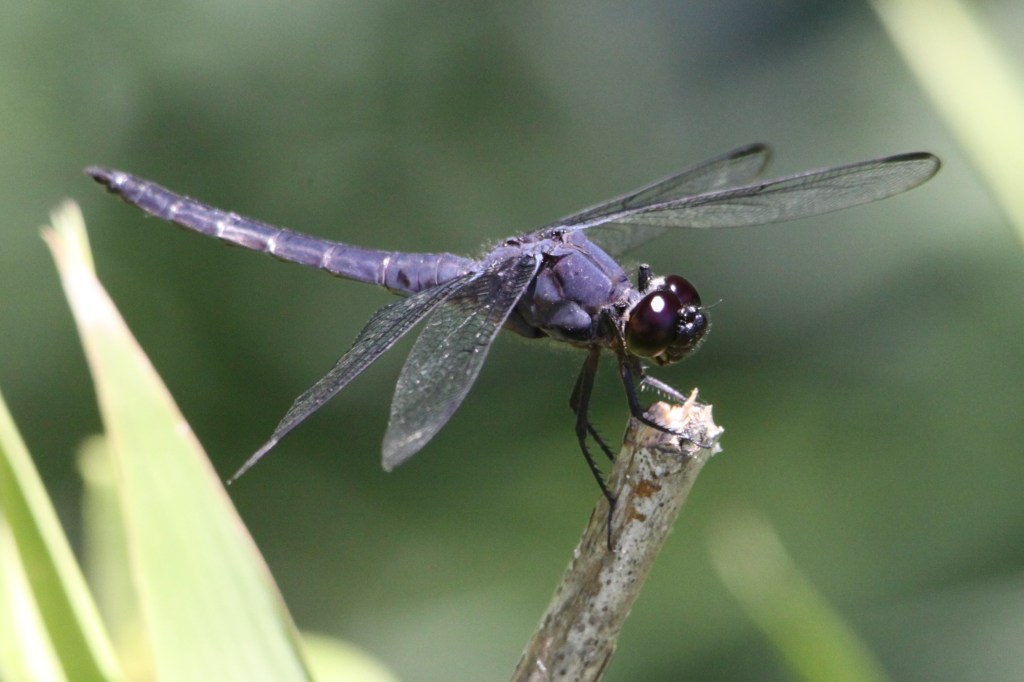
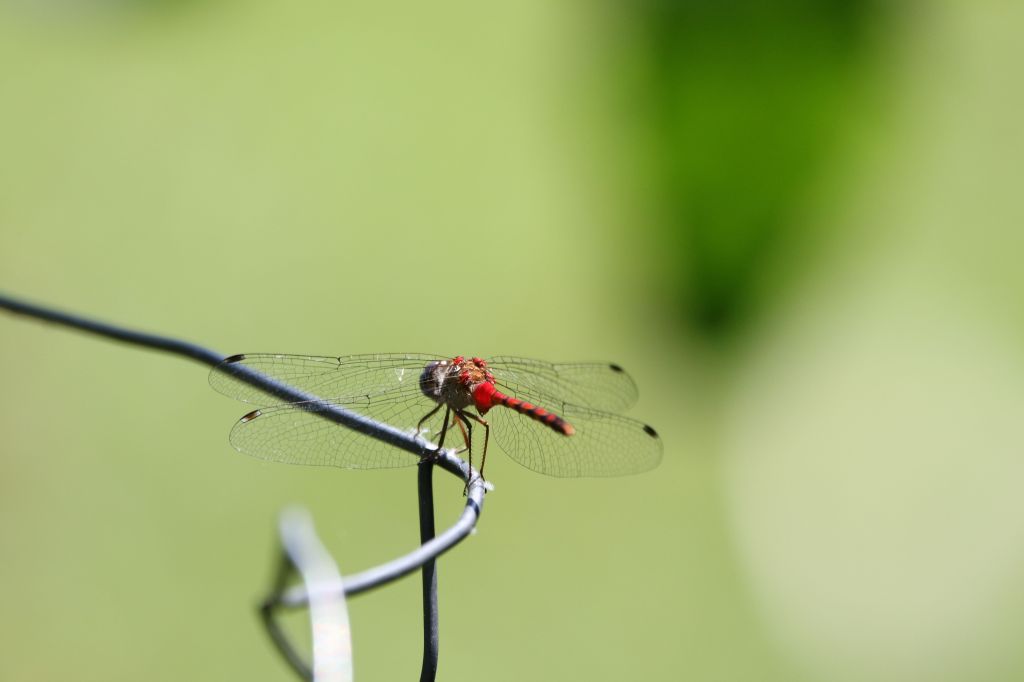
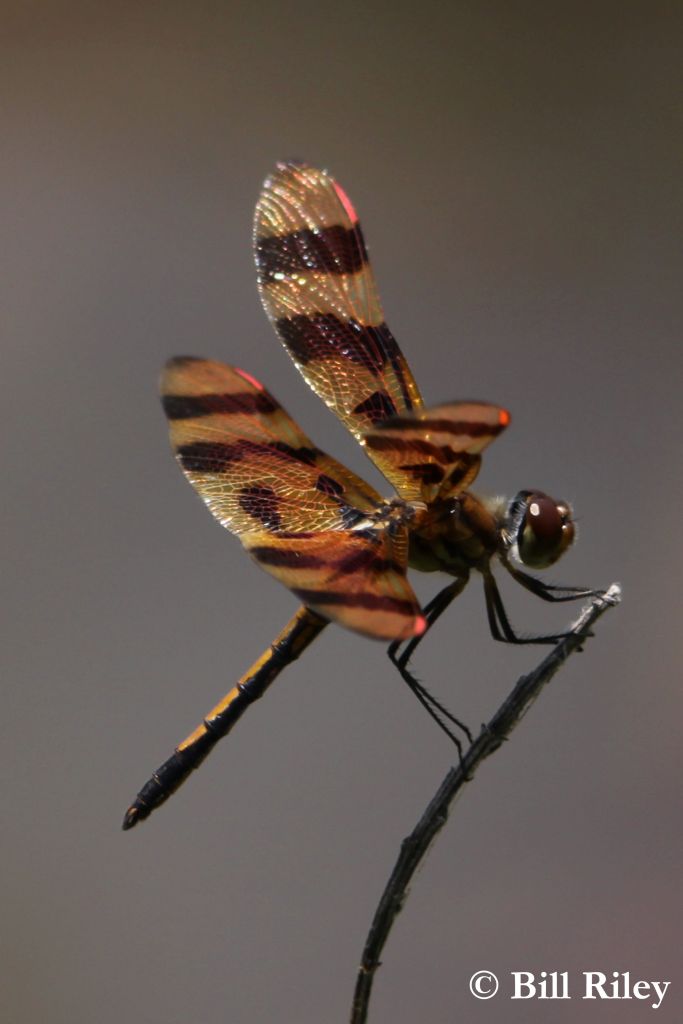
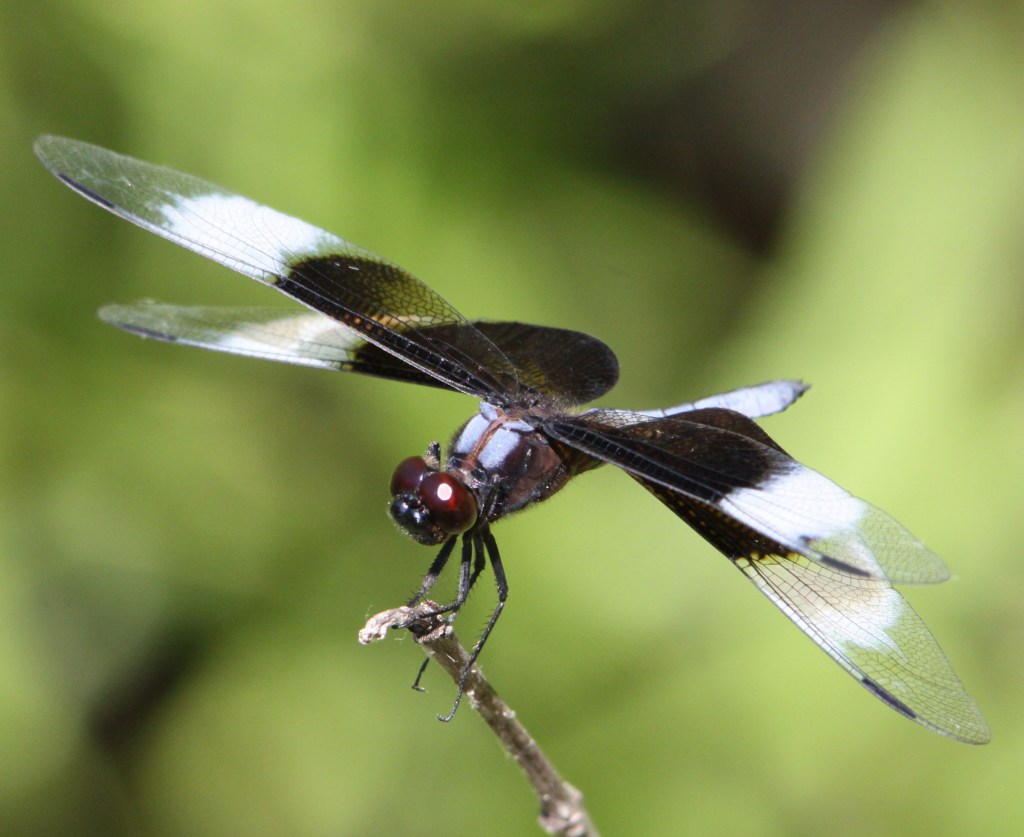
I would be remiss if I didn’t acknowledge the role Bill’s photographs had in inspiring me. Here is a gallery of some of his dragonfly images.

I also did research into the creature, to better understand what I was seeing. I was always puzzled about the legs. In flight, they are not visible. When the insect is perched, one can see either one, two or all three pair of legs. Why is that? I learned that the legs are swiveled back and held flat against the body, just like an airplane’s landing gear. The dragonfly catches its prey in flight, grabbing hold with its legs. When resting, the legs have no function. Dragonflies cannot use their legs to walk. That’s why they seem so motionless when perched.

Anyway, the quilt is finished, except for the label and the hanging wire. It will go on display February 6, along with my Badlands quilt, at Prairie Moon Exhibition, The Center, Bartlesville, OK.

Posted in quilting

SAHRR 2025 – yes, I’m participating

After telling myself that I had too many projects going at the same time I had decided that adding SAHRR to the mix would not be a good idea. Then I changed my mind. What’s this all about, you may ask?

After my mother had a stroke, I assisted my sisters in cleaning out my mother’s crafting room and disposing of the contents. One project bag contained some intriguing fabric panels depicting Japanese geishas. I took these home.

There are four in all. She also had various bits of Japanese quilting fabric, including cotton fat quarters and some lengths of yellow silk.

I became enamored with the idea of making a Japanese-style quilt, to the point that I bought a few books to learn how.

So, getting back to SAHRR. I decided that my center block could be one panel.

I worked on it a little to get its dimension down to 11 and 1/2 inches. My plan is to make a row-style quilt that will be suitable for turning into a kimono-style robe. I’ll match up each week’s clue to one or more block patterns from this book.

All the blocks are designed to finish out at 9 inches. This plan could be a good work-out for my problem solving skills.

And when I am finished, I will have something made with my mother’s fabric selections, to remind me of how much she loved to sew.

To see the SAHRR 2025 participants’ center blocks, click here.

Posted in painting, quilting

Wednesday WIP: Scrappy quilt update

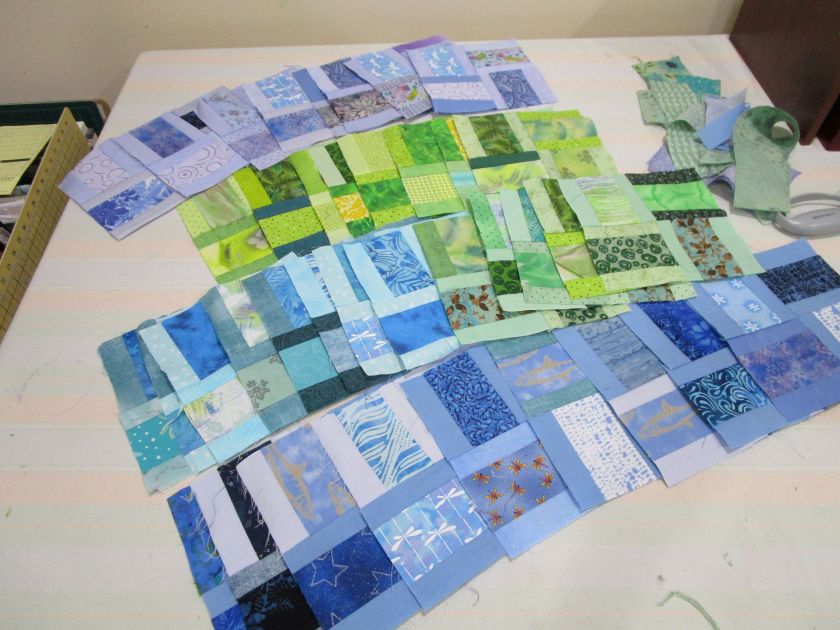
I feel like I have been assembling four square blocks all summer long. I have sewn five sets of eight blocks, each set confined to one color in my analogous palette.

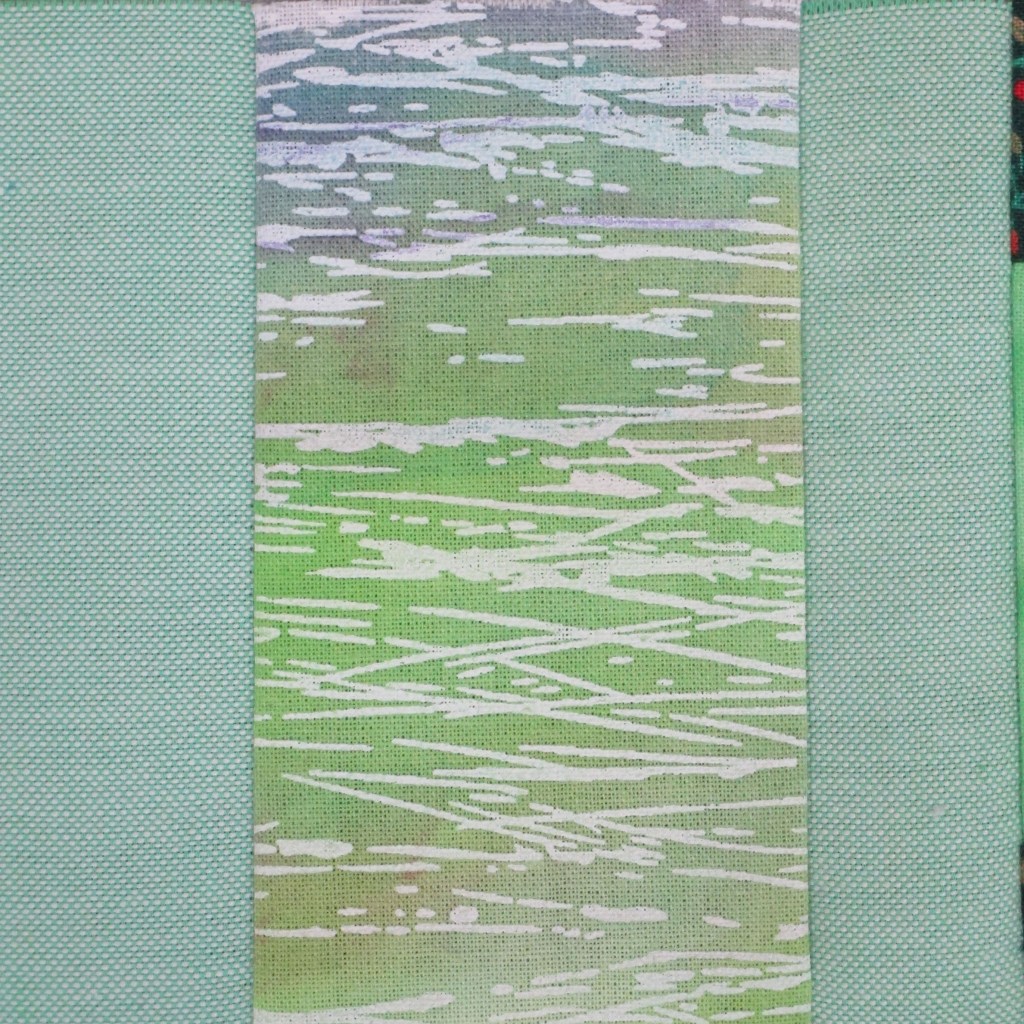
Finally, I am nearing the end of the block-building phase. There were two glitches that lengthened the time spent building blocks. Firstly, I ran out of scraps and couldn’t find the colors I needed at Hobby Lobby. This led me to adding color to my white or pale fabrics by painting them with Jacquard Dye-na-flow paint. I painted the featured 4 x 2 and 1/2 strips AND the 1 and 1/4 border strips to get the effects I was seeking. It was kind of fun, in a time-consuming sort of way.

Here is a sampling of some painted strips/blocks in green hues.

I ended up needing painted fabric in blue-violet, teal AND yellow green.

The second issue arose when laid out my blocks. I took an intense dislike to any block that had dark borders. To fix this, I cut apart many blocks and replaced the dark strips with light colored fabrics (mostly were created with paint on white fabric.)

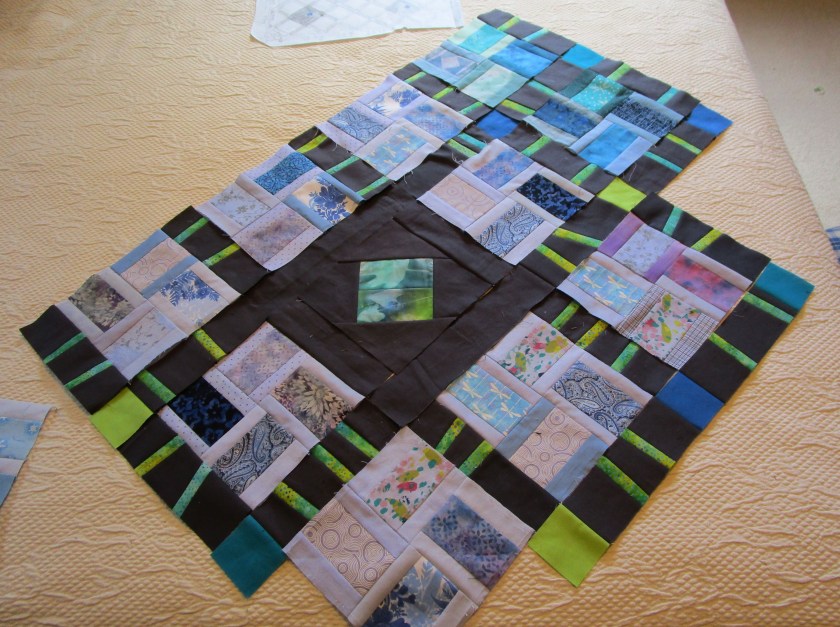
I now have enough blocks to form the five regions of my quilt. I have sewn a center block for each region using black fabric and hand-painted feature fabrics. To create some breathing room between my blocks, I made sashing with black fabric. Believing the black fabric was too boring, I cut the sashing randomly and inserted “sticks” of multi-hued batik fabric. Here is a the “blue-violet” region laid out and ready to sew.

I’m excited to start assembling the quilt, but a little nervous that the pieces won’t fit together properly.

Posted in quilting

Fabric Strips Saga: Chapter Three

My obsession with strips continues. First, let me share an image of the pieced abstract landscape that I have been working on most recently.

The work at this stage looks about as I expected, although I feel kind of let down by it. I’m also stumped as to how I will proceed with the surface embellishments and quilting. As I ponder, I have laid it aside.

Leftover strips are hanging out, and they keep drawing my attention. I started noodling around with them, cutting and sewing together. Since I had used the 1- and 1/4-inch-wide strips for the landscape art quilt, I wondered what else I could do with this size. Pulling out some 2 and 1/2 inch scraps, I start sewing strips together, again.

Well geez, first I need a little bit of structure to this game. How about a palette? I decide to try analogous colors. Pulling out my color wheel, I spun it around to show that teal blue color in the center, surrounded by its four closest relatives.

Now I am really in my comfort zone. My stash contains many scraps in this range, leftovers from some favorite projects.

If I sew two thin strips on either side of a 2 1/2 inch precut, then cut that piece down to four inches, I get a nice-looking square block. I decided to stick to monochromatic fabrics for each. Here are some examples.

Combining four of these gives me a seven and 1/2 inch square.

What if I sew four of these together?

Hm. To me it looks too busy while also looking kind of boring. I can do better.

How about inserting some sashing? I have a longing to try dark background fabric with this palette.

Now we’re talking. But to get more negative space into the picture, I could put the blocks on point and space them out with a background block.

Ah, the drama it beginning to happen. I sit down with graph paper and plot out a lap sized quilt using this on-point configuration.

This could be wonderful. Perhaps I can create focal points in the dark blocks by inserting some bits of hand-painted fabric. Something like this leaf, which is left over from my very first quilt.

Gosh I feel better. Going from a vague notion to a planned design is so satisfying. Even though I had no intention of sewing up another lap quilt, I’m ready to go. The trick will be to buy as little fabric as possible and still get the look I want. I’m up for that challenge as well.