Posted in quilting

Piecing with Free-Form Shapes

The first thing I did in my studio today was re-sew the wonky row of yesterday’s triangle quilt sampler. It looks better now, but certainly not perfect. I decided I could live it. Now I feel free to move on to free-form piecing, a skill I have been wanting to try for several weeks. This technique utilizes the rotary cutter, but not always the grid ruler. Leslie Tucker Jenison treats her rotary cutter as if it were a pen or a paint brush to do improvisational piecing. Her quilts look very gestural. You can see her tutorial at https://www.youtube.com/watch?v=4vT08esPfzw

I’m not ready to improvise yet. But I do have an idea for a semi-abstract design based on sunflowers. Here is the sketch of my idea.

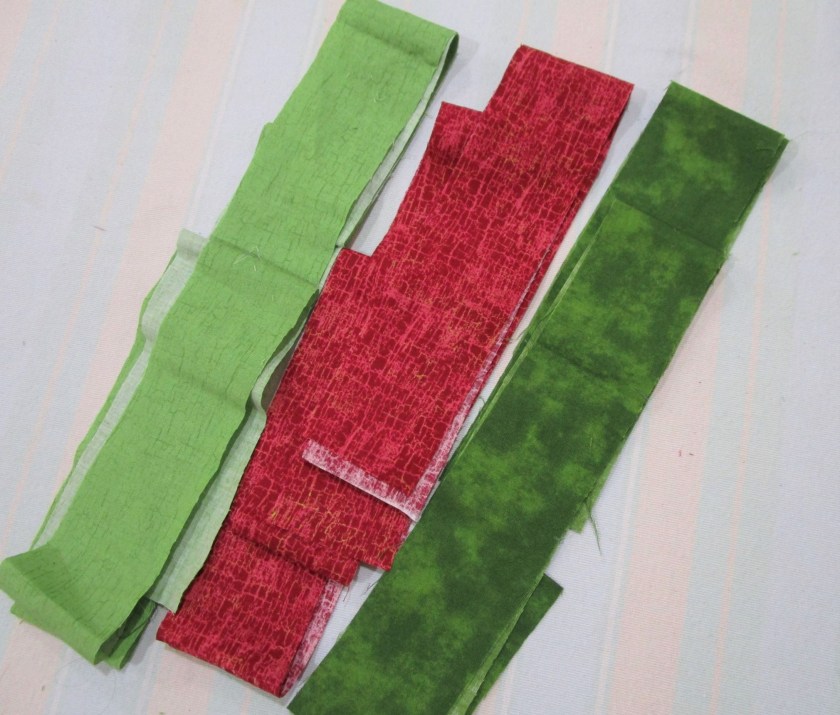
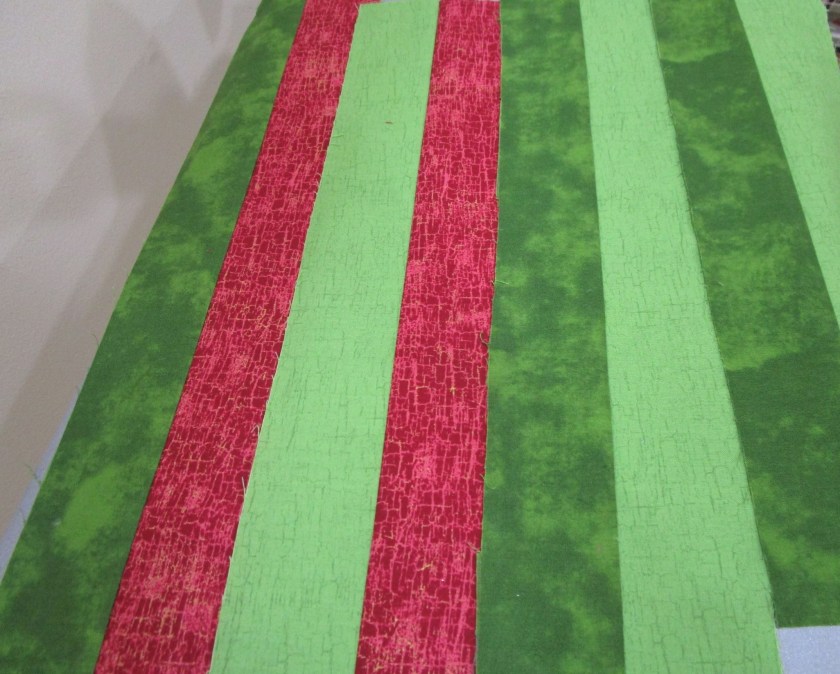
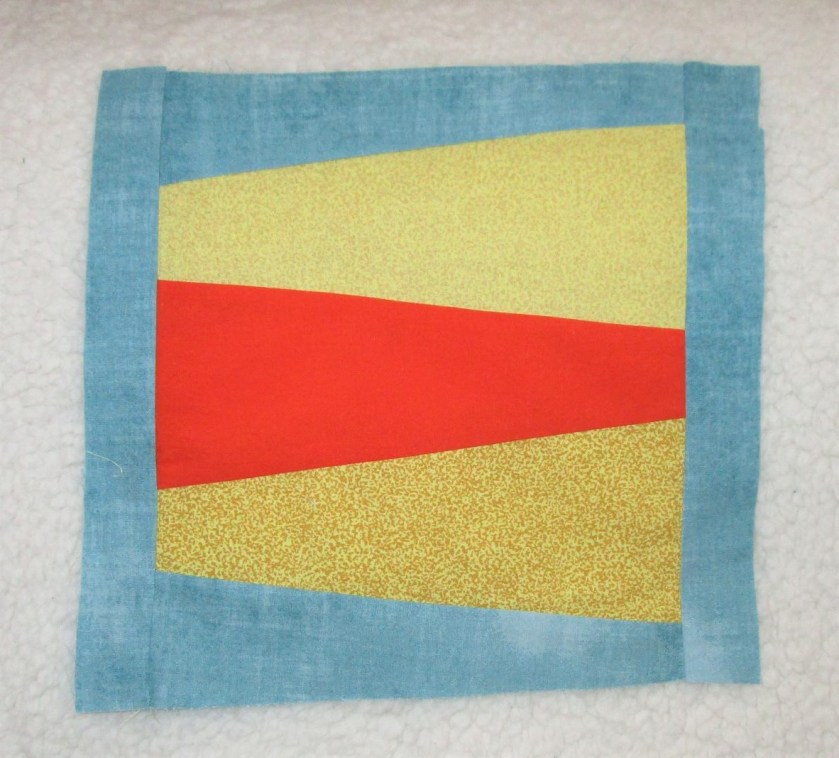
This piece is divided horizontally into four rows. I assigned color values to the various sections, and divided each row into workable blocks. The fabrics I selected have a nice range of values, and three of them are solids. I think they will play nicely together in this design.

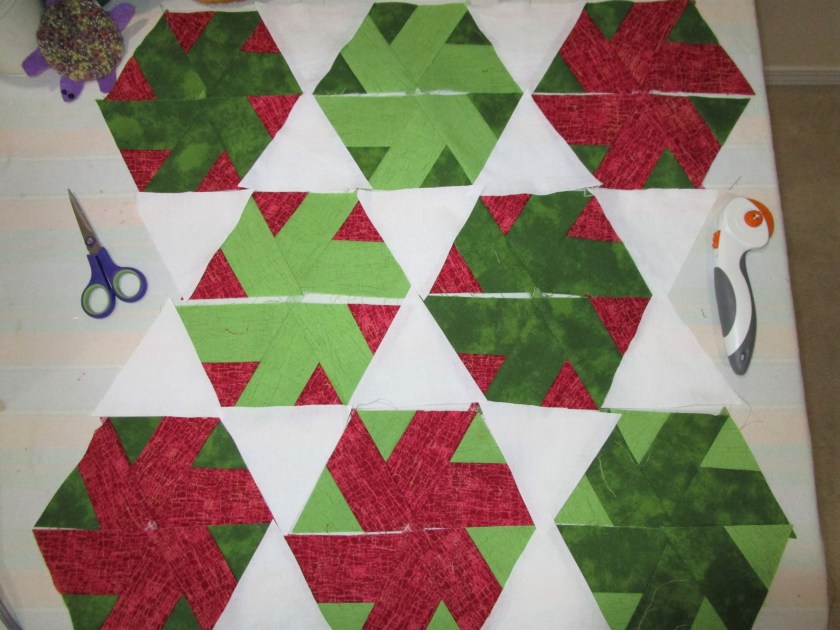
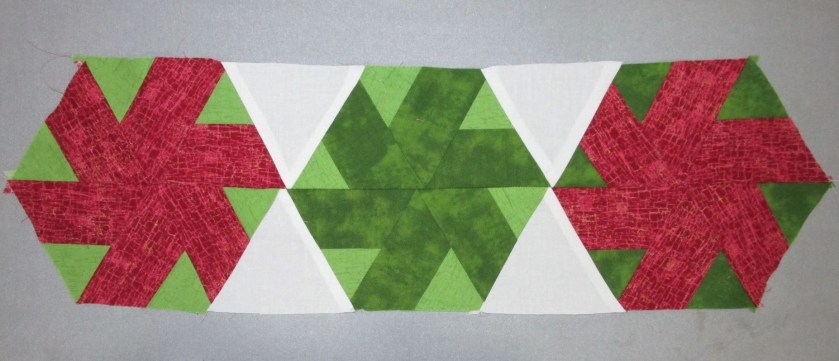
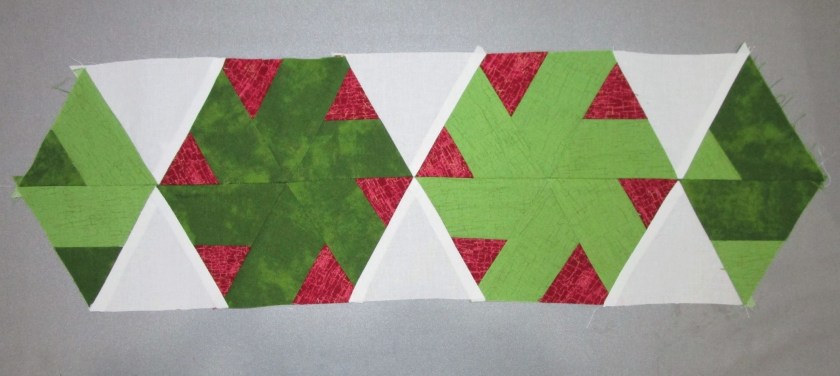
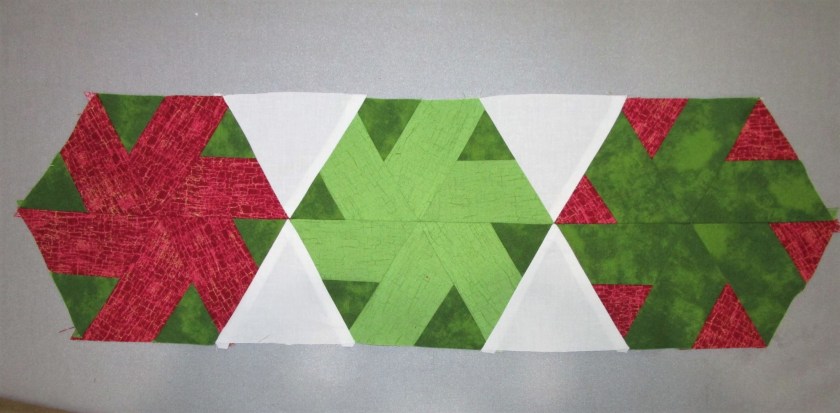
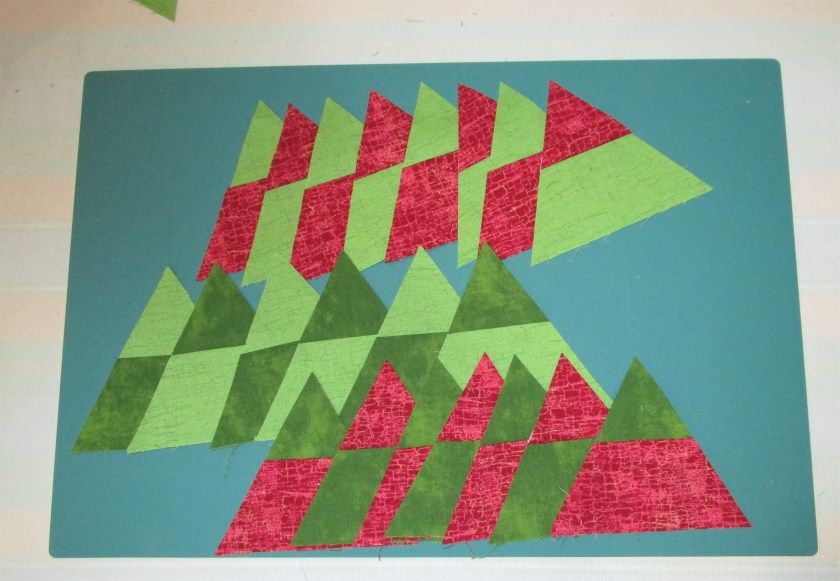
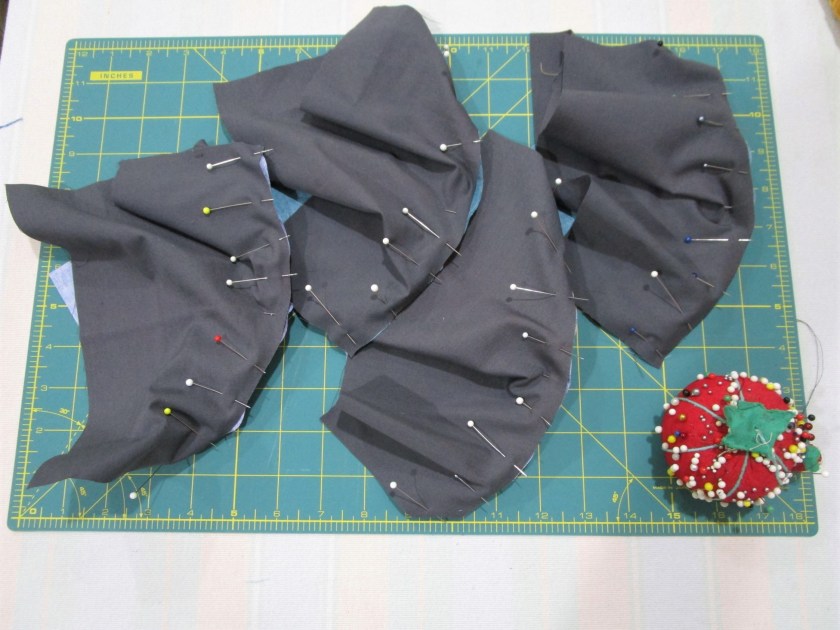
The next few hours were spent puzzling over the shapes, cutting, re-cutting, stitching, and, oh yeah, ripping out at least once. At the end of my allotted time, I had finished the three blocks of the bottom row. What do you think?

The width is going to be roughly 12 inches. I think it will end up about 24 inches tall.

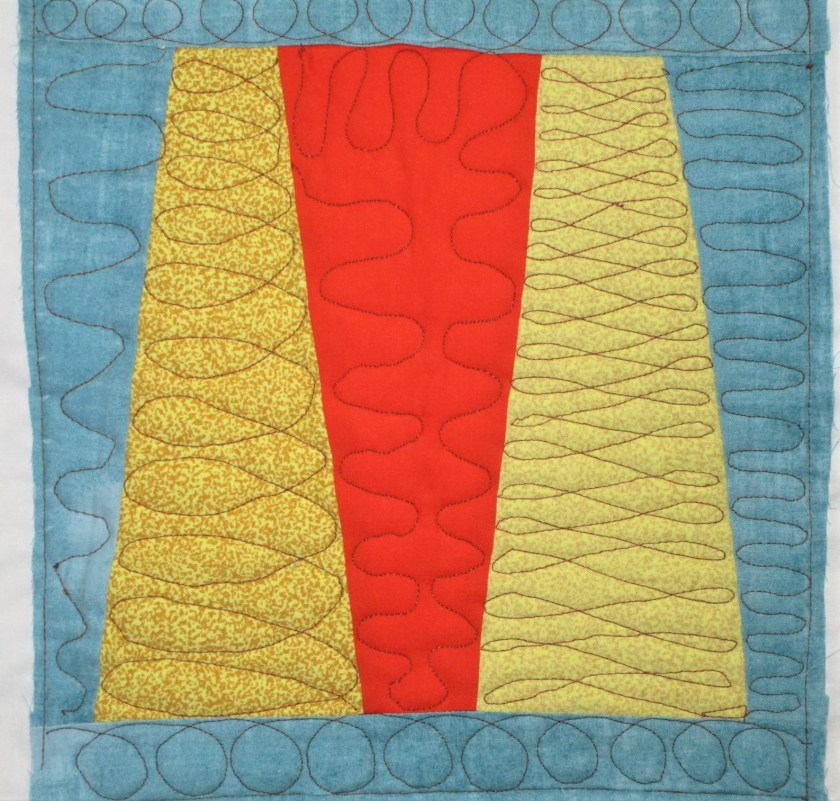
So far, I really like it. It’s going to be an interesting experiment. And maybe even turning into very nice fiber object.

Posted in quilting, sewing

Triangles – the Finale

“When we last saw our heroine, she had cut and sewn all the pieces needed for a triangular quilt sampler. Let’s check in on her now.”

Okay, folks, not quite all the pieces. In reviewing my block cut, it seemed that two more hexes would be necessary if I wanted a complete sampler of the technique. So I cut and sewed two more. Here are my pieces before beginning assembly:

Here is my preliminary layout

This quilt is made up of six rows, grouped in twos. For the middle section, I will use two triangles at each end, to fill in the gaps where my cutting tools are sitting in the photo. Assembling each row is fairly simple. I start at the left and sew the pieces together in the normal fashion. The drama begins when the grouped rows are sewn to each other. Will the white triangle points match up and the hexes join properly?

Row 1 and 2. Not quite a match. I also notice a decided curve in the top edge. Wish I had see that before I proceeded to the next step.
Rows 3 and 4. Better! The edges are straighter also.
Rows 5 and 6. Best! Everything matches and is straight.

And here is my sampler all sewn together. I did a quick trimming of the outer edges, but I don’t have a long enough cutting mat or Omnigrid ruler to properly square it up.

I’m happy with this so far. This view is of the quilt turned sideways. You can see rows one and two on the left, with the decidedly wavy edge. I will probably remove these rows and try to straighten the edges before re-attaching.

Posted in quilting

More Piecing: Get to the Point

It is a really fine day to be in my fiber studio. The sky started out pouring with rain, and it ended up raining very hard again this afternoon. Today my goal is to practice piecing with triangles. For some reason, I find this shape way more interesting than a square or rectangle. I have been on-line viewing a wonderful tutorial by Johanna Figueroa, through BluPrint.com. You can find this lesson at https://www.mybluprint.com/playlist/5055/10267

Her first lesson is based on a Japanese block she discovered. She calls it Jelly Girl. Here is an image of her example quilt:

As you can see, it is a hexagon pattern. But inside each hex is a swirling shape made up of six triangles. The hexes are spaced apart with white equilateral triangles. She promises that it will be easy to piece together.

I have small amounts of these three fabrics, so this will be a sampler. To start the project, the fabric is cut into 2 and 1/2 inch strips, across the grain.

Next the strips are sewn together in twos. Here are my strips after pressing.

This is where the triangle part comes. Using an Omnigrid ruler that has lines for 60 degree angles, the strips are cut into equilateral triangles. For the three types of strips, I ended up with six types of triangles.

They look like Christmas trees!

Next six triangles are laid out into hexagons. Only three of the triangles are sewn together at a time. The two halves of the hexes will not be joined until the rows are sewn together.

Here are my results at the end of the day:

I love the whirligig shapes.

I also cut the white equilateral triangles, which will be used as spacers. This colorful sampler will get finished next time.

Posted in quilting, sewing

Blocks with Curves

At a quilt show I attended recently, I saw several quilts that featured circular piecing. It looked so mysterious. How did they do it? Here is an example from the show.

I am very interested in making contemporary quilts in a similar style. So it is necessary for me to learn to this technique. For today’s exercise, I will be making blocks with pie-shaped wedges sewn into the concave edge of a background fabric. I turned to U-Tube for a little help. One of the instructors is Leslie Tucker Jenison. Here is a tutorial on fitting concave and convex shapes together. https://www.youtube.com/watch?v=4vT08esPfzw

My design inspiration was the sun and planets. Because of the fabric selection I had available to me, I decided to make a piece featuring a gaseous planet.

Dark grey for the background fabric, green and pale blue for the pie shapes.

After cutting out the two types of blocks, I marked the curves with a compass. The trick is that, at the curved line, the pie shaped piece needs to be 1/2 inch wider than the background piece, to accommodate the seam allowance. I used a compass to draw the curves and cut them out with scissors. Here are the four blocks pinned and ready to sew.

It’s important to mark and pin the two centerpoints and align the block edges. Then place a pin about every inch. Stitch with the concave piece (background) up, so that you can ease the curve. Here are the blocks before pressing.

I have most the points matched up pretty well. Next is to sew the pairs of top and bottoms together and then sew the center vertical seam, matching the pie shape edges and nesting the center seam.

My planet block, sewn and pressed

I’m relatively pleased with this first attempt. Only the lower right block is slightly off. The final dimension is 18 and 1/2 inch square – a very good size for a cushion cover.

Posted in quilting

Little by little, piece by piece

So far my quilt-making efforts have been limited and tentative. I have a pretty good grasp of applique technique, and can put together a log cabin block. Now it is time to move on to new skills. To celebrate my decision, I have acquired a few more items.

Twelve inch square blocking ruler, Fisker 45 mm rotary cutter and wash away adhesive tape

For the past three days, I have been viewing lessons on BluPrint.com and checking out U-Tube videos. Now I am ready to try an exercise in free-motion quilting. The lesson, “Free Motion Quilting Essentials,” was presented by Christina Cameli on BluPrint. First I selected some fabrics to piece together into a practice block.

These remind me of a cheese plate.

Here is the block assembled.

Before I continued on to the quilting, I squared the block using my new Omnigrid ruler. Then I made the traditional quilt sandwich of backing, batting and top. I used a muslin top for the first practice stitches.

It took a little effort to get my Bernina working correctly. I had to clean out the lint, change needles and try a couple of different threads. Here are my first efforts:

Pretty wobbly. I discovered that I got better results by working from right to left instead of left to right. This may be due to my left-handedness. Whatever the reason, it was a relief to find a method that gave improved results.

WIGGLES AND LOOPS.

The block shows a little more mastery of technique. I do believe that I will need several hours of practice before I am comfortable with free-motion quilting.