Posted in quilting

Little by little, piece by piece

So far my quilt-making efforts have been limited and tentative. I have a pretty good grasp of applique technique, and can put together a log cabin block. Now it is time to move on to new skills. To celebrate my decision, I have acquired a few more items.

Twelve inch square blocking ruler, Fisker 45 mm rotary cutter and wash away adhesive tape

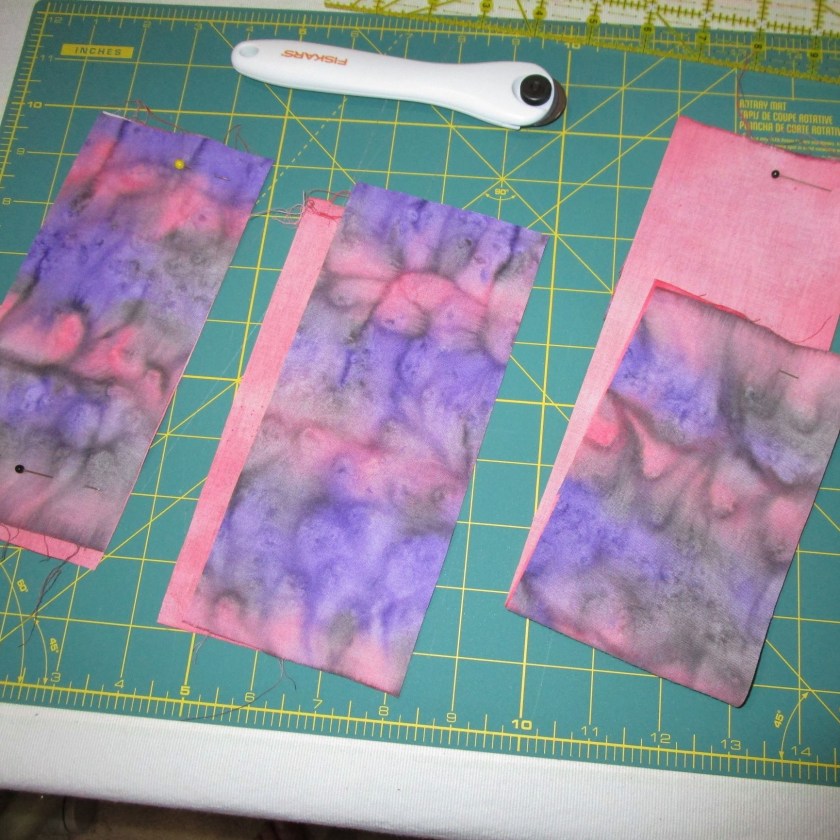
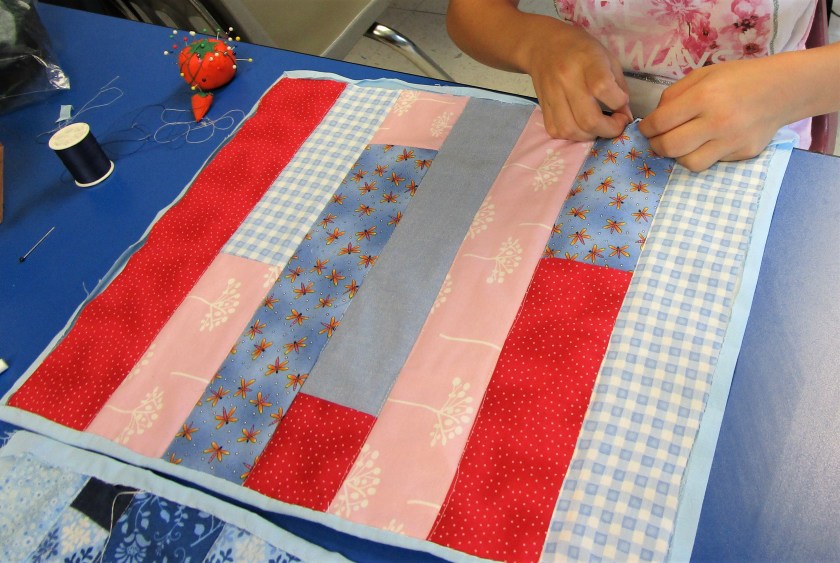
For the past three days, I have been viewing lessons on BluPrint.com and checking out U-Tube videos. Now I am ready to try an exercise in free-motion quilting. The lesson, “Free Motion Quilting Essentials,” was presented by Christina Cameli on BluPrint. First I selected some fabrics to piece together into a practice block.

These remind me of a cheese plate.

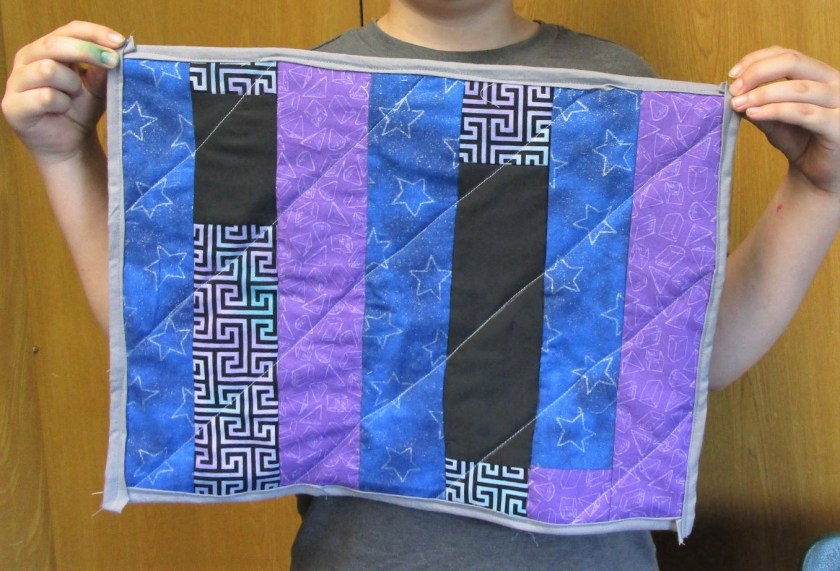
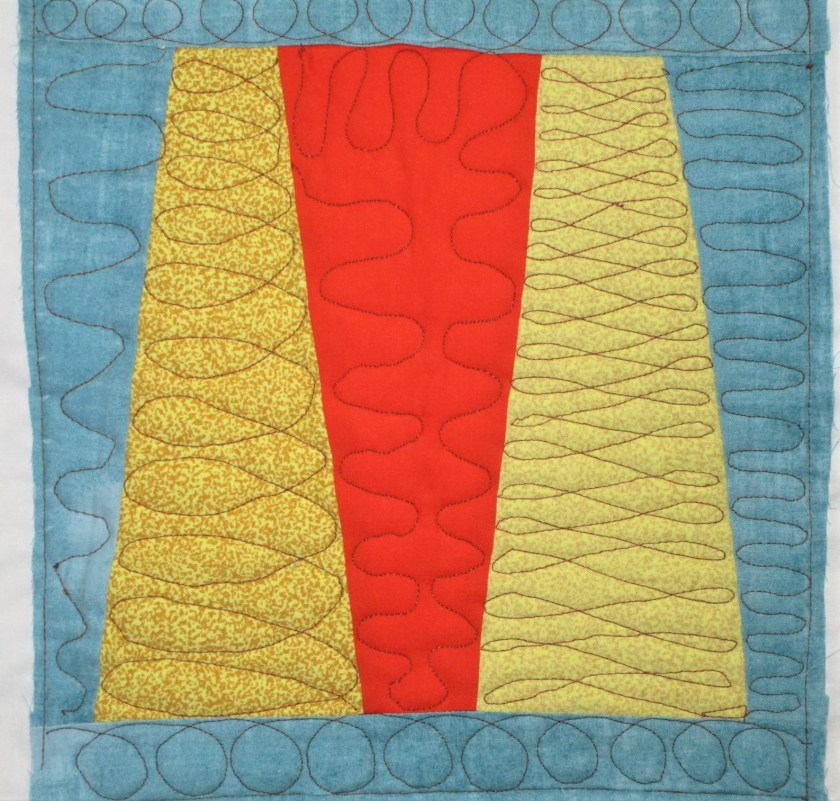
Here is the block assembled.

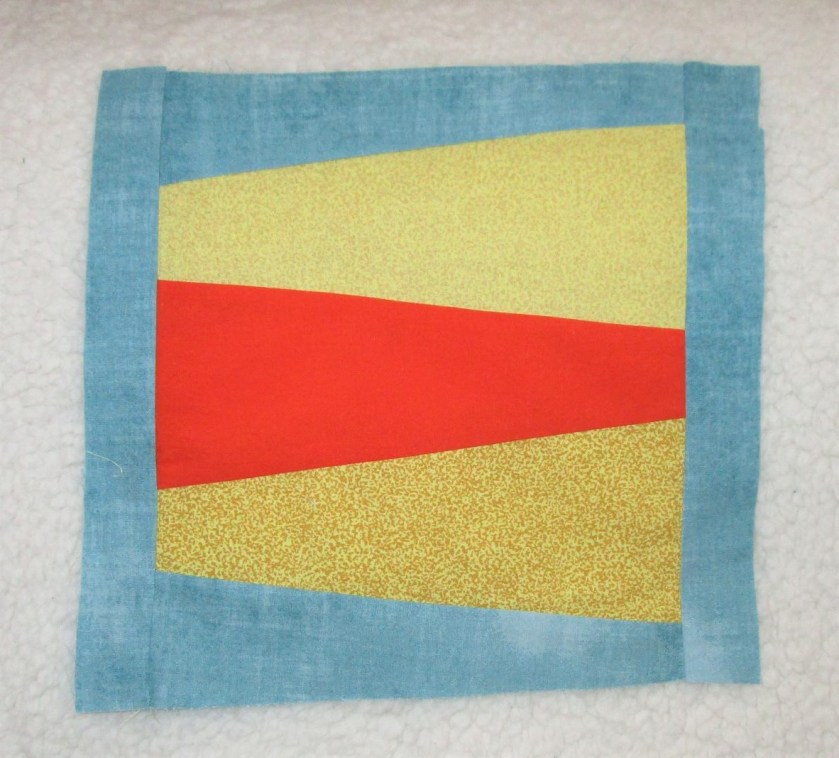
Before I continued on to the quilting, I squared the block using my new Omnigrid ruler. Then I made the traditional quilt sandwich of backing, batting and top. I used a muslin top for the first practice stitches.

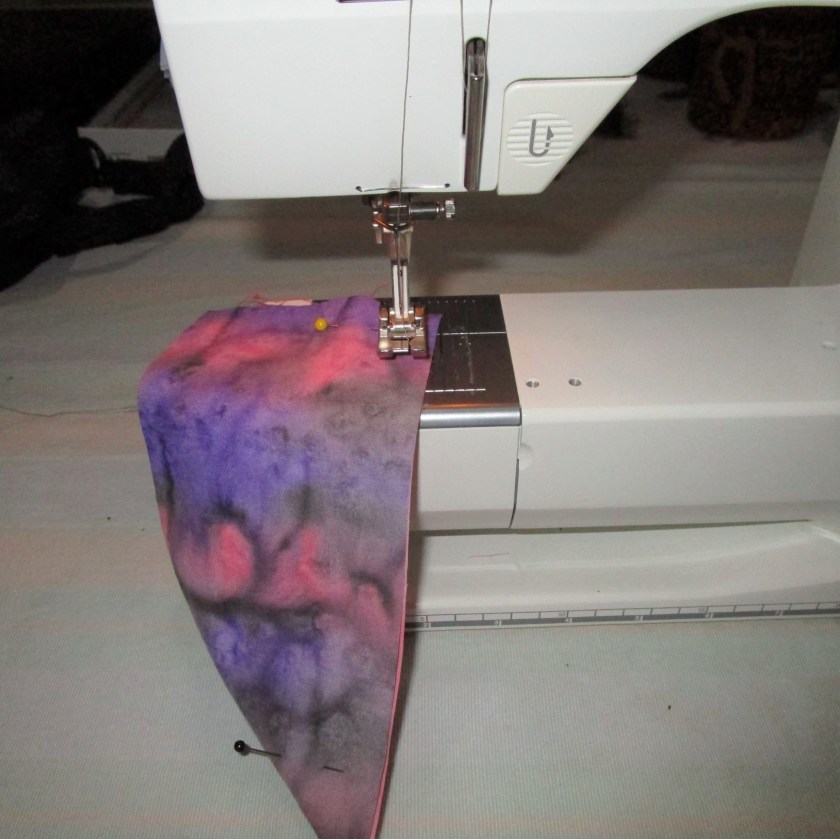
It took a little effort to get my Bernina working correctly. I had to clean out the lint, change needles and try a couple of different threads. Here are my first efforts:

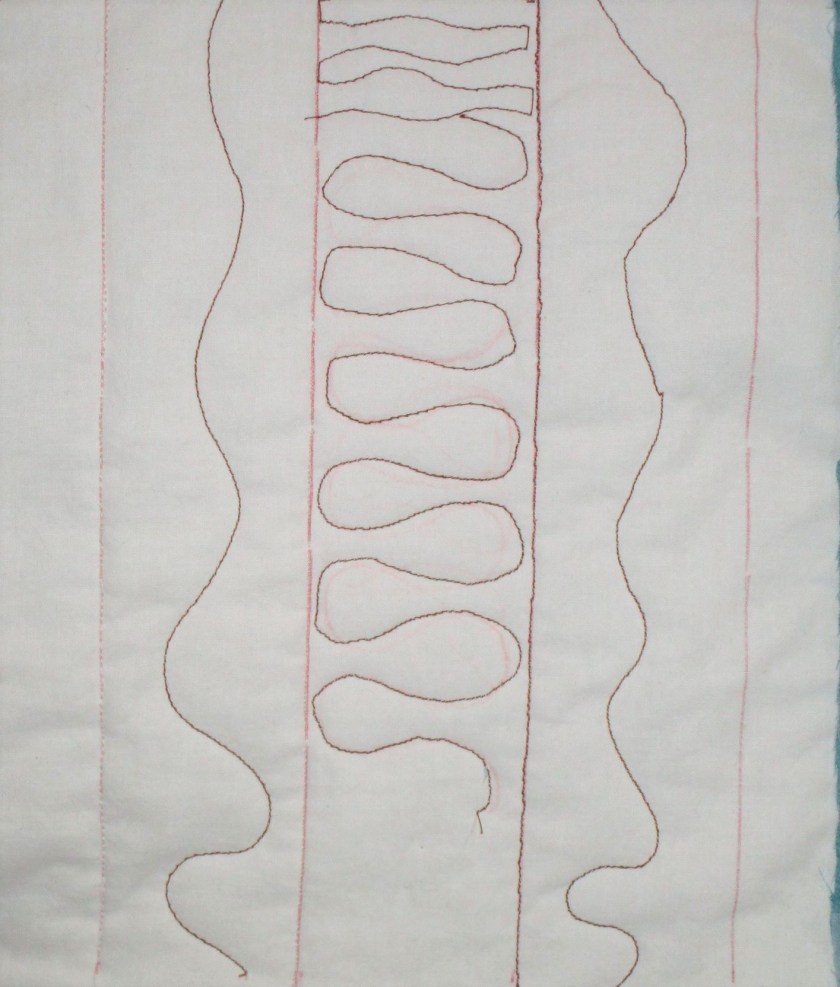
Pretty wobbly. I discovered that I got better results by working from right to left instead of left to right. This may be due to my left-handedness. Whatever the reason, it was a relief to find a method that gave improved results.

WIGGLES AND LOOPS.

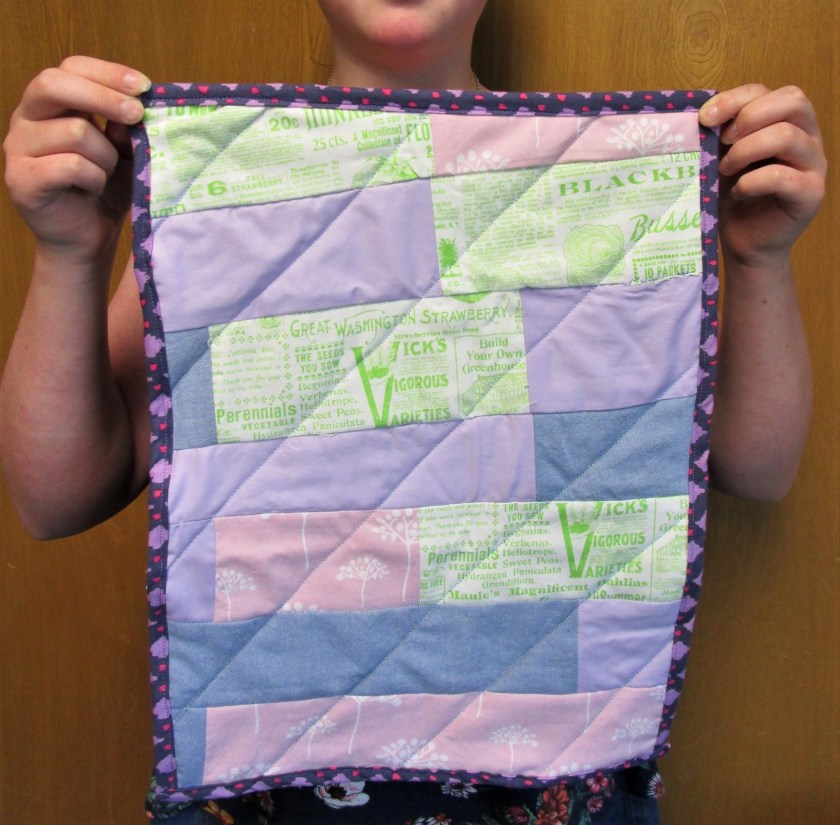
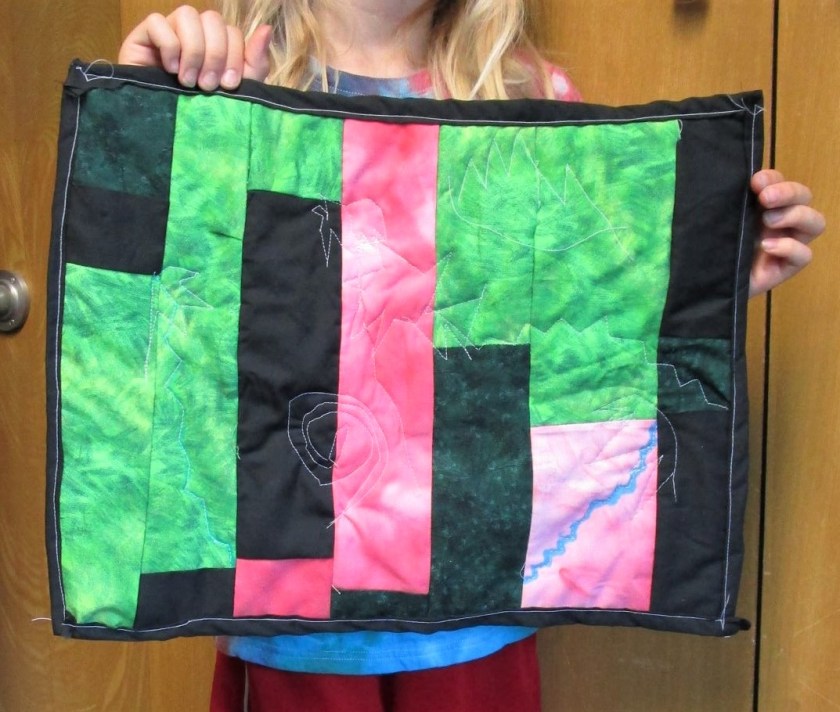
The block shows a little more mastery of technique. I do believe that I will need several hours of practice before I am comfortable with free-motion quilting.

Posted in quilting

Jubilee Quilters Show

Yesterday I attended a show hosted by our local quilt group. To say it was inspirational is an understatement. Who knew that in our little county of 50,000 residents there were so many superb fiber artists? Because the organizers permitted photography, I took a number of images. It was hard to narrow it down to favorites, but I am pleased to share the following:

This is called a Bargello pattern.
Technically superb. How did the maker create all those perfectly round circles?
Created using a jellyroll group of fabrics. Name of quilt is “Ocean Deep.”
My favorite wall hanging quilt. The giraffe is created with dozens of flower shapes sewn atop one another. The birds and vines are fussy cut applique.
My favorite large quilt. It is a log cabin style, using batik fabrics.
I chose this one because the maker used hand-dyed fabrics for her squares.

I admired the quilt below for its irregular and artfully placed strips, as well as for the cute applique ladybugs. The maker created it while recovering from a lung transplant. She finished the squares before passing away in 2008. Her grandmother sewed the top together.

I hope you enjoyed these quilts, and found them as inspiring as I did.

Posted in colorwork, quilting

Lemons to Lemonade: Tales for fiber artists

Once upon a time, there was a sad fiber artist. Alas! She had spoiled her hand-painted fabric by her own foolish actions. But she didn’t give up hope. Soon her mistakes were transformed into a pretty little quilt block through the magic of cutting them into small pieces and sewing them log-cabin style to some batting.

Today’s lesson is to keep everything. You never know. You could use all the ugly ducklings to make a beautiful swan.

Posted in colorwork, quilting

Salty Squares – Recovery

I’m back today to finish my nine-patch square project. Boy, if it takes other people three days to make one quilt patch, there would be far fewer quilts in the world. Anyway, I’m over it now. After considering touching up the ruined pink swatch, I decided it would be far faster just to start over. Unfortunately, I was almost out of pink paint. Here is the replacement swatch in the drying phase:

Did I say that I am a novice quilt maker? It is still true. I discovered Soooo many You Tube videos on making the nine-patch square. My favorite is by OurHalfAcreHomestead. Here she is, explaining everything very clearly: https://www.youtube.com/watch?v=IMDE0I7ABzc.

So off I go! Cutting, stitching, ripping out because I sewed the wrong sides together, stitching again and pressing.

Finally I have ONE nine-patch square. To take advantage of the scale of the printed fabric, I used a 3 1/2 inch measurement for the pieces.

It is a pretty one.

Today’s lesson is to plan the size of my initial fabric pieces so that they match with the necessary lengths and widths of the square’s requirements. My You-Tube coach would probably tsk, tsk, at my wastefulness. But I expect that my mom will be proud.

Posted in quilting, sewing

The Last Day of Fiber Arts Class

Today my fiber arts students finished up classes for the year. I can hardly believe that I taught children a fiber arts project every week for eight months! In the end, I feel that I gained just about as much as I gave. While the students tell me that they learned a lot and had fun, I also learned much about making things with fiber in the process of developing lesson plans. Our last class was the wrap-up on string quilt samplers. The quilt tops made in previous weeks had backings added, were quilted, and bound off. Here are some images at the end of today’s work:

Zion, Age 11
Madelynne, Age 11
Louis, Age 12
Gianna, Age 13
Ezekiel, Age 10
Emma, Age 10

I love that the designs are all so different from each other. Some of the students incorporated the fabrics that they color washed. It took a lot of patience and perseverance for them to finish these quilt samplers. I’m very proud of their accomplishments.