Posted in quilting

Fishing for a Sea-Worthy Design

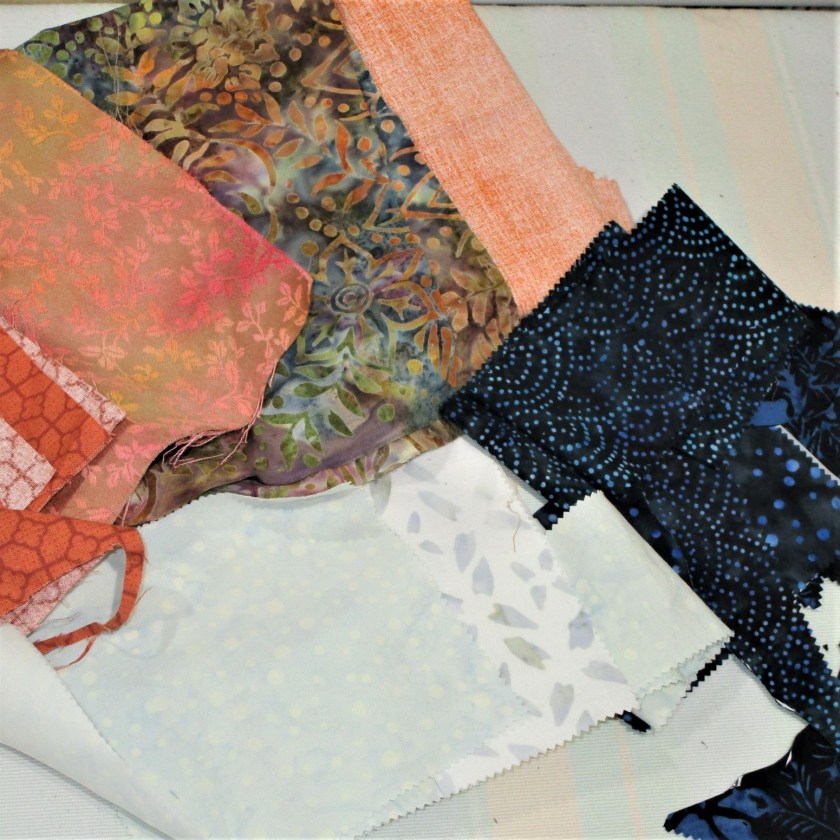
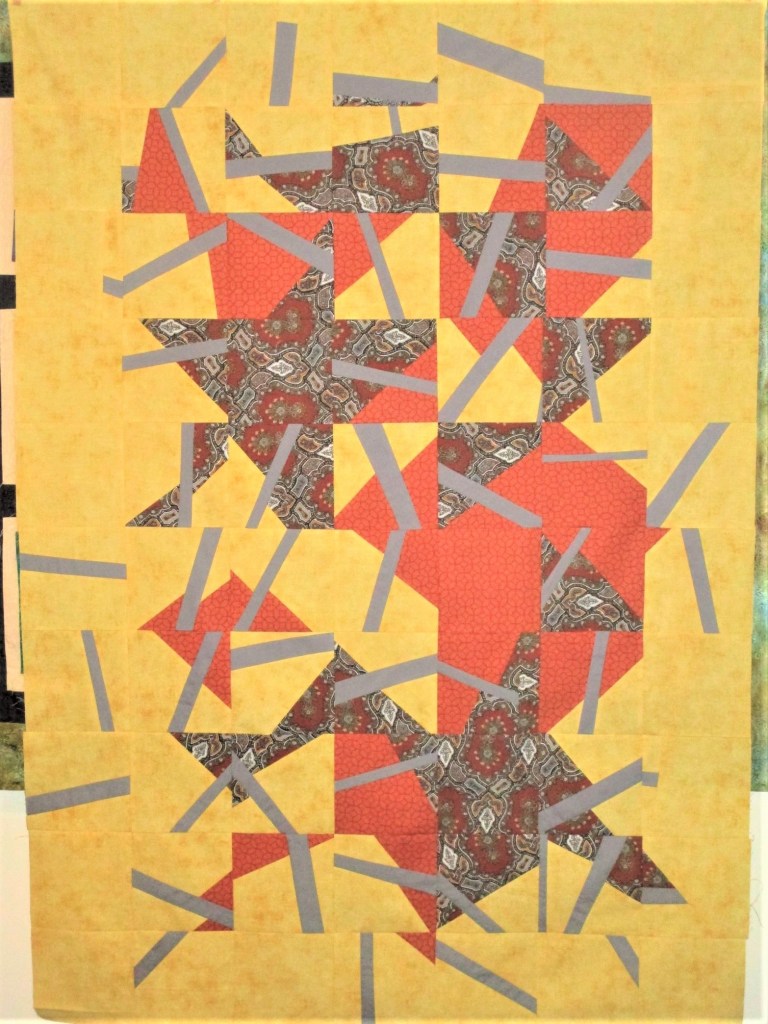
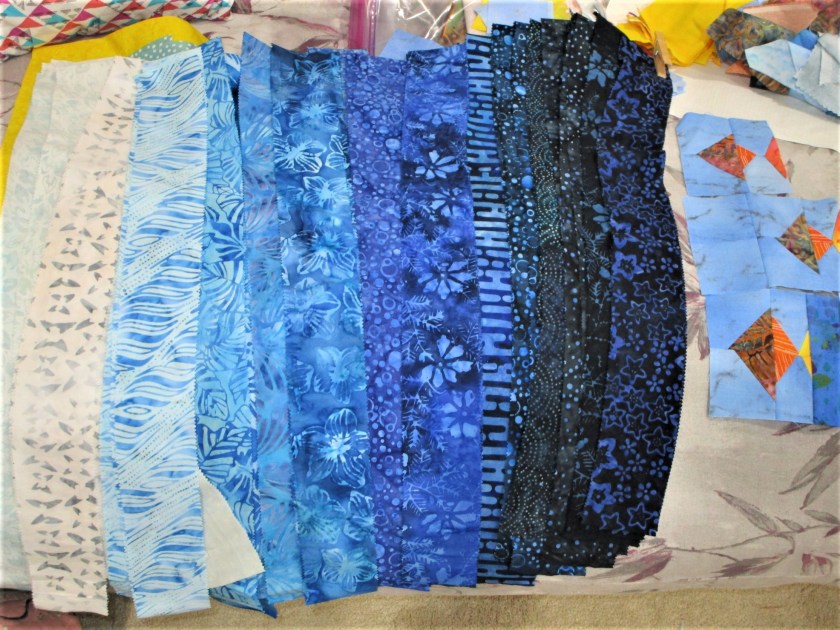
Since my last post, I have been casting about for a quilt layout that will suit the material I have acquired so far. As a reminder, I have a 20 x 20 panel, a bundle of pre-cut 2 1/2 inch strips and a charm pack in the same fabrics. These are supplemented by a few fat quarters and some quilt blocks with improvised fish shapes.

While the internet is a wonderful source for ideas, there is no substitute for printed works that you can hold in your hands. So I went to the library. I checked out this book:

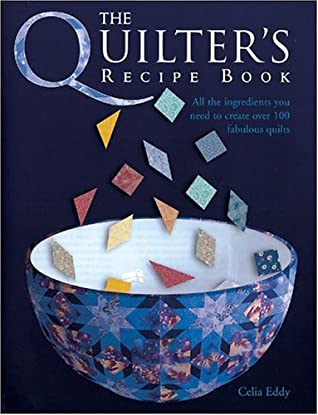
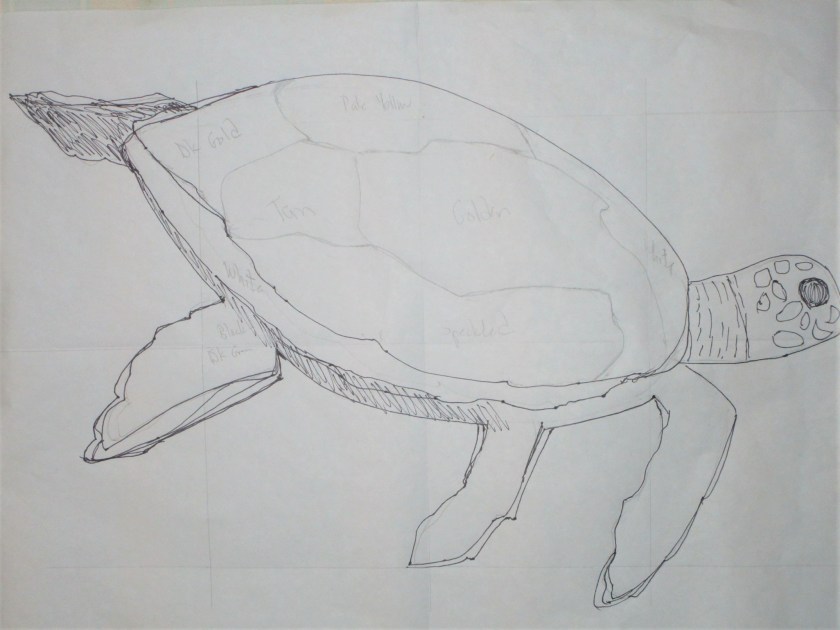
This very useful book by Celia Eddy contains a survey of 100 quilt block patterns, groups them by structure, and provides easy instructions on making each one. Because I have a bunch of strips, I focused quickly on the log cabin-type blocks. Here is what I chose:

The author also shows variations created by re-orienting each block. I decided to go with the design that rotates the corner square.

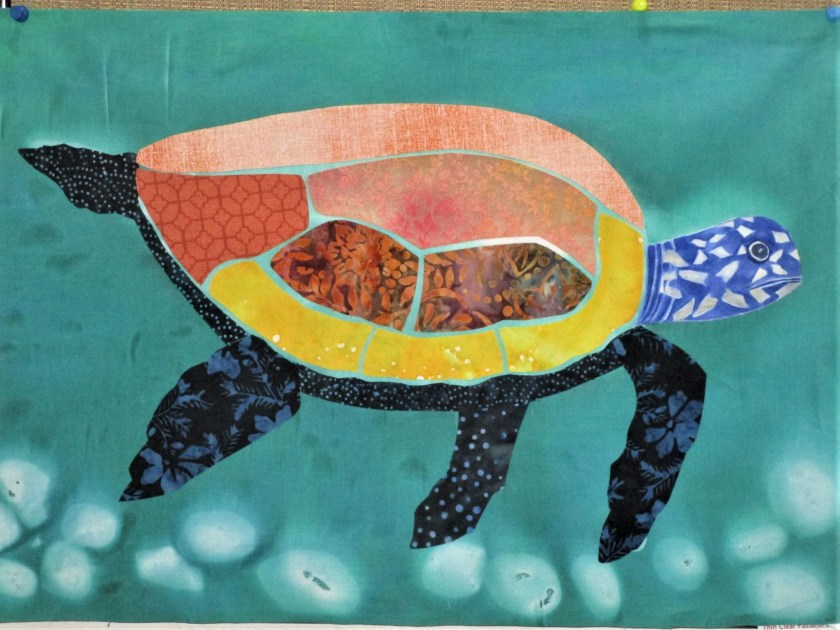
Fiddling with this design on graph paper, I came up with the overall concept: Four 10 inch chevrons arranged in a 20 inch block. Each block will have one ocean image and a consistent color grouping. Including the turtle center, there will be 12 – 20 inch blocks to make up my quilt.

I spent yesterday afternoon sewing the first six squares.

So it seems I have set sail on my fibery journey. Making Under the Sea will be great adventure. I expect a few rough seas and difficult weather along the way, but trust that my intuition, skills and experience will get me to my destination.

To learn my about Celia Eddy’s book, access this link.

https://www.goodreads.com/book/show/1631585.The_Quilter_s_Recipe_Book

Posted in quilting

Gorgeous and Productive Day

Today’s weather was quite remarkable, for August. Upon rising, the air was 66 degrees and winds were calm. It stayed so cool all day long that the A/C didn’t even turn on until early evening. I enjoyed the backyard for an hour or so and did a modest amount of gardening. It was almost 11 before I resumed work on my current project.

Appliqueing the turtle was really fun. After some fiddling about with the shapes and color choices, my center medallion looks like this:

Combination of batiks and hand-painted fabrics.

More dimension and texture will be added when I stitch it. I painted the turtle’s head Very Slowly, using Jacquard Textile paint mixed with floating medium. I rather like the primitive-like quality resulting from the bright colors and blocky shapes. This piece is roughly 20″ by 14 and 1/2″. To make it into a square, I made a strip with my baby turtle stenciled blocks and added it at the top.

I like what I see so far. But now, the hard part. I will need to build a quilt around it. I’m thinking about log cabin blocks, mostly because I purchased a package of pre-cut 2 and 1/2 inch strips. Here they are:

These are all so pretty. And a nice range of tones.

You can see also see a few fishy blocks that I made months ago using the stitch n flip technique. These could become log cabin centers……..or I could group them into a block of their own. That would make a school of fish.

Okay, quilting bloggers, this is an invitation to weigh in on this design. Any thoughts?

Posted in painting, quilting

Hello Turtle – Under the Sea Project

I have a bag full of fabric, sketches and some small quilt blocks that have been languishing in my closet for too long. The time has come to start working in earnest on this quilt. The tipping point came when I decided to organize the blocks around a medallion center. I chose this photograph as the feature image.

After making a sketch,

……. yesterday I grabbed my last piece of white fabric and painted it a sea green color with Dye-na-flow paint. I used a “mask’ and some stones on top of the fabric while it dried in the sun to reserve a turtle-like shape.

Now I can select some fabrics to applique on top of the base fabric. Here is a selection that will be used to make the sea turtle.

Oranges for the shell, blacks for the flippers and shadow areas. The white is for the head.

Once I get the shapes cut and fused to the base fabric, I will hand paint any needed details.

This is a short post. I’m keen to keep my momentum going. More details will be revealed soon.

Posted in painting, quilting

A little of this, a little of that

It’s been almost two weeks since I posted last. My days have been full, if not busy, but nothing to write home about. At least I can catch you up on projects in progress.

Improvisational Quilt.

As you see in the photo, the quilt is under the needle. I have been whacking away at the quilting for days and days. This is the biggest piece of cloth that I have attempted to quilt with my lil’ old Bernina.

I’m doing a parallel- straight line pattern, mostly because this type of quilting doesn’t require much manipulation of the quilt. I start at a long section and keep sewing parallel lines until I get tired or run out of bobbin thread. My goal is simply to finish. Pretty lines and straight lines are both out of the question at this point. Optimistically, I’m going for quirky charm. My daughter loves that aesthetic.

Watercolor Painting

My water color painting results have been less than satisfying. When I crashed and burned at applying the background wash to the bird of paradise painting, it got tossed. I then resolved to start back at the beginning. To this end, I checked out a “teach yourself” watercolor instruction book from the library and began working through the techniques one each day. Today’s lesson was line and wash. I chose to paint from a photograph I took of a pond on our local walking trail.

Willow trees hanging over the water

Here is my painting.

I enjoyed working on this one and am happy with it. The only thing I want to add is darker paint on the the group of leaves at the right edge, giving the painting more contrast of values.

The garden has been getting much of my attention. But starting today, heat is intensifying. So I will likely shift my attention back to indoor activities.

Posted in quilting

Rock the Block Quilt top Pieced

After a few days of fast sewing and meticulous pressing, my improvised Cunningham quilt top is done. Corner matching, as expected, was a bit of a pain. Promise that you won’t look very closely at them! Truthfully, I needed the practice, so all is good.

I am happy with the warm and energetic feeling that the quilt design suggests.

It has been fun to make it up as I go along. I’ve decided not to add any borders, but I still need to choose backing fabric and make a binding strip.