Posted in quilting

All These Geese – Twist their Tails

Photo by GEORGE DESIPRIS on Pexels.com

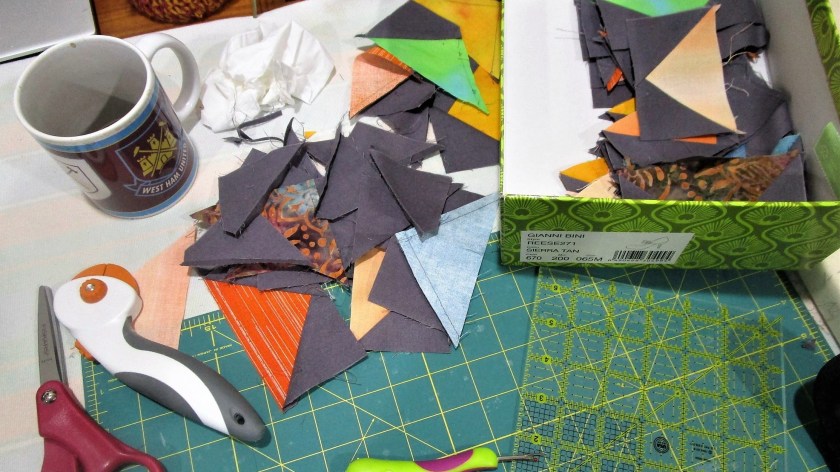
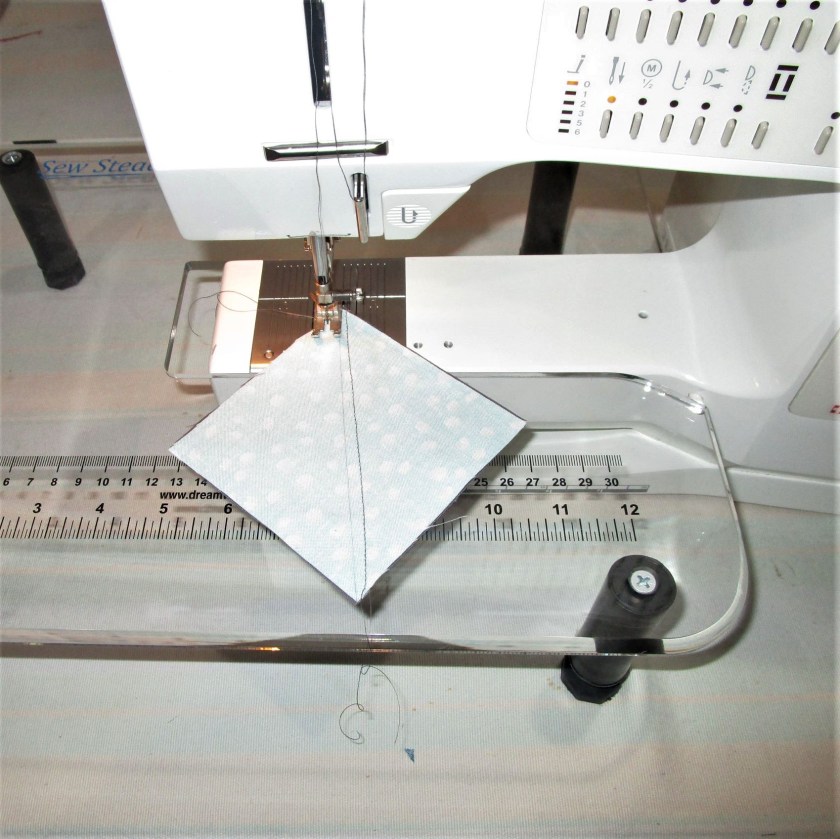
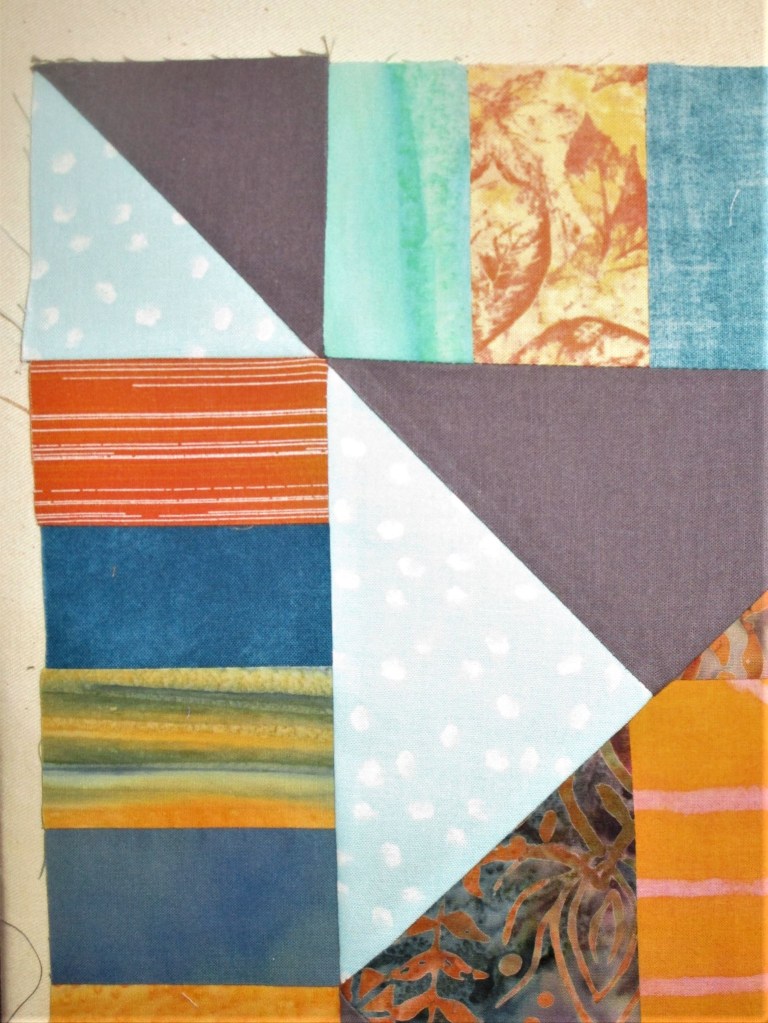
Here I am, for the third day, working on Round 3 of the Stay Home Round Robin quilt challenge. Yesterday I wrote about my efforts to assemble flying geese blocks – a technique that was brand new to me.

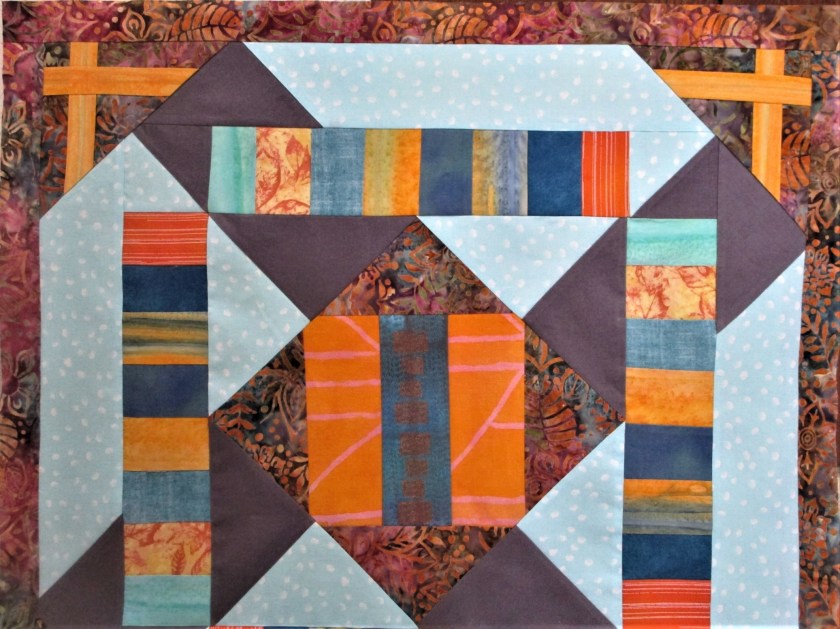
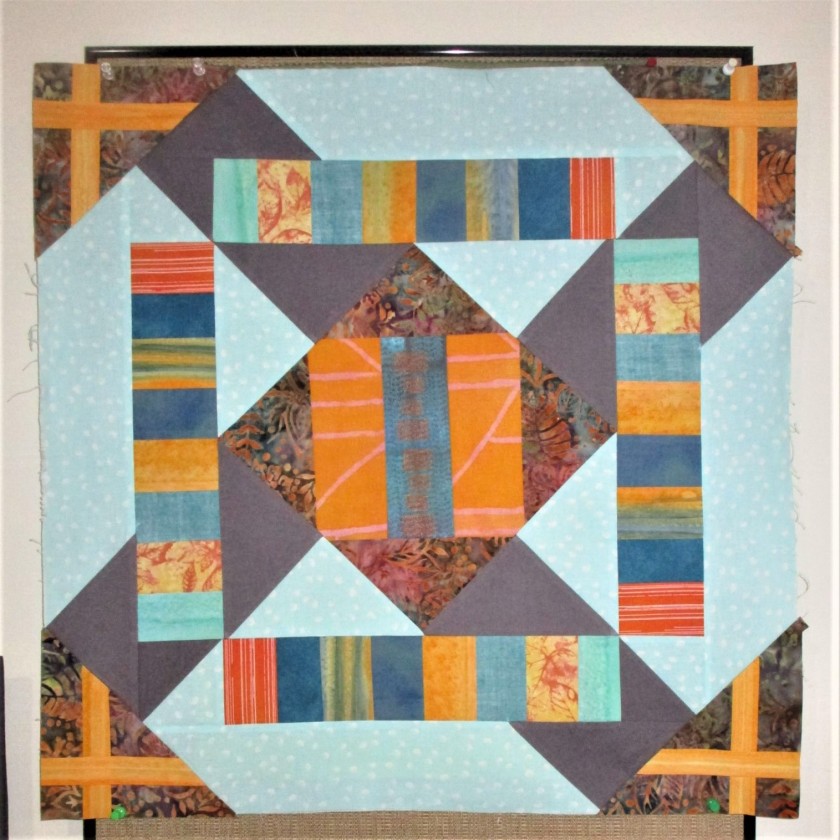
I started with a quilt that looked like this:

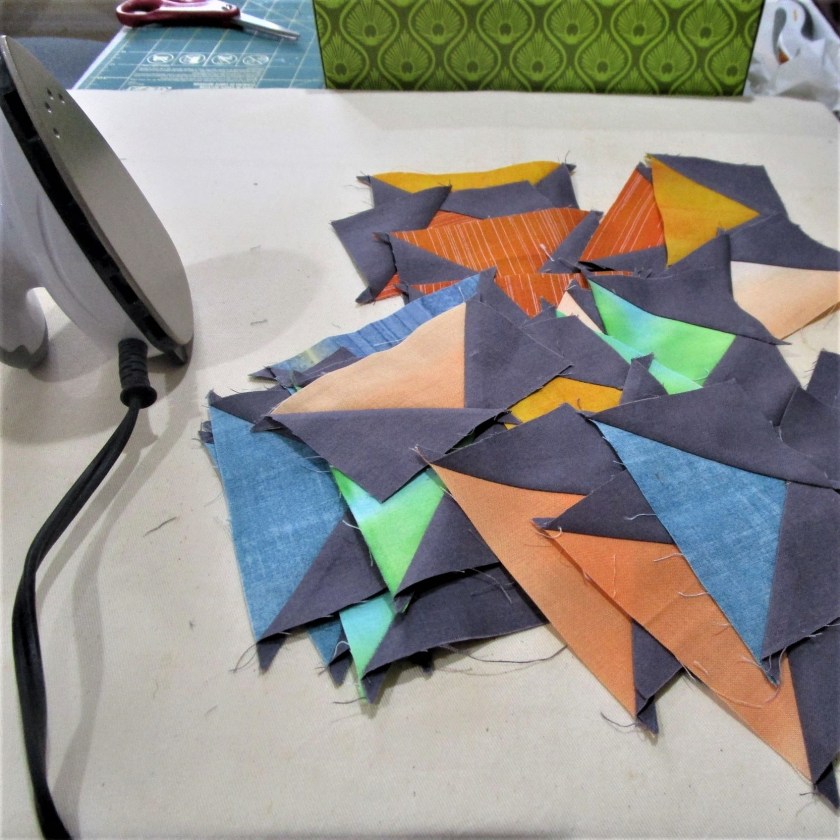
To line all four sides with Flying Geese blocks, I would need to make 48. Thinking about how much time and effort I had already spent and considering that I needed another 24 blocks, I decided to change the design of this border.

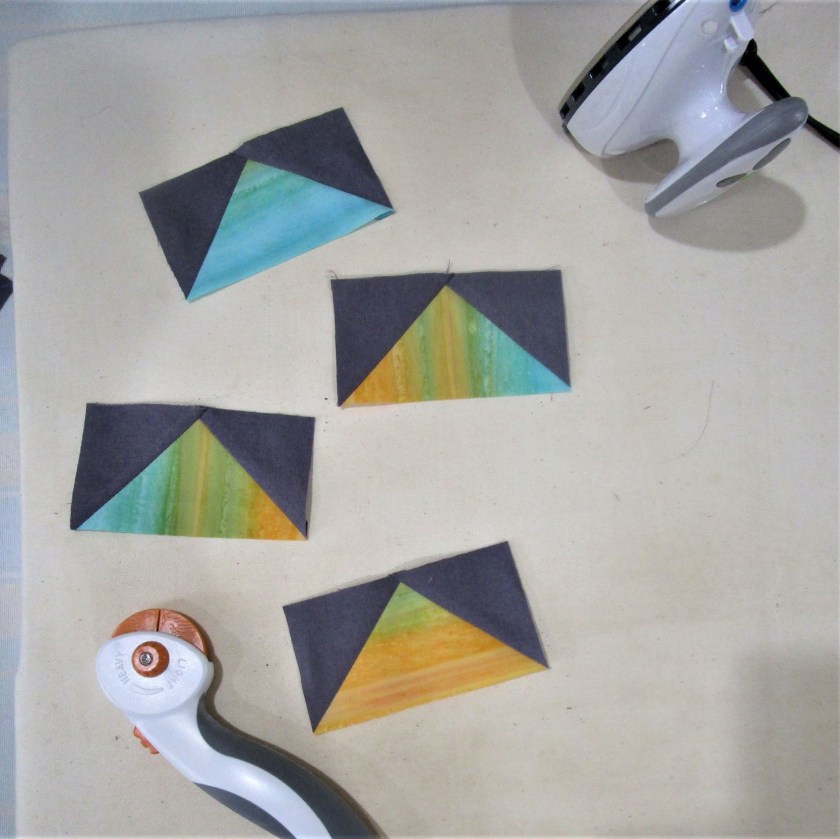
What if I turned the blocks 90 degrees, and let the long side go parallel to the quilt edge? And while I was twisting the blocks around, what would happen if I alternated the direction – turn one left, the next right, and so on.

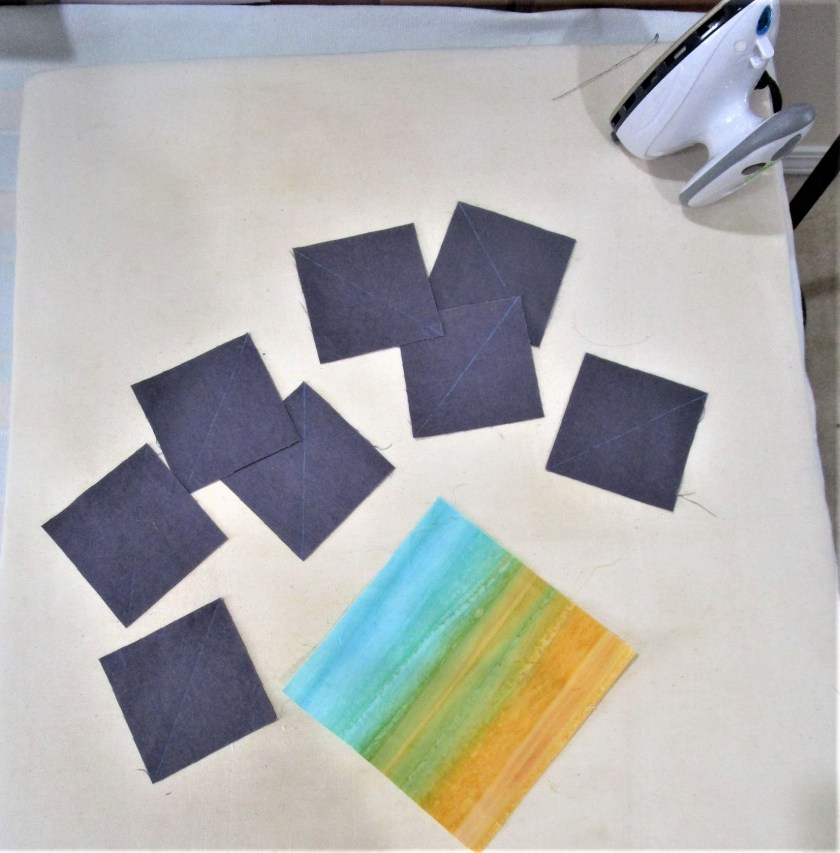
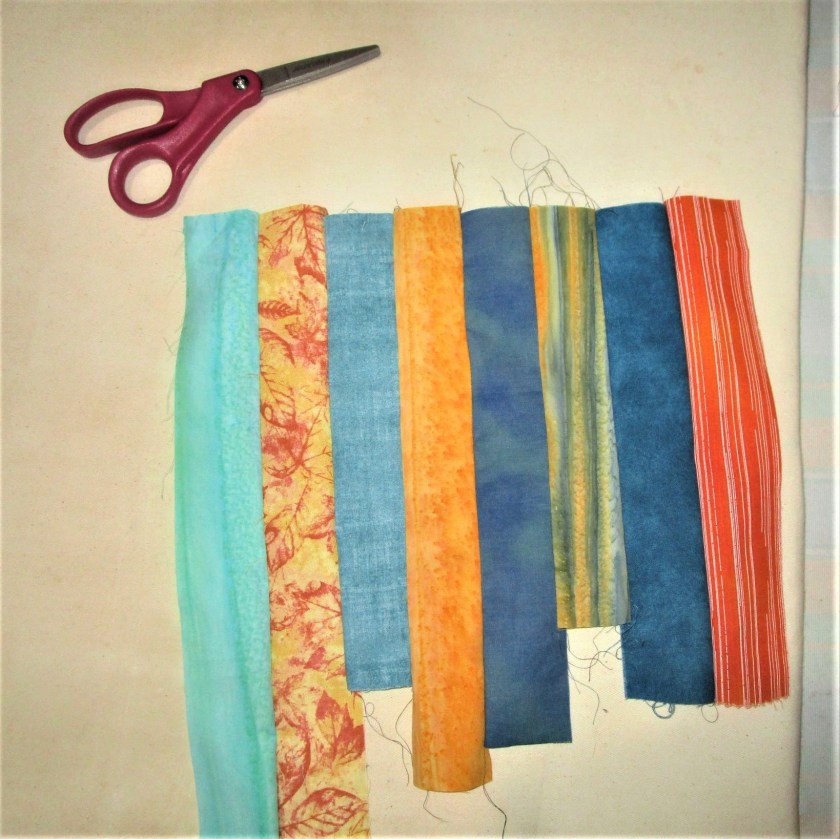
So that’s what I did. I made up more blocks anyway, because I needed certain colors for the new plan. Ditching the bright green geese, I went with my current palette of blue-green, orange and gold.

The quilt is now too big to stick on my bulletin board, so I am photographing on the floor. Here’s my round with the first three sides finished.

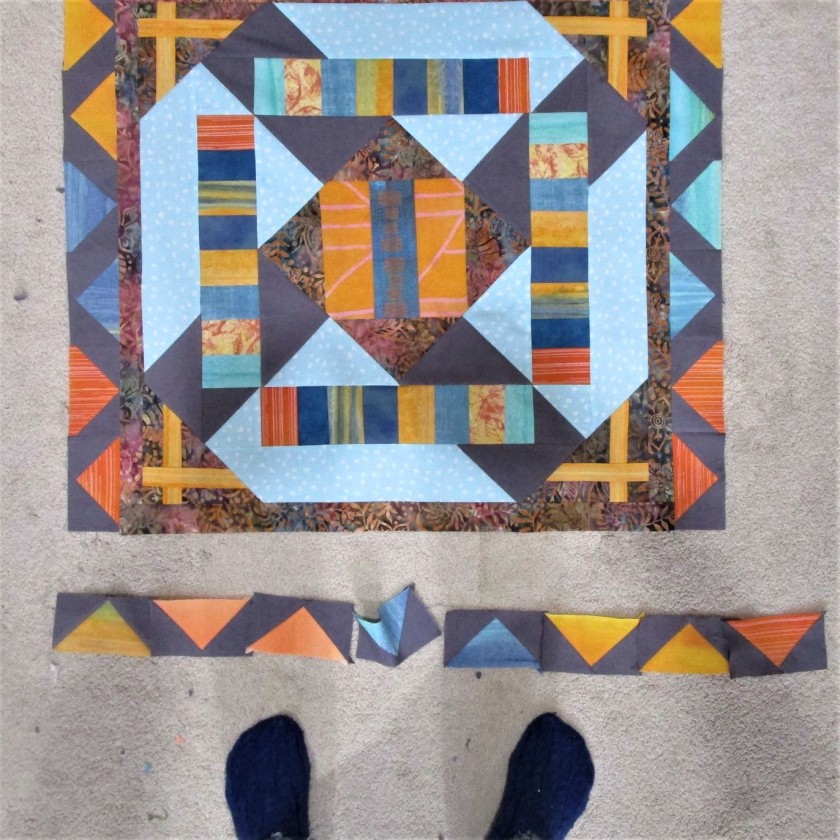
And here is the finished round.

I grouped the orange and yellow geese toward the corners, where they can have a conversation with the plus signs. And I laid the blue geese near the sides of the pale blue octagon. The result of this layout is a path for the eye to move all around the quilt, guided by the color groupings.

I feel very pleased. Maybe, just maybe the results were worth the effort.

If you would like to visit other quilters who are working on Stay At Home Round Robin quilts, you can follow these links:

Posted in quilting

Goose Purgatory

It’s Week Four on the Stay at Home Round Robin. The prompt is Flying Geese block.

In the beginning, I was happy and excited. The flying geese block is one that I have never made, so this was going to be my opportunity to try it out. I had what I believed to be a good concept for this round. So what could go wrong?

I decided to make my geese 2 by 4 inches. To make it work, I needed to bring the quilt sides up to 24 inches. I sewed on a narrow border of flowered batik fabric.

This also helps to define the pale blue octagon – a secondary shape.

To get started with the Flying Geese, I viewed this video by Patches and Poodles for making them four-at-a-time.

Her instructions were crystal clear. On Tuesday I made the first group.

These looked just great. I calculated that I would need 12 units per side, for a total of 48. The realization of the quantity and time required gave me pause. I decided to get started the next day.

Today, I started by cutting lots of squares and sewing them into shapes using the technique I had learned on Tuesday. Soon I had quite a collection of geese.

Here they are sewn and pressed

The last step is to trim them to size. That’s when things started to go side-ways.

It seems that all of my lovely geese, over which I had labored for two hours, were 1/4 inch too small!!!!!!!! I had skipped over the instruction about pressing the seams open. Missing this step was enough to throw off the measurement that critical 1/4 inch. Thus began another three or four hours of re-working my flock of geese………………

By dinner time, I had managed to salvage about twenty -four goose blocks. A day has been spent and I am only half way done, with a wad of unworkable blocks left behind.

So I am bowed, but not beaten. I will go back into the fray tomorrow, starting with more fabric and a fresh rotary blade.

Posted in quilting

SAHRR Round 2 – Angular Puzzle

On Monday I learned that the next prompt for the stay at home quiltalong was Plus Sign. As in the past round, several challenge participants had their additions up and posted on the first day. I was not so quick to get to work. First of all, I wasn’t sure where I should place a plus sign on my project. Secondly, I wasn’t sure what technique I wanted to use I considered all of these options in turns:

  • Nine patch blocks made with contrasting strips
  • Painted on, either freehand, stamped or stencilled
  • Applique
  • Reverse applique

As I awoke this morning, I had the answer – really, it came to me just as I got out bed! I remembered this little tool stuffed away in my sewing cabinet:

I would make plus sign appliques, but I would do it with fabric strips run through the bias tape maker. This tool folds under the raw edges making a very even tape, very quickly.

It turned out to be the only part of the project that was quick.

My first goal was to bring the gray X motif, which had a prominent place on this work, to a graceful close. To do this, I cut and pieced a border using the light blue and dark grey fabrics, with the grey piece matching the angle of the X already in progress.

Here are three of these borders, sewn and ready to be pressed.

When sewn in place, the grey X get its rectangular legs finished up.

Now I am ready to add the plus signs. It’s time for the floral batik fabric to make another appearance. I cut it into four triangles to finish the corners. It is here that the plus signs will appear.

Corner triangles and tape, ready to be fused together

One of the problems I had with using the plus sign motif is that it looked like a stubby, ungraceful pair of sticks to me. To solve this issue, I decided to elongate two sides of it. The long legs will come from the edges of the triangles, with the cross happening at a right angle in the corner.

All of this sounded very simple to me, in terms of the construction steps. This is where my lack of experience kicked in. After prepping the pieces, I started sewing them in place. Nothing would line up correctly! I measured each triangle, but didn’t find anything wrong with their angles. After spending an hour or so, sewing on and removing a few triangles, I finally realized that I had failed to true up the border edges. What a rookie mistake!

Eventually I sorted out the 90 and 45 degree edges and sewed everything together.

To see some of the other quilters’ work, you can visit their posts.

Here:

Posted in quilting

Animal Friends Project Update

Block assembly on this quilt is done! Animal friends, otherwise known as Dog-house Cat-barn, is an improvisational quilt using string-pieced strips around log-cabin style center patches of dogs and cats. The whole thing was inspired by a delightful black and white print, which you can see clearly, above. I decided to make a twin-size quilt which required 12 inch blocks, each assembled from four 6 inch patches.

The rows will be spaced apart with 4 inch strips in a gray print.

I have started the quilting with the third row, which features pet condos. 🙂

Pet Friendly Housing, quilted with just the walking foot.

Later today – I finished quilting this row before dinner was ready. It went very well. With a bit of effort, I could have this quilt done in a few weeks.

Posted in quilting

SAHRR Round One

For the second week of the Stay at Home Round Robin challenge, Chris asked us to make piano keys.

NOPE – THIS IS INCORRECT

In the world of quilting a piano keys border is one with narrow rectangles in assorted colors sewn together. Oh, I get it, this is like string piecing!

After looking at the other participant’s interpretations, I came back to my own center panel. I decided that my main objective for this round is to continue the outward thrust of the corner triangles. Using the same fabrics, I made half square triangles to use as corner posts.

Then I got out my orange and blue-green fabric scraps, cut them into two inch wide strips and sewed the strips together on the long edge. I alternated the two hues and arranged them from light to dark in shade.

These were cut cross-wise into three inch strips, which I then attached to my panel, adding the corner posts as I went along.

This post is linked with the group Stay At Home Round Robin. If you would like to see the work of other members….

Here’s their links: