Posted in quilting

SAHRR Challenge #6 – Almost Done

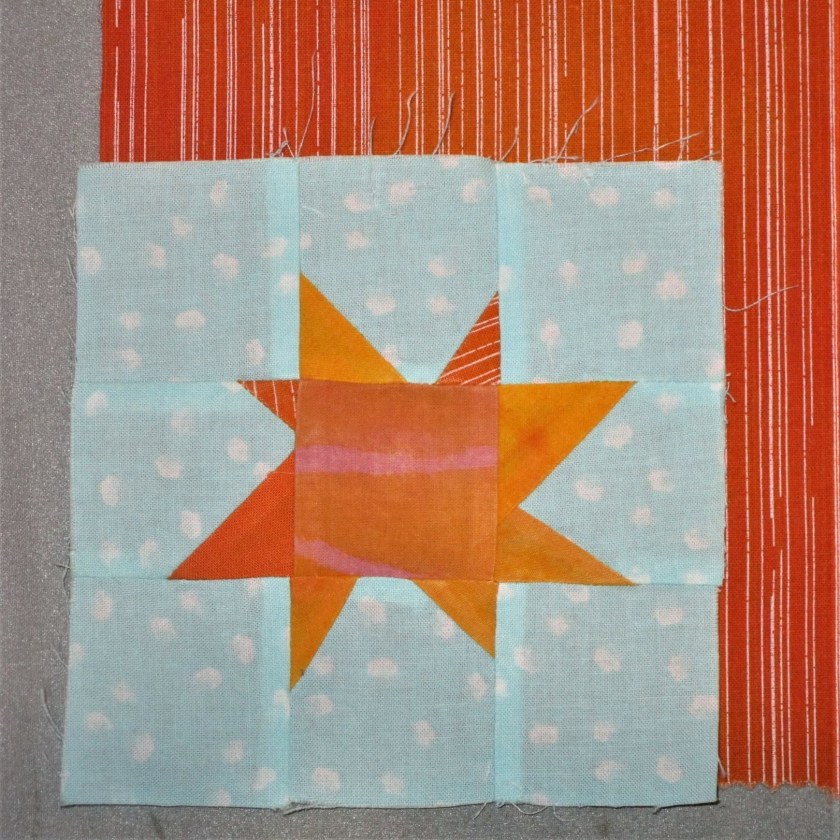
This week’s assignment is Log Cabin block. I’m a fan of this block and find it useful in improvisational quilts and as a background for art quilts. When I woke up this morning, I had a good idea for incorporating this block into my design. So I got right to work on the challenge.

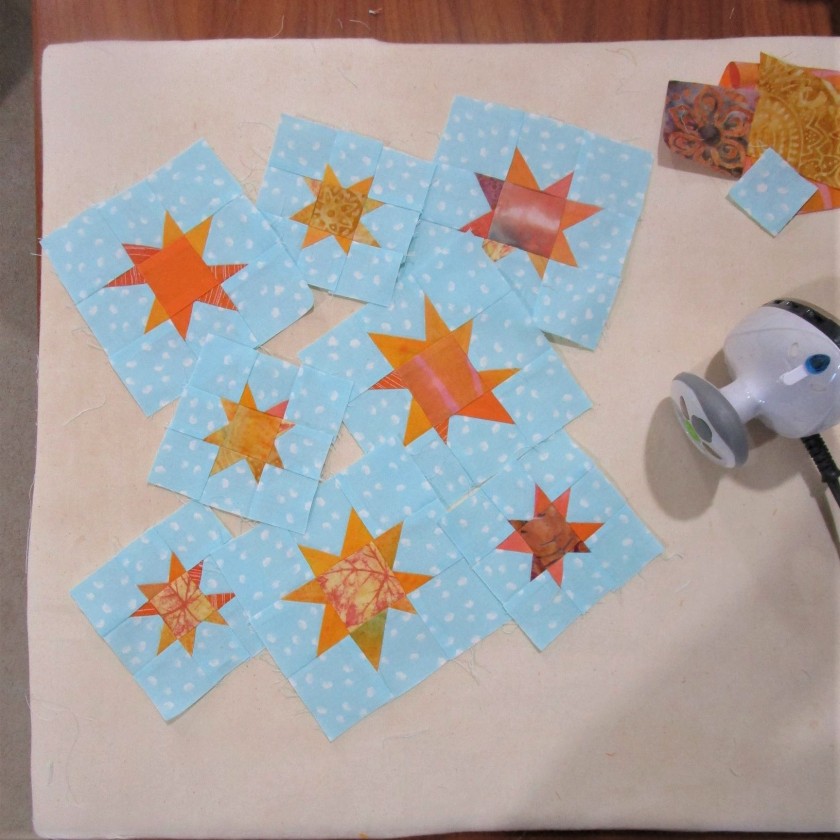
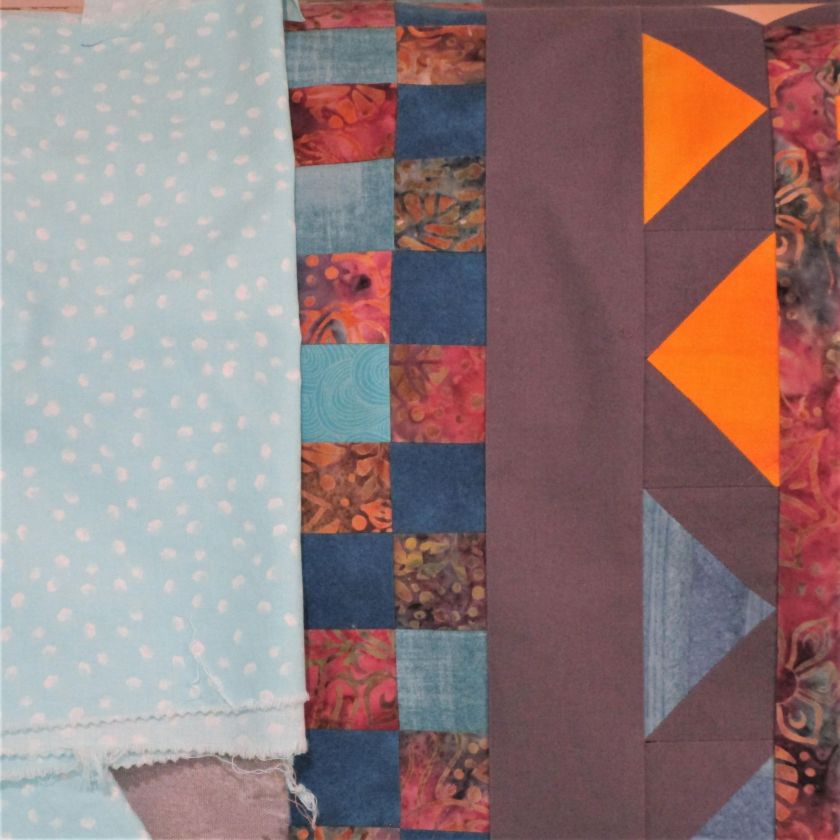
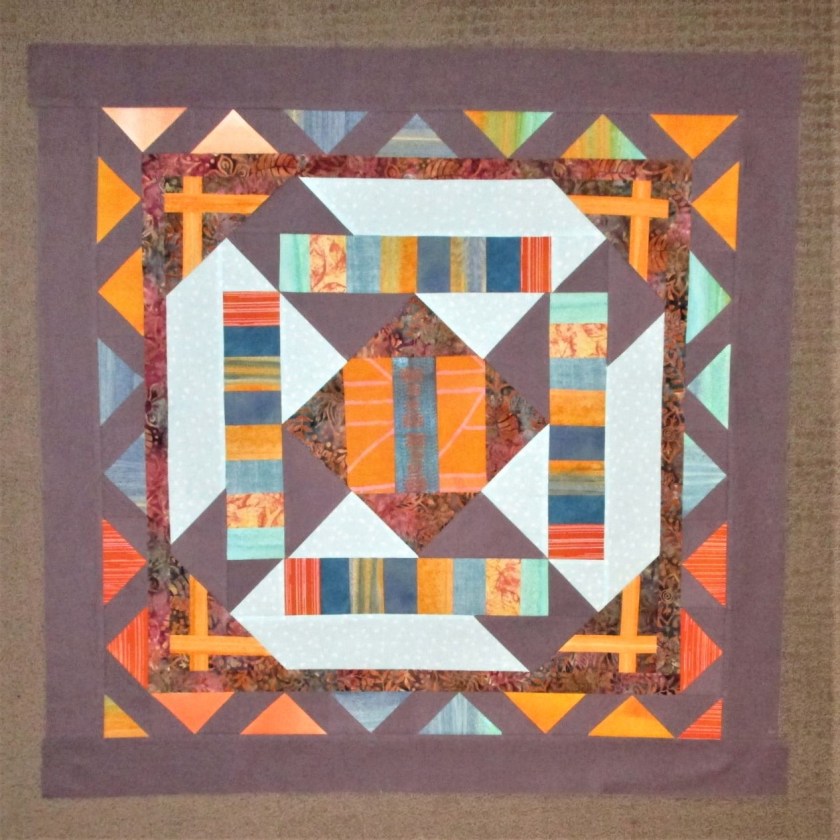
Because I have not yet sewn the wonky stars border on, I can still incorporate the log cabin blocks into it. My plan is to use the pale blue fabric and the flowered batik fabric to make four log cabins and attach them in the corners of the wonky star border. For the final challenge (whatever it may be) I will use the flowered batik as my primary fabric. This will tie what has come before to what comes next. Follow along and you will see.

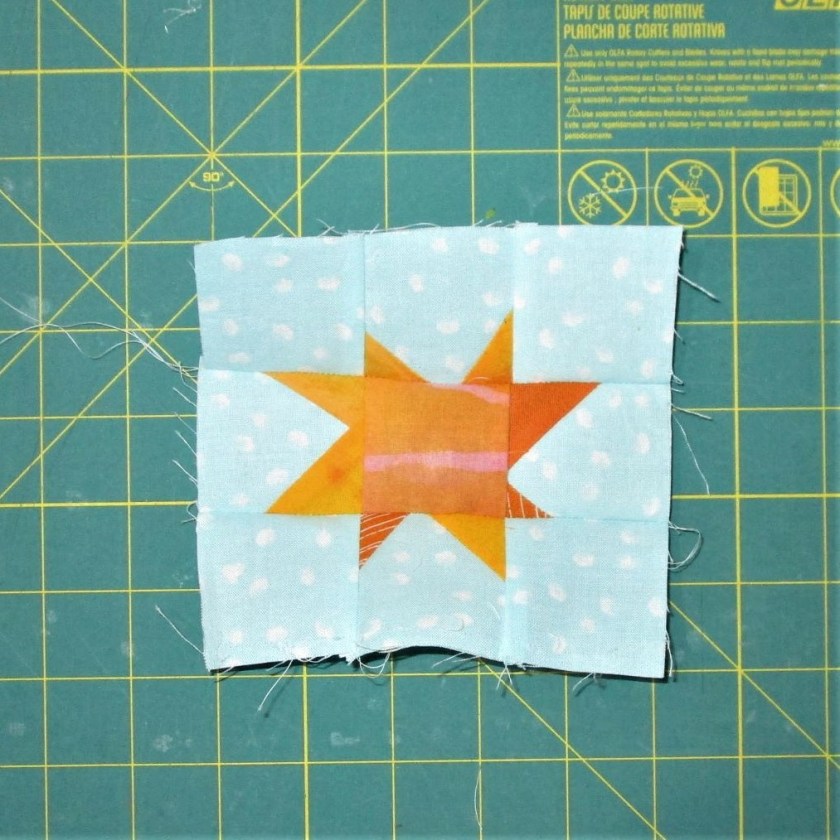
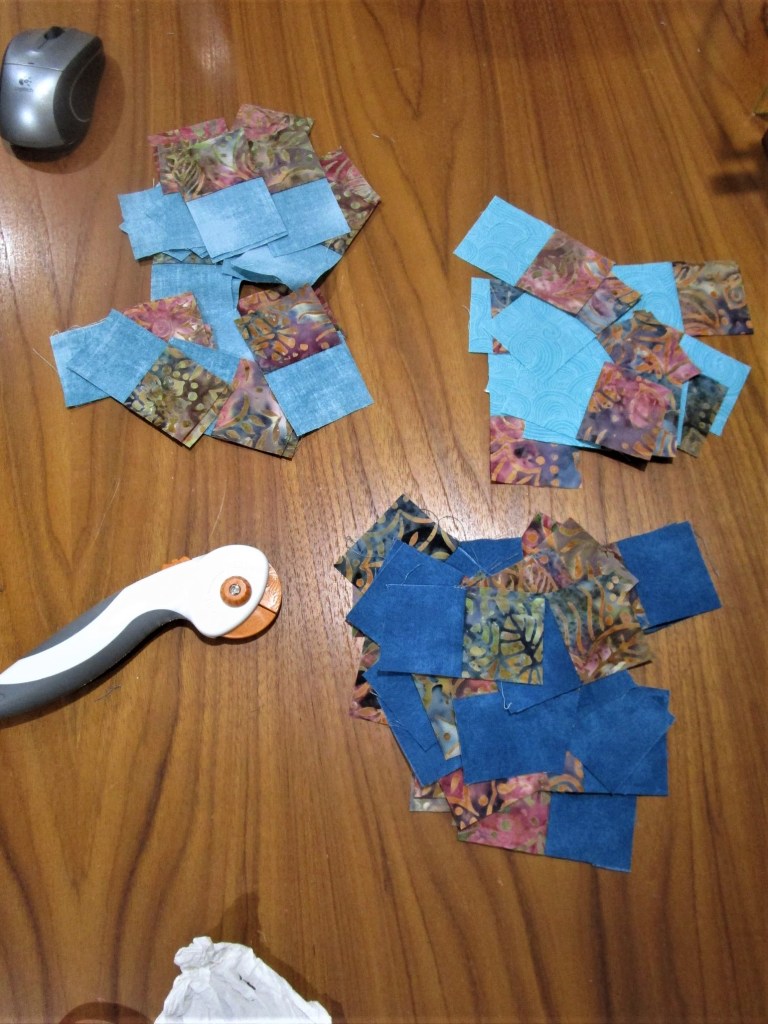
Here are my four log cabins.

I used a one and one half inch center and cut the light and dark strips to finish at 3/4 inch. These are three rows of each color, giving me a finished block of 6 inches – the same as my light blue star border.

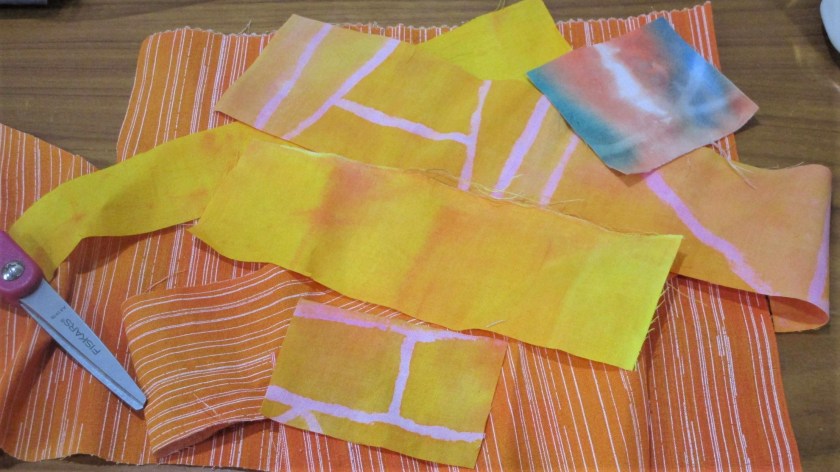
Next I got out my fabric paint and added a metallic motif to each center square.

I think they look like eyes in the heavens.

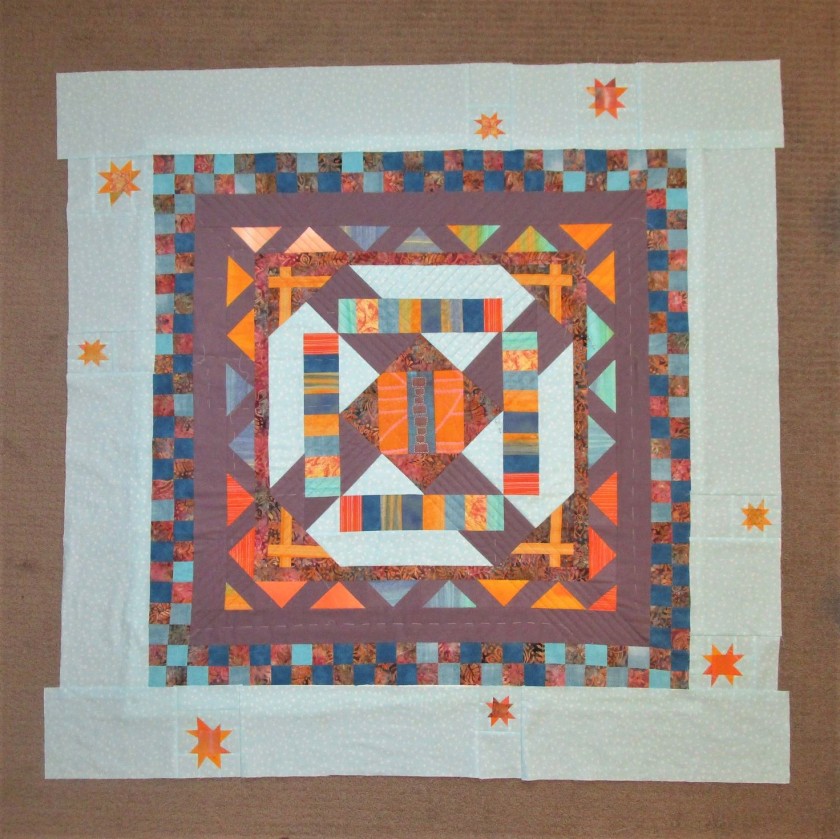
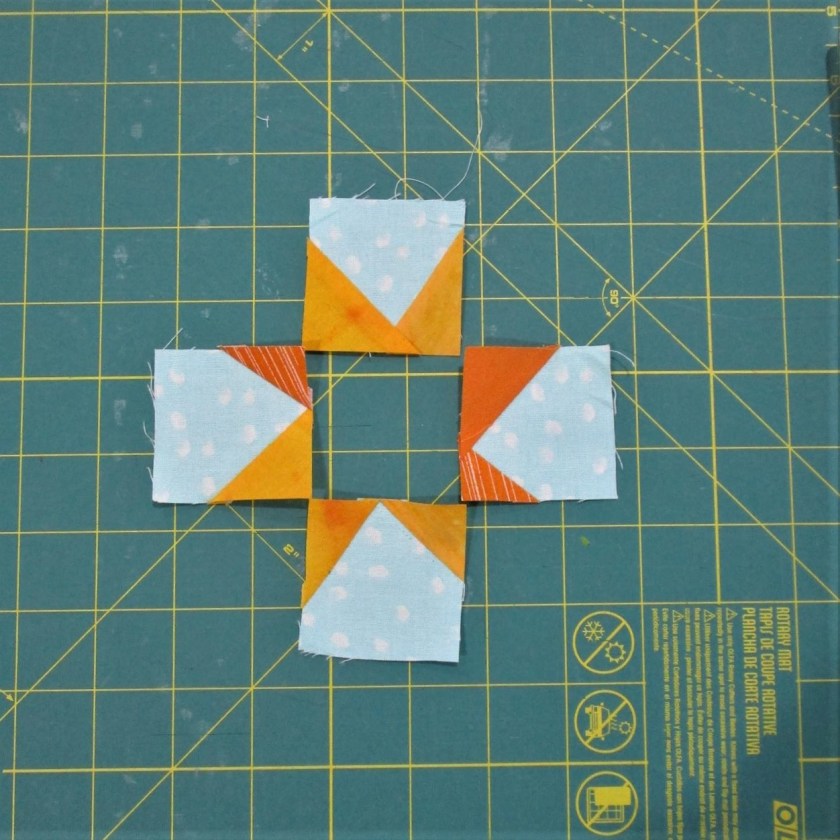
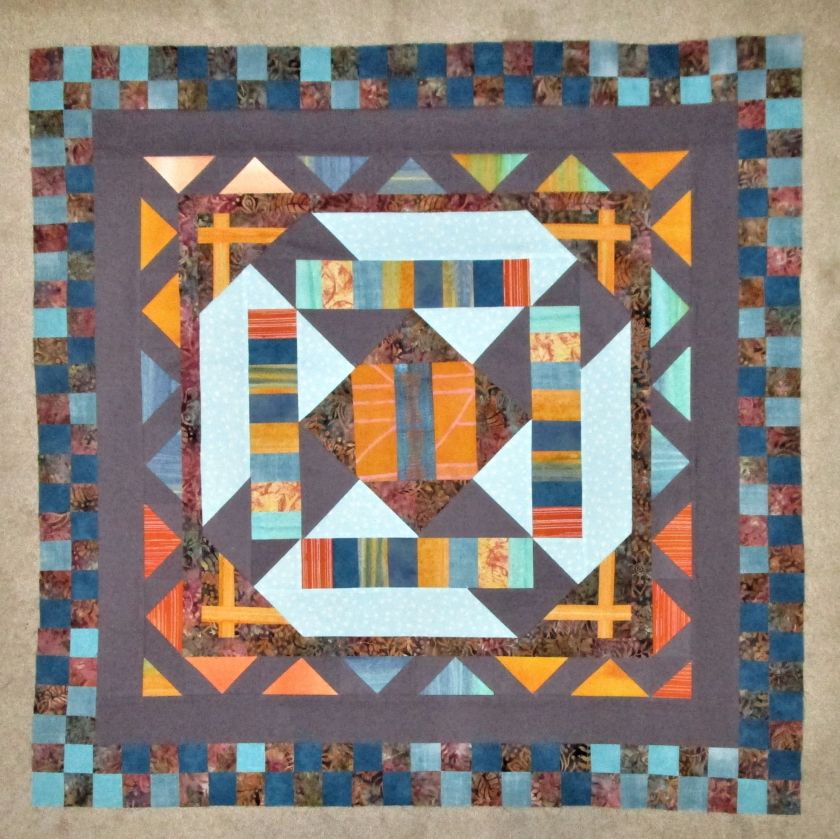
Laying each block with the pale blue to the inside and the batik fabric to the outside, I get this effect:

Lower right corner
Lower left corner

With the log cabin blocks done, I return to building the quilt sandwiches for the four sides. They will be about 12 inches wide each. This includes enough allowance for the quilting. At this point, I am expecting my quilt to finish out at around 60 inches square – a good size to use as a lap blanket.

Don’t forget to check in with the others who are building round robin quilts. They are showing a tremendous variety of styles and some ingenious solutions to the challenges.

Posted in quilting

SAHRR #5 – The Stars Above Us

After putting in a few hours of sewing yesterday and today, I find that I have something to show for this round after all. First of all, here is my assortment of wonky stars.

There are two sets of four – the smallest will finish out at 3 inches, the larger at about 4 1/2. While it took some patience to stitch on the tiny scraps of star points, I found myself enjoying the process. And in the end, they are so darned cute! I also made them fiery stars, in hot shades of yellow, orange and red. They jump right out from the pale blue background.

As I stitched along, though, I found my stars getting less and less wonky!

First Star
Last star

The blue border will be six inches wide. This will give the eye a good break from the dark and busy center of the quilt while allowing the stars to shimmer. Here are the assembled borders laid in place.

This project is so big, it is almost impossible to take a decent picture.

As you can see, the border is not attached yet. I am in the process of quilting the center body. My plan is to make separate quilt sandwiches for each border, attach them and then finish up the quilting by working around the edges. Or perhaps I will quilt them before sewing them on. Anyone have a recommendation for me on how best to manage this step?

If you would like to see the work of other quilters doing this challenge, follow these links:

Posted in quilting

Taking a Brief Pause from SAHRR 2021

After working out the details of Challenge #5 SAHRR 2021 (the wonky stars border) I paused before completing that border. My quilt is currently 39 inches square, and dangerously close to being too big to quilt on my Bernina. Therefore, I decided to start quilting the completed sections before adding any more fabric.

First task is cutting and layering the quilt sandwich. Getting the backing and batting smoothed out was a tricky chore since the quilt is too wide for my worktable. After I had managed it, I proceeded to hand baste every three or four inches – just enough to keep the layers from shifting while I sewed.

Yesterday I got about 1/2 way done with parallel rows of quilting. It looks like this on the back side.

I chose to hand embroider the central square, which emphasizes the shapes.

Still undecided on how to quilt those batik triangles.

The gray spokes were quilted in parallel lines about 1/2 inch apart.

Image showing machine quilting and hand basting.


I’ll continue to quilt until the section is finished. Then I hope I have time to sew on the wonky star border before being faced with Challenge #6.

Posted in quilting

Stay at Home Round Robin Challenge 5

Thinking about what I have done so far on the round robin quilt, I have concluded that the work needs some breathing room. A little space and lightness from the intense colors and diverse border designs will give the eye a place to rest. So for this challenge I had already decided to add a wider border of the light blue fabric.

Here you see the effect next to the checkerboard border.

I like that the light blue speaks to the blues in the checkerboard border while still providing much needed contrast in value. So I was pretty happy with the next prompt – Wonky Stars – suggested by pieceful quilter Wendy. Stay at Home Round Robin Border 5 – (piecefulthoughts.com)

First of all, I like everything improv. Wendy gave us a link to a wonky star tutorial, and I recognized the same technique I already knew and had used in my tropical fish blocks for Under the Sea.

https://www.berrybarndesigns.com/blog/wonky-star-tutorial

The pile of fabrics you see in my featured photo will form the substance of the stars. I will embed the stars at various places into the light blue border, which I expect to be at least 5 inches wide.

Today I got started.

Four blue patches with star points added
Central patch is one of my painted fabrics. The patches are sewn together in the photo
Wonky Star all sewn and pressed.

The first star is finished. Tomorrow I will start early and work in earnest to complete the round.

Posted in quilting

SAHRR 21 Round 4 – Checkerboard

My week has been a bit full – which is quite a change of pace for me. Among other things, I received my first COVID-19 vaccine jab yesterday. (sore arm today.)

None the less, I have been working steadily on this week’s challenge – checkerboard. I quickly decided it was important to make a definitive break in the design. It is desirable to separate out the triangular rounds from the checkerboard border, which will be strongly square. To make this, I added a wide coping border in the dark grey fabric.

I like the way the geese triangles now look like stained glass pieces.

To me, the checkerboard border can be a mosaic tile border. To achieve this effect I chose to use all medium toned fabrics, including the flowered batik. Here is a small mock-up for my design, using 1 1/2 inch square pieces.

The first step is to cut and sew together several strips, then cut the strips cross-wise into paired squares. Here you see the three piles.

Next I joined these strips into four square blocks, then joined the blocks into long strips. It took me a while to make the first side. For one thing, I again failed to true up the blocks before attempting to sew on the border. Soon, however, I was fully in the swing of it. The first side…………

……. and finally, all sides completed. There are a total of 48 four-square blocks used.

I like it pretty well. Despite my best efforts, there are some ripples. (Thankfully there are no pleats.) I can try to smooth them out by removing, adjusting, and re-attaching the checkerboards.

I’m ready for the next challenge, although I will probably have to buy more fabric.