Posted in embellishing, painting, quilting

Experiment with Stitch and Slash

While perusing available art quilt technique tutorials, I discovered another use for my hand-painted fabrics. Carol Ann Waugh teaches a modern take on reverse applique in her class on Craftsy. She calls it Stitch and Slash. It was inspired by the traditional molas made by the Kuna women of Panama.

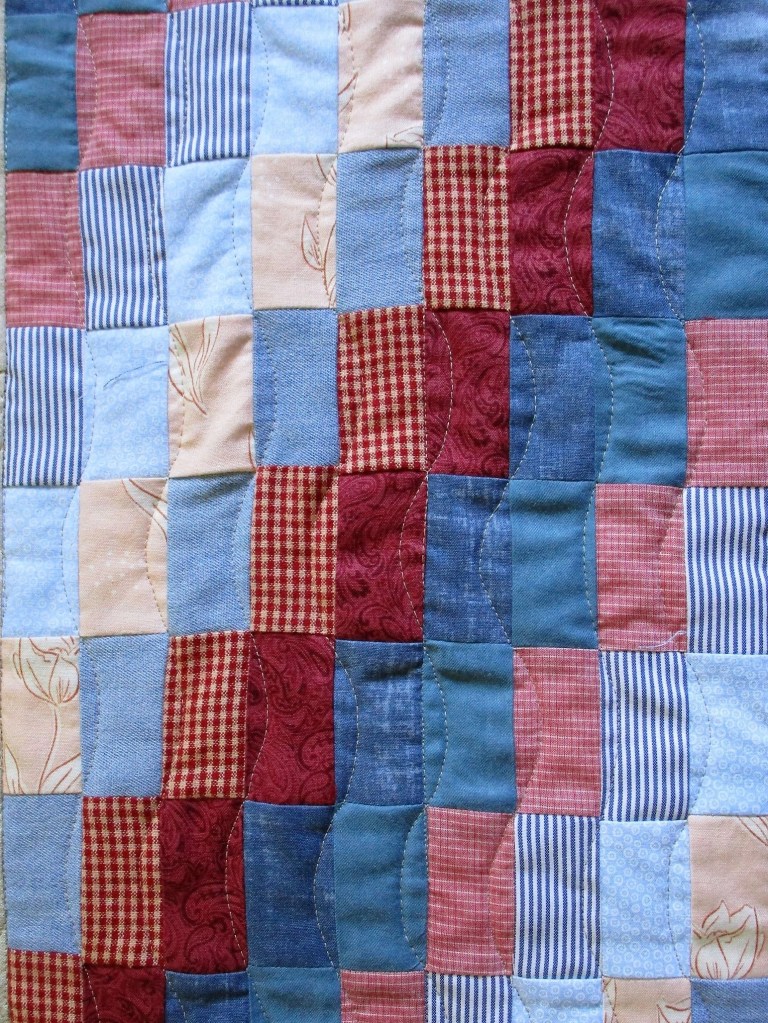
In Carol’s interpretation of the mola, four pieces of fabric are selected and layered together. Then a design is chosen, marked on the back of the pile and stitched into layers. The similarity with the traditional molas stops here, when Carol gets out her seam ripper and slashes away at the assembled fabric Instead of nice, neatly stitched edges, she ends up with frayed, textured ones.

Okay, I thought, I have the perfect set of fabrics to try this out.

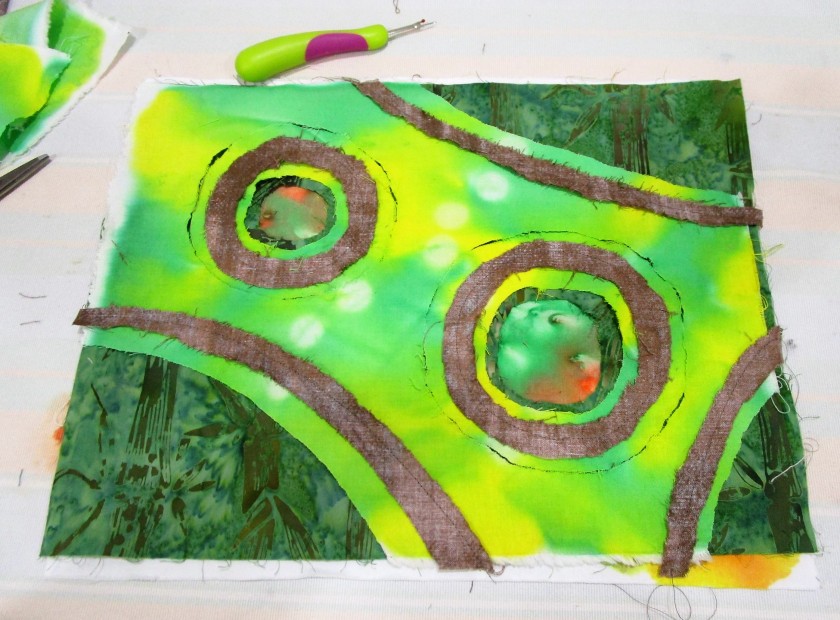
The two painted pieces are layered with a dark green batik print and a brown textured print. You see here the back side of the brown fabric, which I will be using for the top layer. Nearly all of the this layer will be cut (or torn) away.

Here is the back of my piece, showing marks stitched through.

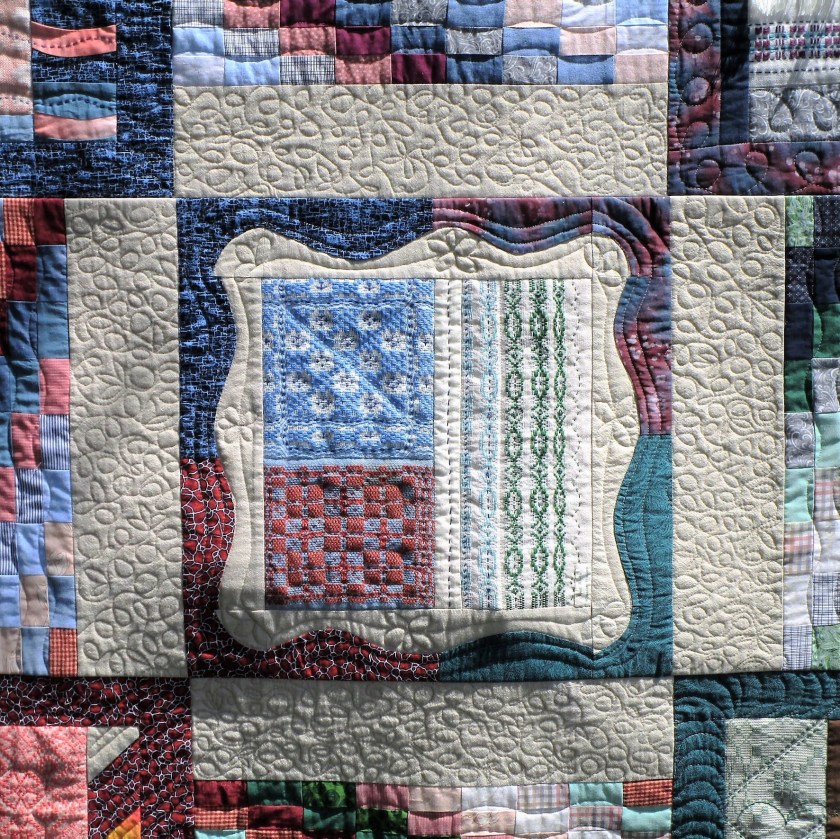
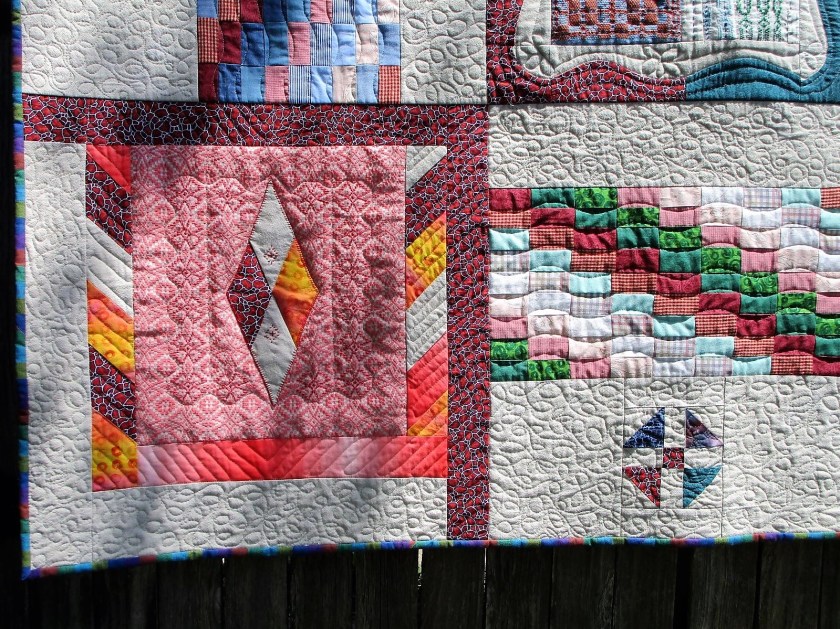
Getting started with the slashing: You see in this photo all the top layer is gone, part of layer two gone, and the center of the circles showing the bottom layer.

This ripping took more time and was a little trickier than I expected.

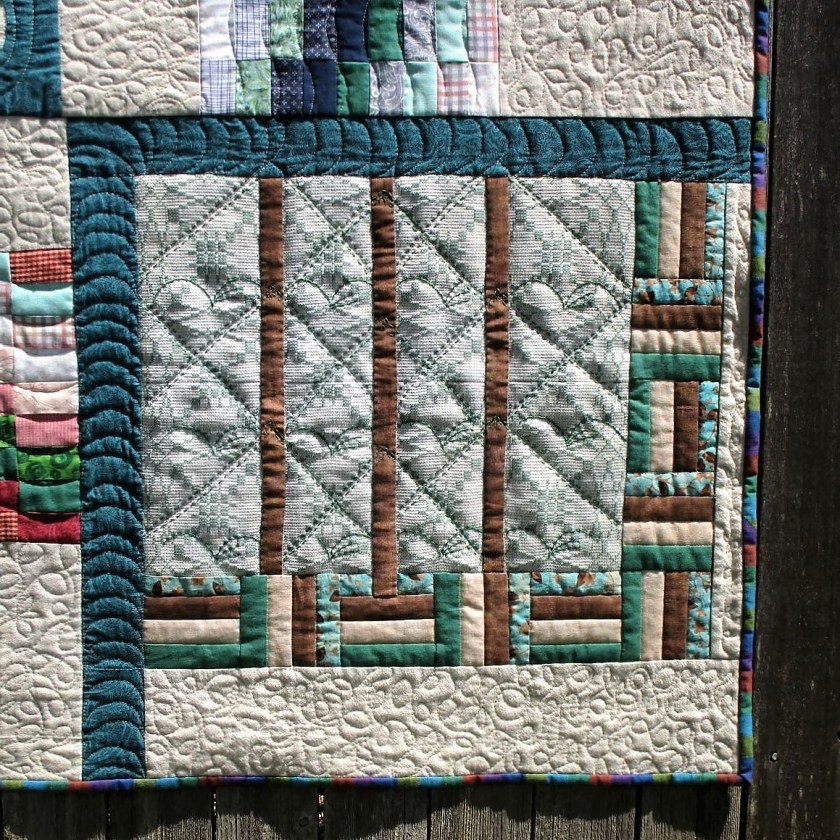
All the excess fabric is now removed.

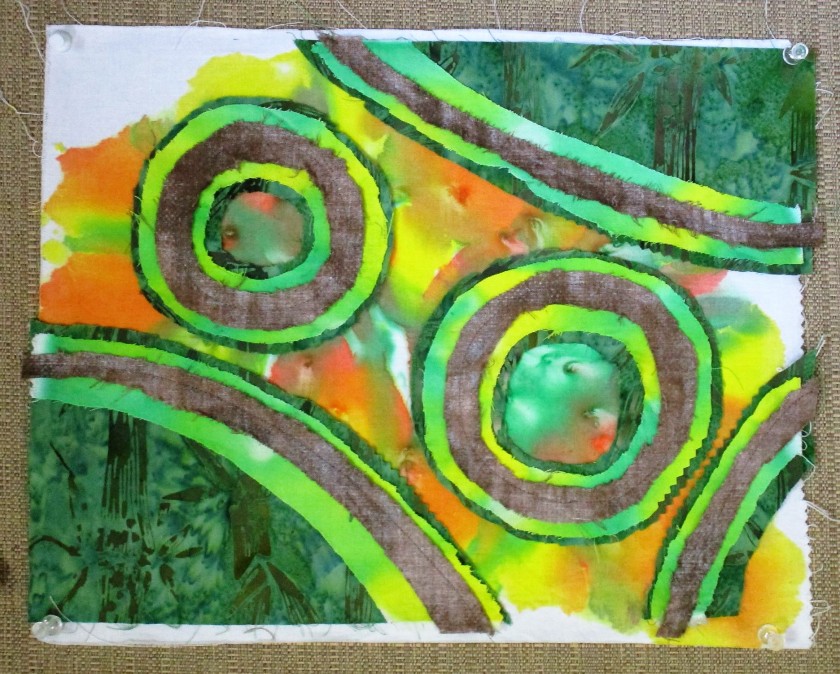
I was excited by how well the painted design is showcased.

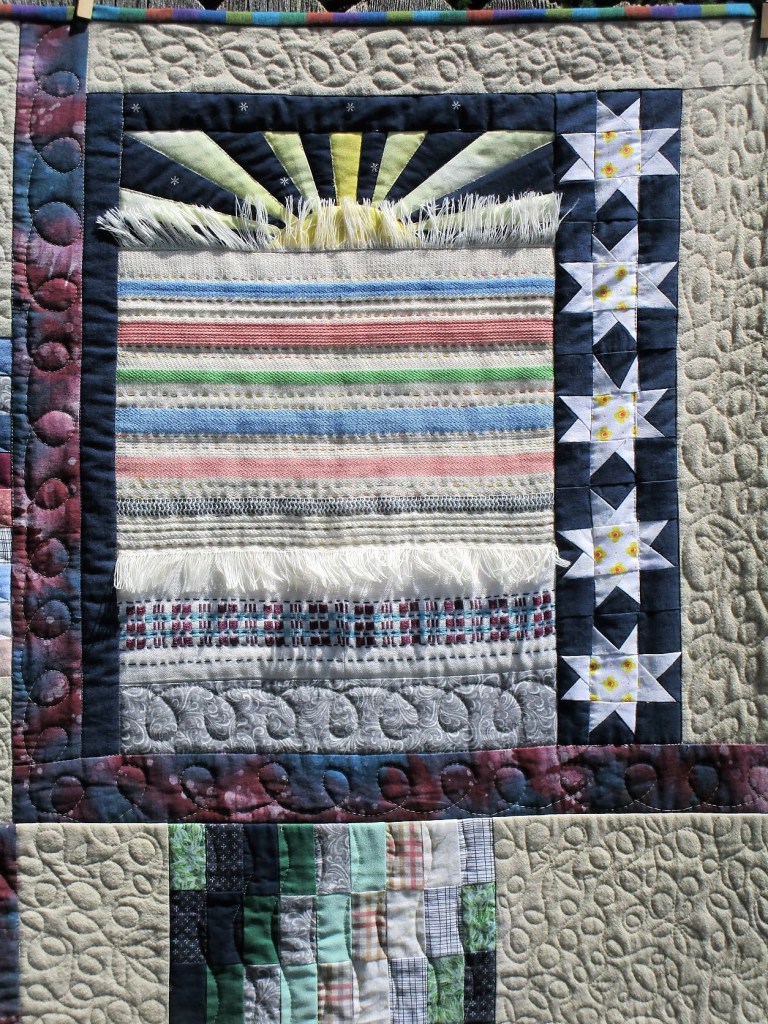
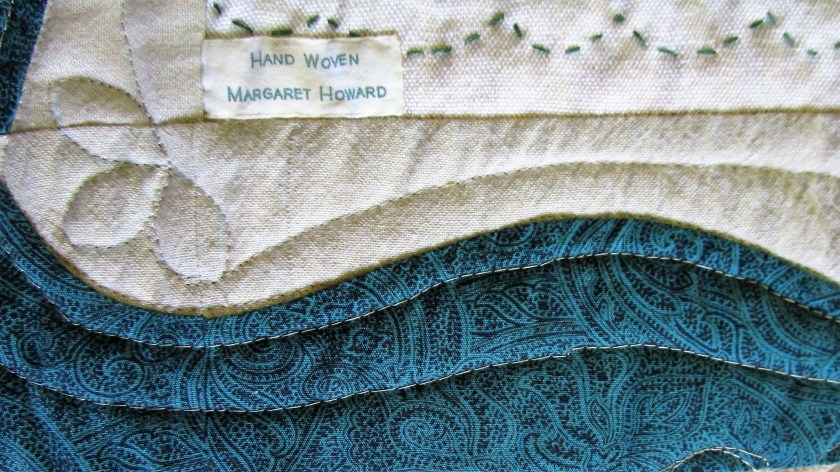
The next steps are really just embellishments. To start, various ribbons and yarns are couched down over the seams. (Couching is just a zig-zag stitch worked over the ribbon/yarn/cord.) After that, it’s time to explore thread and machine embroidery options. I went with metallic yarns and threads in warm colors and dark shades.

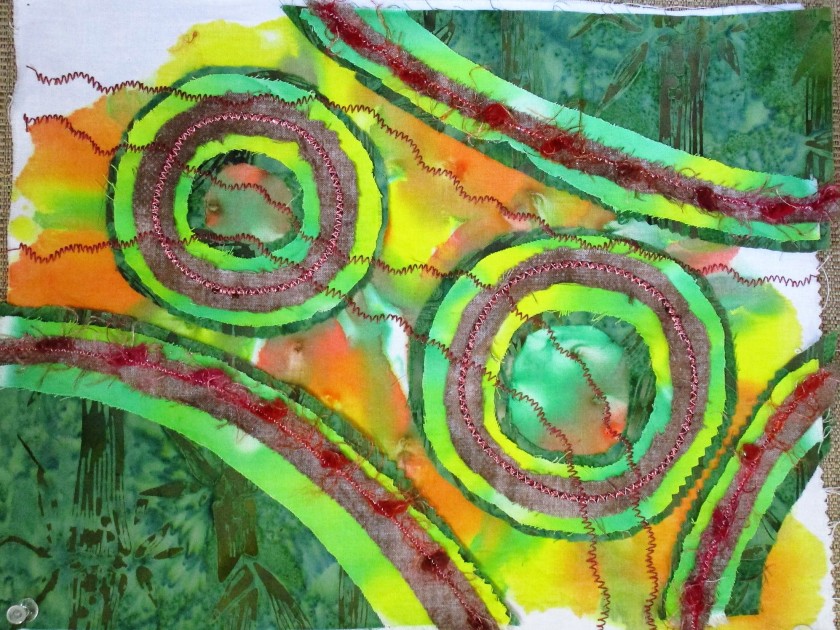
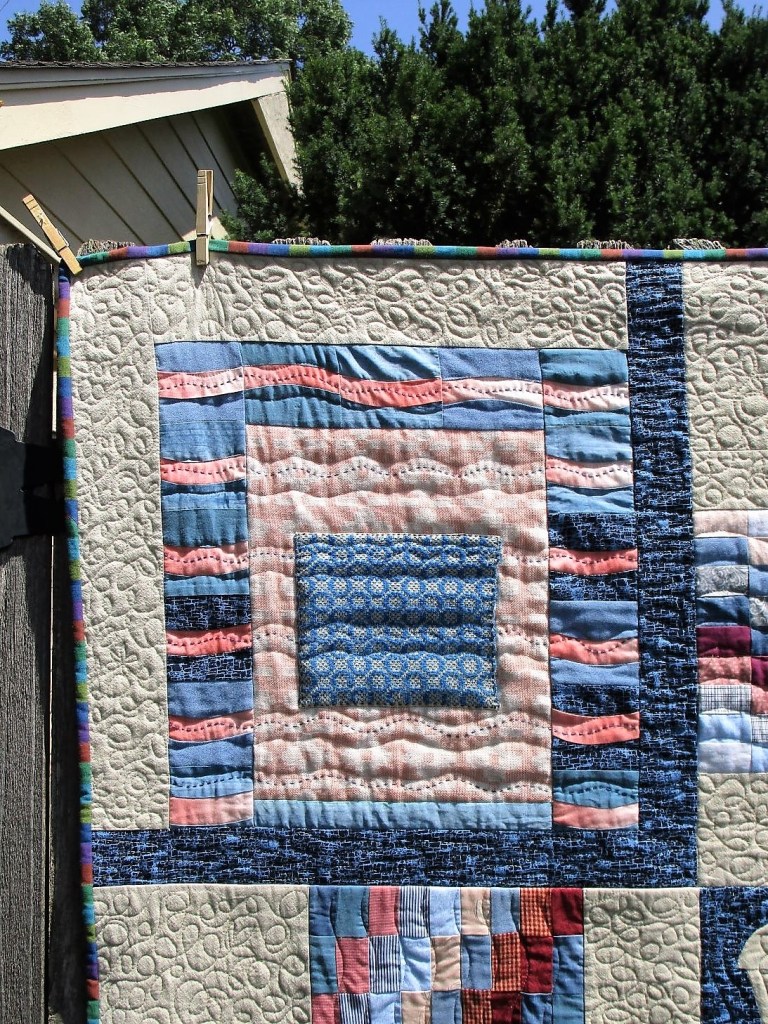
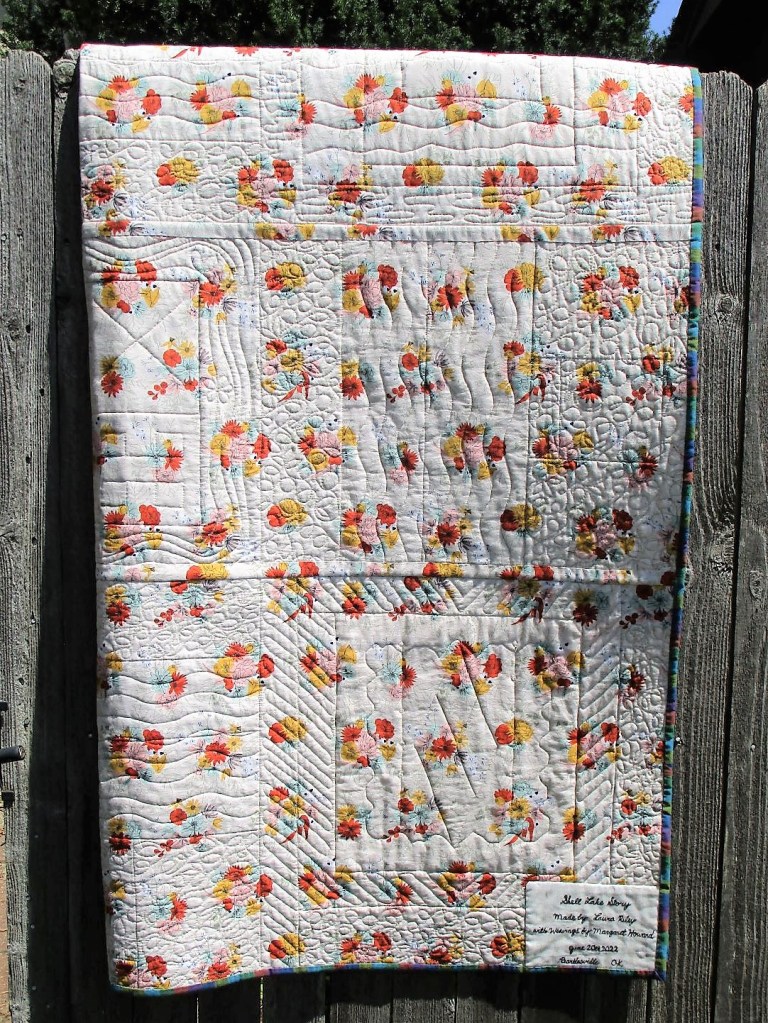
To finish up, I made a quilt sandwich with batting and backing and stitched it together using free motion quilting.

My Stitch and Slash sample suggests to me how much the trees are suffering from drought and temperatures above 100 degrees. I will call it Heat Wave.

You can find Carol Ann Waugh’s class here:

https://www.craftsy.com/class/stitch-slash/

Posted in quilting

Friday Finish: Baby Quilt

Yesterday, I learned that baby quilts are the best!

Looking back at my notes, I realized that I started making this quilt only two weeks ago. Last week, in my letter to mom, I gave a few details about this project: 1. Based on a pattern by Erica Jackman, of Kitchen Table Quilting. 2. Color palette to match recipient’s nursery theme of teddy bears. 3. Background fabric and batting came from my mother’s stash.

Top completed, sandwiched and ready for quilting

And now the quilt is finished.

I say baby quilts are the best because:

  • They are suitable for a lot of fun colors and novel fabrics.
  • They don’t take much yardage, which keeps the cost down.
  • They are perfect for using up stash fabrics.
  • They can be quilted on an ordinary home sewing machine.
  • They are quick to make!
Quilted and bound

I quilted it using the walking foot – stitch in the ditch and straight-line quilting,

It was so much fun that I am actively seeking out another expectant family so I have a reason to make another one.

If you like this pattern, check out Erica’s website.

Posted in quilting

Dear Mom

Good morning, Mom. I hope you are well.

Today I’m writing to let you know how much I am enjoying the materials and tools I collected from your sewing room in May. You were so generous to let us kids have whatever we wanted.

It’s interesting to see how just a few tools have made my work so much easier. Let’s start with your big purple Martinelli self-healing mat. I can cut whole yardage into strips with ease and accuracy using this mat. Another thing I am grateful for is the tabletop wool pressing pad. I recently used both of these tools to cut, sew,press and square-up a whole bunch of half-square triangles.

Let me tell you about a few projects where I used some fabric from your stash.

I found about a quarter yard of striped cotton with black warp threads. It turned out to be just right as a binding for my Shell Lake Story quilt.

I worked the free-motion quilting on this piece wearing a pair of your quilting gloves. They fit me perfectly. Looking down at my hands I imagined how your energy, which these gloves retained, radiated back to me. I felt loved and powerful.

My next project is a baby quilt for Jasmine and Stephen’s son, expected in August. I’m certain that, if you were able, you would be working on a quilt for this baby already. In your stash was a crib-sized batt still in its package and a yard of buff color solid quilting cotton – very high-quality stuff. (I know it was a yard because you had measured and labelled it so!) It is just enough for a baby quilt background.

After speaking with Stephen’s mom, Debbie, I learned that the couple had chosen teddy bears for the nursery room theme with a color palette of blues and neutrals. Using the buff and several stash fabrics, I put together a quilt top from a pattern called Elena. It features a nine-patch block with two corners of half-square triangles.

With a backing in tumbling teddy bear fabric that I bought on the Internet, this quilt is a dream to make. The top is almost done.

Well, that’s about all I have to share today. Take care of yourself and give my love to dad and the siblings.

Love, Laura

Posted in quilting

Finally Finished Friday

Starting back in January with some musings over passed-along weaving samples, today I celebrate the finish of a fiber object unlike anything I have done before.

Margaret Howard wove her samples on a small loom that she kept at the family’s summer house in northwestern Wisconsin. When I first saw them, I felt that these pieces could be compiled into a cohesive fiber object. As I began working with them, my mind traveled to the little cottage on the edge of the lake with the big stone fireplace. What might it have been like for Margaret, to do this work, at that place?

Before long, my own experience while visiting that same cottage began to overlay the story of Margaret in my imagination.

The resulting quilt is a consolidation of her history, my experience and skills, fabric from assorted cast-off shirts, fabric from my mother’s stash, and prompts from the 2022 Stay-at-home round robin quilt challenge.

The little cottage is represented by the center block.

It holds the heart of the Shell Lake story.

Each corner block on the quilt represents some aspect of the experience a trip to the lake house may bring. Let’s go there now.

To reach the cottage, one travels through a piney wood along paths lined with ferns.

Crossing an ancient and overgrown tennis court, the visitor encounters the path to the lake. Turn right and follow the dazzling rays of sunshine to get there.

As the day turns to dusk, all camp visitors are again drawn to the lakeshore, where the sun is saluted before it disappears over the horizon. Sunsets at the lake are relaxed, and sometimes, if you are lucky, meditative.

When the air becomes chilly, a fire will warm the body. While fires on the beach are jolly, often the stone fireplace is brought to life, usually in the cool morning hours.

Here is a final look, showing the fabric chosen as the backing.

This little flower print has no special association with the Shell Lake story. I simply thought that the colors just looked nice.

I truly enjoyed making this quilt, and am a little sorry that the work is done.

And so ends the tale of a weaver, a fiber artist, and the quilt that grew from their intersection. Where will this object end up? I am not sure, but at some point soon, it will be released into the world. Fifty years from now, perhaps another artist will have something to add to its story,

Posted in quilting

WIP Wednesday: Shell Lake Quilt

For the past two weeks I have been laboring slowly but surely over this quilt. The first week was spent sewing blocks together and sandwiching the quilt. Because I plan to do the quilting in sections, I assembled the quilt in three pieces.

I dithered about for what seemed like forever to come up with a quilting plan. Many hours were spent viewing various classes on Craftsy. Christa Watson’ class “The Quilters Path” is one that gave me some guidance.

https://www.craftsy.com/product/the-quilters-path-plan-it-stitch-it-quilt-it-dvd-streaming/

By Monday, I had come up with a plan.

I started with the Around the world block. First I worked stitch-in-the-ditch every three inches to stabilize the section. Next came the free motion pattern. All of those straight lines needed to be softened and quilted down.

I worked gentle curves across the straight lines.

What remained to be quilted in this block were two large sections of background fabric, including the part with the whirligig. Christa’s all-over motif of loops with random flowers and leaves came to the rescue.

Here is a photograph of the completed sections of an adjoining block.

This is very pleasing to my eye. Having now completely quilted one of the three pieces, I feel that I will likely finish the other two by week end. Then I can move on to final assembly, binding and the Big Reveal!