Posted in painting, quilting

The Creation Fiber Project: Work continues

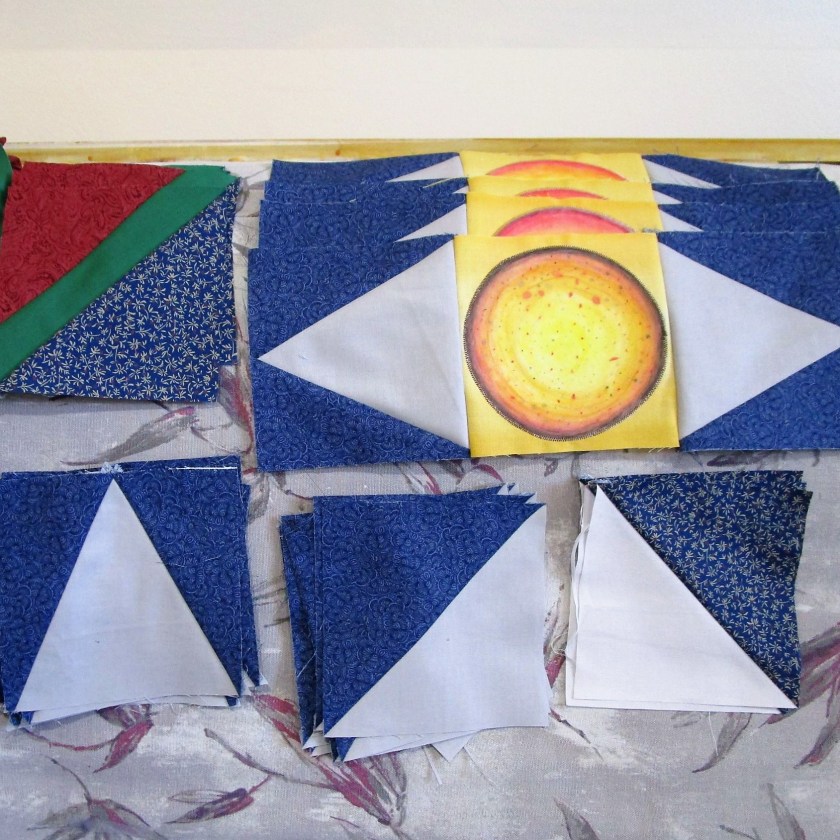
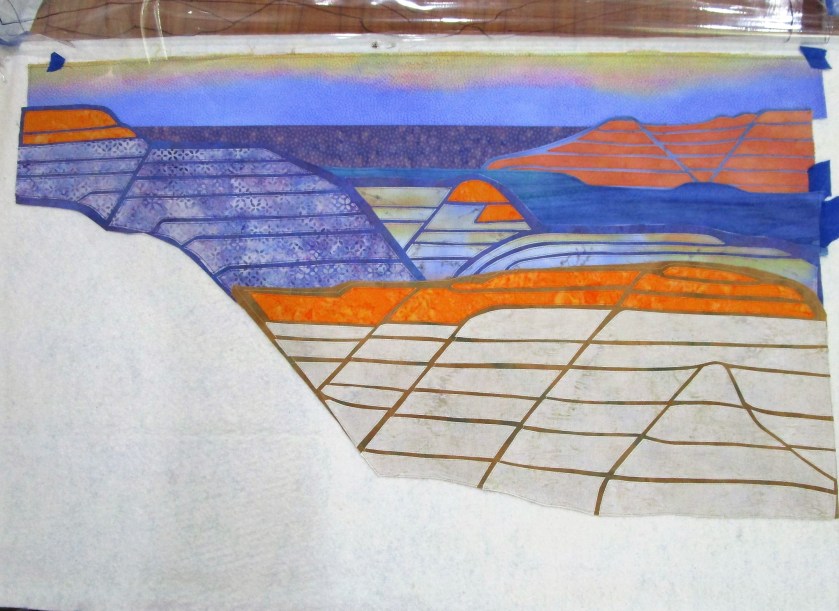
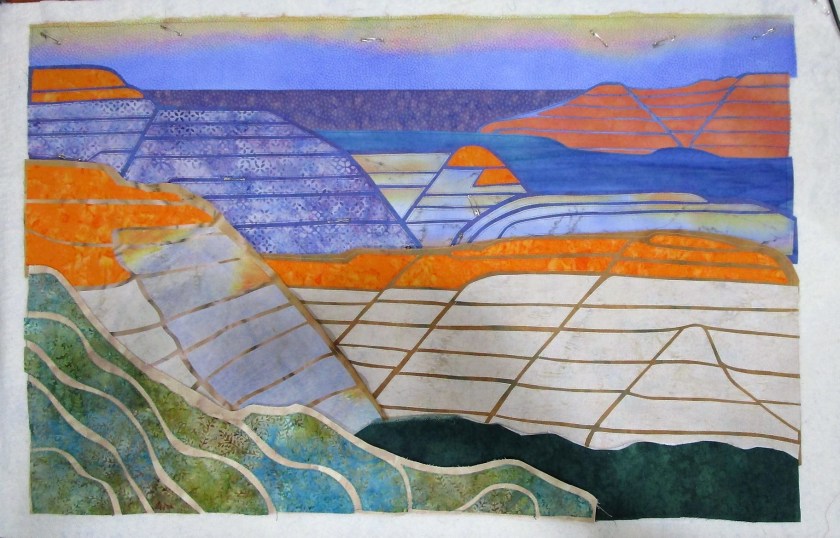
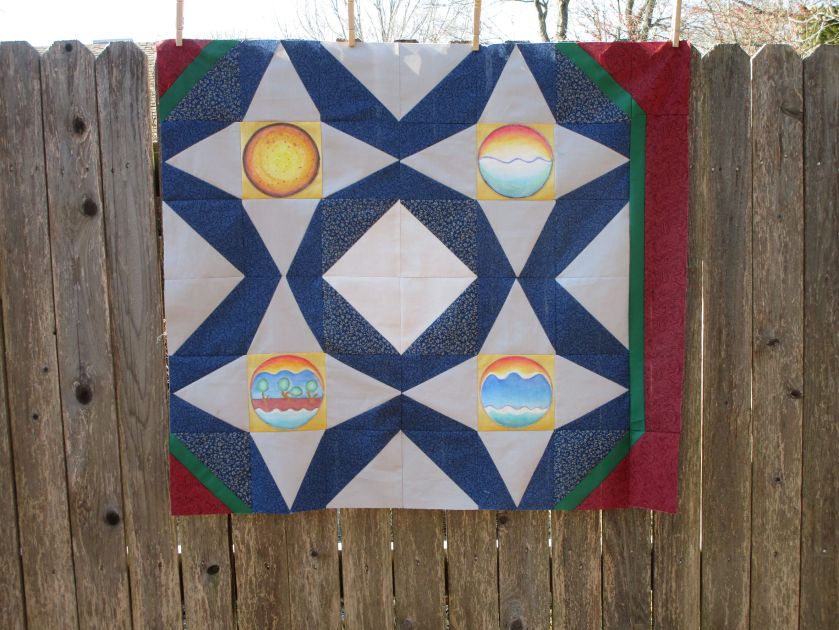
It was a cloudy day when I staged and photographed this image. It documents the assembly of my latest quilt project, tentatively called “Creation.” From a few feet away, the piecing looks fine. All points that are not exactly matched are at least closely matched. You can see on the right one border attached.

At this point, I really needed a break on lining up and sewing points. So I moved on to the border’s corner blocks. In reading about medieval manuscript paintings, I learned that the owners of the missals often had their family coats of arms painted at the corners. Here are examples.

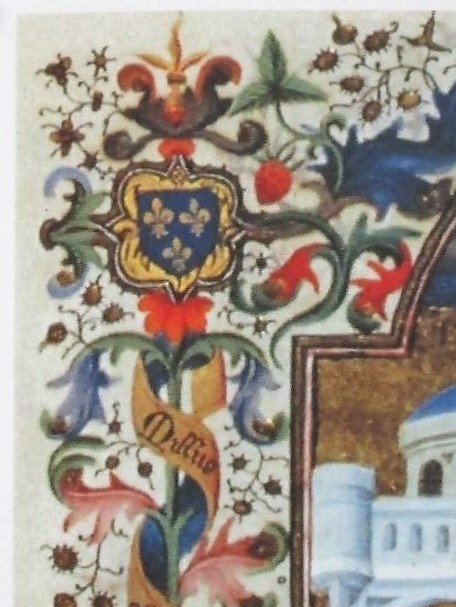
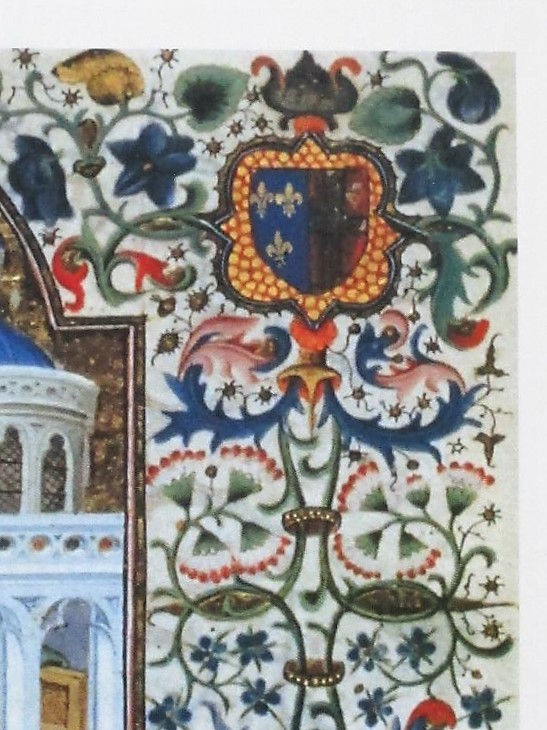
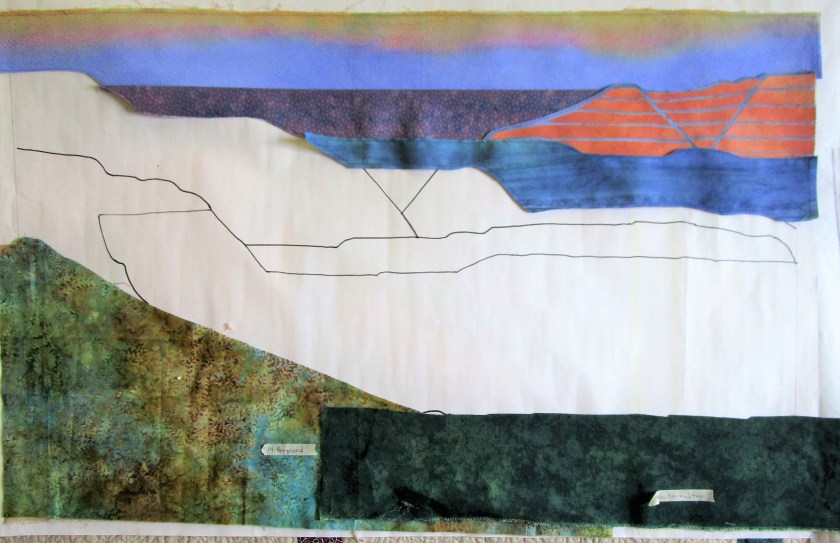
I desire to do something simpler. (Only partly because I don’t want to spend several years of my life painting an elaborately decorated border like the example!) I have a fascination with symbols, so I decided to place historical and ancient symbols of God and/or creation at the corners instead. After a bit of research, I got busy.

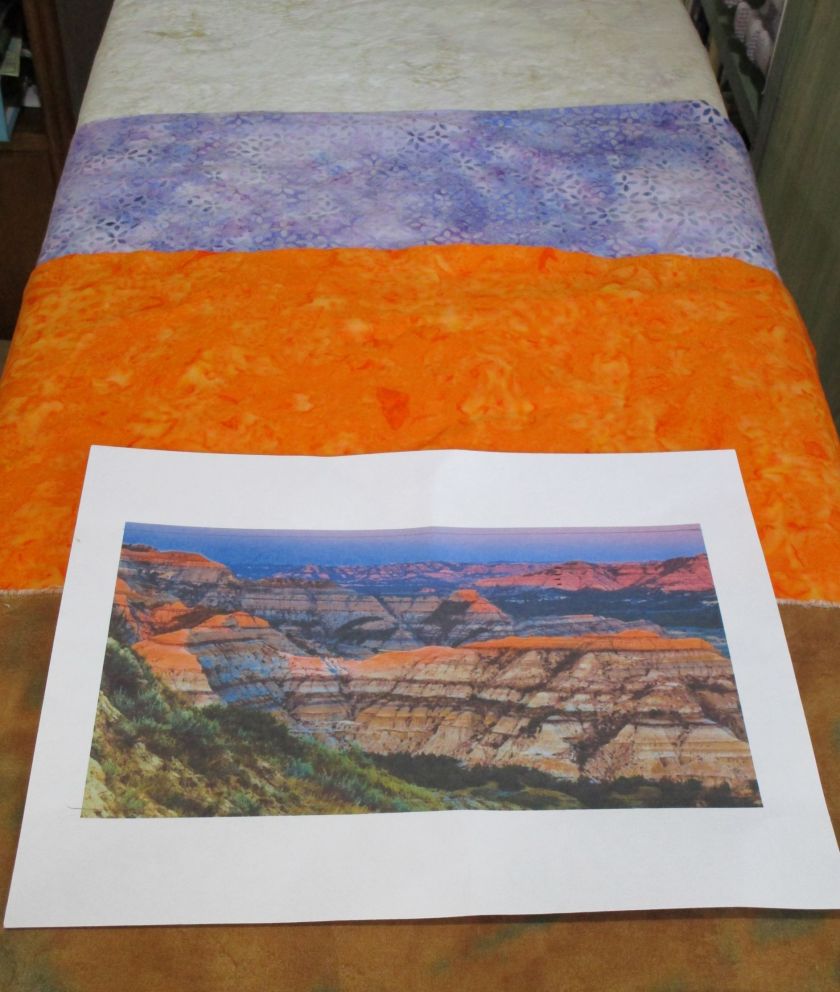
Three out of four are complete. They are painted on the same golden fabric used as used for the scenes of Creation. I used watercolor pencils again. Behind and to the left you can see my border fabrics.

Perhaps tomorrow I will get back to sewing.

Posted in quilting

Update on Creation Project

It’s time to turn my full attention to incorporating the panels into a quilt. After perusing my Quilter’s Recipes book, I settled on a block called “A” Star Variation.

This version of a nine-patch block is described as Easy. I notice that the book shows a small quilt made with four blocks. This would work very well for my four panels. A secondary design is revealed right in the block’s middle. I have a good idea for an embellishment on that location.

As of today, I have all the patches cut and assembled.

The middle rows of each block, featuring the applique patch, are sewn up.

The next step is to assemble the first block. This will be a true test of my cutting and piecing skills.

It looks…………okay. The three-piece triangle blocks show my weakness in cutting and matching points. I’m not bothered sufficiently by the block’s wonkiness to take it apart and re-make those patches. But I will double-check the remaining patches of that type for accuracy and size.

Soon the assembly will be done, and I can move forward to making surface designs, which will make me happy. I also plan to add a double border using dark teal and rust red fabrics. Those fabrics are visible in the upper left corner of this block.

Have a great day. It’s nice here – I plan to take a walk.

Posted in quilting

Final Test Creation Panels Project

Using my new watercolor pencils, yesterday I painted the final two panels copied from a 13th century illuminated manuscript.

Days One and Three

I’m testing the performance of this medium on cloth. If I find that the pigment doesn’t bleed or fade, I will add this tool to my fabric painting practice. Now that all four images are finished, the cloth gets dipped in soapy water……

….swished gently, rinsed and dried. I’ll admit that I left the cloth to soak for less than a minute. There was a tiny bit of yellow and red pigment dissolved into the bath water. But as I blotted the rinsed cloth, I saw no pigment transferred to the white terry towel. Happy days! The pigment is colorfast.

The absolute final test is permanence. This one can’t be rushed. I just have to use the object and see what happens over time.

Because the muslin is so lightweight, I decided to cut out the circles and applique them to quilting cotton. In keeping with the “let there be light” theme, I chose a gold ombre fabric.

For the quilt, I’ll stick with the colors of the original painting – gold, dark blue, red and teal green. I have a silvery-gray solid to use as the background.

More to come after a trip to the fabric store.

Posted in collage, painting, quilting

Friday Finish: Badlands

The inspiration for this art quilt came to me during our trip to Roosevelt National Park in July of 2021. I was captivated by the sandwich layering of rock, running in parallel lines that eroded down over thousands of years. It suggested to me a string pieced quilt. For the next several months I thought about my concept and puzzled over how I could bring it to life in fabric.

Our photographs were disappointing. It was high noon, and pervasive smoke dulled the light. No shadows were in evidence and the colors were muted. I decided to rely on an internet image for my working reference photo,

Photo from vangorentalmn.com

To get from concept to finished art is a long process. I started by making a value sketch. Next, I drew a pattern to scale, identifying major segments and eliminating excessive detail.

Here’s the part all fiber artists (including myself) find extremely creative: choosing fabrics. Since I like to use watercolor, I painted my swatches. After assigning a hue and value to each segment on my pattern, I picked out the fabrics to best achieve my color scheme of orange, blue-purple and blue-green.

Here’s an aside about the fabric I chose. Ultimately, I couldn’t find fabrics that had the colors and textures that I needed. To get there, I painted on printed fabric for most parts of the quilt. I also selected a few batik prints that were close enough, with only minor adjustments to color.

With the design decisions made and fabric selected, I began to assemble the quilt. All of the techniques that I used in making this quilt I learned from two fiber artists: Annette Kennedy and Gloria Loughman.

http://annettekennedy.com/about

https://www.glorialoughman.com/about

I thank these artists for giving me the skills I needed at the time I needed them.

And here is Badlands in its final form:

The design is invigorated by lines running in parallel diagonally and horizontally. Where the diagonals meet, triangles are formed. These shapes lead the eye to the center where two focal points have a quiet conversation across the river valley.

As a final note, I want to acknowledge the influence on my style of pop artist David Hockney. A print of his painting, Garrowby Hill, hangs over our fireplace.

My imagination has traveled that blue road countless times over the past twenty years.

Posted in quilting

Work in Progress: Badlands

When I last wrote about this art quilt project, I was waiting on a delivery of fabric.

Here is what my quilt looked like at that point.

I had selected some fabrics from my stash. The sky and horizon segments had been painted and positioned. My first module of background ridges was cut-out, fused and stitched together. I liked it a lot. But it was clear to me that I needed more orange and purple fabrics to really represent the scene as I designed it.

This photo shows my reference image and the three batik fabrics that arrived from Fabric.com last month. I was pretty impressed that the fabric colors looked just like they did on my computer screen.

So, full steam ahead with the work!!

Half-way assembled:

In this photo all the segments are finished and in place but one – the lower right. You see the segment’s base fabric that I plan to use.

At this stage I am very encouraged, and kind of excited. The lines and colors of the work represent my inspiration very well.

After I finish sewing down and quilting the background and middle ground, I will turn my attention to the focal point and foreground. Then comes a bit more painting of details before the final assembly.