Posted in quilting

Friday Finish: Baby Quilt

Yesterday, I learned that baby quilts are the best!

Looking back at my notes, I realized that I started making this quilt only two weeks ago. Last week, in my letter to mom, I gave a few details about this project: 1. Based on a pattern by Erica Jackman, of Kitchen Table Quilting. 2. Color palette to match recipient’s nursery theme of teddy bears. 3. Background fabric and batting came from my mother’s stash.

Top completed, sandwiched and ready for quilting

And now the quilt is finished.

I say baby quilts are the best because:

  • They are suitable for a lot of fun colors and novel fabrics.
  • They don’t take much yardage, which keeps the cost down.
  • They are perfect for using up stash fabrics.
  • They can be quilted on an ordinary home sewing machine.
  • They are quick to make!
Quilted and bound

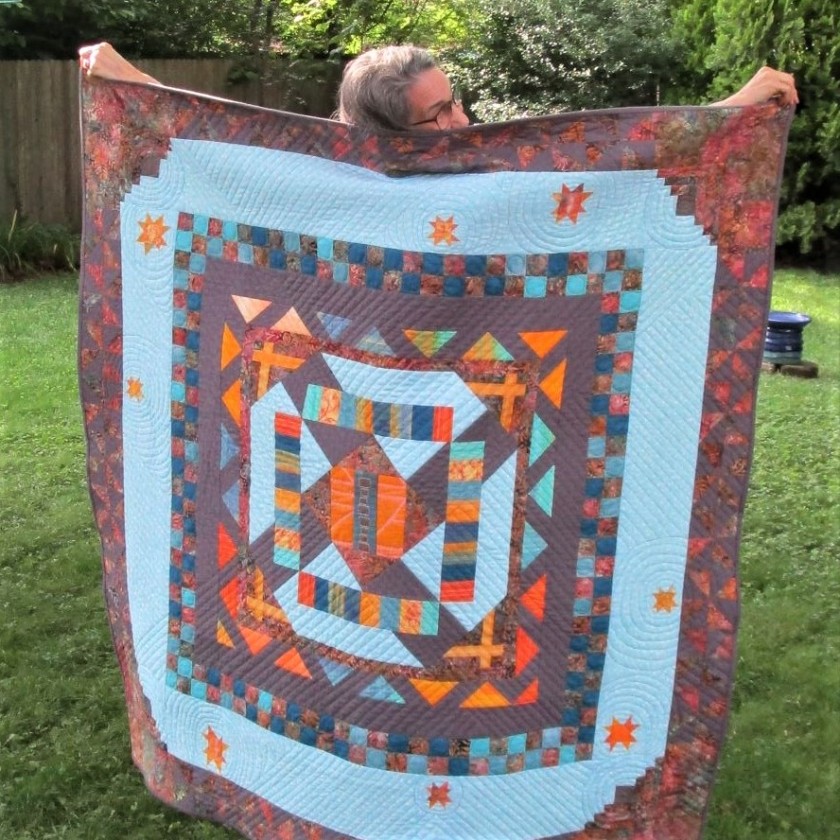
I quilted it using the walking foot – stitch in the ditch and straight-line quilting,

It was so much fun that I am actively seeking out another expectant family so I have a reason to make another one.

If you like this pattern, check out Erica’s website.

Posted in quilting

F.O. Friday: Round Robin Quilt

I’m so happy to get this fiber object moved to the finish line.

CAN YOU TELL HOW HAPPY I AM?

This is my Stay at Home Round Robin quilt, a group quilt project that took place in January and February. You may recall some of my earlier posts on this topic.

After all the piecing was complete, I was unsure of how to quilt it. In the quilt’s center I had used the walking foot to sew parallel lines that pinwheeled outward. But the checkerboard border seemed to act as a visual line, stopping the progress of the parallel stitch lines.

After months of procrastination, I made some decisions. The checkerboard border was quilted free motion in a sort of figure eight pattern (the symbol for Infinity.) Each square ended up with a circle inside it. I then continued my parallel lines beyond the checkerboard all the way out to the edge. EXCEPT: I sewed spirals (the shape of galaxies) around the stars and log cabin corners. The straight lines filled in everywhere else.

I call this quilt Expanding Universe. Each challenge caused the quilt to expand over and over. And the choice of a pinwheel block in the center, with corresponding smaller pinwheels in the last border reinforced the idea of spinning outward. The finished quilt measures 60 inches square.

Thanks to brother-in-law Steve for snapping these lovely photos of me enjoying my Expanding Universe.

Posted in quilting

Finished Object Friday – Quilting

After three months, I have finished the pet-friendly quilt that started with this fabric.

Inspired by Rayna Gillman’s improvisational piecing technique and using a combination of log cabin and strip pieced squares, I designed a pair of blocks I call Dog House, Cat Barn.

The blocks finish at 12 inches square. But how can they turn into a bed quilt? After mulling it over for awhile and making several sketches on graph paper, I found that I could fit four blocks across five rows to come up with a twin-size quilt. To create balance, I staggered the rows by four inches with a spacing strip, alternating between left side and right side every row.

I also felt that the balance would improve if the center row was different. Thus was conceived the Pet Condo construction project in “mid-town,” (if you will permit my flight of fancy.)

Four inches of sashing in a grey polka-dot fabric between the rows made a “street,” giving the animal neighbors a nice boulevard for walking over to visit. With my concept complete, I re-named the quilt Animal Friends.

Oh, another group of animal friends were introduced via the background fabric: Our hardworking and very dear bees.

The Animal Friends quilt measures 57 by 84 inches. It was quilted with a combination of walking foot “stitch in the ditch” and free motion stitching on my Bernina.

Posted in quilting

Animal Friends Project Update

Block assembly on this quilt is done! Animal friends, otherwise known as Dog-house Cat-barn, is an improvisational quilt using string-pieced strips around log-cabin style center patches of dogs and cats. The whole thing was inspired by a delightful black and white print, which you can see clearly, above. I decided to make a twin-size quilt which required 12 inch blocks, each assembled from four 6 inch patches.

The rows will be spaced apart with 4 inch strips in a gray print.

I have started the quilting with the third row, which features pet condos. 🙂

Pet Friendly Housing, quilted with just the walking foot.

Later today – I finished quilting this row before dinner was ready. It went very well. With a bit of effort, I could have this quilt done in a few weeks.

Posted in quilting

Final Steps on Duckweed Sample

Today I finished up my practice sample for the Duckweed fiber object. This involved making the quilt sandwich and quilting.

I started with the walking foot and black thread. The stitching included wavy lines over the foreground and sewing around the duck. Next I switched to white thread and the free motion foot for creating the ripples around the base of the duck and outlining the duck’s wing feathers. I continued on my making white ripples to match the black ones in the foreground. To finish up, I used yellow-green thread to quilt the background.

As I worked, I began to like it more and more.

For the purpose of comparison, here is the inspiration photo.

And here is a close-up of my duck.

Making this piece was really good practice. I might do some things a little bit differently when I begin work on the main piece. I’ll give this project a few days rest and come back to it with fresh eyes.