Posted in quilting, recycling, sewing

Inspired by Vintage

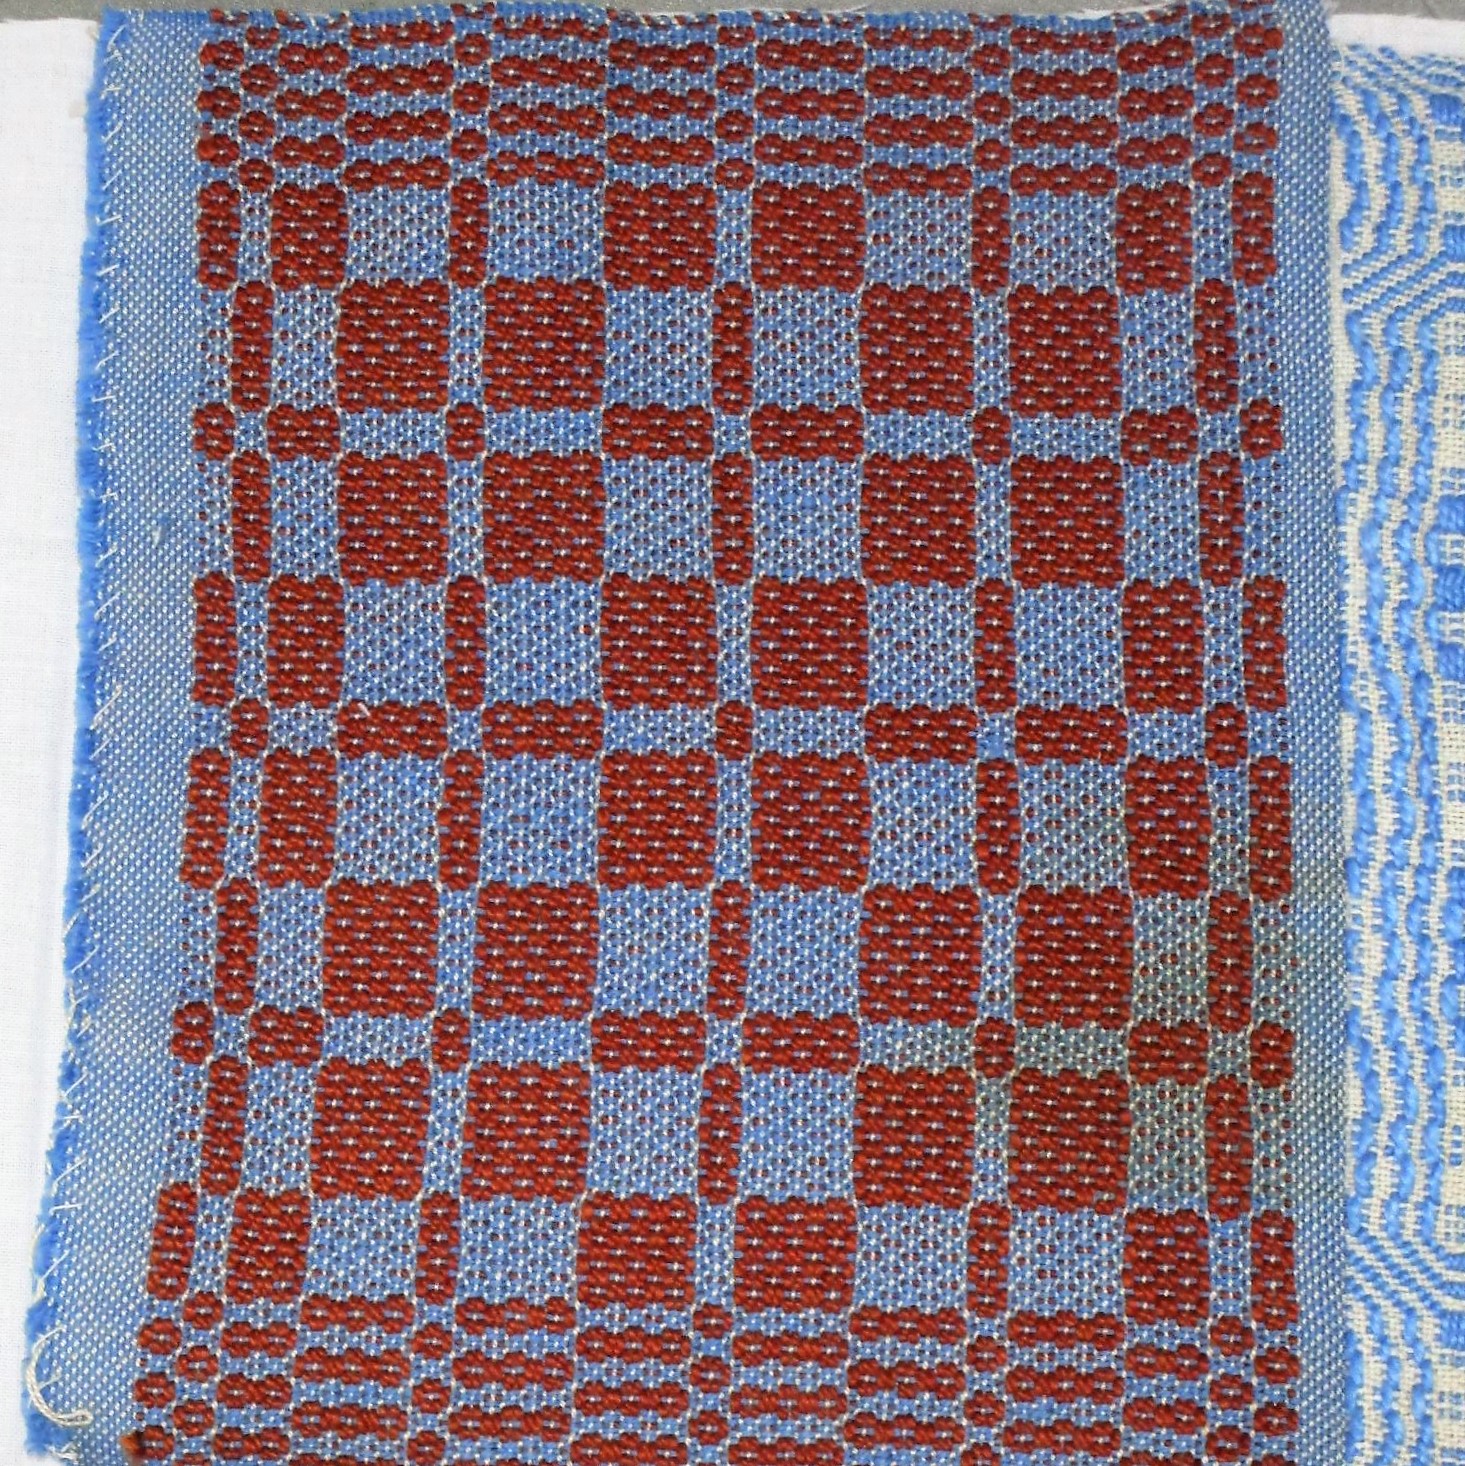
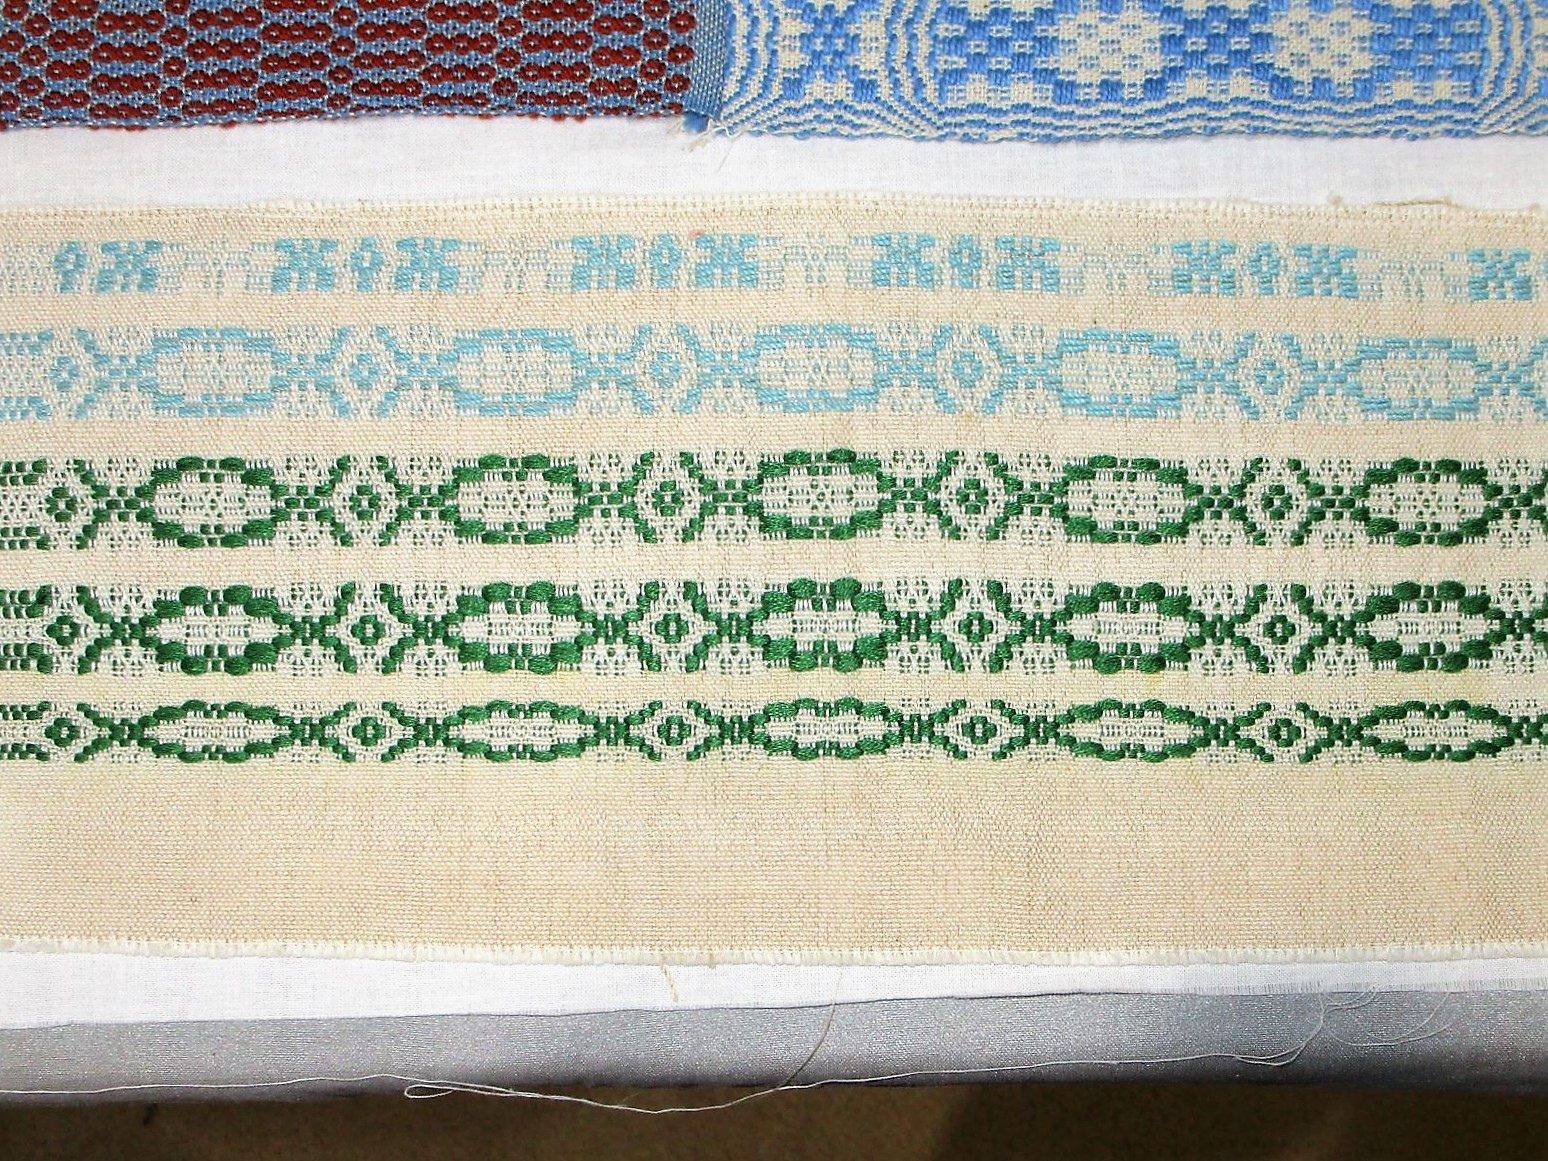
While visiting Daughter’s Family last Thanksgiving, I was invited to rummage through a stack of weaving samples. These pieces were made over a number of years by my son-in-law’s grandmother, Margaret. They were then stored away with Margaret’s son, and eventually passed into the next generation.

Here are some of the pieces that came home with me.
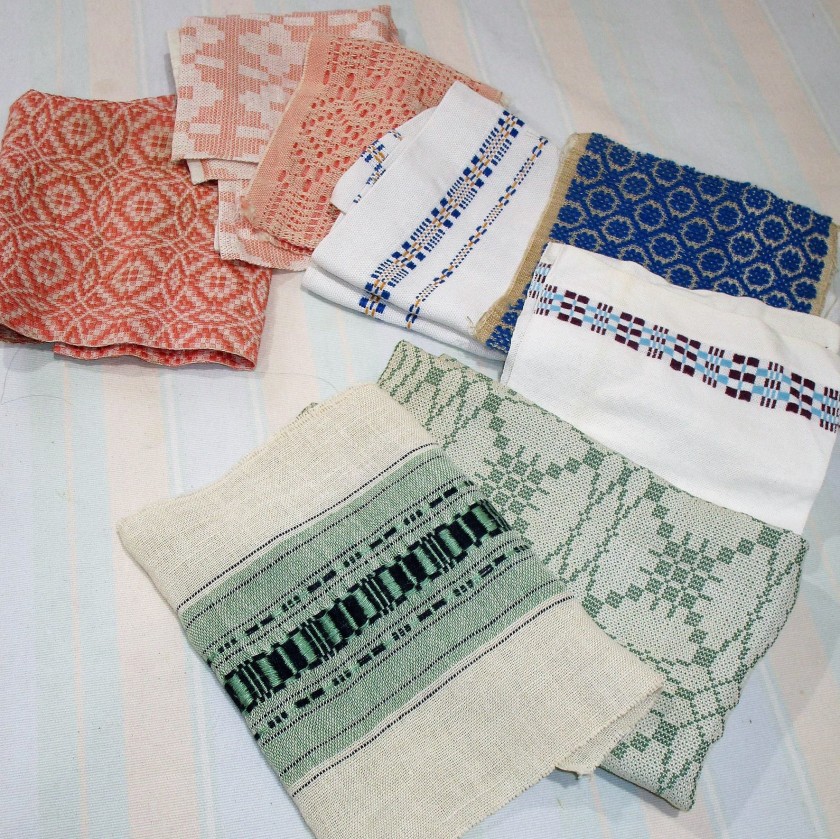
I was invited to keep these lovely samplers with the understanding that they could be worked into a fiber object. I feel honored to receive them.

So today, I have a tiny glimpse of an idea on what to make with them. What if they formed the feature blocks in a quilt? It would be a wabi-sabi quilt, assembled with additional fabrics recycled from articles of clothing and household linens. In my stash I came across the following items that fit the description.
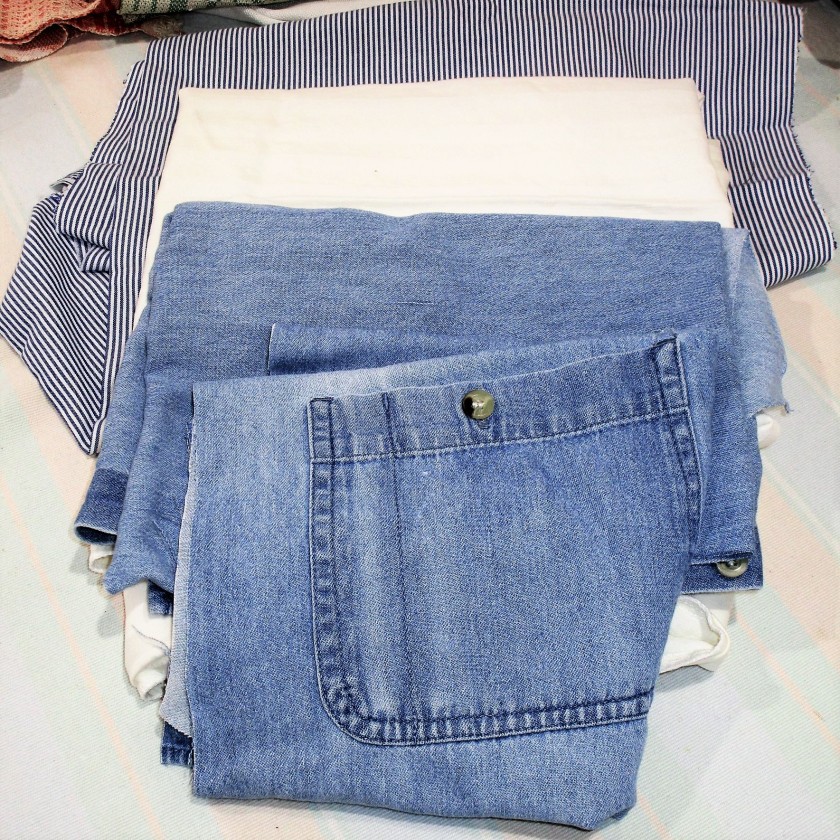
Cut up shirts and old pillowcases in compatible colors

I began my work by washing and pressing the linens, then examined each piece for needed repairs. It seemed to me that, while the samples were firmly woven, the weaves are much more open than standard quilting cotton. How could I stabilize them so they wouldn’t shift during quilting? This called for a consultation with quilting expert Jackie, aka, my mom.

She had some great pieces of advice. Ultimately, I decided that I could sew the linens to a light-weight muslin backing, string piece style, then work in some rows of decorative stitching. This particular idea was top of mind, because I am currently reading this book on the Japanese practice of boro and sashiko.
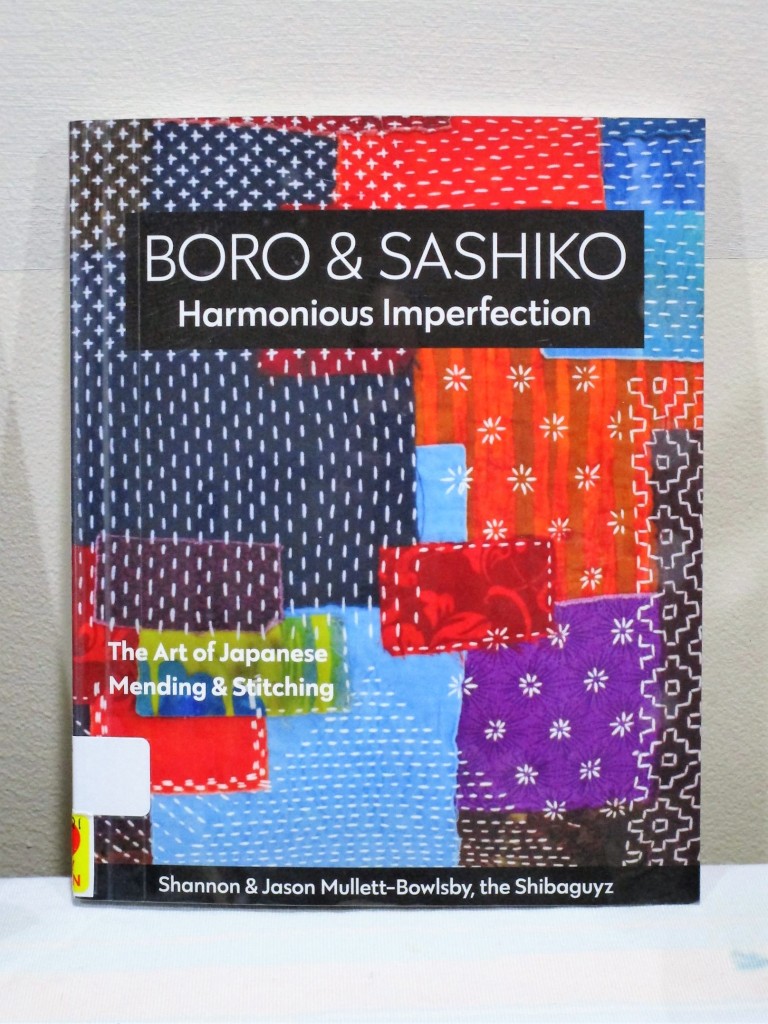
I call this sort of happening a Convergence.

Let’s start the work with these three pieces as a center block.
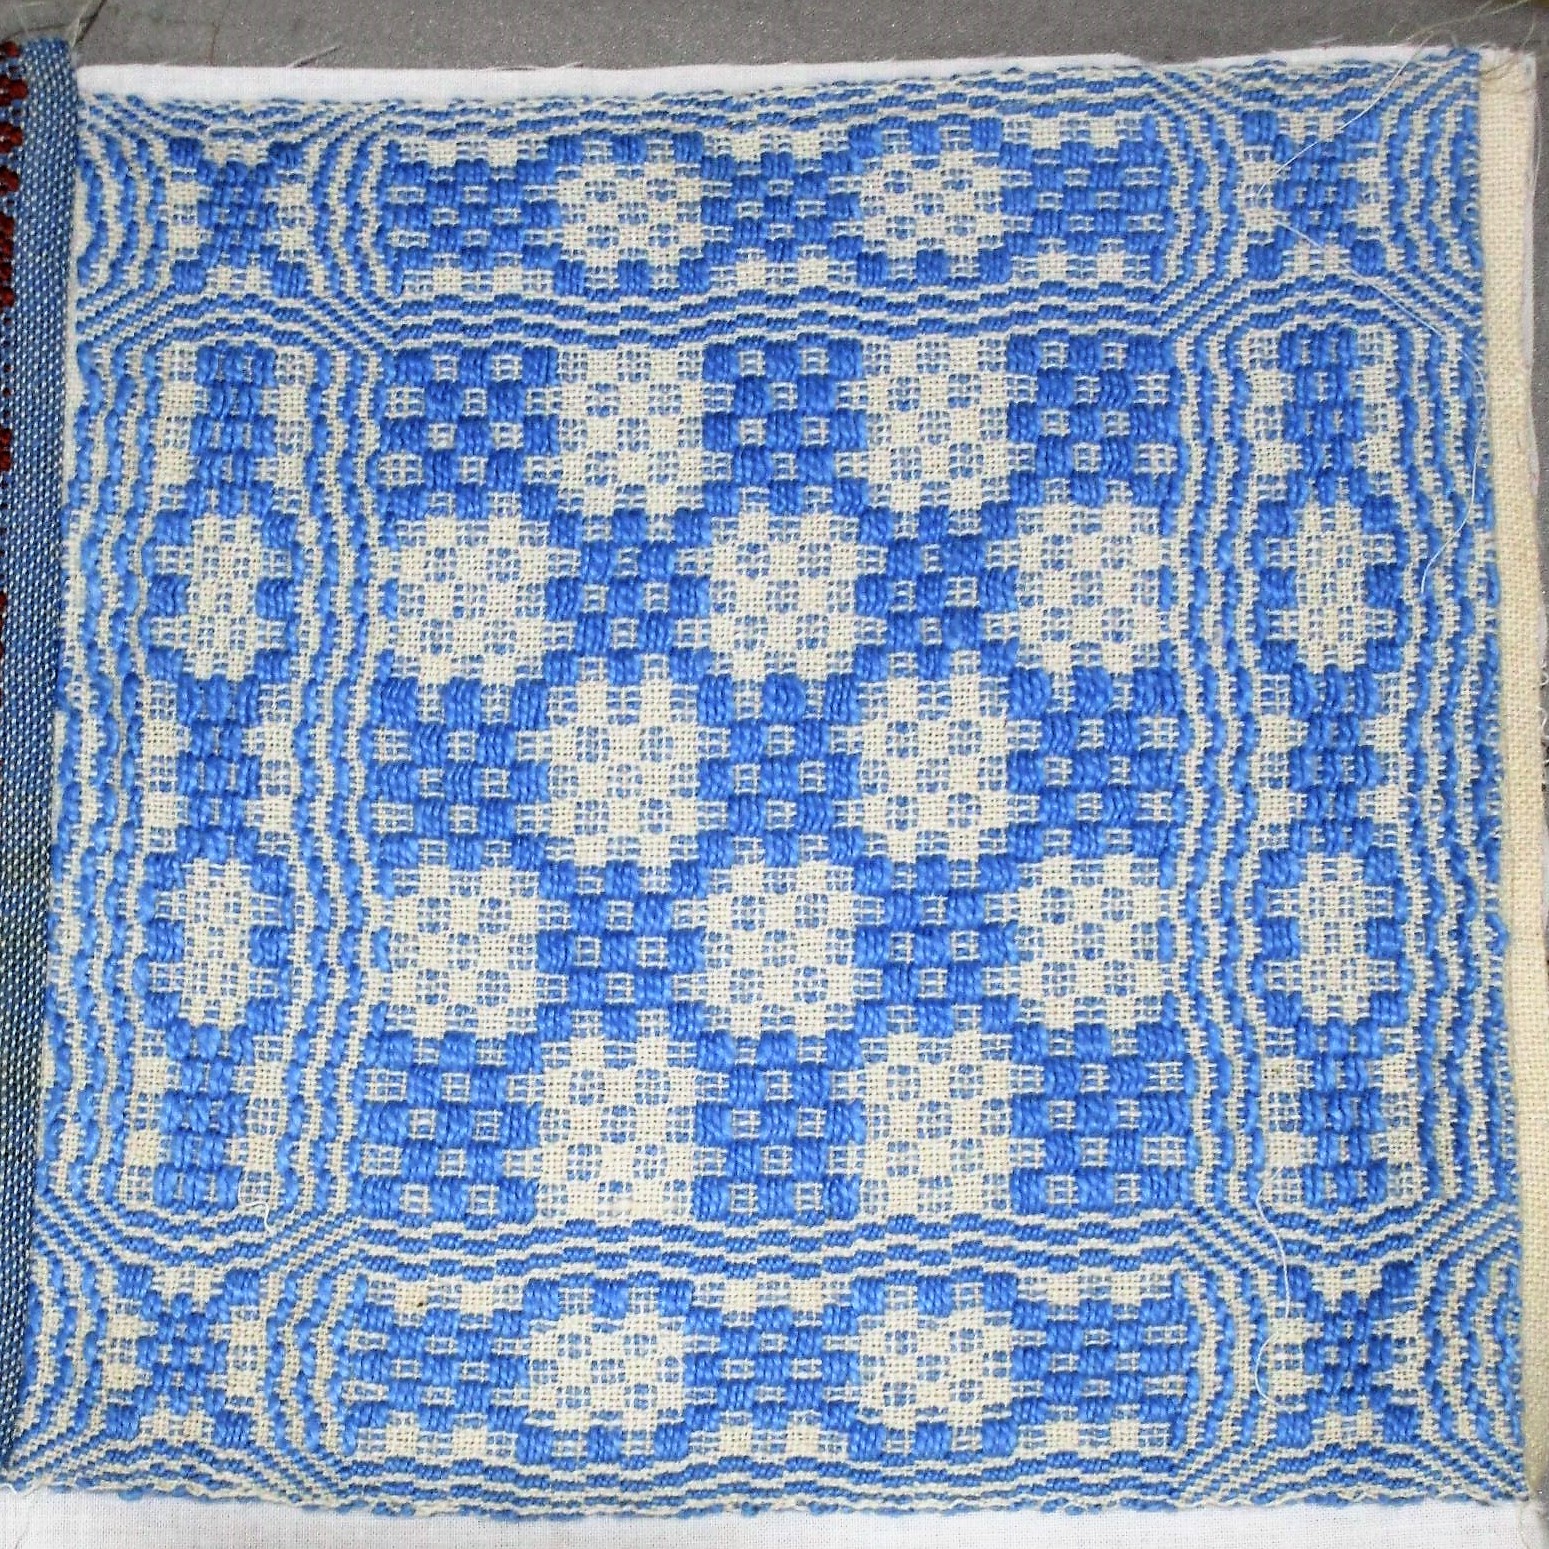
They are of sizes that will fit together into a 12-inch block without cuts. The three contain all of the colors in my chosen palette, which could make an ideal focal point for the rest of the quilt.
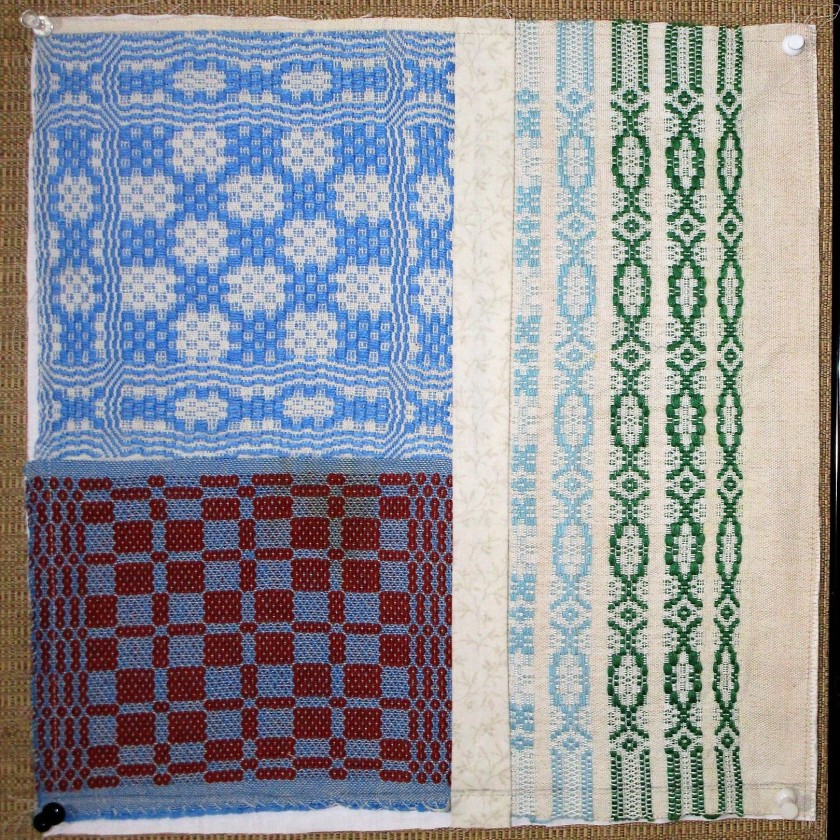
DONE!

The next steps will be to design and sketch a layout, then acquire supporting fabrics. Maybe I can source more second-hand clothing items from local thrift stores.

Posted in recycling, sewing

Wabi-Sabi 2

I spent the better part of yesterday afternoon sewing the little wabi-sabi blouse. Getting to know the automatic button stitch on my Bernina was a bit of an eye-opener. It took four practice button holes before I was ready to attempt it on the garment. So the buttonhole is fine now, but I am having some fit issues.

Finally I called my daughter, to discuss the blouse and check her measurements. She was enthusiastic about my progress so far. Then she casually mentioned that the blouse was constructed with the buttons on the BACK. What?

After the call, I put on the blouse, switching it around so buttons were in the back. Sure enough it seemed to drift into place over my body.

A new point of view.

I will need to adjust the button locations (most of them are not centered over the button holes) and take in the band to match daughter’s measurement. Otherwise, this little turnabout is done!

Posted in recycling, sewing

Wabi Sabi

A Japanese philosophy that has been around since the 15th century, wabi-sabi is all about finding beauty in imperfection. It means keeping your old stuff, especially if you really love it. A few high quality garments are more valuable than a bunch of new, poorly constructed items of inferior fabric. Sometimes a few minor repairs will keep your treasured frock in circulation. It’s really okay if the repairs are visible.

When I was explaining this concept to my daughter a few months ago, she said that she had just the thing for a wabi-sabi treatment. What she brought me was a silk blouse, in a muted print of neutrals that had become worn and torn. She said that she wore it often, but no longer, due to rips and thin places in the silk. Could I do something with it?

I wish I had taken a photo of the blouse as she handed it to me, but alas, I did not. Here is what the garment looked like after I had cut out the damaged sections.

Three months have passed since I gained possession. This morning, I decided it was time. Last year I had purchased a largish silk blouse in similar colors at a thrift store for a few dollars. This might be a good source of fabric for the wabi-sabi blouse.

My plan is to cut this blouse lengthwise along the stripes, and use the pieces to rebuild the yoke of daughter’s blouse. Here is a sample of the fabric.

And here is a sketch of my intended alterations.

Without a pattern, I set about cutting and sewing, cutting and sewing. First I made some strips from the thrift store blouse and used them to create a band at the underarm area. This was stabilized with ultra-light weight fusible interfacing. Next I cut two triangles from the front of daughter’s blouse and trimmed the edges with black silk. These pieces were then sewn to the band. A few alterations to the back also included black silk edging.

It’s the end of the day, and here is a photograph of the wabi-sabi blouse.

Progress is good. If all goes well tomorrow, I will finish the structure, make a buttonhole, sew the buttons back on, and maybe add some decorative elements.