Posted in quilting, recycling, sewing

Inspired by Vintage

While visiting Daughter’s Family last Thanksgiving, I was invited to rummage through a stack of weaving samples. These pieces were made over a number of years by my son-in-law’s grandmother, Margaret. They were then stored away with Margaret’s son, and eventually passed into the next generation.

Here are some of the pieces that came home with me.

I was invited to keep these lovely samplers with the understanding that they could be worked into a fiber object. I feel honored to receive them.

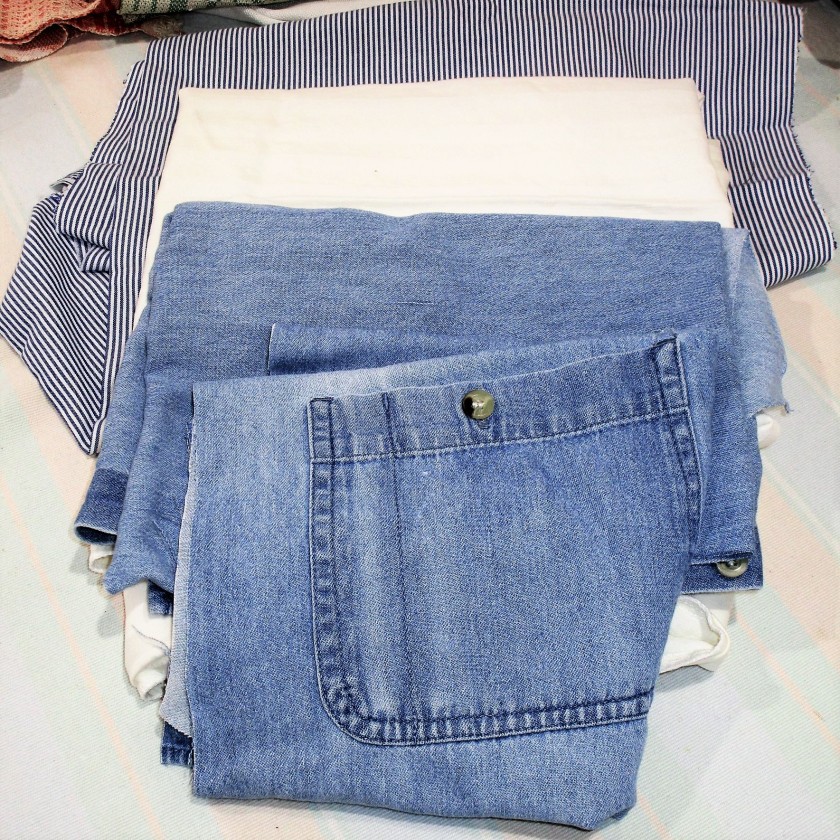
So today, I have a tiny glimpse of an idea on what to make with them. What if they formed the feature blocks in a quilt? It would be a wabi-sabi quilt, assembled with additional fabrics recycled from articles of clothing and household linens. In my stash I came across the following items that fit the description.

Cut up shirts and old pillowcases in compatible colors

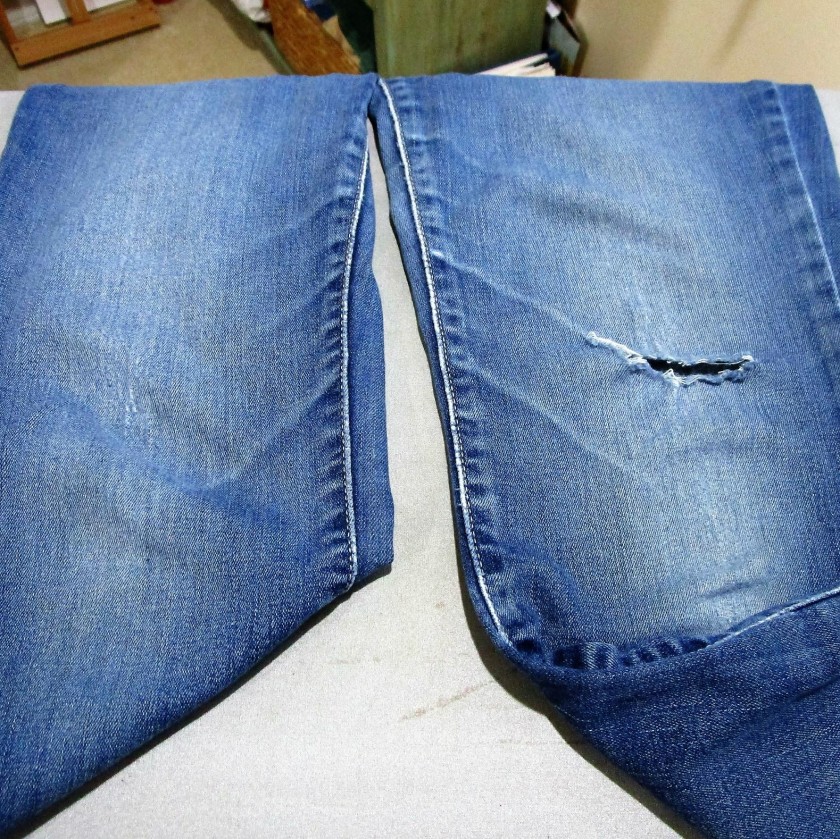
I began my work by washing and pressing the linens, then examined each piece for needed repairs. It seemed to me that, while the samples were firmly woven, the weaves are much more open than standard quilting cotton. How could I stabilize them so they wouldn’t shift during quilting? This called for a consultation with quilting expert Jackie, aka, my mom.

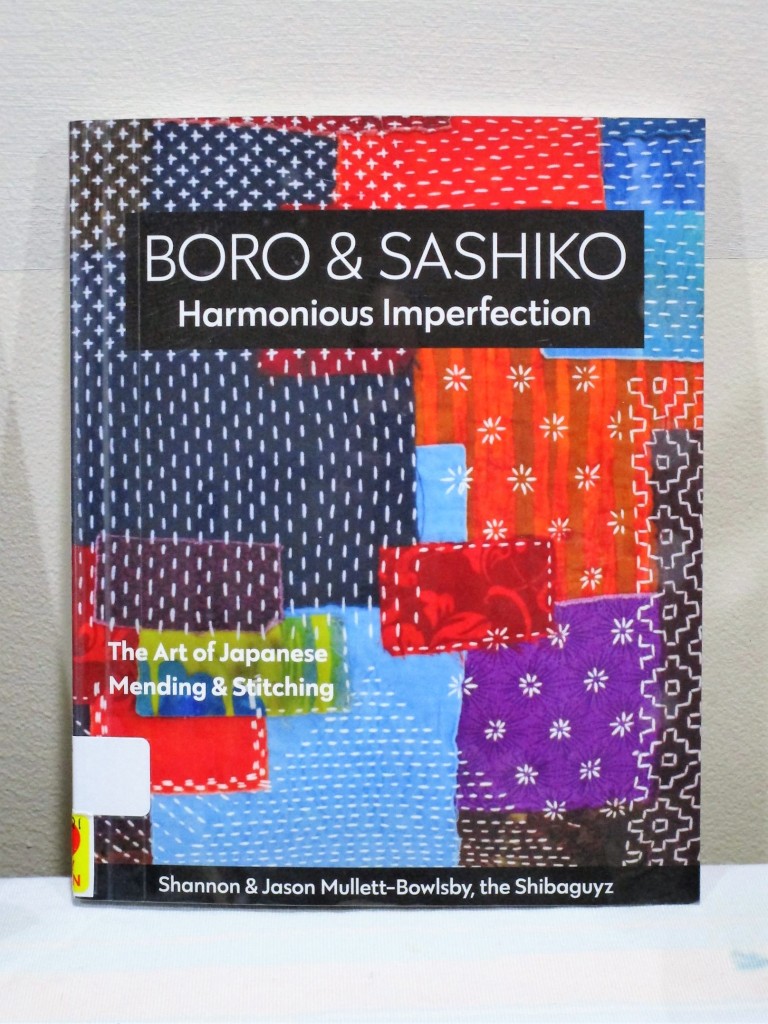
She had some great pieces of advice. Ultimately, I decided that I could sew the linens to a light-weight muslin backing, string piece style, then work in some rows of decorative stitching. This particular idea was top of mind, because I am currently reading this book on the Japanese practice of boro and sashiko.

I call this sort of happening a Convergence.

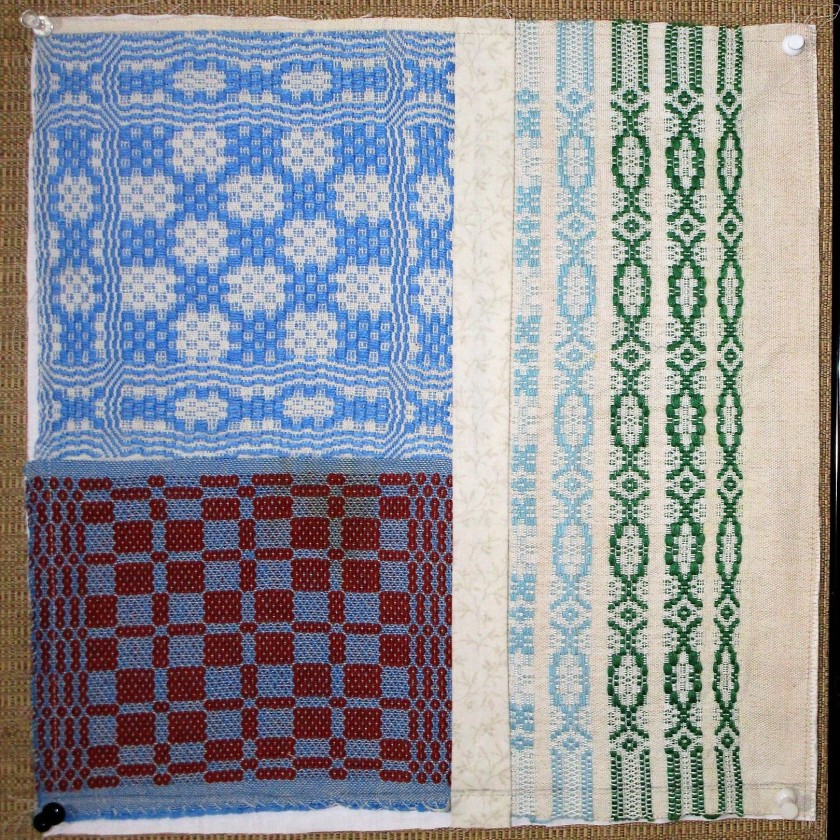
Let’s start the work with these three pieces as a center block.

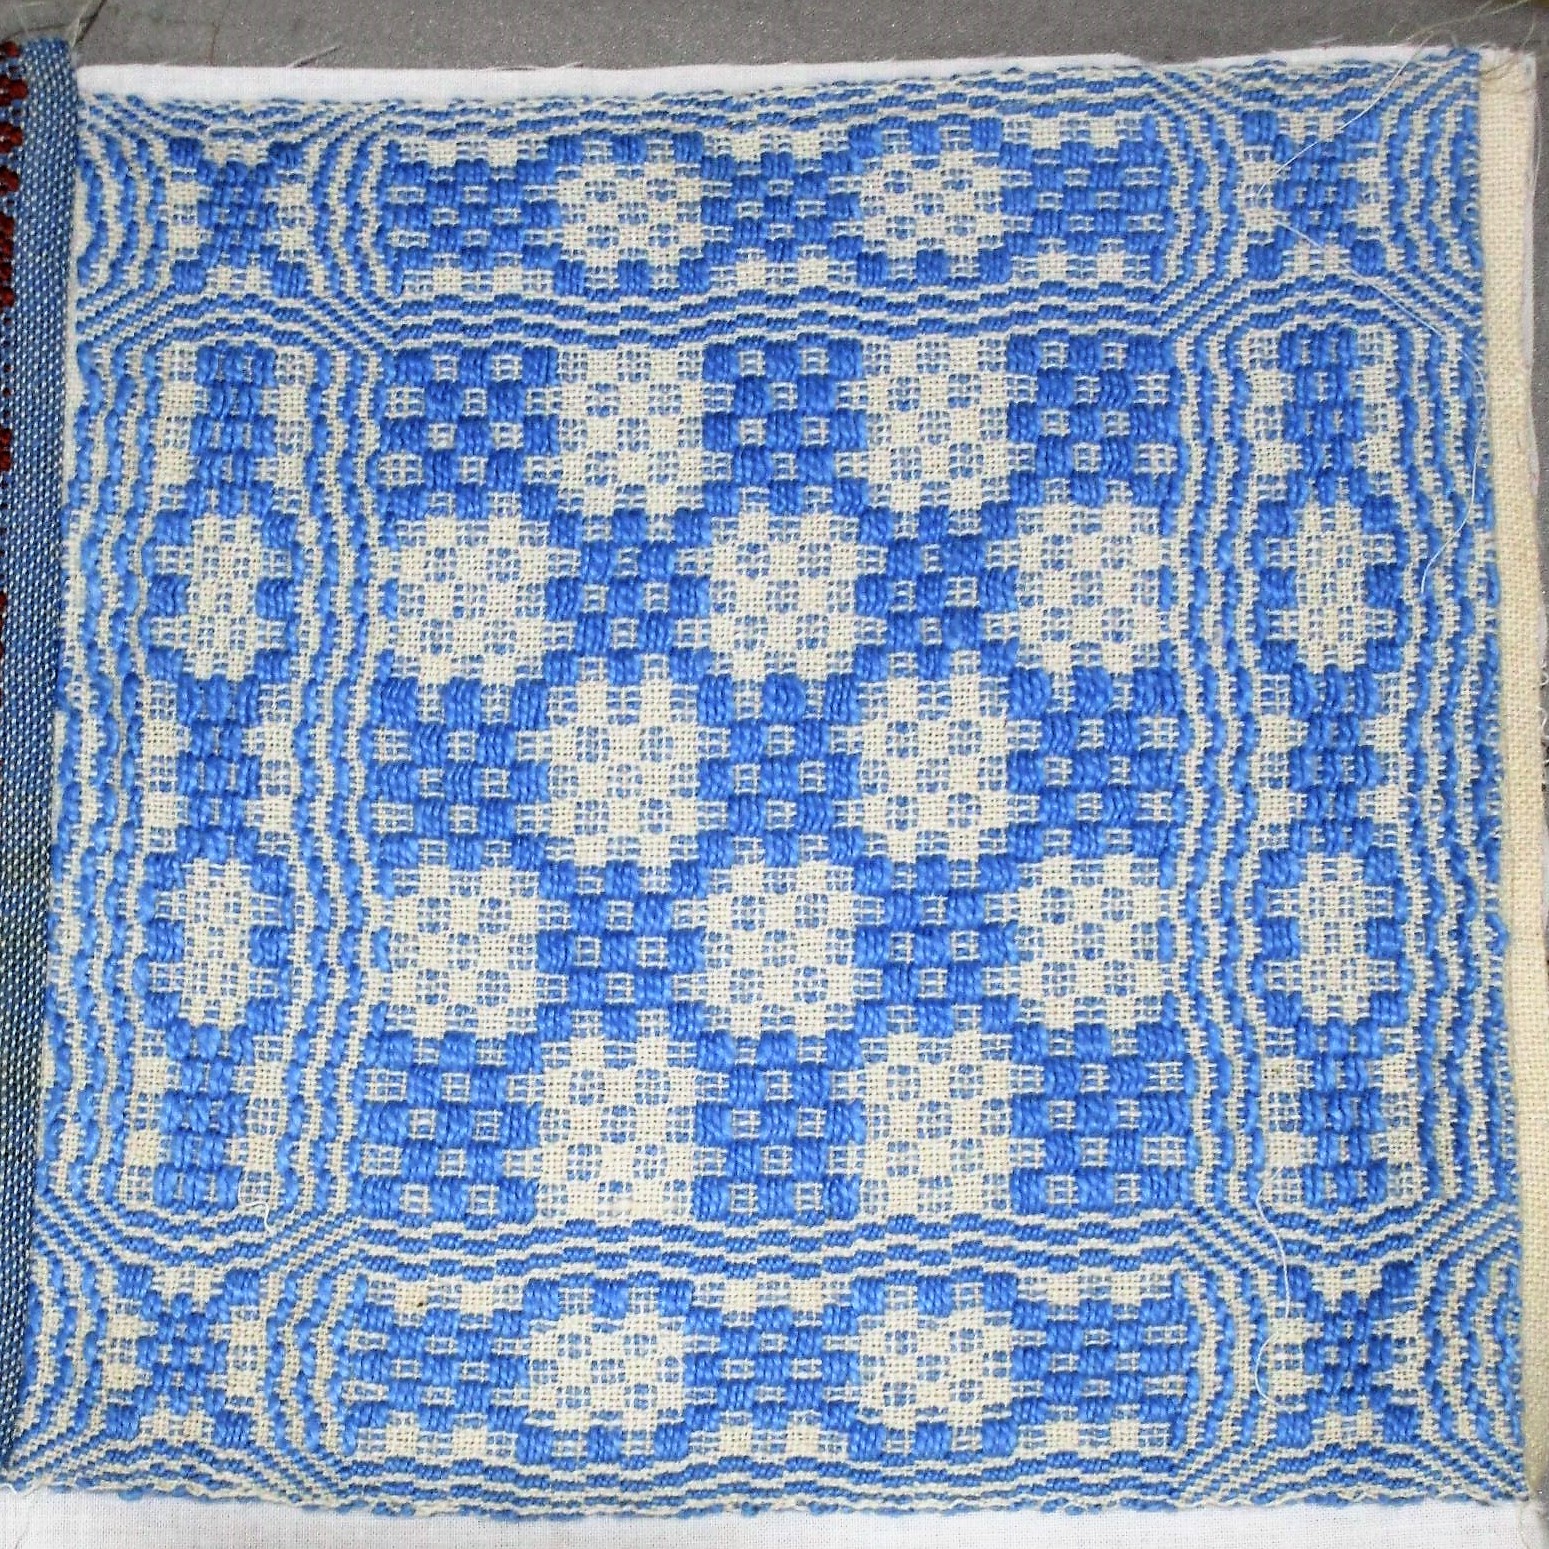
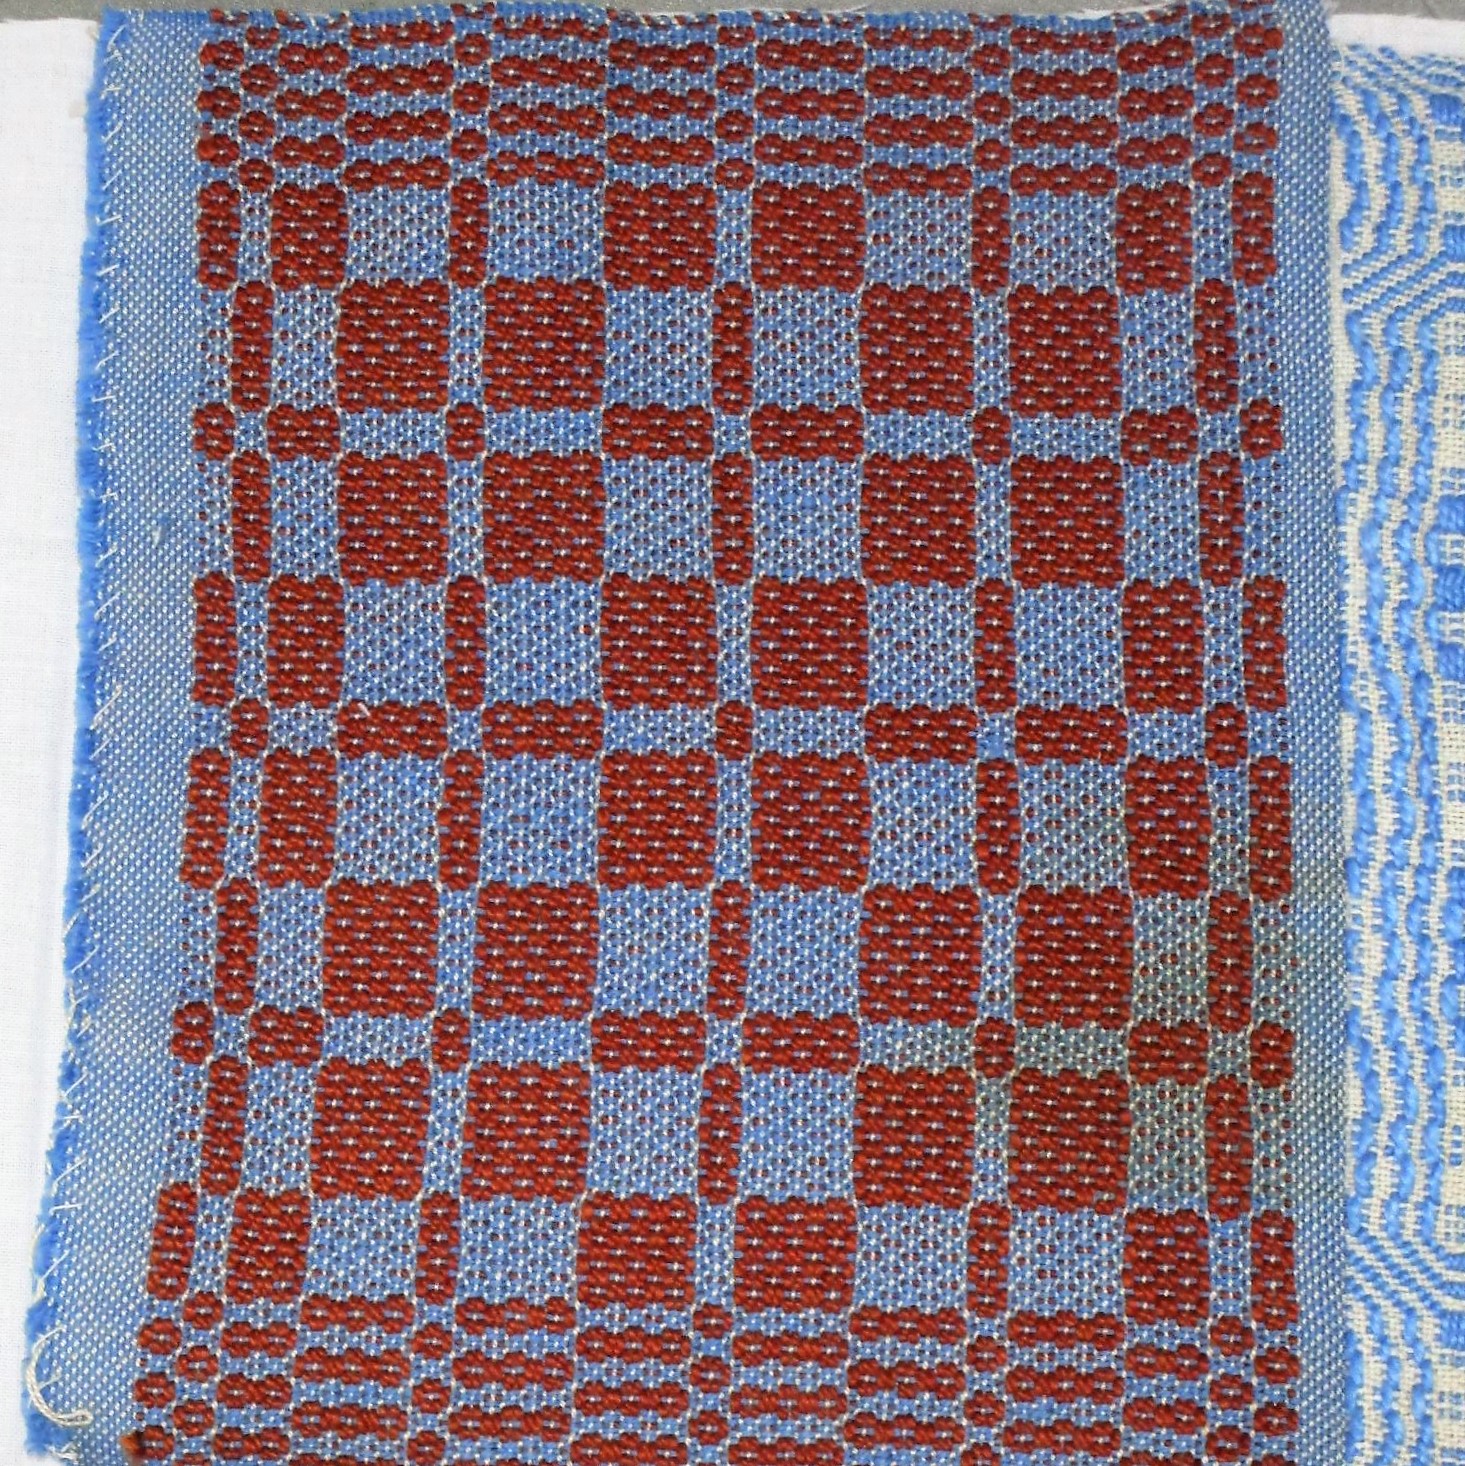
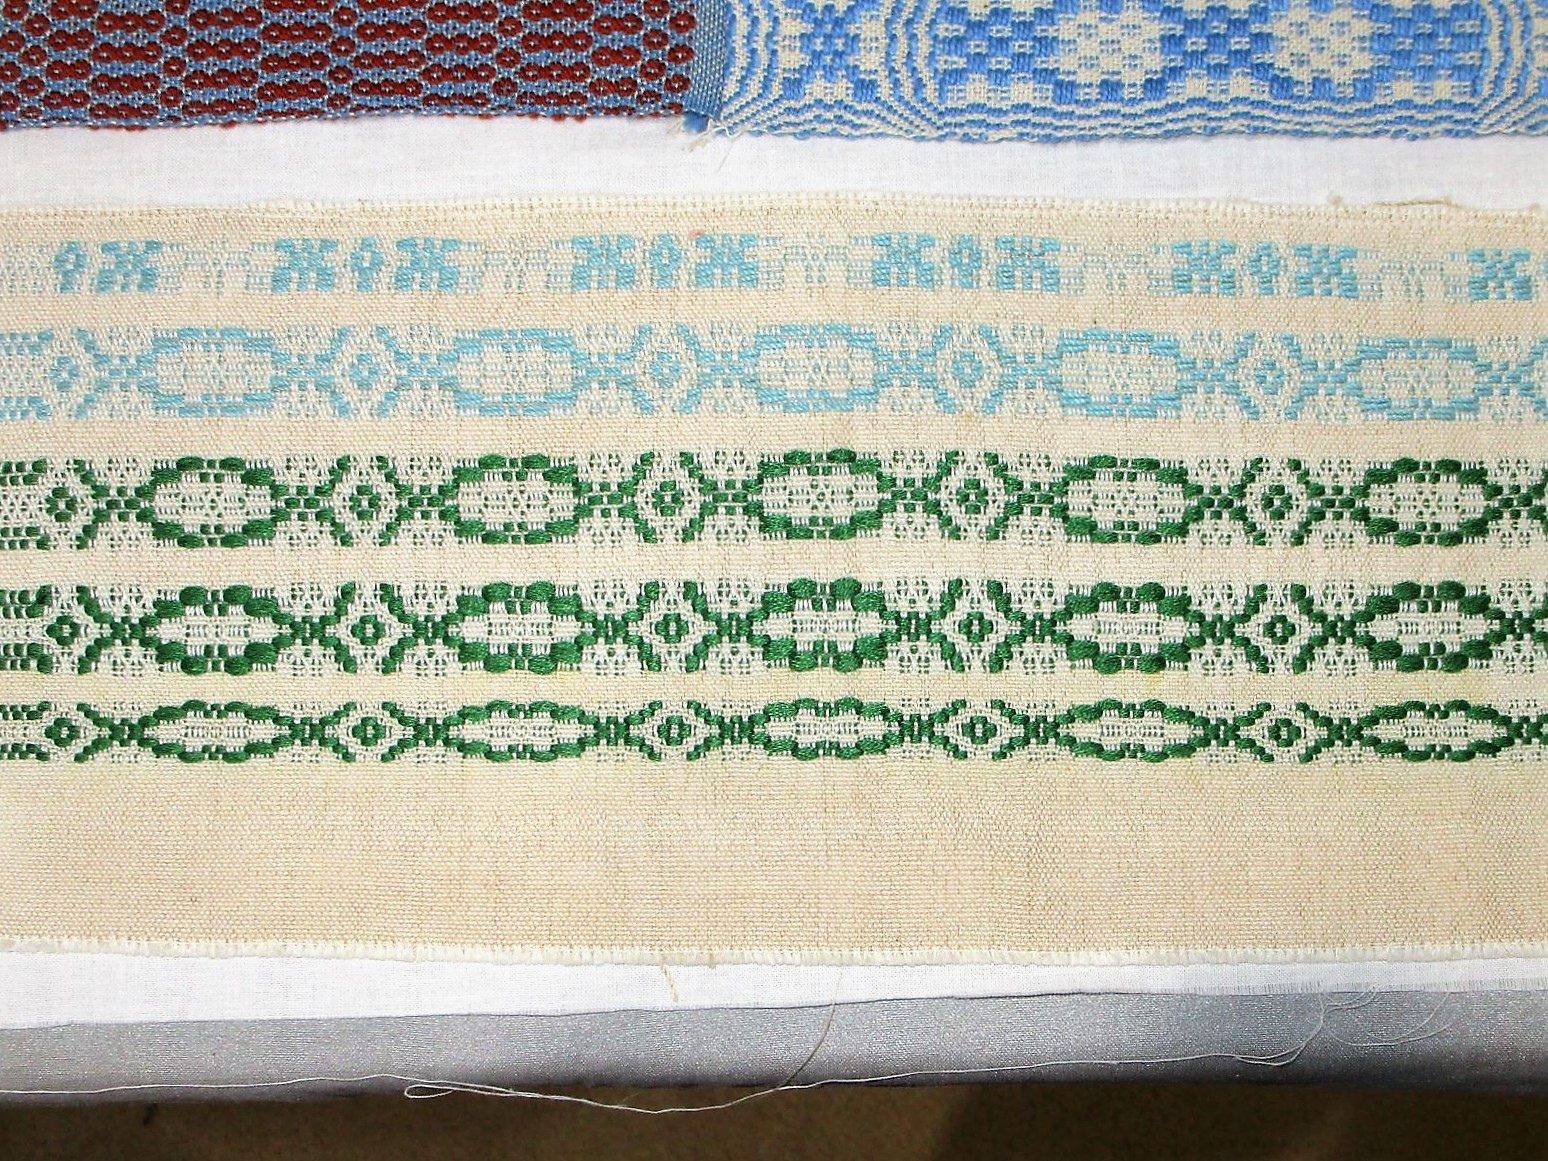
They are of sizes that will fit together into a 12-inch block without cuts. The three contain all of the colors in my chosen palette, which could make an ideal focal point for the rest of the quilt.

DONE!

The next steps will be to design and sketch a layout, then acquire supporting fabrics. Maybe I can source more second-hand clothing items from local thrift stores.

Posted in embellishing, hand embroidery, recycling

Visible Mending

Earlier this week, a friend of a friend asked me to help him mend the holes in his favorite jeans. He didn’t bring any patches along, so I just used needle and thread to weave across one of the holes as a demonstration. That got our conversation started about the concept of visible mending.

The artist I was thinking about is Celia Pym.

An article and some images of her work can be found here:

The conversation reminded me that I had set aside a pair of jeans of my own that were now holey at the knees.

Perhaps the universe is telling me it’s time to start this project. Despite having an abundance of UFFOs littering my studio, I began working on the jeans.

First of all, I wanted to incorporate patches over the weak-at-the-knees areas. Having been told in the past NOT to throw away fabric scraps, I was able to find some interesting scraps already coated with fusible glue.

It took me less than 30 minutes to fussy-cut some flowers that could cover the holes. I added even more patches just to create a colorful floral field on the denim.

Wow – shades of the sixties.

I do intend to embroider over the patches. This will serve to strengthen the patches and unify the design a little bit.

Getting started with embroidery – pearl cotton

It’ll take me a few evenings to get all the hand stitching done. But first, I wanted to address the torn logo on the back of the jeans.

These are Levis jeans but the leathery label on the waistband is nearly gone. I used a small pair of scissors with a sharp point to cut away the remaining bits and thread.

Next I made a label of my own and stitched it into place.

DAILY FIBER FUN – BY HAND

Yesterday I purchased a variety pack of pearl cotton thread in shades of pink, purple, aqua, blue and yellow. I’m really looking forward to jazzing up these tired old jeans.