Posted in hand embroidery, painting, quilting

Van Gogh-ish Last Steps and Reveal

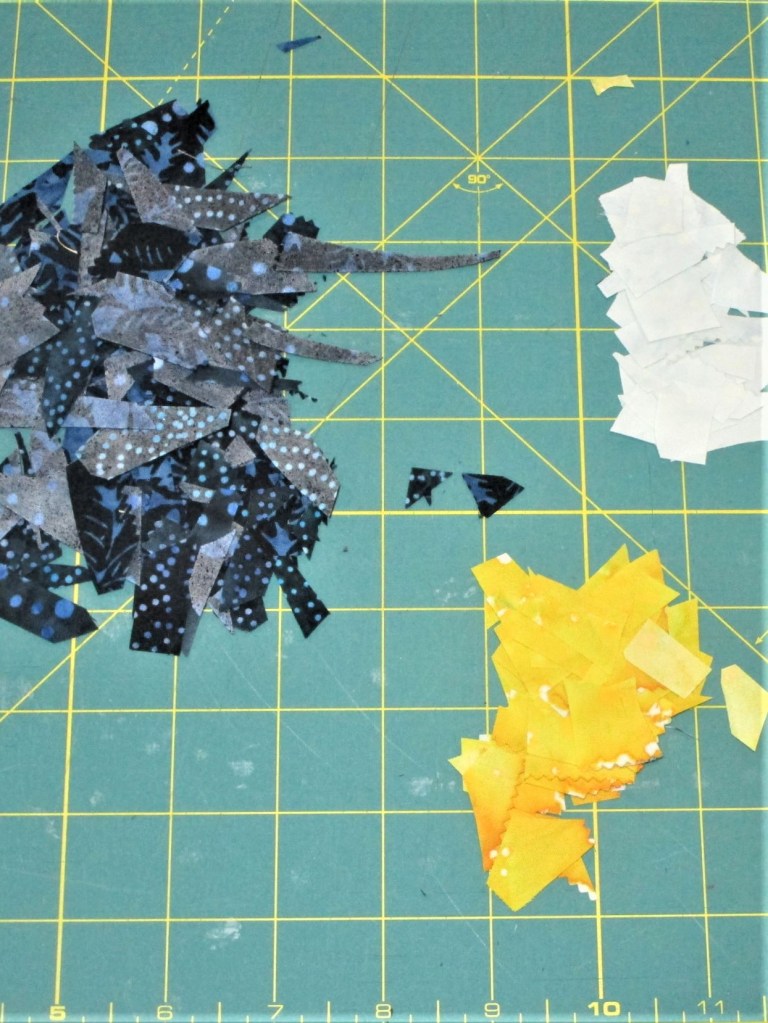
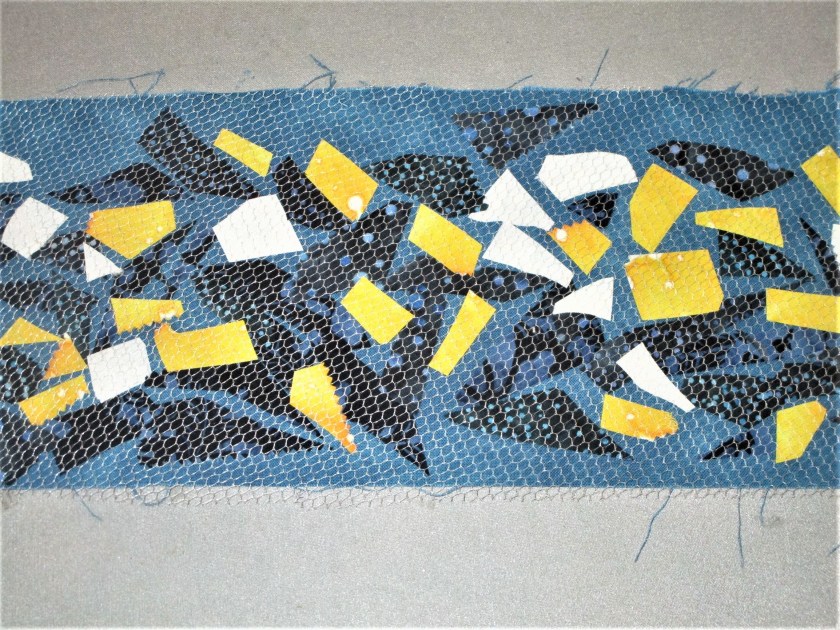
The last time I posted about my sunflower project, I had just finished fusing all the fabric pieces to the background and was beginning to embroider details on the flowers. There are only a few more steps to share.

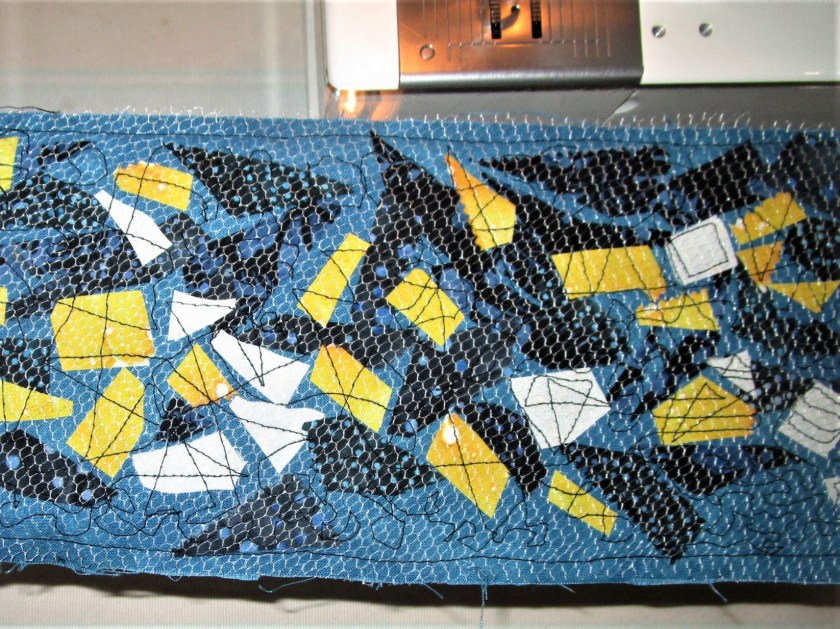
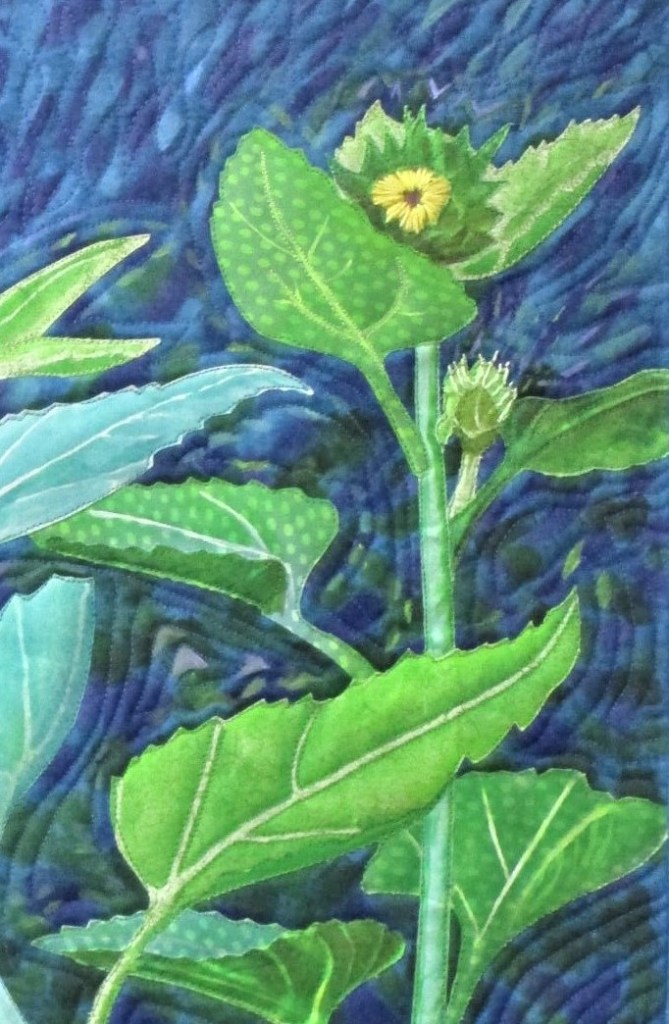
Here is a close up of the embroidery detail, which also shows the machine stitching around each applique piece.

Both of these steps took a good amount of time. I sewed around each piece using my walking foot. It is a great foot for precise work, but it only sews in a straight line. To sew down each petal and each notch in each leaf required lots of adjustments along the way.

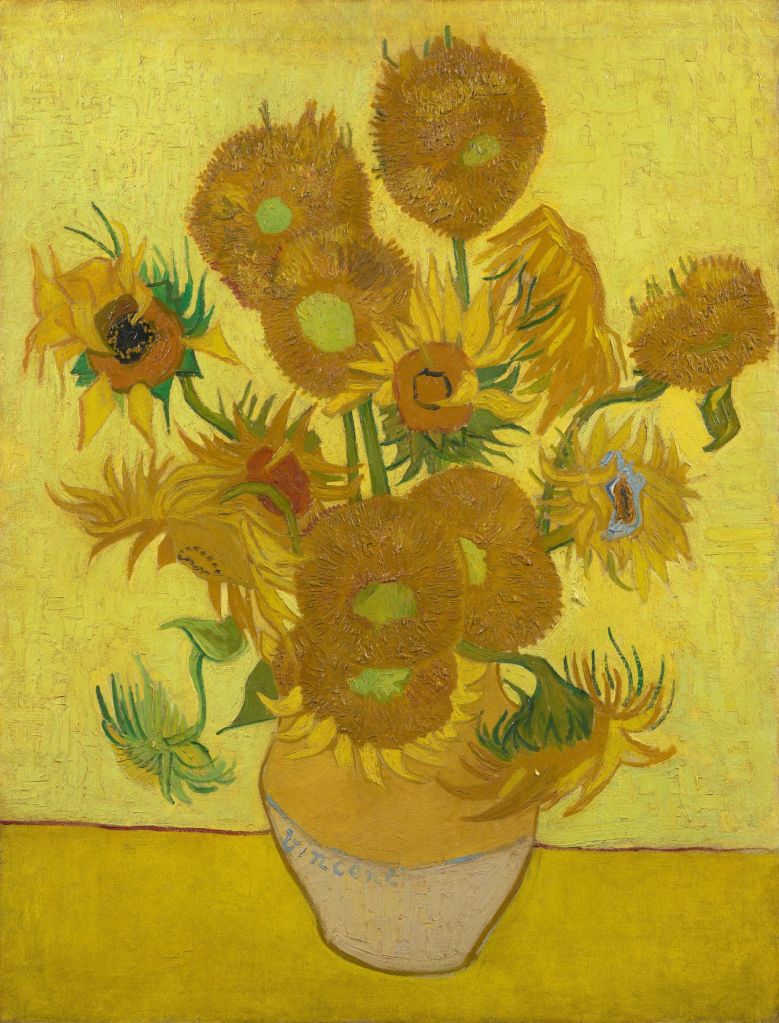
Once the outline stitches were finished, I switched to my free motion foot to quilt the background. Now take a look at the Van Gogh painting at the top of this page. You can see, how the artist painted echo lines around the details. The pale dashes around the man’s jacket repeat the line of the jacket, and the edges of the sleeves are echoed all the way up the arm. I wanted to create the same kind of texture in my piece. So I started by sewing echo lines around the flowers and the leaves.

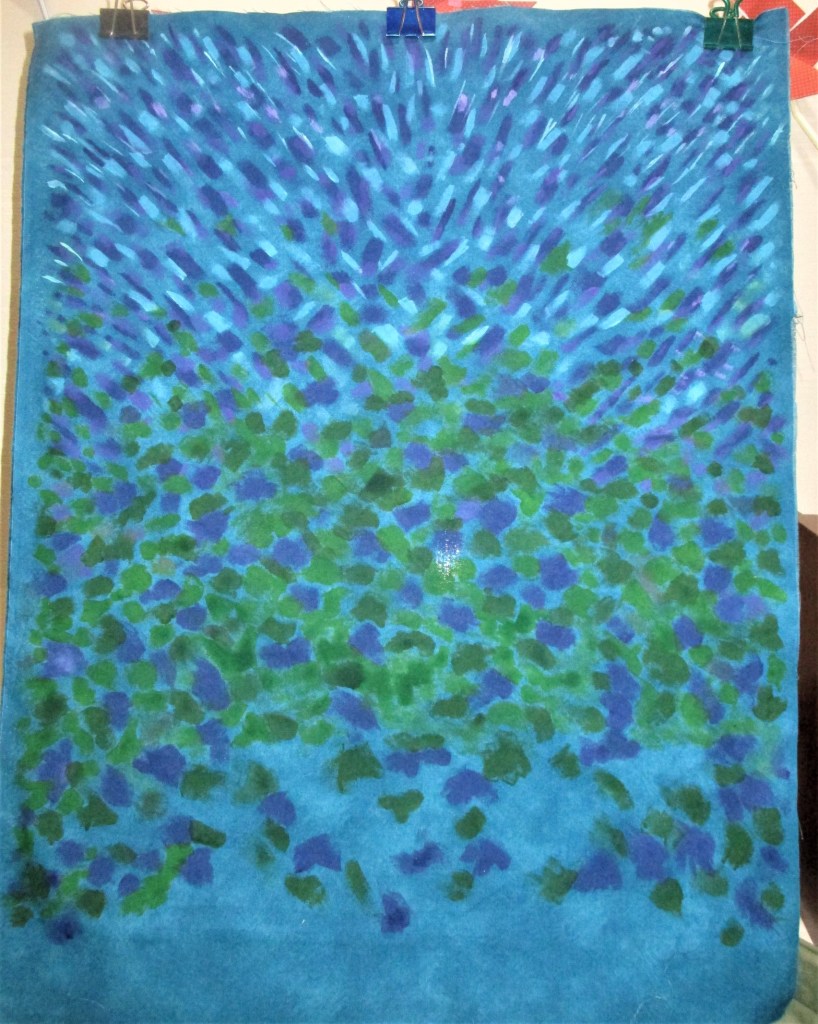
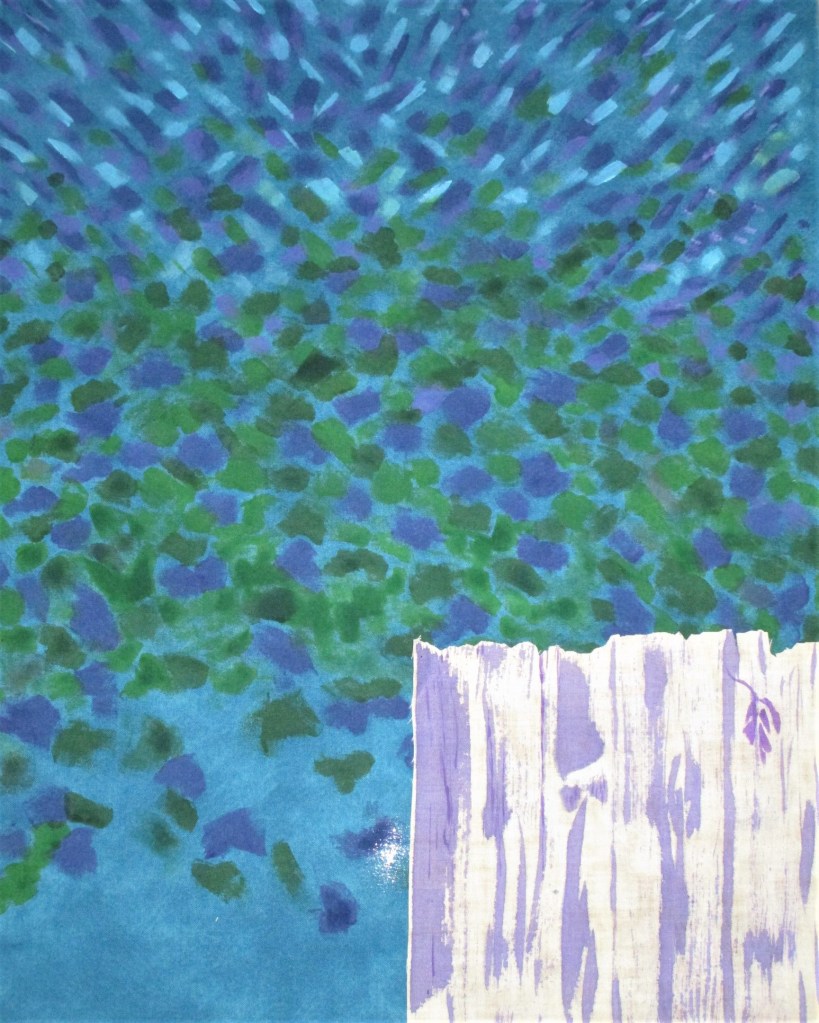
When I reached the sky, I sewed wavy lines around several of the paint dashes and dabs. After finishing the quilting, I bound the quilt on all sides with blue fabric.

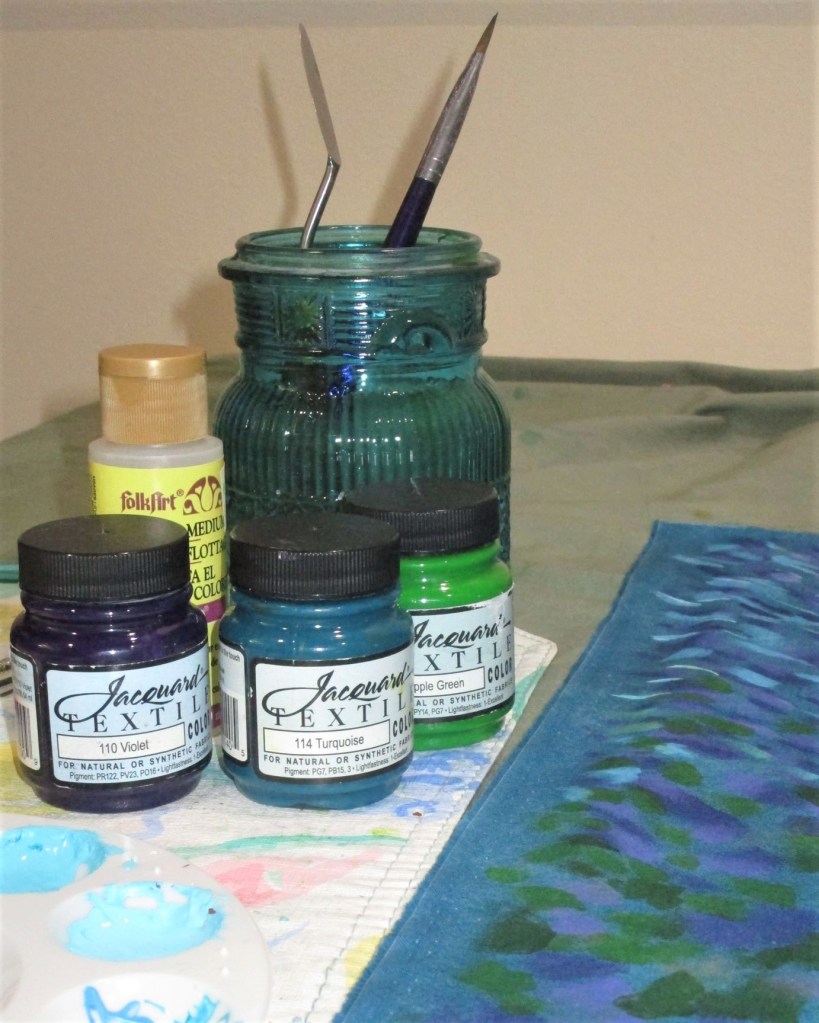
For my final step, I mixed some paint. I painted echo lines, focusing on the upper half of the piece, and giving much attention to the flowers. Then I called it done.

Van Gogh-ish Sunflowers

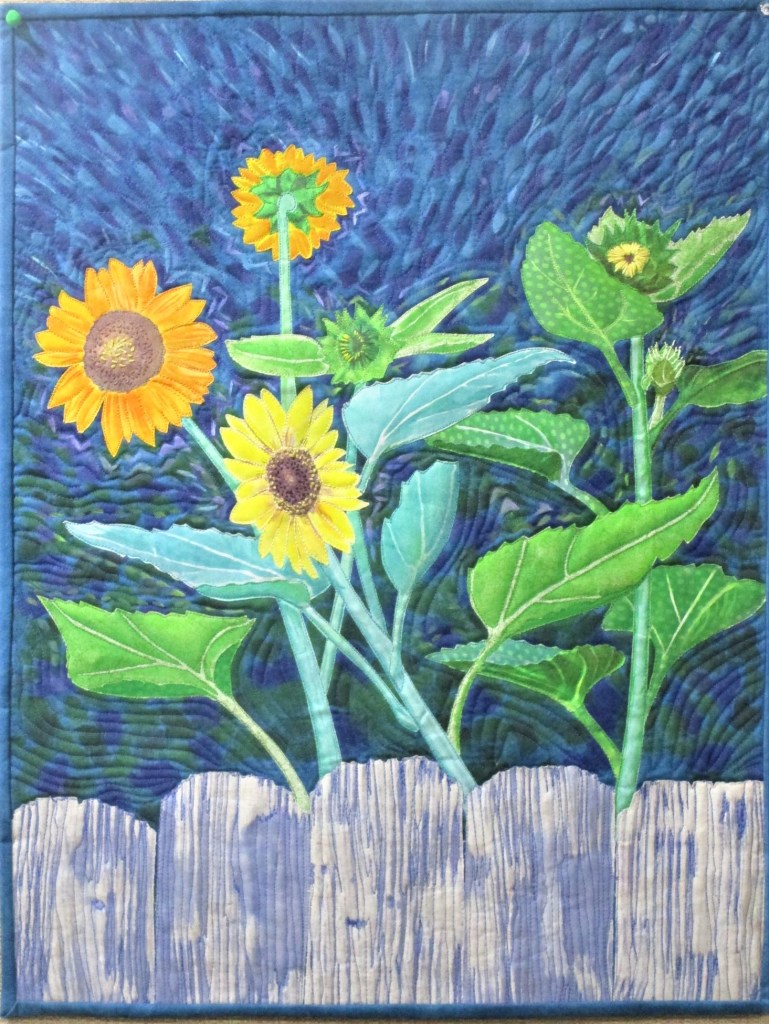
I feel really happy. While this project took me many hours to complete, I find it very expressive. The quilting and the background paint lines represent the motion of the sunflowers as they sway in the wind. I like to think the echo lines represent the energy that exists in all living things.

Thank you, Mr. Van Gogh, for everything you taught me.

Posted in painting

Channeling Vincent Van Gogh

If you read my post dated October 1, you will remember that I have a desire to make a fiber object featuring sunflowers. As a reminder, here is the photograph I took this summer that will form the basis of my design.

I got pulled off my work when I decided to make a “confetti” sample on October 1st. It was great fun, but it won’t really give me the effect I want for this background.

So today, I am back on the trail of Van Gogh. I’ve studied some of his still life paintings, enough to get a handle on how he painted those dotted backdrops. I am trying it on the background fabric I have selected. It is a mottled pattern in a Prussian blue color. Certainly, it looks painterly in its own way, but it lacks the dynamic quality I seek.

I get out my Jacquard textile paints and, with new brush in hand, start at the top of the fabric. Directional lines and dashes are what I’m going for.

Sky complete, starting on foliage background.

As I work my way down the fabric, I move from thinner lines to fatter, more blocky shapes. These represent what I see when looking at the background of my photo: mottled light and shadow of leaves, branches, etc.

Middle section painted.

I leave the bottom of the fabric blank, because the foreground is the fence. I have another piece of fabric for this element. It will be painted with a dry brush technique to portray the weathered state of the boards.

Background with my test swatch of fence fabric. I make the marks in violet paint.

I found this process quite meditative. As the fabric gets filled with splotches, one pauses, studies the work, and asks oneself: Where do I put the next mark? What is it calling for? How will I know when it’s finished?

Mr. Van Gogh might have known, but I am only guessing.

Posted in drawing, quilting

In the End – Confetti

My creative bent took an unexpected turn today. I started the day by thinking about Van Gogh. You see in the photo the sunflowers I planted this year. I took this image over my garden fence with the idea that it would make a good reference photo for artwork. To further this end, I made a sketch of the photo this morning.

This is a simplified image that I thought would work well for either water color or fiber. Since I am currently up to my eyeballs in reference photos suitable for water color painting, I decided to make a small art quilt featuring sunflowers.

This is what led my brain to Van Gogh. Sunflowers were a favorite subject of the artist. He liked to paint them as still life images, cut and arranged in a vase.

https://www.vangoghmuseum.nl/en/art-and-stories/stories/5-things-you-need-to-know-about-van-goghs-sunflowers

I intended to portray them growing in the garden. But I wanted to create a “Van Gogh” like background – full of color, motion and energy. Think of Starry Night as an example.

During my blog browsing today, I came across a post from the group 15 by 15. This is a very creative group of quilters who like to work challenges. One of the members mentioned that she used the “confetti technique” to create the background of her new work for the current challenge.

My brain started firing up! What is this “confetti technique?” I must learn more!

Of course You-tube came to the rescue. I found an explanation on how to add confetti to a quilt. There are several techniques, but I watched this one by Gail Hunt.

The rest of the afternoon went like this:

Find a bunch of scraps. (I used several from my Under the Sea quilt, because they already had adhesive attached to them.) With your rotary cutter, slice them to bits.

Arrange on a background fabric and press them down with your iron.

Cover the piece with a bit of tulle or netting. Glue or stitch it in place.

With sewing machine and free motion foot, stitch over the piece like crazy. (I used black thread to meander on the background and sew straight lines over the pale bits.)

I then switched to white thread and made swirls into the dark areas.

Just like Van Gogh’s “Starry Night.”