Posted in quilting

Quilt Reveal 2025 SAHRR – Daily Fiber

These past few weeks have been tumbling like dominoes for me. It’s the last day for posting my finished round robin quilt, but it is not finished. Not yet.

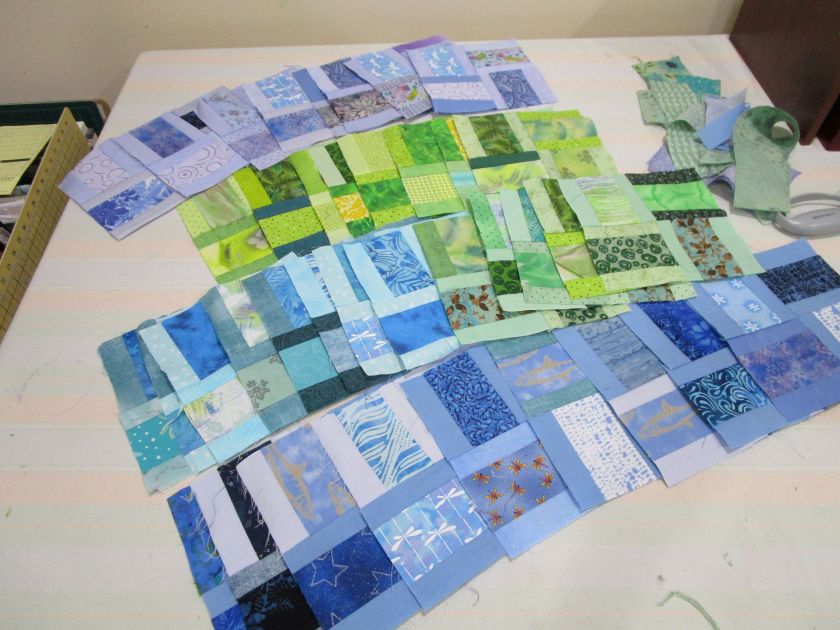
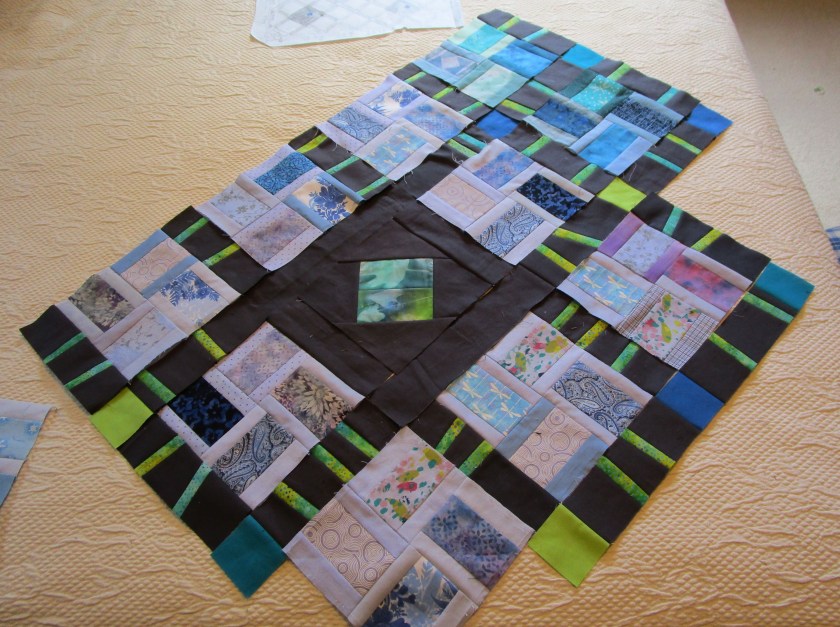
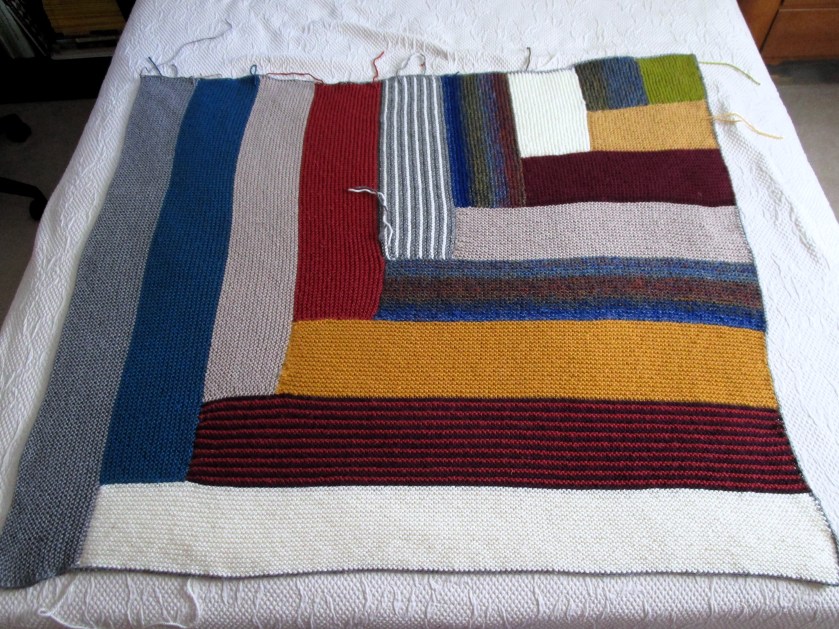
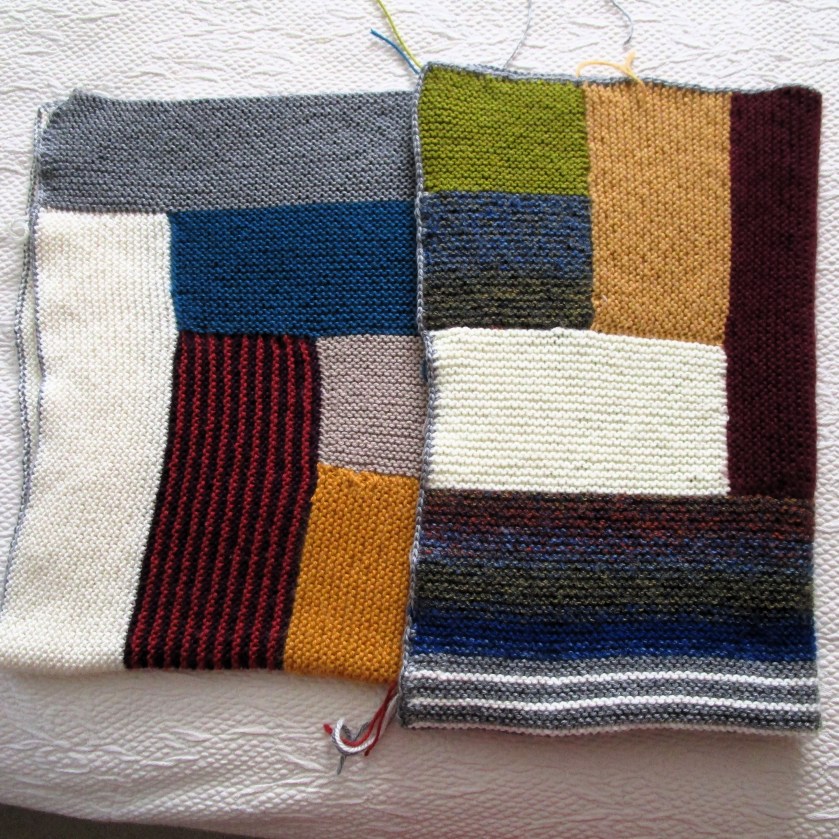
After Round Six, I still needed several more blocks for the front of my kimono/quilt. In the interest of speed and economy, I chose some of the simpler designs in the Japanese quilt block dictionary. Here they are arranged with the two kite blocks.

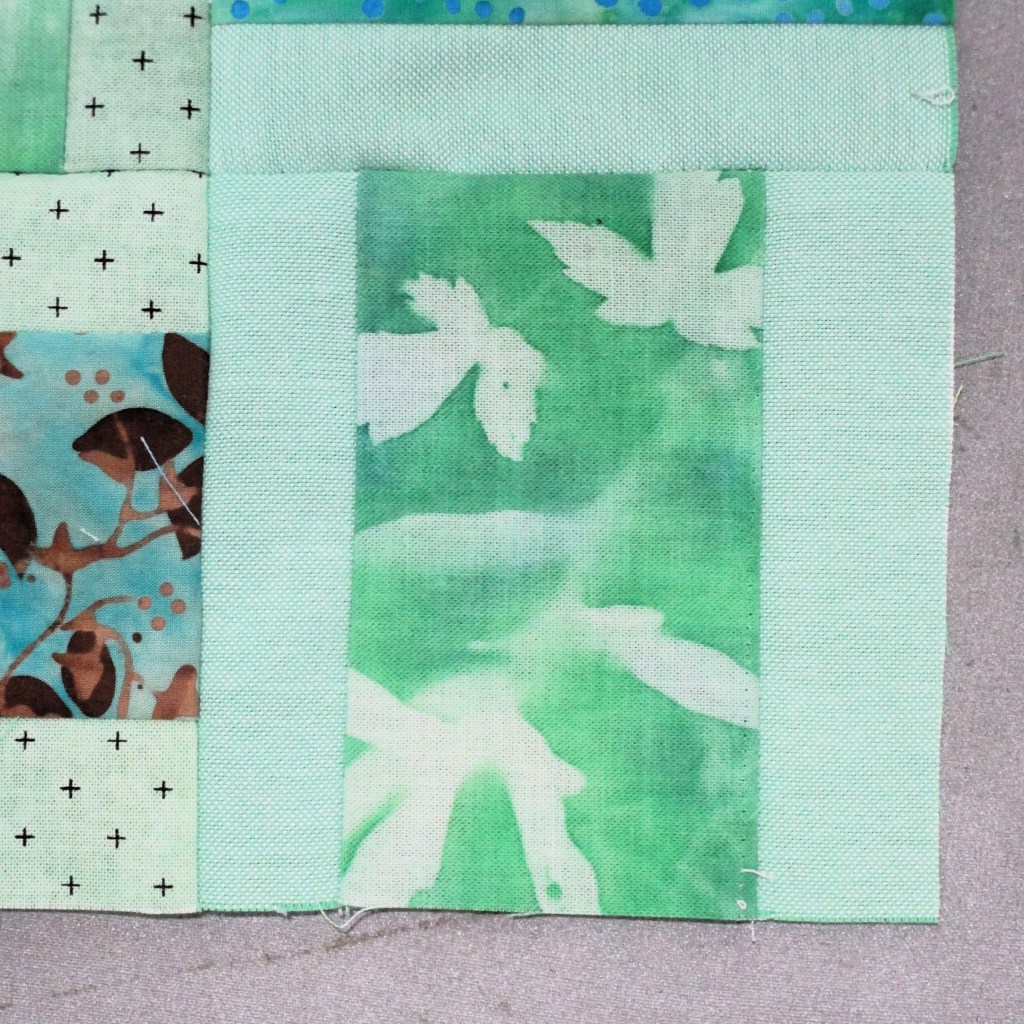
The quarter-sized blocks frame what will be the front opening.

My next step was to make the quilt sandwich. I chose to use cotton flannel as a thinner option for the bat. Then I started to search for a backing. Nothing I saw looked right for the job.

As I was beginning to pack my studio, in anticipation of moving house, I came across some red fabric – yards and yards of it, which I had purchased to make some drapes and totally forgot about it. It was polyester woven in the style of raw silk. An unusual choice for a quilt backing/kimono lining, but a beautiful match.

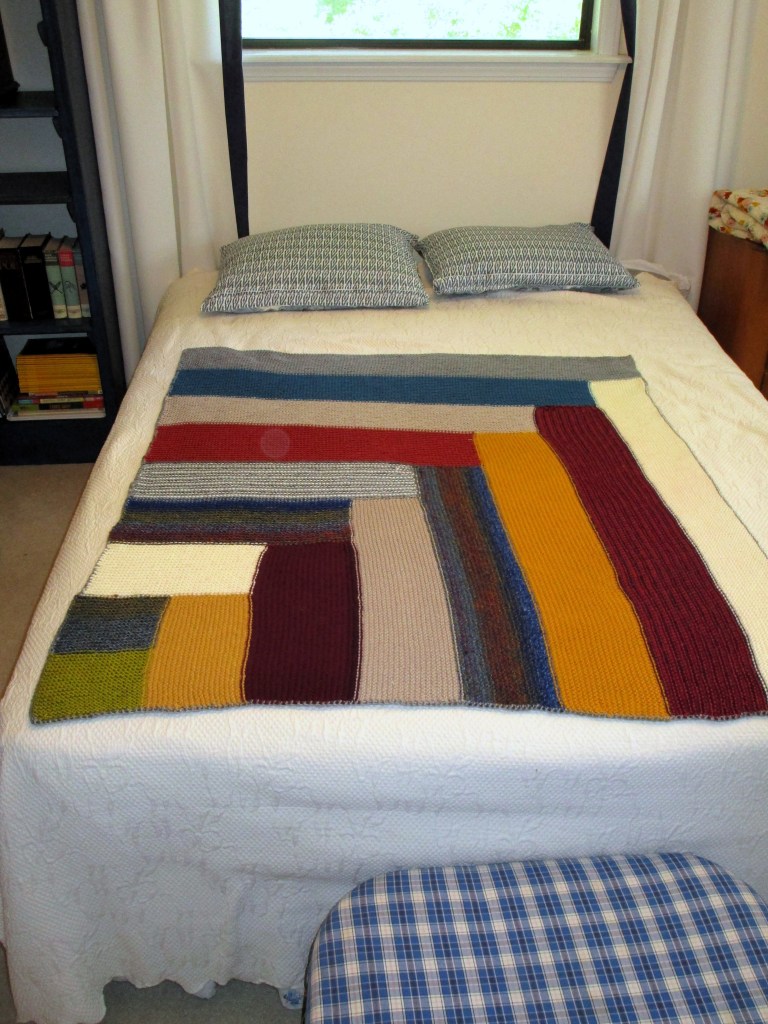
So I got busy cutting, pinning and quilting. By yesterday, I had quilted the shoulder/sleeve section using stitch in the ditch method. My choice allows the block piecing to show to the fullest. At the end of the day, I had sewn the back piece on, but not the front section. I laid it down on the carpet to get photos of front and back.

Quilt back, showing the red lining, which will be turned back to border the sleeves.

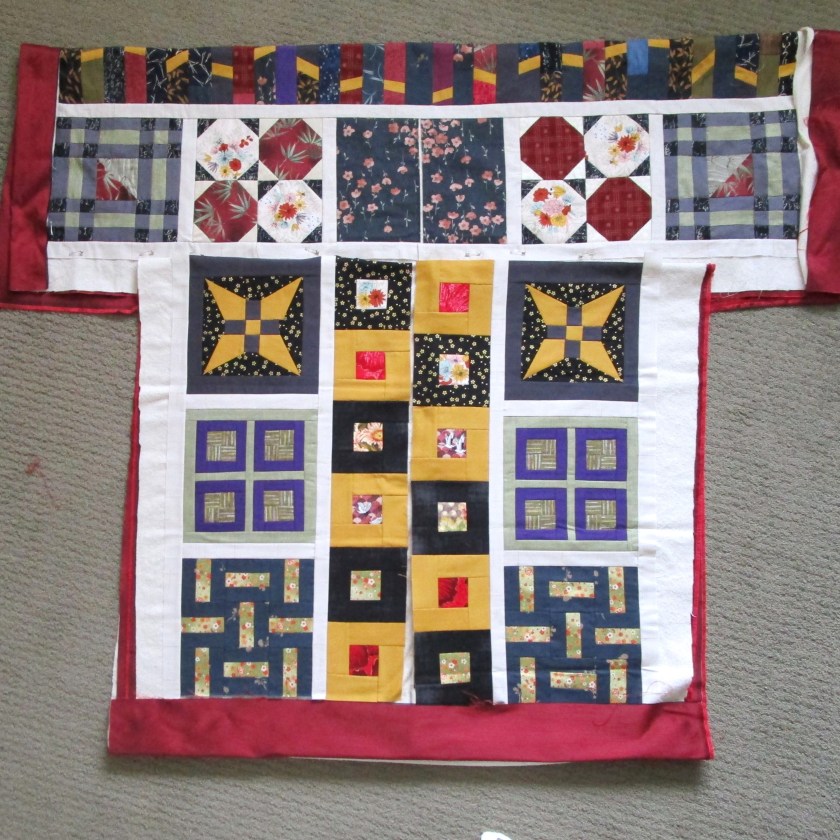
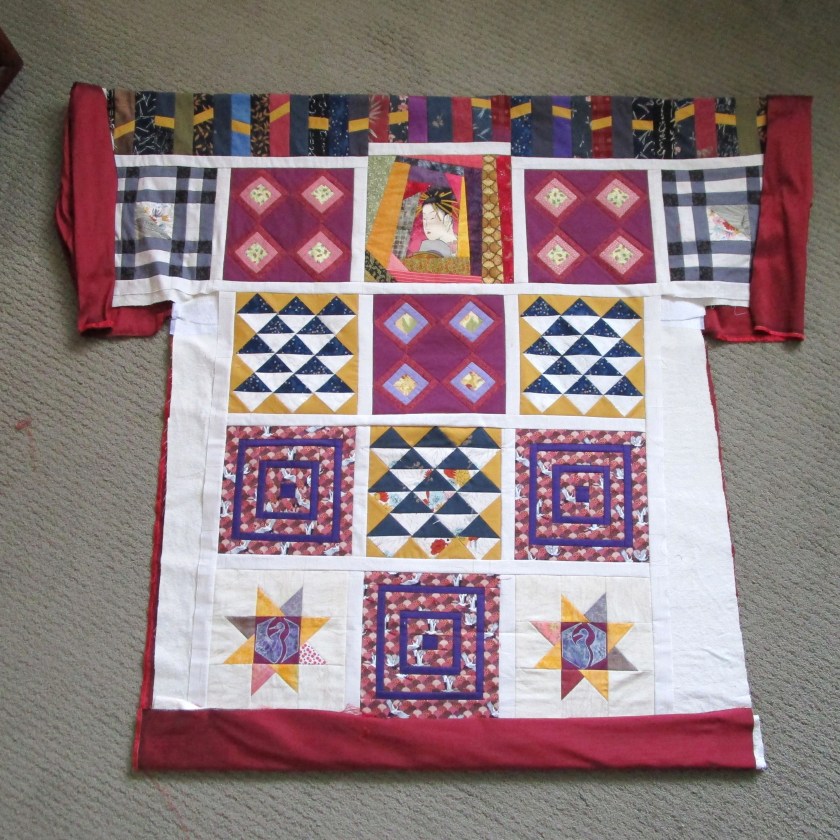
Quilt front, laid in position below the shoulder section.

There are some wonderful finished quilts at Quilting Gail’s In Linz party. I will be happy to add my almost-finished one to the parade. To see them all, click.

Here.

https://fresh.inlinkz.com/party/0e4465b5dfa6471681a87b0fd5c4fee5

Posted in painting, quilting

Wednesday WIP: Scrappy quilt update

I feel like I have been assembling four square blocks all summer long. I have sewn five sets of eight blocks, each set confined to one color in my analogous palette.

Finally, I am nearing the end of the block-building phase. There were two glitches that lengthened the time spent building blocks. Firstly, I ran out of scraps and couldn’t find the colors I needed at Hobby Lobby. This led me to adding color to my white or pale fabrics by painting them with Jacquard Dye-na-flow paint. I painted the featured 4 x 2 and 1/2 strips AND the 1 and 1/4 border strips to get the effects I was seeking. It was kind of fun, in a time-consuming sort of way.

Here is a sampling of some painted strips/blocks in green hues.

I ended up needing painted fabric in blue-violet, teal AND yellow green.

The second issue arose when laid out my blocks. I took an intense dislike to any block that had dark borders. To fix this, I cut apart many blocks and replaced the dark strips with light colored fabrics (mostly were created with paint on white fabric.)

I now have enough blocks to form the five regions of my quilt. I have sewn a center block for each region using black fabric and hand-painted feature fabrics. To create some breathing room between my blocks, I made sashing with black fabric. Believing the black fabric was too boring, I cut the sashing randomly and inserted “sticks” of multi-hued batik fabric. Here is a the “blue-violet” region laid out and ready to sew.

I’m excited to start assembling the quilt, but a little nervous that the pieces won’t fit together properly.

Posted in quilting

Obsessed with Strips

Since completing the Japanese Knot bag (which turned out quite well, IMHO,) I keep thinking about the potential of making art by sewing strips of fabric together. Casting around for some inspiration, I thought about making another abstracted landscape art quilt. Last year’s landscape quilt was inspired by a visit to the Badlands at Roosevelt National Park. My technique of choice for that piece was layered applique. It interests me to try another landscape but this time piece it with blocks made of fabric strips.

In searching suitable references, I returned to this evocative photograph by James Kemp which I had found on Unsplash a few years ago.

james-kemp-bXFEiuZtk64-unsplash

I love the contrast of pale foggy high places, with a midground of dark trees and a foreground of warm grasses and red twigs. If I can simplify the big shapes and translate the photo’s colors to fabric scraps, it could work.

Next I did a quick, scribbly value sketch.

I transferred the major lines to a giant Post-It note, which happened to be full-size for this project. I next drew in a grid of 4 x 4 squares. Using 4 inch blocks, I will need to make 35 blocks.

I started cutting my strips and sorting them by color.

Using the image as my guide, I built sets of six strips, arranged them along the grid and cut them down into squares.

The whole project started to spin out of control. Weirdly enough, instead of getting frustrated, I was drawn into working with more effort and thought.

Two days later, things looked something like this.

No, look away Nothing to see here!

Ah, more like this.

Sad little blocks. Believe me, it does look better IRL than in this photo.

I predict that if it keeps raining, and I can’t go outside and play, I’ll continue to cut, strip and sew on this project.

Posted in knitting

Finished by Friday

In the past week, two events motivated the completion of this Mindless Knitting blanket, which I had cast on in January of this year.

  1. My friend gave me three skeins of neutral-hued acrylic yarn.
  2. I learned of a blanket donation program happening on Mother’s Day.

I chose a mid-tone gray skein and worked up the last stripe. It took one or two evenings to complete. The next evening, I continued with the gray, working a single crochet stitch into the bind off, then worked around the perimeter of the blanket, so that this somewhat improvised design had a more finished-looking edge.

Before I wove in the ends, I decided to give it a wash in my machine. Due to the variety of yarns used, (some were mystery fibers) I was skeptical about the Franken-blanket’s ability to withstand machine washing. And while it did shrink up in a minimal fashion, the washed blanket showed no felting or fuzzing. I dried it flat, then wove in the yarn ends. Here is the finished product, displayed on my guest bed.

I never got a final measurement before delivering the blanket to the church’s collection spot, but I would guess it was at least 44″ long and almost as wide. It will function quite well as a lap blanket for a mom, or even a mom and child.

This project used up most of my worsted weight acrylic. I mindfully returned the two unused yarns to my friend, who accepted the returns with good grace. This project used up a bit of her stash also, but maybe not so much as she had hoped. My stash still has some acrylic baby yarns in sport or fingering weight. I put them together in a project bag, and one day I will find a pattern that will Bust Them Down.

Posted in knitting

WIP Wednesday: Abstract Rainbow Blanket

This piece of knitting has been in the background of my life for about three months. It is going to be a lap blanket, fashioned in the style of a log cabin block and knitted out of stash skeins.

I’ve modeled my blanket after a Garn Studio Drops design called Abstract Rainbow

https://www.ravelry.com/patterns/library/203-2-abstract-rainbow

The main difference between the actual pattern and my work is that I didn’t follow any instructions. I just improvised based on the look of the DROPS pattern.

So here I am so far:

I quickly used up all of my stash acrylics within the first four stripes. Stubbornly refusing to buy yarn, I cadged my friend into giving me some of her acrylic skeins in similar colorways. After using all the yarn she gave me, the blanket was still not big enough. I gritted my teeth and purchased one Hobby Lobby cream colored skein.

The blanket is now about 42 inches square and I am sitting here with the left-overs, pondering my next move.

My brain tells me that a crocheted border would allow all the leftovers to be worked in. But my gut is resisting this move. I can’t help myself; I have a prejudice against the craft of crochet.

Okay knitters, what would you do? And how big does a lap blanket have to be?