Posted in quilting, sewing

Springtime and Sorting

It’s been heart-breakingly beautiful outside over the past several days. The weather forecast for today predicts extreme thunderstorms. So I thought I would memorialize some of the garden’s spring perennials. They are so lovely, and their day in the sun is so short every year. Here are a select few.

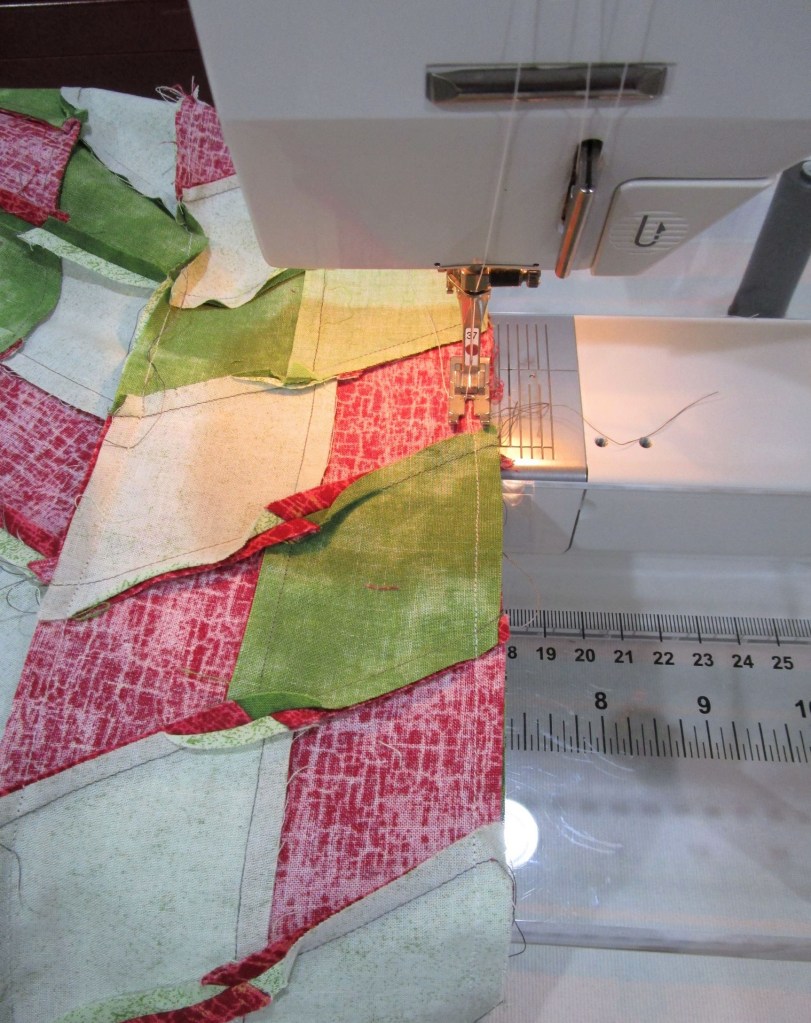
Yesterday I finished sewing the last of three quilted buckets. This project is meant to yield a system for organizing and storing fabrics. While my stash is not large, it is somewhat unweildy for its size.

Three buckets holding fat quarter to one yard sized pieces.

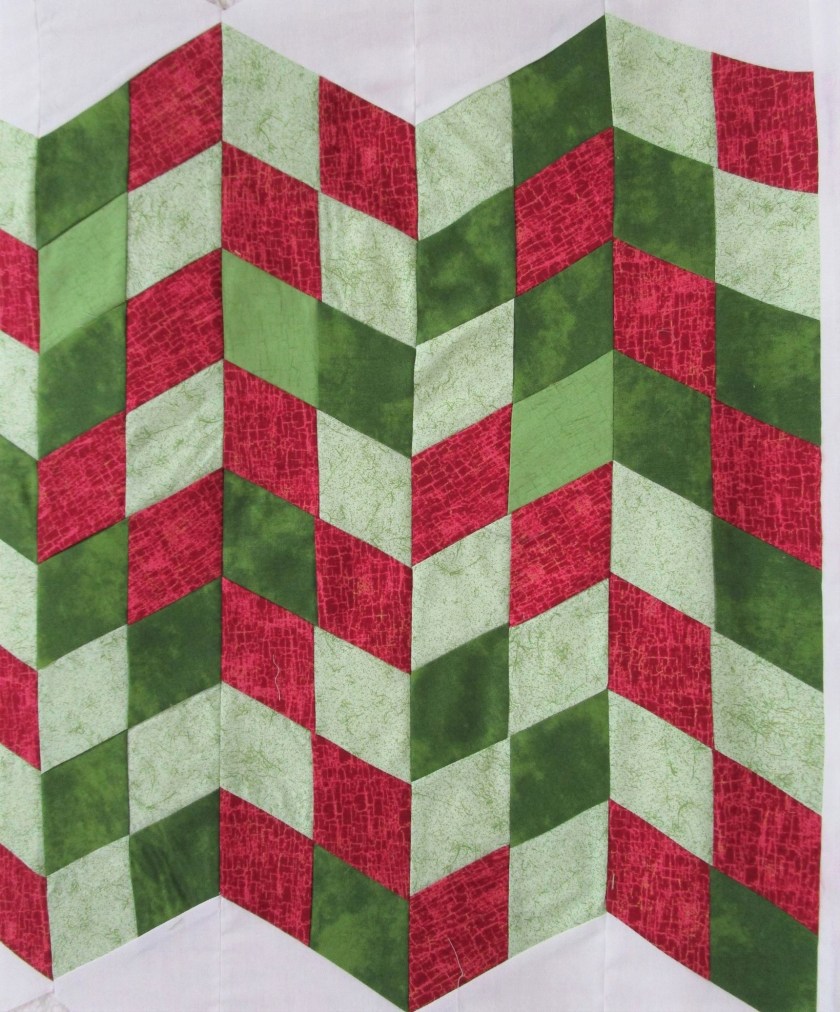
That leaves the scraps. After a year of working with fiber, I have a much better idea of how I tend to use fabric in my projects. I particularly like using scraps in little strips to make small art quilts. Consequently I have become very reluctant to throw any of them away. Resulting in this:

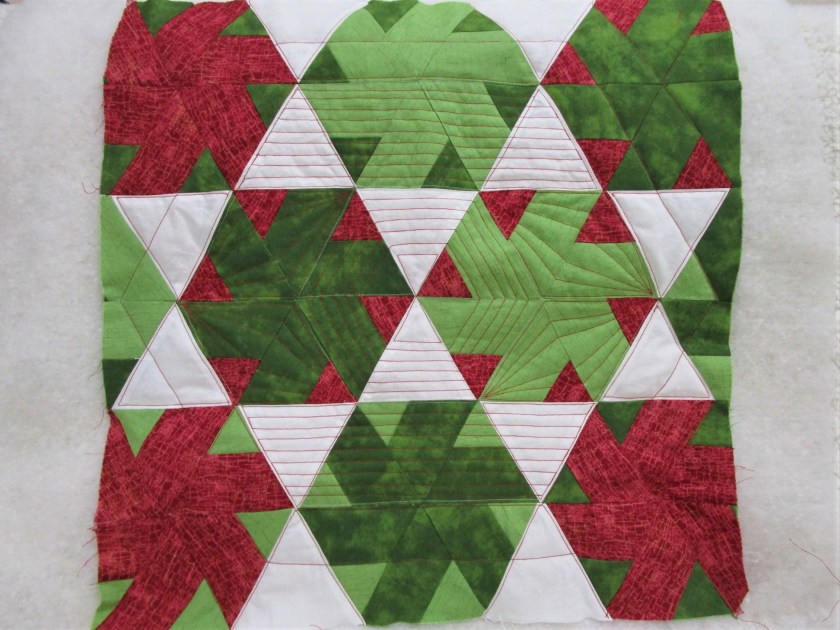
Sorted by color family, they are even more beautiful and precious to me. Like the colorful spring growth only more enduring.

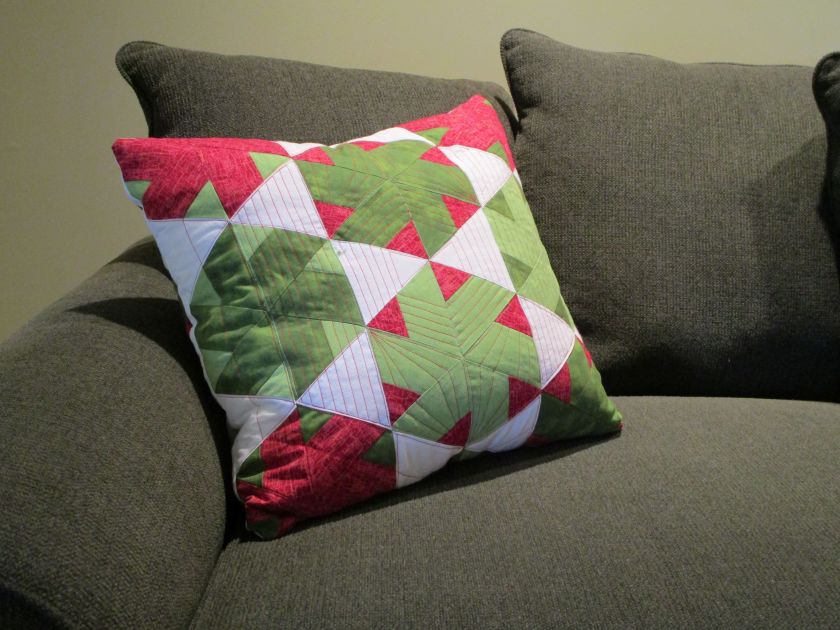
So I still don’t have a useable system for keeping this hoard in order, under control, and yet easily accessible. Reluctantly, I will be putting these gems back into the shoeboxes. Suggestions are encouraged. How do you keep your stash sorted?

Posted in weaving

Another Friday, Another Finished Object

This is the little weaving that I had started as an example for my fiber arts students. A few weeks ago, I was cataloging a list of my unfinished objects. Spying it lying around, I realized that I needed to count it as one of the dirty dozen UFOs.

https://dailyfiberfun.wordpress.com/2020/04/02/omg-ufoooooooossss/

Today I can announce that this weaving has moved to the finished pile. After working to the top of the warp, I cut off the yarn and worked the loose ends into the back of the weaving. There was still a lot of looseness on all four edges of the piece. I decided to machine stitch around the sides. After that, I slipped the top and bottom loops onto a pair of knitting needles and considered it done.

I call it Blue-Orange Duet.

Image showing machine finished edges.

Mulling about what to do with it…….. Hm, I noticed that the weaving’s colors worked very nicely with my origami installation piece on the east wall of the studio.

https://dailyfiberfun.wordpress.com/2019/05/18/paper-week-finale/

So up it went. It looks quite at home amid the pinwheels and the birds. Sort of like a punctuation point, a period at the end of a sentence.

Welcome to the studio, Blue-Orange Duet. Make yourself at home.

Posted in knitting

Friday’s Finished Object

Glammed up water bottle carrier

Keeping with my self-imposed deadline, I managed to finish off another UFO. This is the be-ribboned and beaded water bottle carrier that I started over five years ago.

The part that had stumped me was how to finish out the top edge and strap. I found a solution by Melanie Smith on Ravelry. She simply divided the stitches in half, working each half in stockinette, gradually decreasing until five stitches remained. Then she worked I-cord about 15 inches each side and grafted the sides together.

https://www.ravelry.com/patterns/library/4th-of-july-water-bottle-holder

Thanks, Melanie.

I tried to make the strap long enough to sling it over a shoulder. Here I show it knotted so it can be carried over the wrist. The yarn is a bamboo blend purchased from the hobby store. Hopefully it will prove strong enough. I worked the middle section side-ways, knitting a metallic ribbon in. The top section is beaded.

This is a standard 16 oz. bottle. The piece is actually big enough to hold a taller bottle.

Two down, eleven to go. Hooray!

Posted in crochet, knitting, sewing

OMG: UFOooooooossss!

Did you ever decide to organize your yarn closet, and in the process discover an overwhelming number of Unfinished Objects: I have!

I have clearly been in denial about the quantitiy of UFOs piling up on my watch. To be honest, I knew about a few of them. Some are over five years old. They were slumbering quite peacefully until disturbed today in my zeal to clear out the yarn cabinet. They are the dirty dozen, plus one. Here is a brief run down.

From the top, left to right:

  • Cabled gloves in dark green yarn. Pattern by Brooklyn Tweed, from Vogue Knitting magazine Winter 2009. I started with great enthusiasm, but lost steam when I fully understood the complexity of making cables up Each Finger. Tossed the pattern about six months ago.
  • Sparkly and beaded water bottle purse. I was making it for a former boss as a gift about six years ago. I couldn’t decide how to make the closure and strap.
  • Granny Square whimsical bird house. This was an experiment to see what Else could be done with granny squares.
  • Ladies’ woolen slacks. Frustrated with my inability to buy wool trousers that fit I decided to re-fashion a pair of men’s wool trousers. Purchased the pants at Goodwill, the pattern for $1.00 at Hobby Lobby.
  • Made the mistake of buying extra fine alpaca lace weight yarn. Tried to knit it held two strands together into a shawl. It’s not going well.
  • This is almost done. It is a serape-style poncho knit in a Northern Woods colorway yarn. Today I blocked it and expect to finish it soon.
  • This collection of yarn is set aside to make fingerless gloves. Still working on a design.
  • This is the pattern and fabric for making quilted baskets. I’ve made two so far. Eventually I will have enough little baskets to organize and store all my fabric.
  • This is a piece that I knit from Icelandic wool received from my daughter. I intend to felt it into a little purse – at some point in the future.
  • This shawl kit, designed by Laura Nelkins, includes beads. Someday it will be done.
  • Here is the 8 by 10 inch weaving that I made as an example for my fiber arts students. It’s nearly finished. But I ask – what do I do with it when it is?
  • And finally, I recently started a triangular cardi-vest designed by Melody Johnson. I thought it would be a good way to use up the odd balls of yarn.

Oh yes, I did say a dozen plus one. The last UFO is a felt coat.

It needs to be altered. I removed the first sleeve and then hid it in the back of my closet. It will likely stay there until next winter.

So, my fellow fiber artist – which UFO looks the most appealing to you?

Posted in quilting, recycling

Addressing UFO Sewn Objects

Six months into my adventures with Daily Fiber Fun, I find myself surrounded by a bunch of Unfinished Objects. Here they sit, silently reproaching me for leaving them in a partial state of completion: unfinished, unused, unloved.

Resolved to address the cries, I have selected this guy to work up into an FO.

I made this 21 inch square block of hexagons during my week of learning to piece angular shapes. The teacher behind my success is Joanna Figueroa and her class on Bluprint, “Smarter Strip Quilting.” Since I had a bunch of fabric left, I turned to Joanna’s class again for another lesson. This time, I used the same type of piece – a 60 degree triangle, but cut in a way that makes diamonds.

I reasoned that this shape would work nicely with the hexagons as the back side of a large sofa cushion (!) After sewing and cutting many 1/2 diamonds, I came up with an arrangement that ignores the diamond shape (!) I’m going with chevrons instead.

Five columns of diamond shapes, roughly 21″ wide.

Skills that I learned in class the first time helped me speed through any little technical difficulties encountered while making this block.

Nesting the seam allowances together makes it a breeze to match points.

That said, it still took me the better part of Sunday and Monday to make.

I added white triangles to balance and fill the chevron ends.

The next step is quilting. There was so much going on in the chevron block, I decided not to risk messing it up with bad machine quilting. But I did choose to quilt the hexes, using parallel and dot to dot machine quilting technique.

I Love the red cotton thread.

Now to construct the pillow: I recycled a zipper from a disassembled cushion and a king-sized feather pillow which had got slightly mashed over the years. After I squared up the two blocks, the zipper was inserted into a side seam and the four sides sewn together. Using 1/2 inch seams and zig-zagging the seam allowances make it sturdier. Here is the completed pillow, resting peacefully on my sofa:

And here it is showing the chevron side:

Which side do you like better?

A big shout-out to Joanna Figueroa. You can find her class here: https://shop.mybluprint.com/quilting/classes/smarter-strip-quilting/40436?utm_expid=45q-ktsMT9eh9lDyPHy43Q%3A2&utm_referrer=https%3A%2F%2Fwww.mybluprint.com%2Ftopic%2Fquilt&redirect=svodPlaylist&skipMod=true