With the heat of the summer beginning to settle in, it’s time to start projects that are A: not heavy in your lap. B. suitable for year-end giving and C. car trip worthy. Socks fit that description beautifully.
Today I am starting a sock pattern that has been in my library for some time. Hermione’s Everyday Socks, available on Ravelry, are simple to knit, but have a lovely texture created by working purl stitch sprinkled evenly throughout.
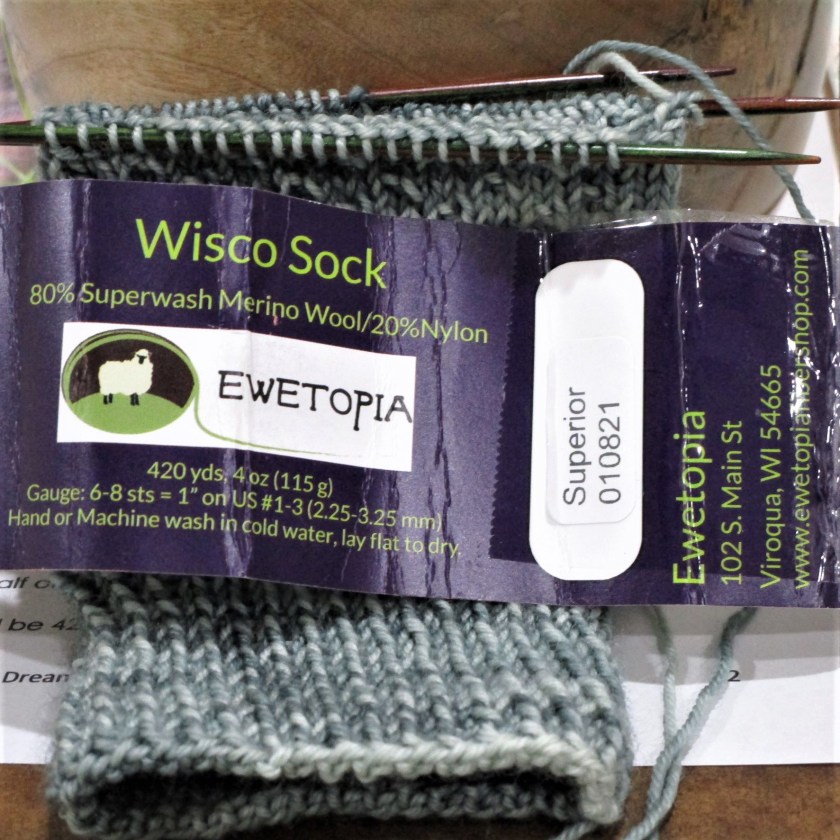
I have chosen to use a monochromatic colorway from Ewetopia that drifts from light to dark and back again. I’m hoping that the color doesn’t vary so much that it overwhelm the subtle stitch pattern. This yarn is called Wisco Sock, and is milled and dyed in Wisconsin.
The colorway is Superior, as in, the Lake. I’m very drawn to it – not a green but not a blue, rather a cool-ish grey such as how the lake surface may appear on a cloudy day. While I started these socks as a potential gift, it could be that I will selfishly keep them for myself.
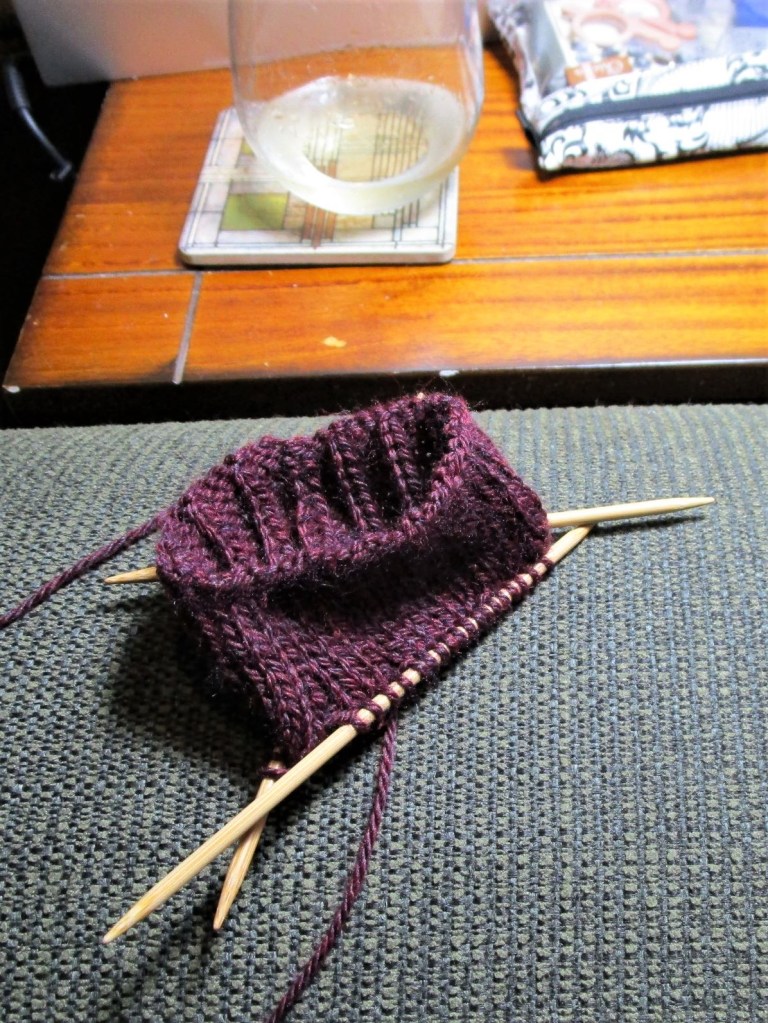
Moving on to smaller and better projects, let me introduce Elizabeth Zimmerman’s Woodsmans sock pattern. Here you see my cast on, accompanied by my evening libation. I am working my pair in a thinner yarn than what is called for in the pattern. It’s a Berroco blend called Vintage DK.
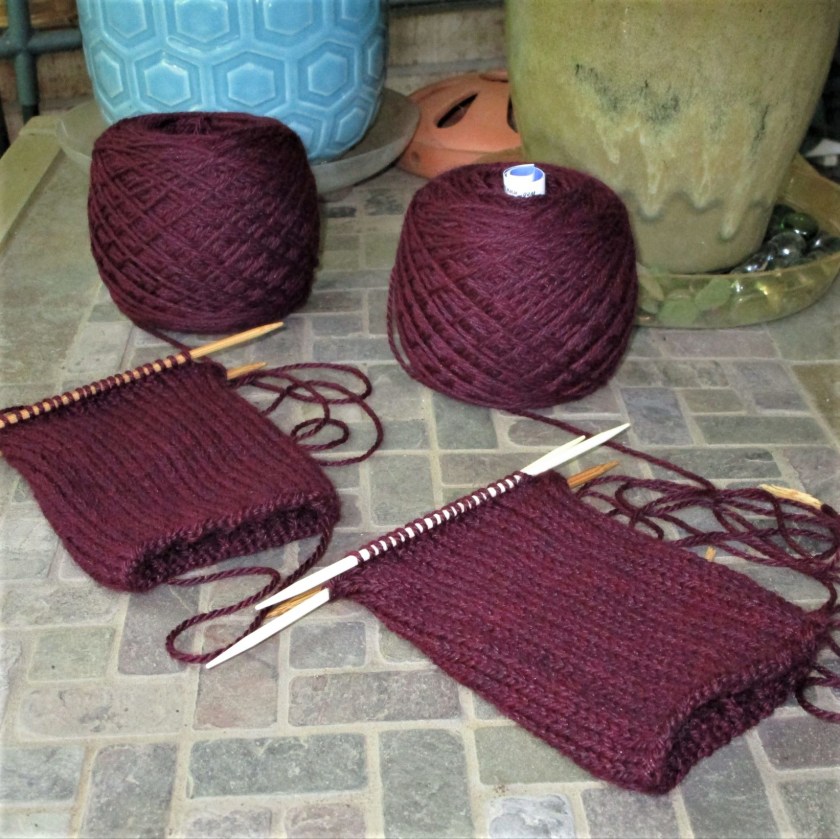
These skeins were purchased at Sunset Yarns in Madison, WI this past spring. I adore the softness, and have high hopes that the elements of acrylic and nylon will keep my socks from getting holey before their time.
EZ’s pattern was published in The Opinionated Knitter, and can also be had on a streaming DVD video with Zimmerman’s daughter Meg Swansen.
The only variation I will be making to the pattern is to knit a 3 by 1 rib instead of the typical 2 by 2 version. I find this rib to be every bit as stretchy but it results in a smoother texture.
I’ve also started both socks, not exactly as the same time, but in tandem. While I haven’t perfected the magic loop technique, I have many no. 5 sock needles, and I purchased two skeins of yarn. The plan is to knit in sections: working each leg down to the heel flap, then work each heel flap, then turn each heel, etc. This could help me avoid single sock syndrome.
Leg
If I don’t have these finished by the time we leave for vacation in July, they will be a perfect travel project.
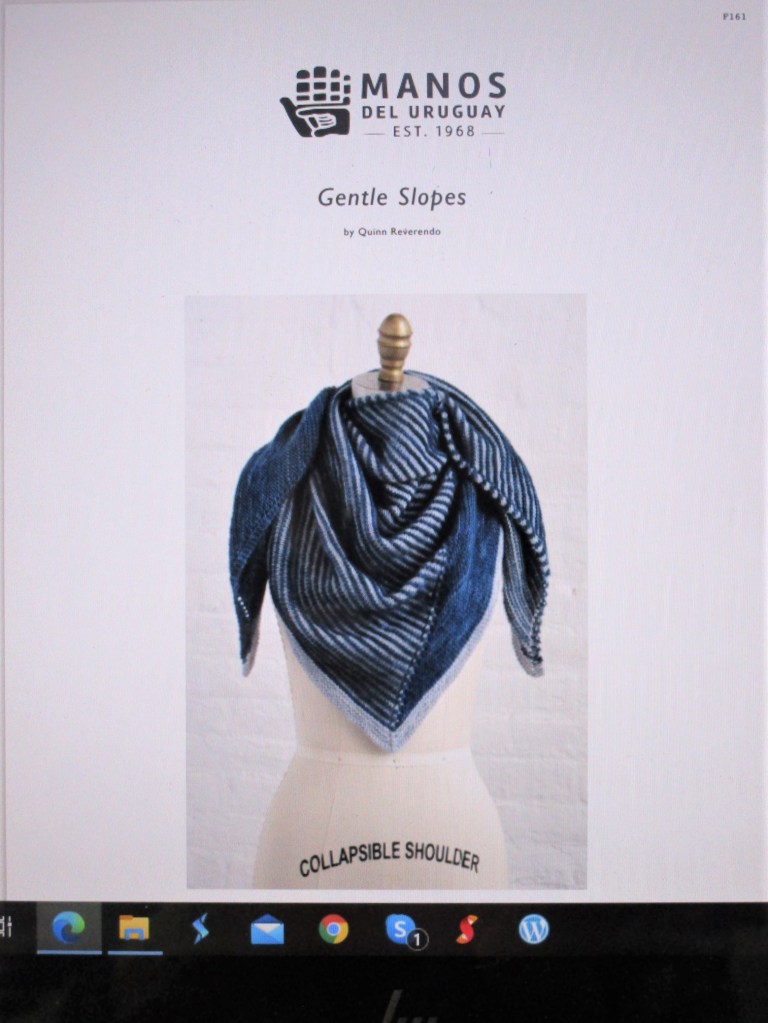
This week-end, I cast on a shawl from yarn that was 1. in my stash and 2. frogged from a UFO. This particular pattern is a top-down triangle design with a twist – literally. By increasing more stitches on one half of the double yarnover section and using short rows, it creates a gentle slope across the back of the garment. The pattern is by Manos del Uruguay and is available free on Ravelry.
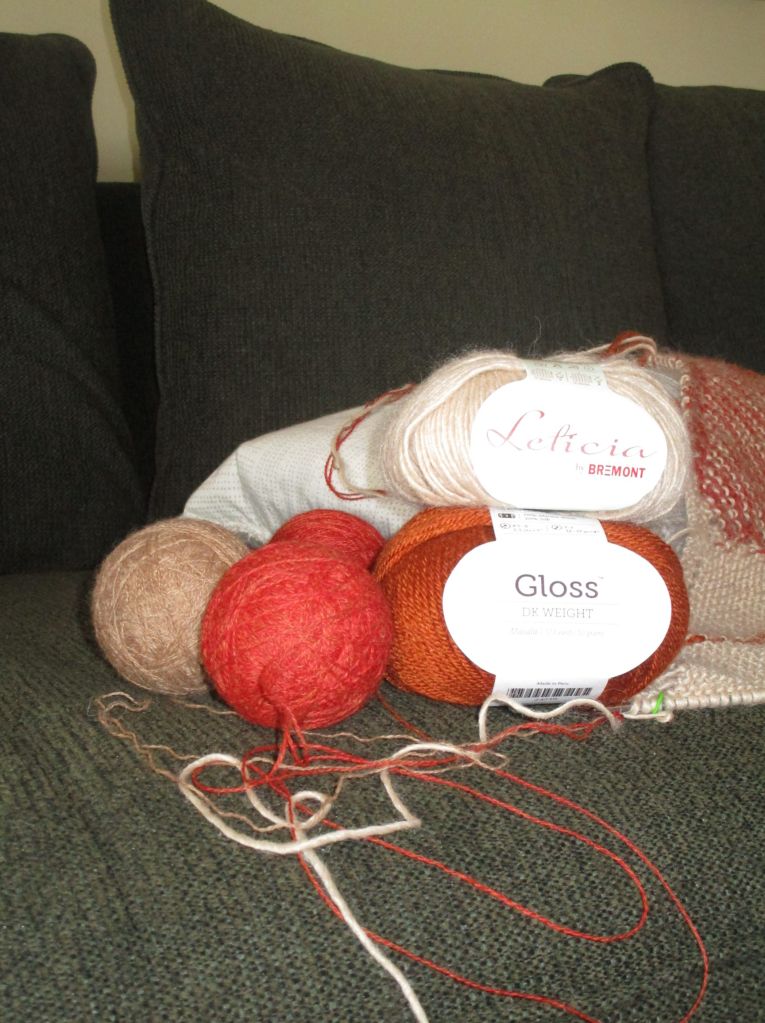
The Letitcia is Peruvian yarn blended of wool, alpaca and silk. Gloss is a Knitpicks – super wash merino and silk. The three lace weight yarns are 100% alpaca, in my stash for so long that I no longer have the labels. Just last year I blogged about a UFO with this lighter-than-air yarn, in which I moaned about the way the stitches simply floated off the needle. To solve this problem, I am holding them TRIPLED in this project, and following with the Leticia yarn to LOCK THEM DOWN.
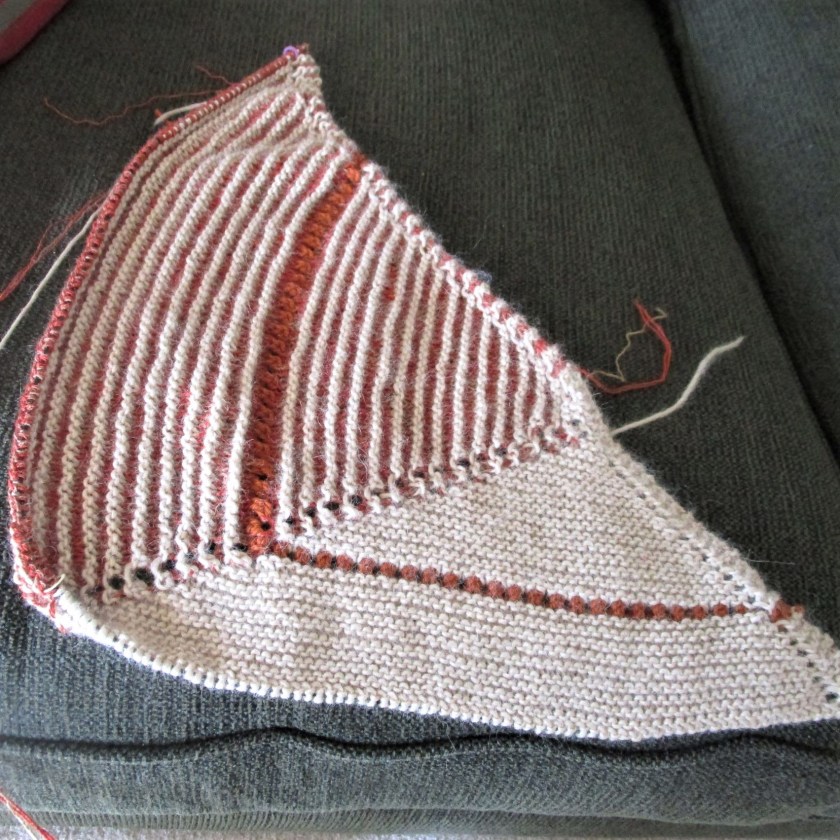
My variation to the pattern is the insertion of the striping row of eyelet lace. This will show up every 16 garter ridges, to break up the plain vanilla and keep things from getting too boring.
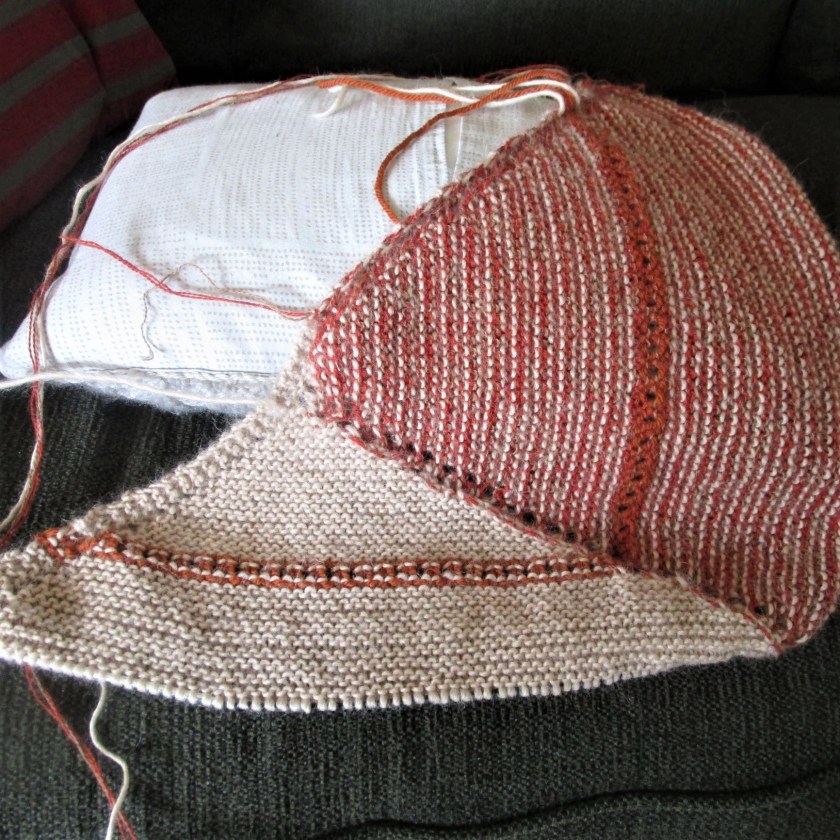
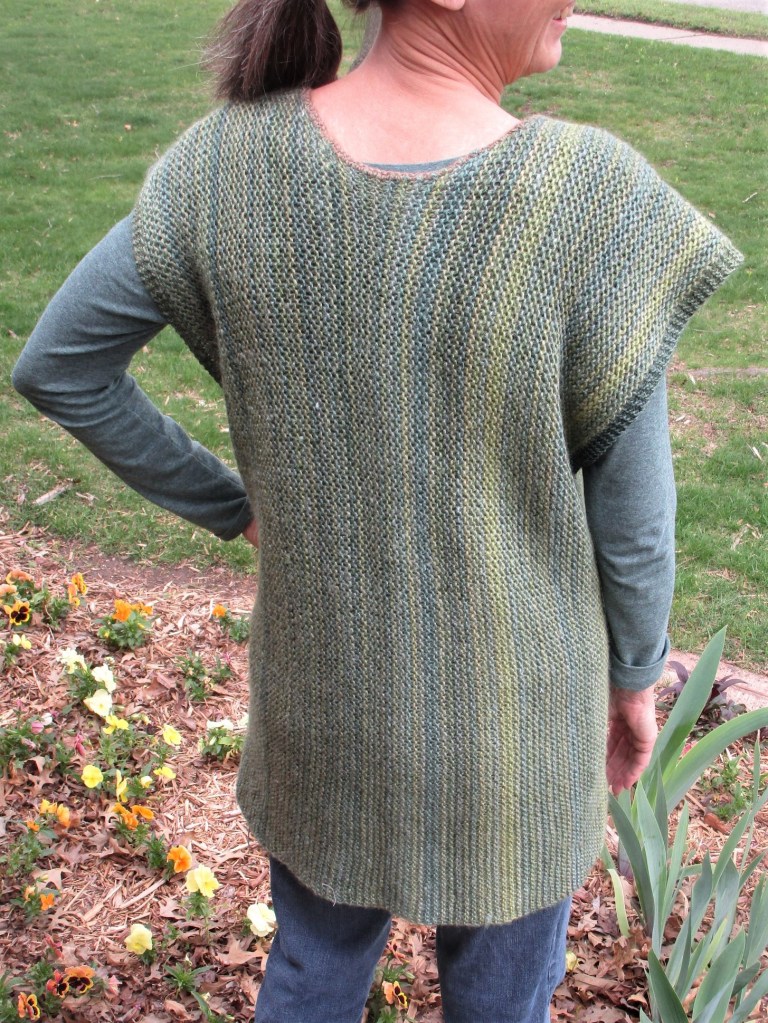
I think that the back side is just as pretty as the front side.
I like that this pattern works for mindless knitting. The pattern repeats every four rows that are easily memorized. The only hiccup I foresee is that I am going to need a longer cable very soon.
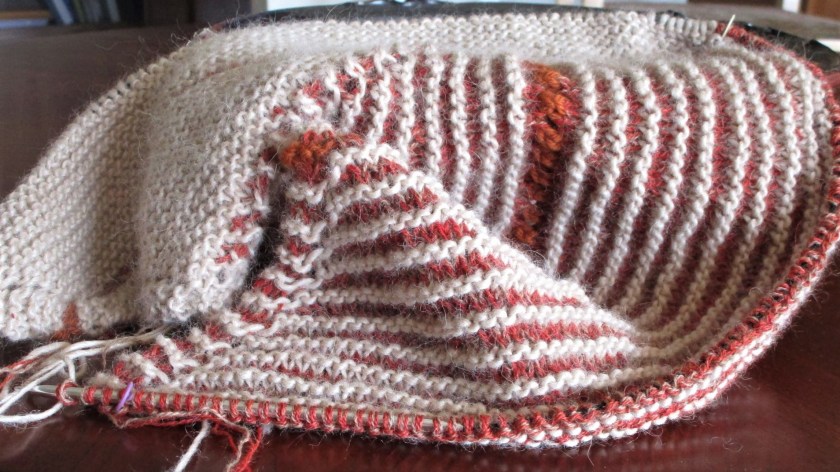
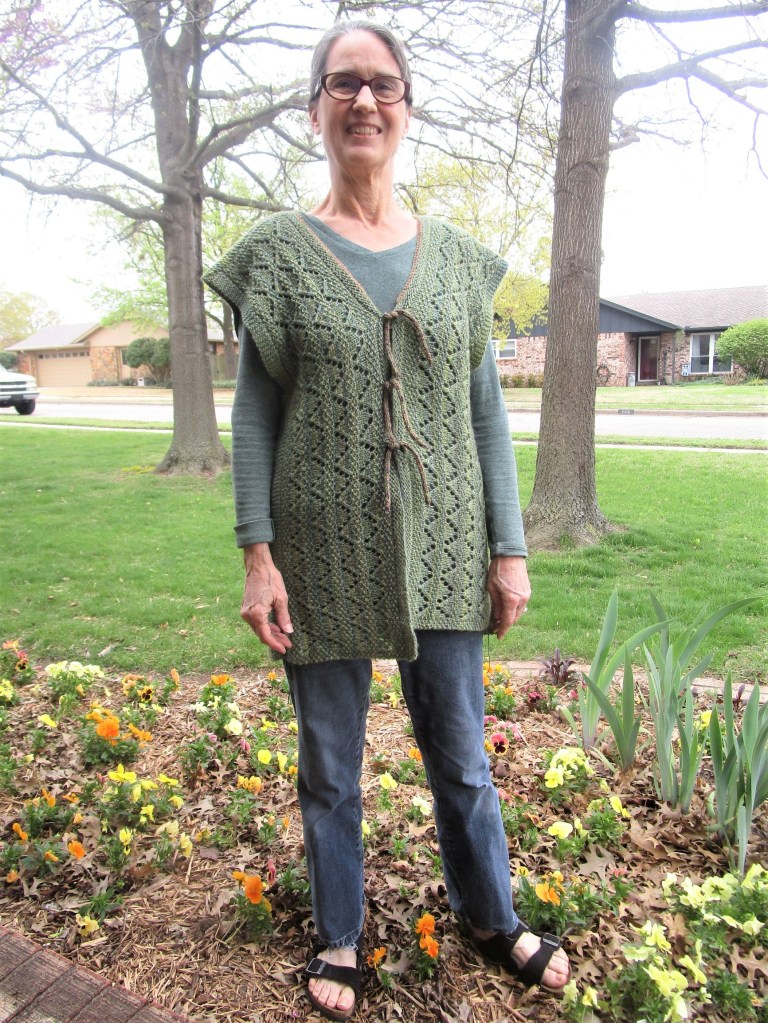
After recovering from the shock of UFO discovery, I came up with a plan. I made a promise to myself to finish one each week. At that pace, I will feel like I am dealing with the problem while still allowing plenty of time during the week for creative play. Above you see the first finish: the Northwoods Serape.
I had purchased this self striping yarn for another project, then rejected it as inappropriate. On one of our road trips last year, I brought it along for mindless travel knitting. As you can see, I ended up knitting three basic rectangles: a wide one in garter for the back and two narrower ones in a lace pattern for the front.
All knitting was done from side to side – this gives a vertical line to the stripes. Edges were picked up and knitted in garter stitch from bottom edge to top.
After that the piece languished for months. In a moment of carelessness I gave away all the extra yarn to a student. The finishing bits will have to be added in another yarn.
I thought I would use this blog to show more specifically how I finished up the serape.
First I blocked all the pieces. This is an essential step for any knitted garment larger than a hat, but especially so for lace knitting. Give it a quick dip in soapy water, rinse, wrap in a towel and squeeze out excess water before laying flat and pulling it into shape. I have 12 x 12 interlocking blocks and U-pins for the pulling into shape part. For this garment the finished size ended up 44 inches in diameter and about 30 inches long.
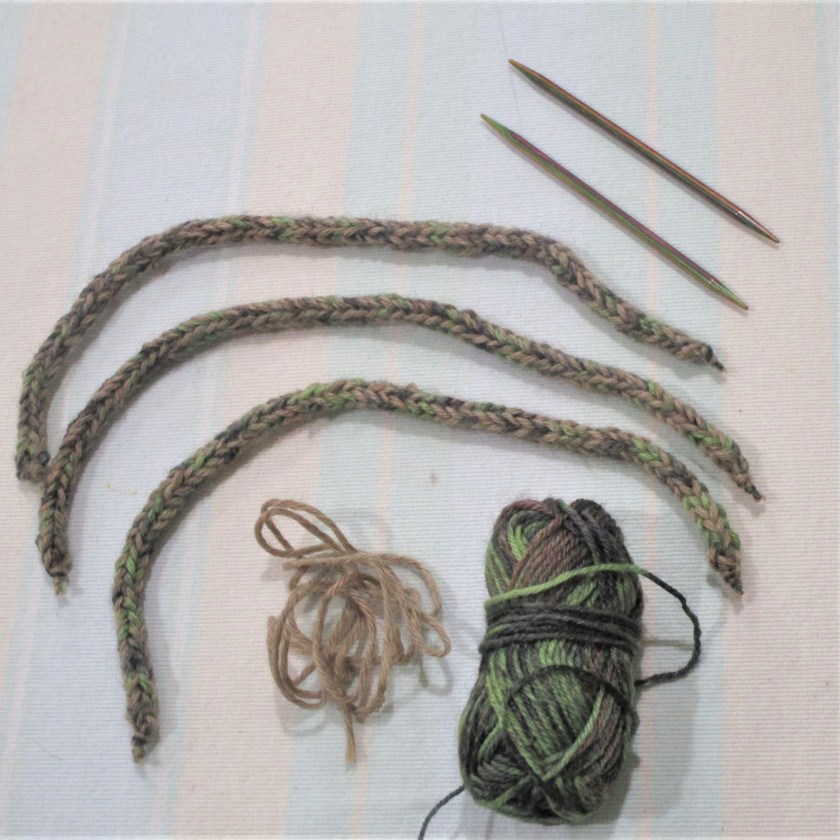
Since I had prudently worked buttonholes into one garter edge, I decided I-cords would make a good closure.
Fingering weight yarn, size 4 needles
You see the tools and materials above. These yarns were odds bits found in my stash. I held two colors together to make nice, fat I-cords. Using short double point needles, cast on three stitches. Knit them. Slide all the stitches to the other end of the needle and knit. Repeat this step until you get the length of cord you need. Mine are ten inches.
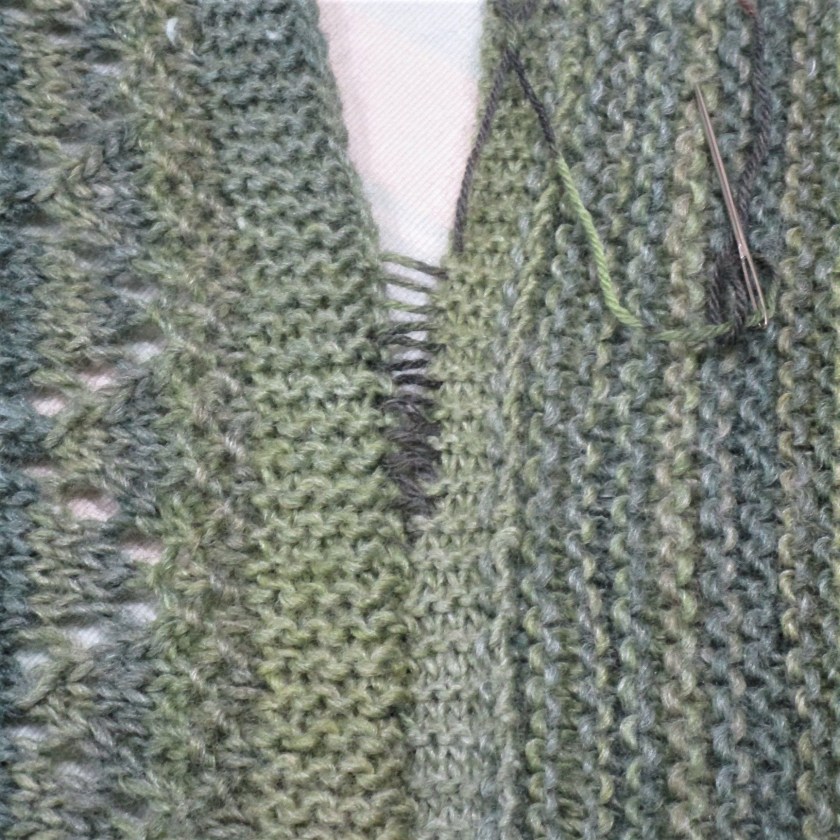
The back neck edge looked very ugly, so I decided to use a row of single crochet to finish off the entire neckline. There are lots of resources for learning to crochet, so I won’t go into it here. I will suggest a few things for this particular application. Work from the front of the garment and draw up a loop from right edge of the neckline. Leave about a three inch tail. If you are clever, you can hide this tail while you work the row. I just left it until I finished and then wove it under the first few crochet stitches. Work UNDER the next stitch to the left. It’s important to have both yarns of the stitch you are working over top of your hook. This keeps the crochet row straight and tidy.
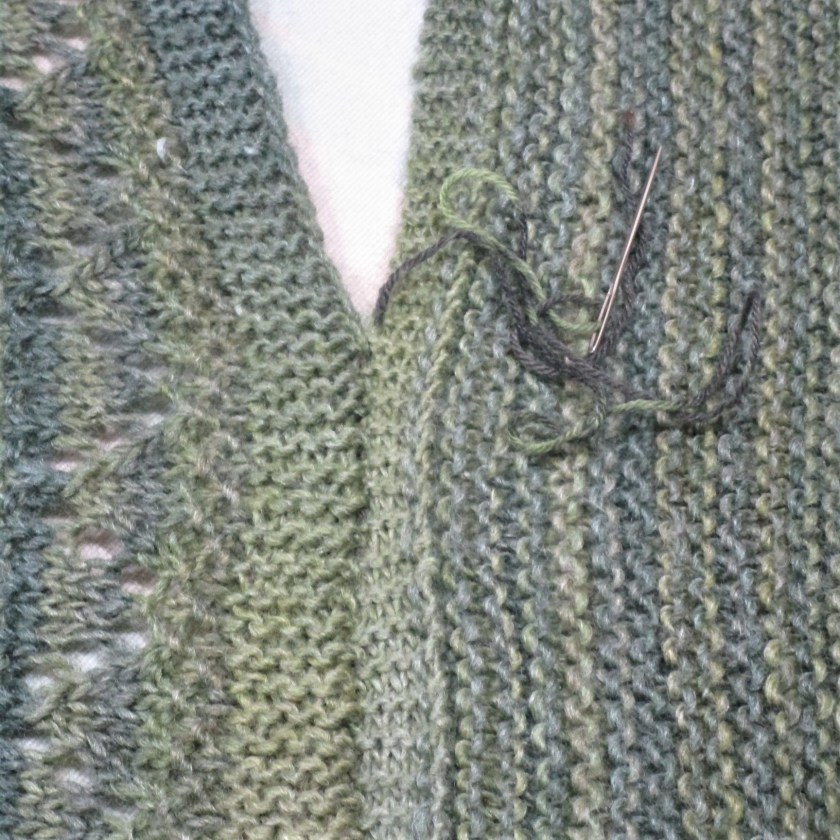
Next is the side seams. I used mattress stitch. Align the front and back edges with the right sides of the garment facing you. Thread a tapestry needle with yarn and fasten the end to one edge. When working mattress stitch into garter ridges, you will insert your tapestry needle into the “knotted” looking part of the garter ridge. Work back and forth from edge to edge like this, keeping your stitches loose.
My work here is a bit slip-shod. I knew that my knitted pieces were already quite irregular. Perfect seams won’t improve the end results.
After running the stitch up the seam about three inches, snug the seam closed as thus: Hold the lower end with one hand and pull firmly and smoothly on the working yarn. The seam should close up. As a side benefit, you will find that your sewing yarn is totally invisible.
Continue sewing until you reach the top, then fasten yarn on the wrong side. Cut yarn and weave in ends.
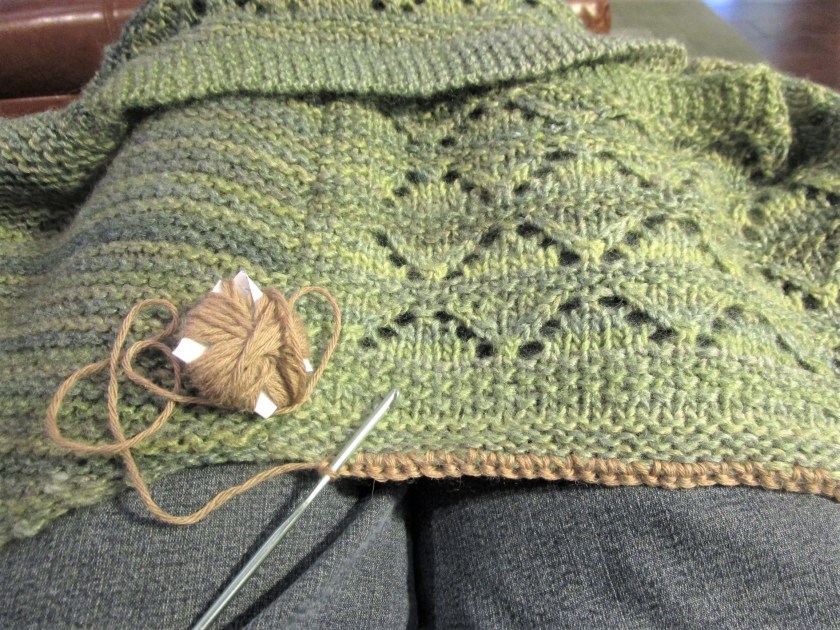
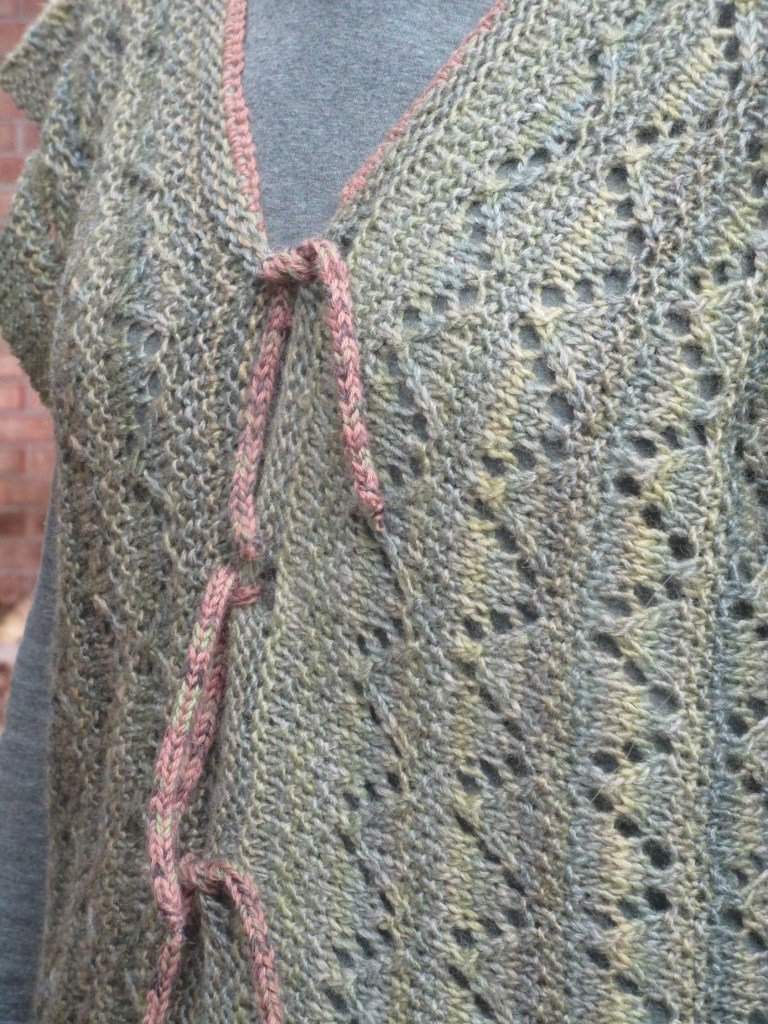
The last step is to sew the I-cords opposite to the button holes and it’s Done!
I have to admit, now that it’s finished I am suddenly in love with the yarn and the garment. By the way, this lace stitch is called seed stitch lace diamonds. I found it in 750 Knitting Stitches: The Ultimate Stitch Bible.
My friend Kathy tossed this knitting pattern at me a few weeks ago with a plea. She really liked it, but was intimidated by the instructions to drop several stitches and then pick them up again. I couldn’t understand what she was afraid of. So I agreed to test knit this pattern.
Frankly, this is one of the easiest patterns I have ever knit. It is a basic garter stitch rectangle. The dropping and picking up takes place at the final two rows. I chose to use a bulky 2-ply yarn from Universal Yarn called Marled. I theorized that the frequent color changes would keep me from getting bored while knitting plain garter for several hours. Fortunately, I had a long, easy car trip during which most of the work took place.
My test wrap is roughly 15 in. wide by 50 in. long before blocking.
Here’s how the braided sections are completed. On the second to last row, drop three stitches roughly every 12 stitches. Knit one more row, leaving the needle in place. Now gently pull the dropped stitches apart all the way down to the bottom row. Starting with the bottom four floats, use fingers or a crochet hook to braid the floats in groups of four back up to the top. Put the top loop of each braid back on the needle and bind off. Voila!
I made mine narrower than the pattern called for, hence only three braids.
I can imagine several other uses for this decorative technique. It would make an interesting treatment up a sleeve, or flanking the button band or center back of a cardigan. How else can you imaging using the dropped and found design element?