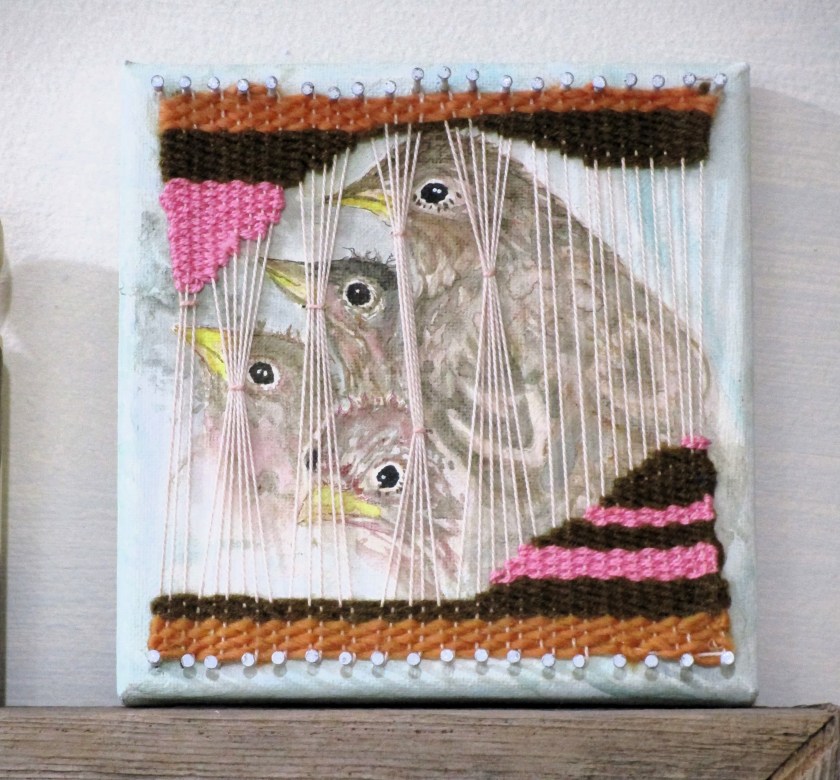
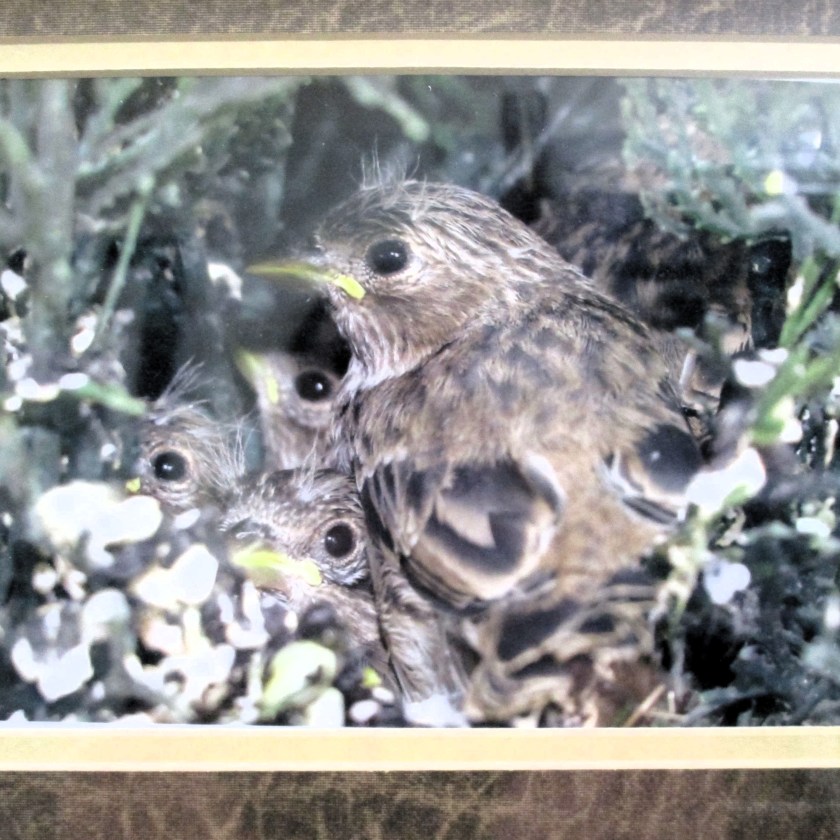
This is my mixed media interpretation of Bill’s photograph of baby sparrows in a crowded nest. I have encased my watercolor painting in a free-form weaving.
He found these hapless birds in a fake flower wreath near the door of a busy downtown business.
I did the watercolor painting on a six by six stretched canvas. After it dried, I pounded in the tacks and strung a warp of Perl cotton embroidery thread. The weaving was worked with yarn and floss in compatible colors. To finish, I poked holes through the canvas and gathered up the threads to create peepholes for the birds.
I’m not sure if I intended some kind of statement about the crowded world, or the clash of humanity and nature. Or maybe it was just a little experiment.
Today I am posting again an object I created back in 2019. It is a weaving on a slightly unconventional fixed frame that I made from an old picture frame and some buttons.
I call it “Escape from the Tower.” Its inspiration resides in my departure from the world of Paid Employment. I suppose it is a bit of an allegory. It represents the feeling of freedom and relief as I gained complete control over my schedule.
When I thought up this piece 2019, I was teaching fiber arts to elementary students. One month we studied weaving. The assignment was to create a frame using a piece of cardboard and cotton yarn. Since I needed to make examples of each project that I taught, I had the opportunity to experiment with different ways of wrapping the weft yarns around the warp yarns.
Eventually I came up with a tapestry frame that was decorative, becoming a permanent part of the weaving.
You may have noticed that the Tower is on fire.
I guess the devil in me made up that part of the weaving. The golden rope stretching down through the smoke and flames delivers the Tower’s occupants to safety.
I’ve had this hanging in my studio since its creation. Our local art association is having a show and I decided to enter “Escape from the Tower.” Starting next week it will be on display at the town library along with works by other members of our group.
I will be curious to hear what viewers think of it.
LEARNING OBJECTIVE: Students will learn the basic process for designing and making a woven fiber object. Students will practice transferring their designs to scrim, tying knots, and using a tapestry needle to weave various patterns.
VOCABULARY: Tapestry, scrim, cross stitch, subject, background, transfer
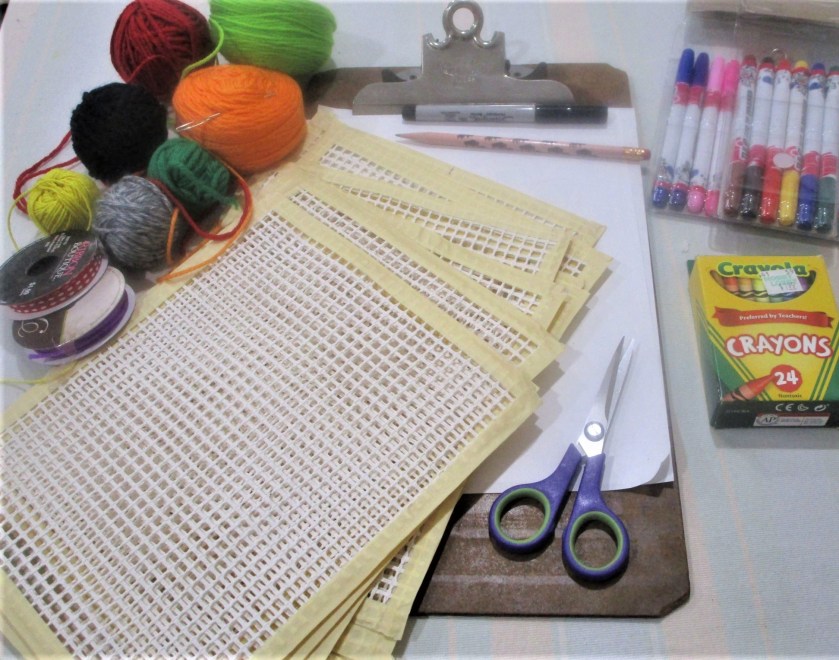
MATERIALS AND TOOLS: Paper, pencil, crayons, markers, scissors, yarn, tapestry needle, rug canvas, masking tape. Optional: String-like objects such as ribbon, cord and fleece.
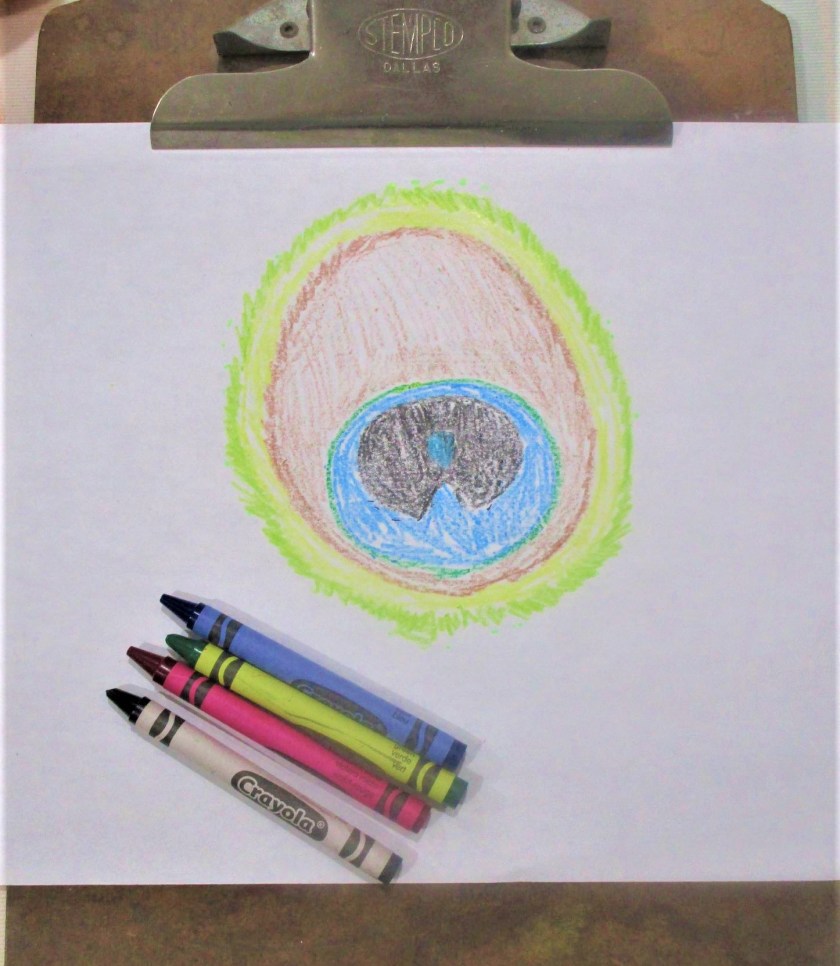
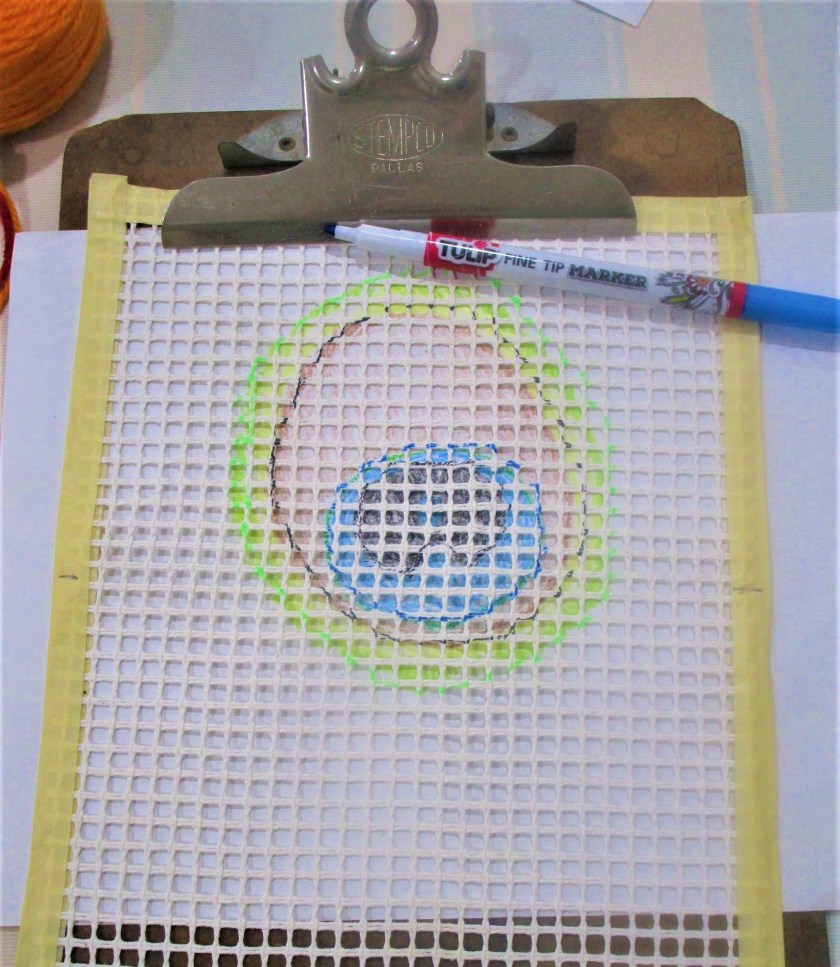
Step One: The design phase. Students will choose two yarns in favorite colors from the yarn bowl. Using a pencil and paper, they will draw a picture of an object or thing that has these colors in it. Place the scrim on top of the drawing to check that the subject of the drawing is within the margins of the scrim. Once students are comfortable with their drawings, they can color the subject using crayons.
Step Two: Transfer the design. Students will lay the scrim over the drawing, centering the design’s main subject. Masking tape can be used to keep the paper and scrim from sliding around. Using matching crayons or markers, students trace the outlines of the subjects’ shapes onto the scrim. Transfer each part of the shape. (see example)
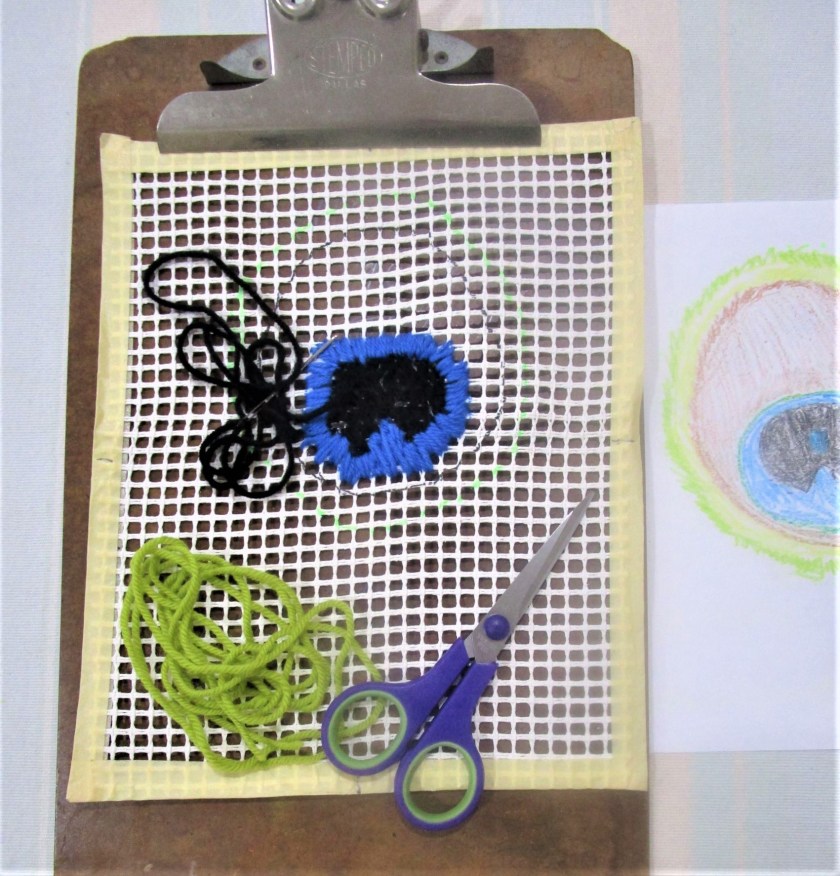
Step Three: Weave the design. First, students will choose any additional yarn colors that will be needed to complete their designs. Starting with the center of the subject area, they will use yarn threaded onto a big-eyed tapestry needle to weave over each area. Students can weave in any direction that works for them – vertically, horizontally, diagonally, or a combination of all. The objective is to cover the entire surface. This example shows diagonal weaving in the black area and a wrapping technique with the blue yarn.
When the subject area is completely woven, the background can be covered in a contrasting color yarn. Alternatively, the background scrim can be left plain or colored using crayon or marker.
In Lesson 4 the class will finish weaving, add additional materials to complete image details and frame the completed weaving.
When thinking about all things fiber, I occasionally ponder the role of objects associated with fiber. Buttons come to mind very quickly. Who doesn’t have a handful (or jarful) of these tiny essentials? While they are often mundane adjuncts to your cardigans, coats and jeans, is it possible for buttons to step out of the ordinary? Let’s make something that gives them a stellar role. I am designing and building a button loom. This loom won’t handle the work of any serious weaver. But it can hold the warp threads for a modest tapestry. If positioned artistically, the buttons can become a key design element of the finished object.
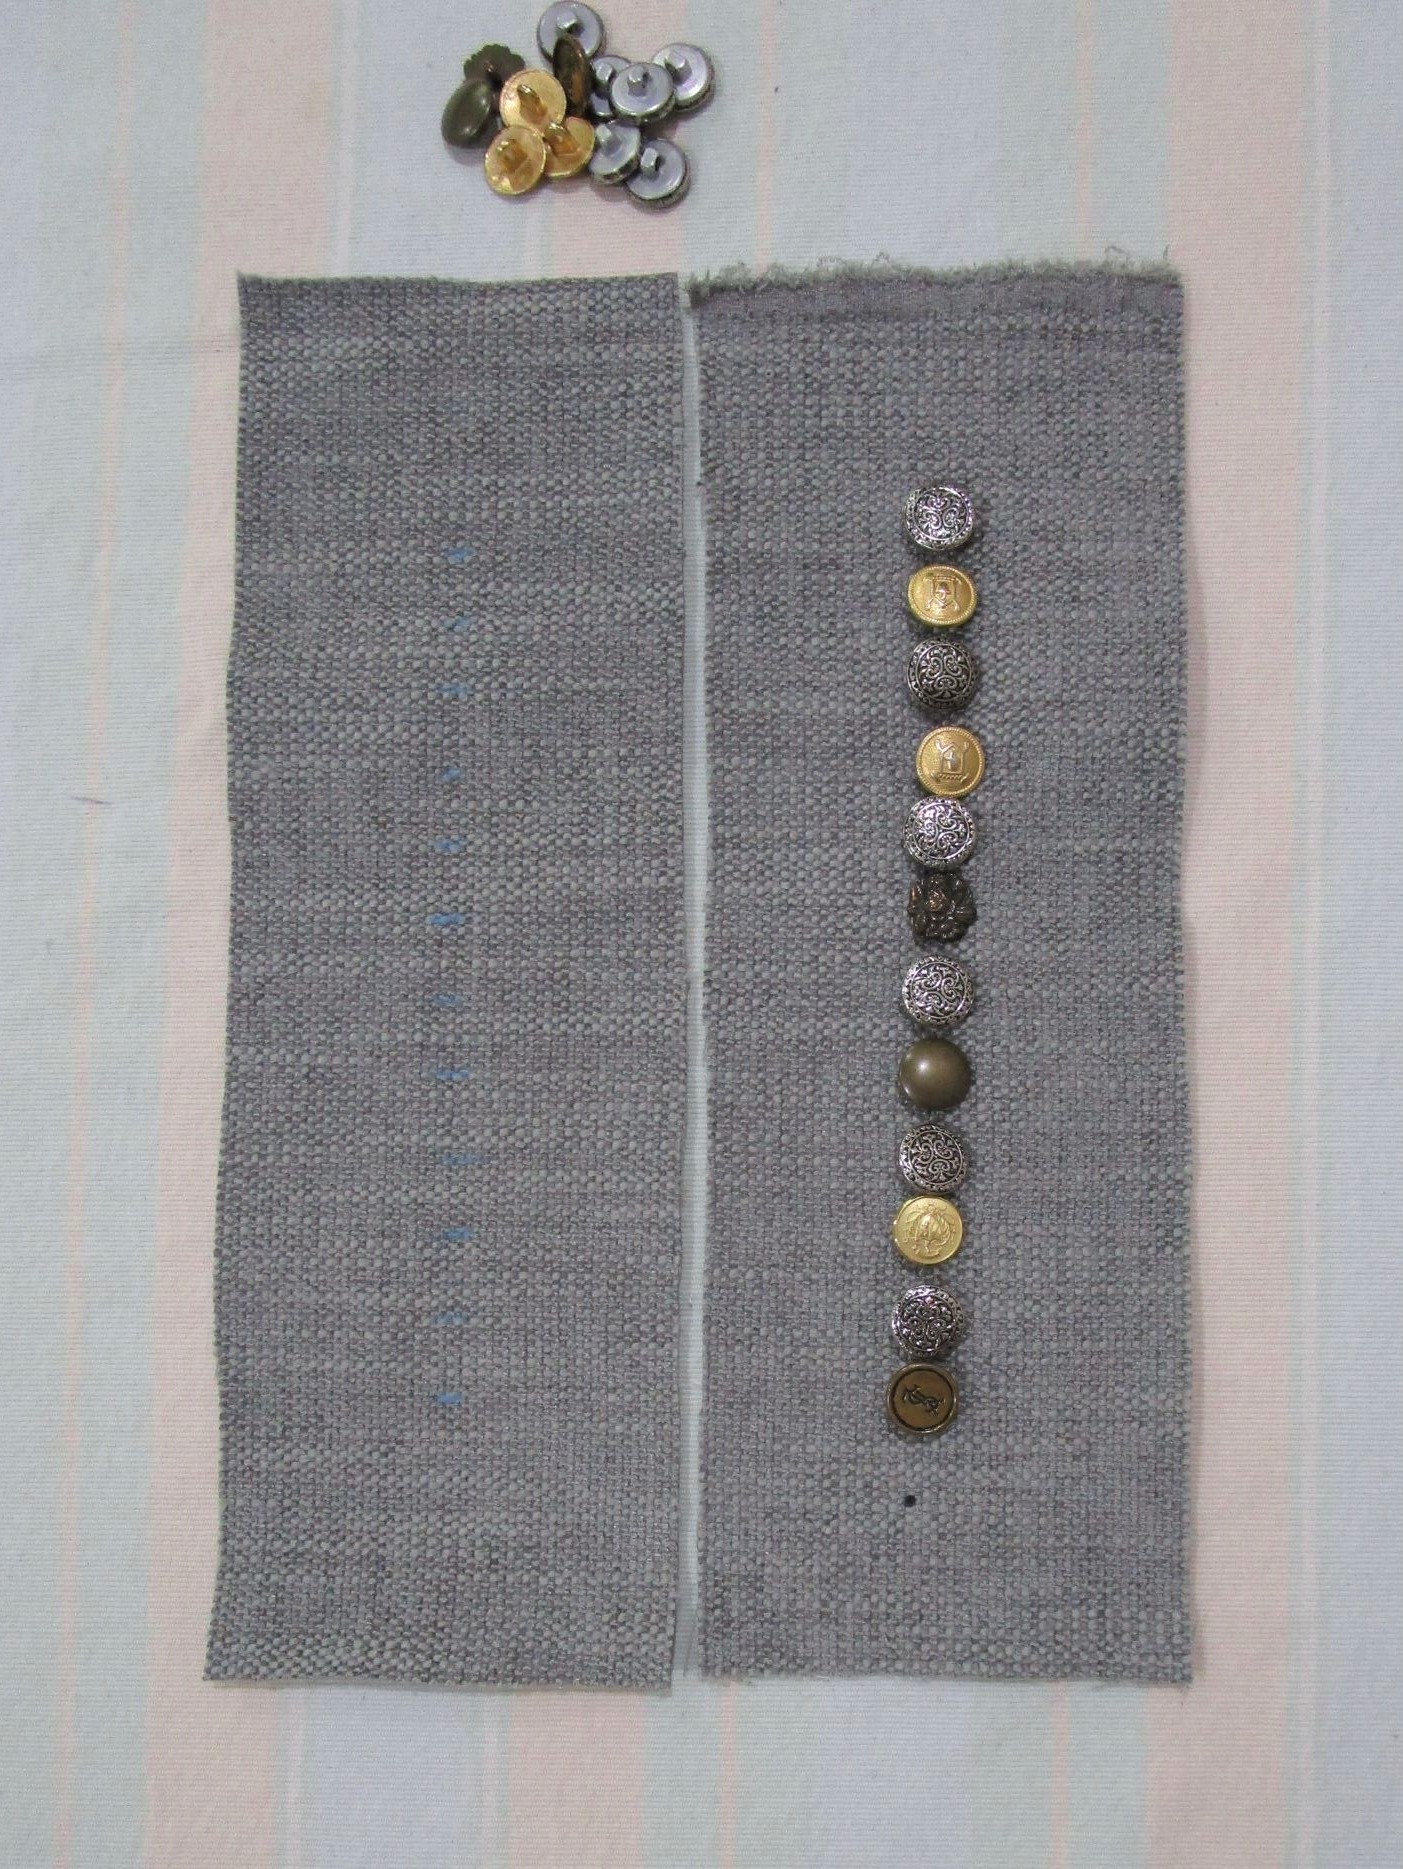
Among my collection, I have two dozen metal shank buttons that were saved from various worn-out blazers and jackets.
The pretty silver ones came from my mom’s stash of vintage buttons.
If I sew them very close together on sturdy upholstery fabric, and then wrap the fabric around a wooden frame, it could start to become a loom.
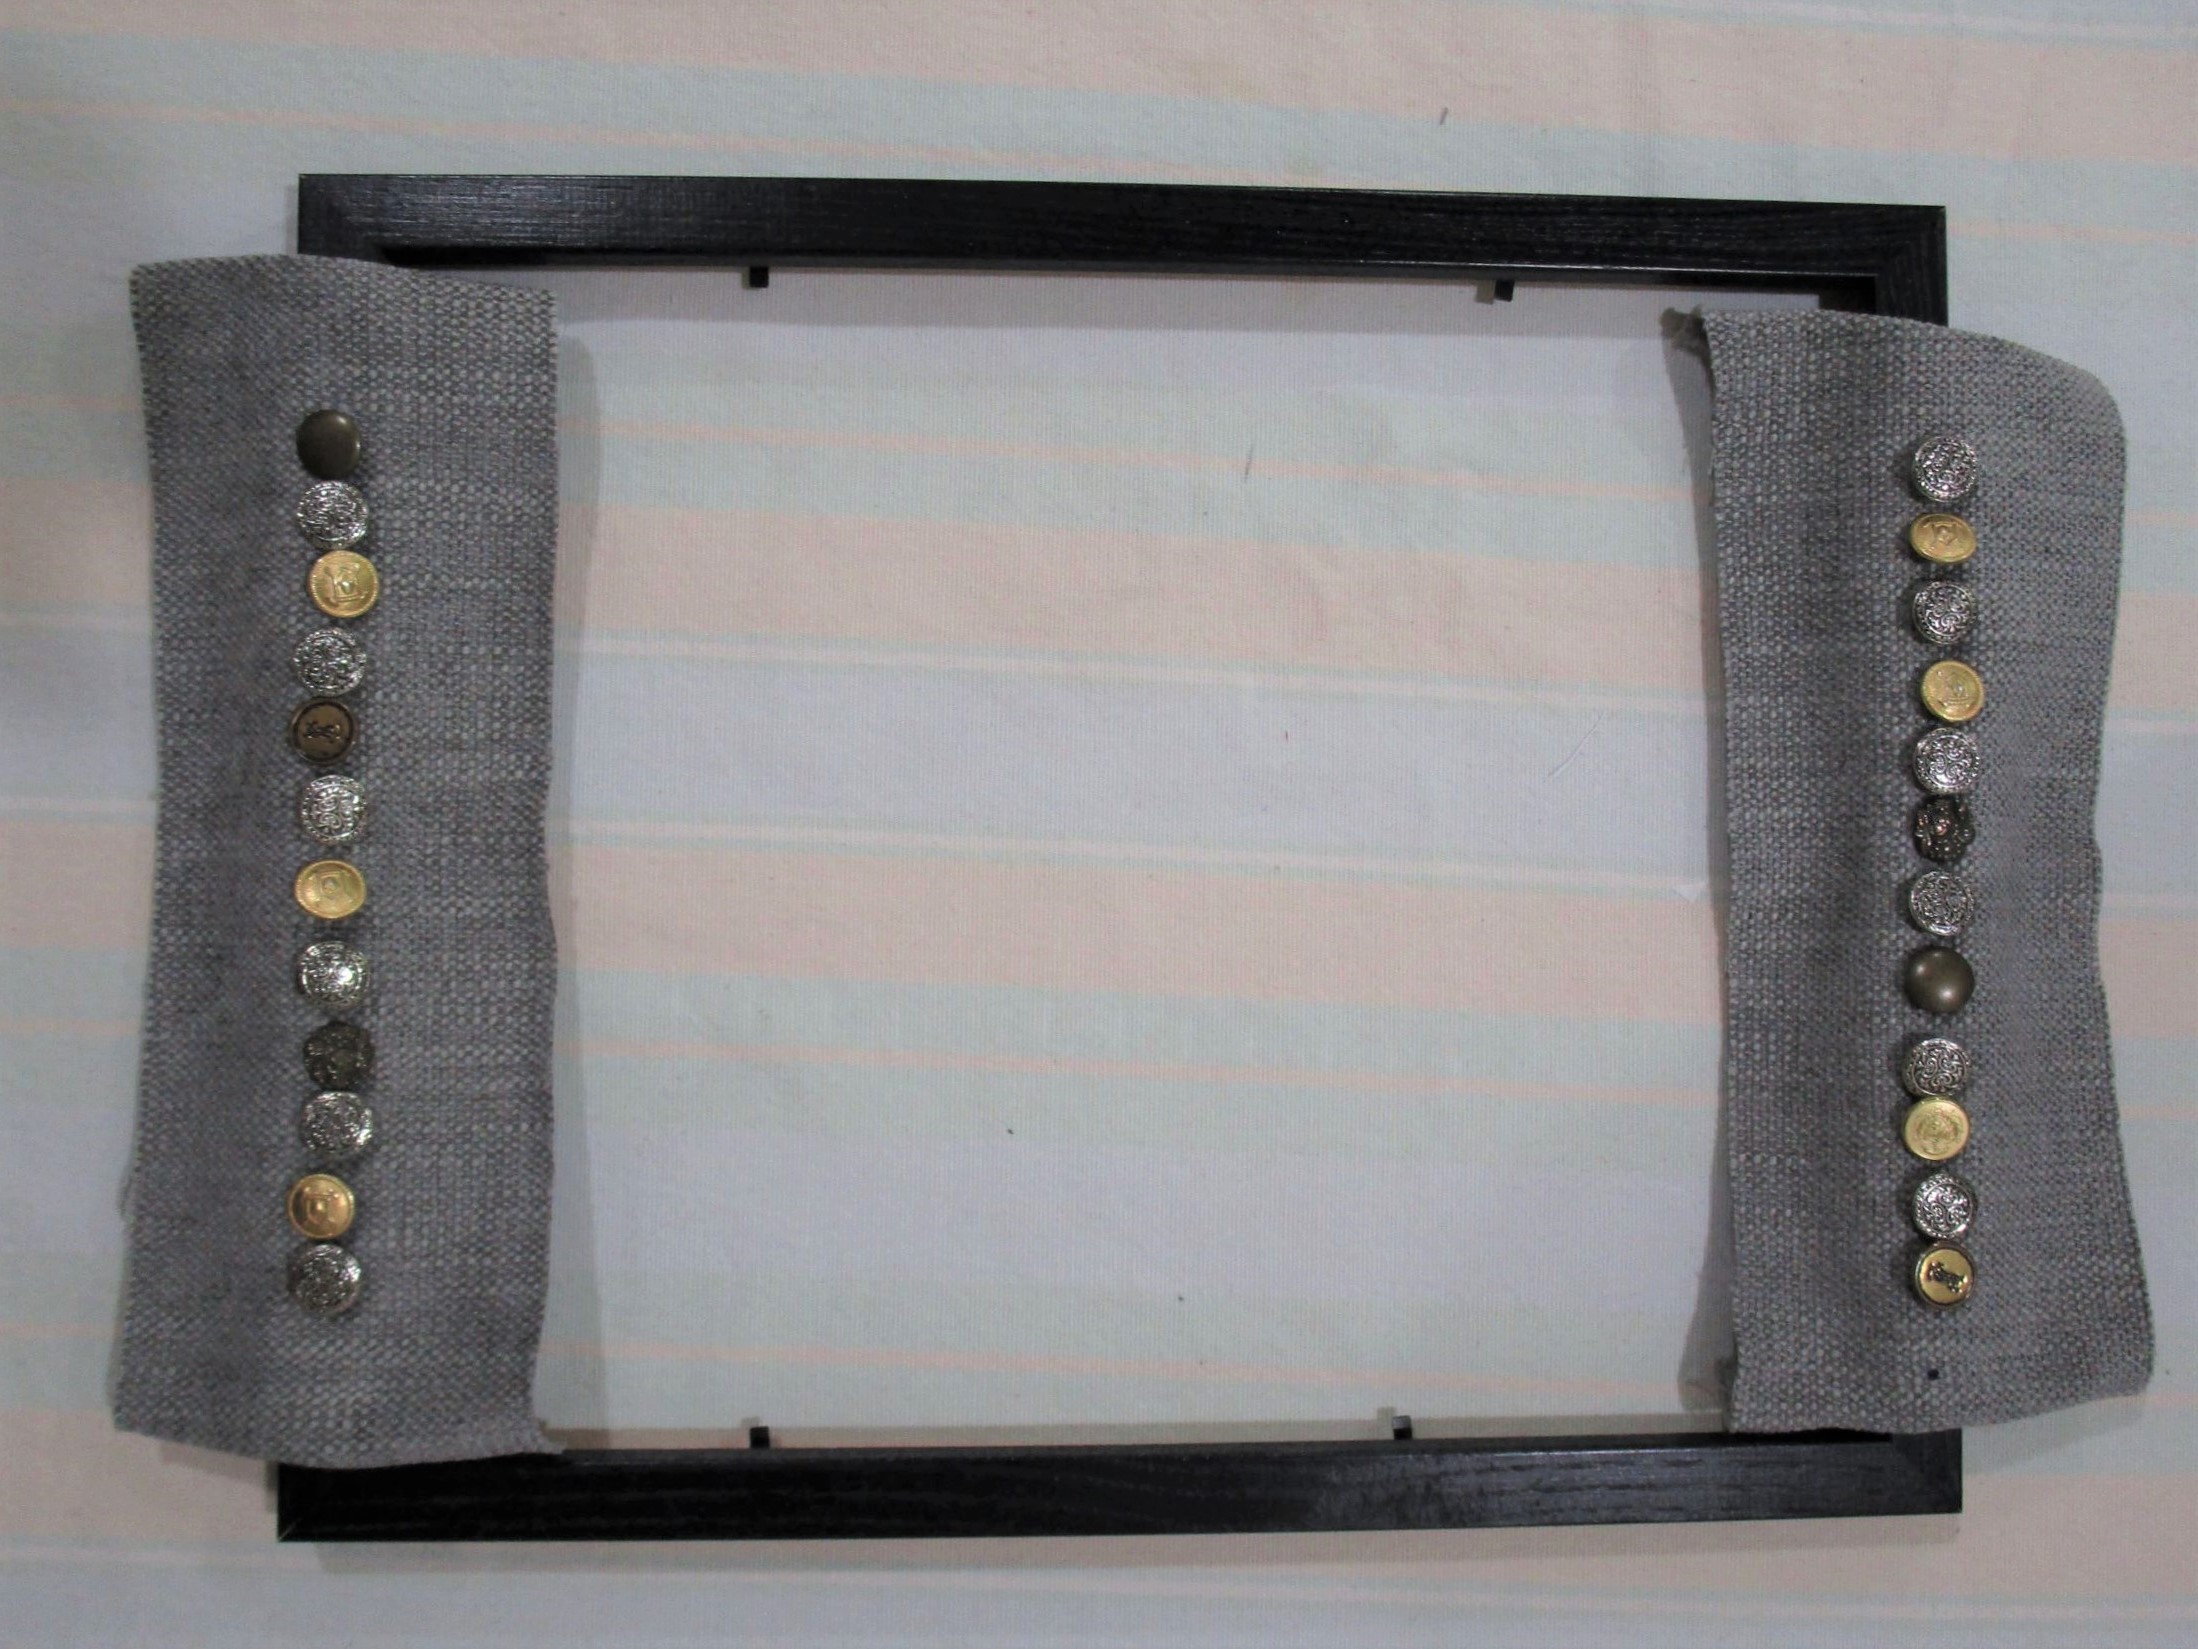
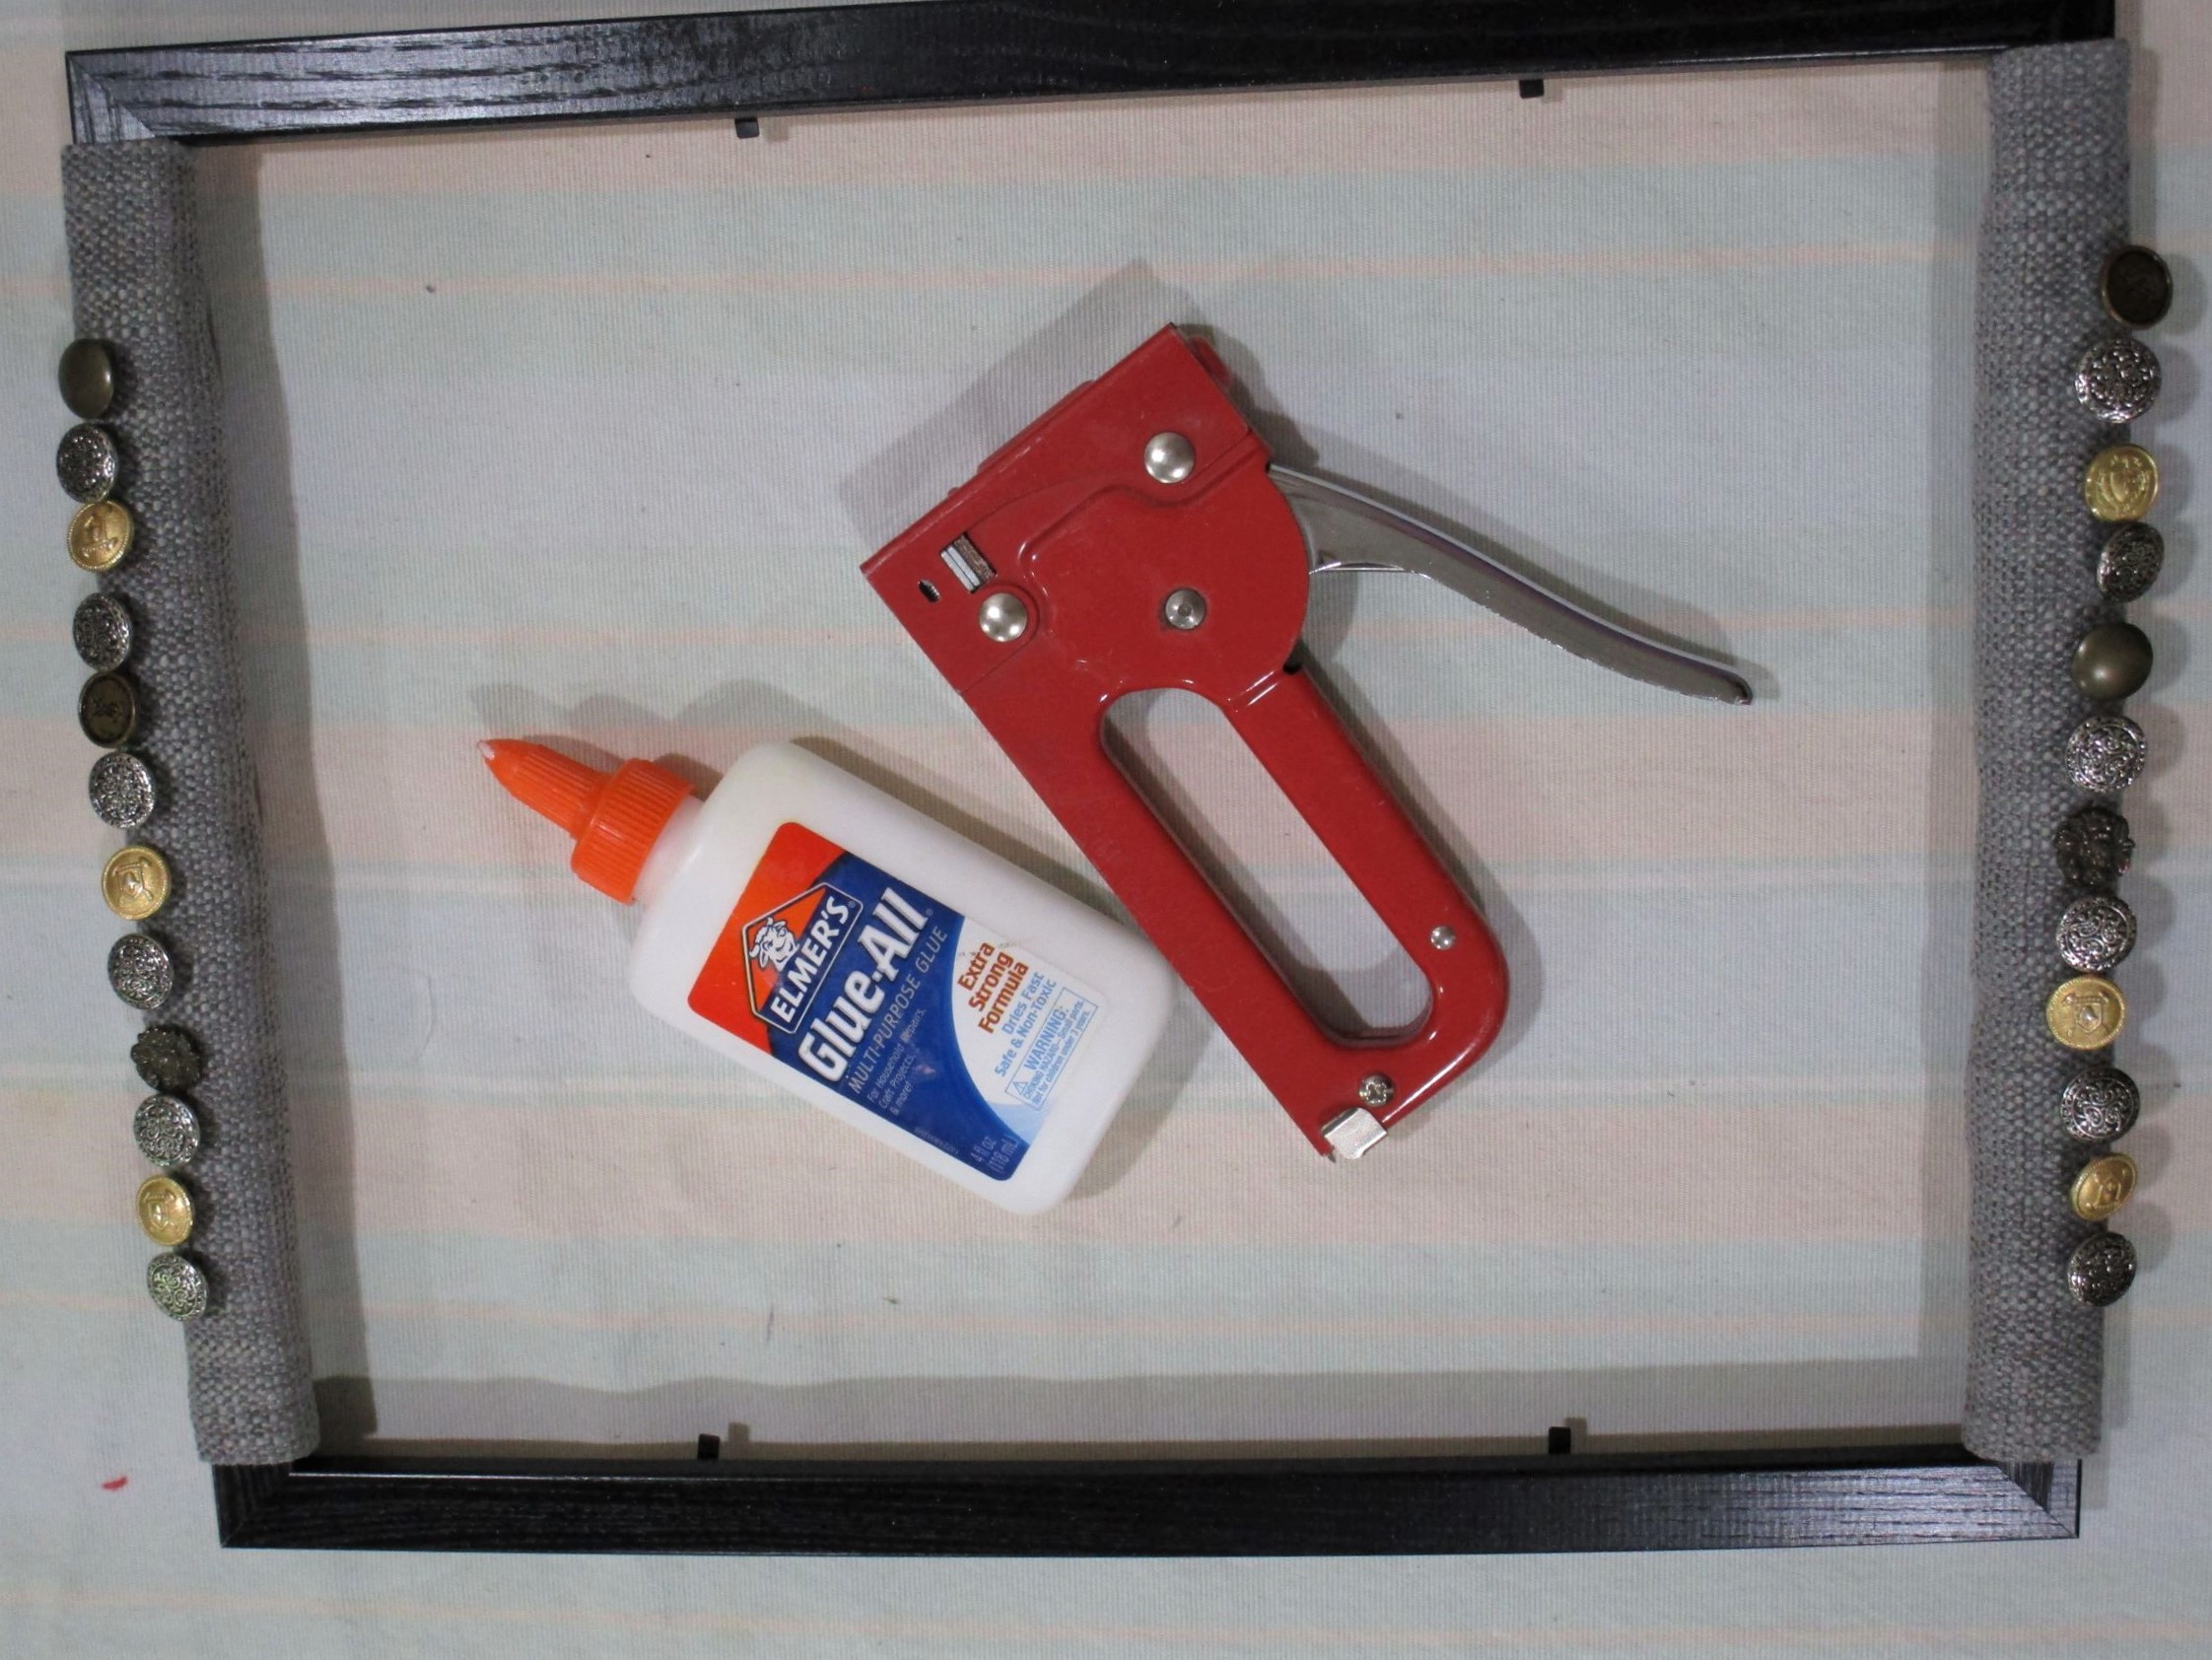
The button-covered fabric rectangles were wrapped around the short sides of the black frame and stapled in place. I used the glue to prevent fraying.
Here is my finished frame with warp threads in place. I have used cotton and acrylic yarns for the warp, pulling and tying them together at the lower edge of frame.