Posted in knitting

Cast on Monday: KDD Pullover

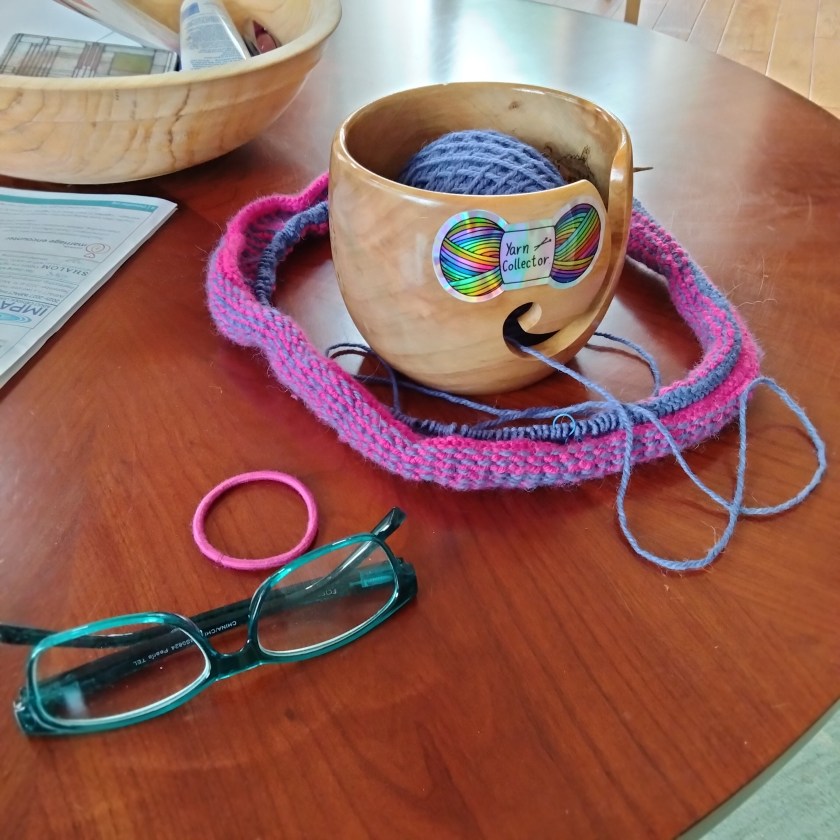
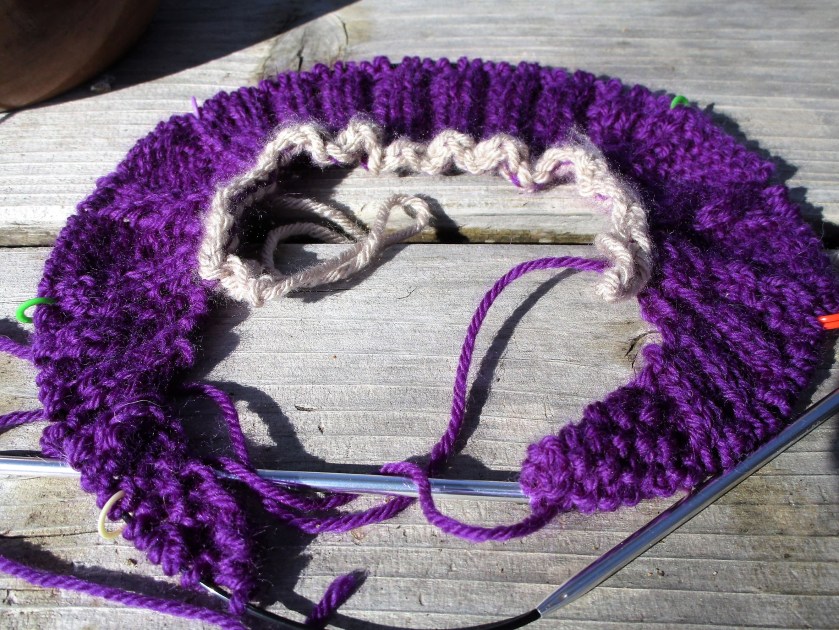
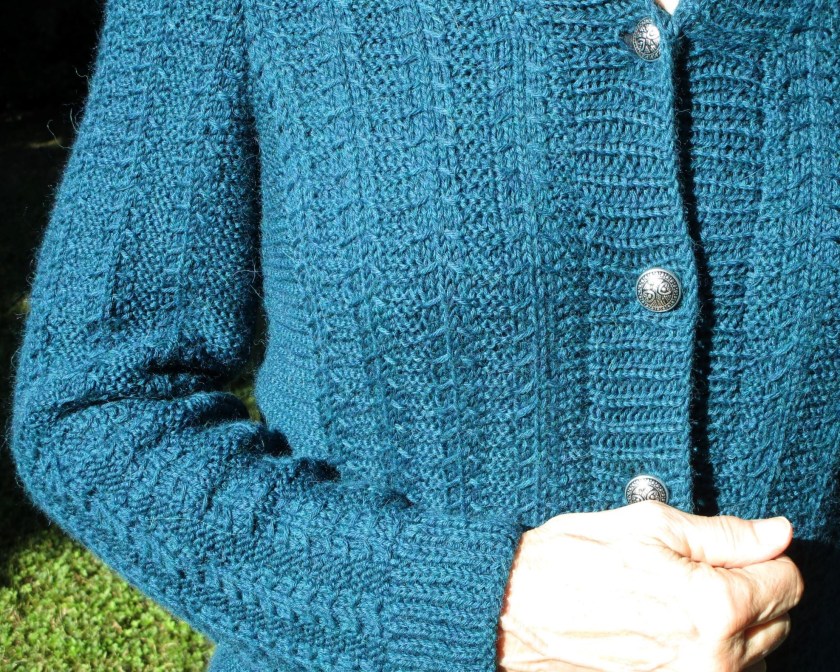
This week-end I got out the knitting needles and settled into a new project. This one has been bagged up in my yarn closet since last year. I am putting to work some Berroco Ultra Alpaca that I purchased – oh, who knows? Anyway, here it is with its two pairings.

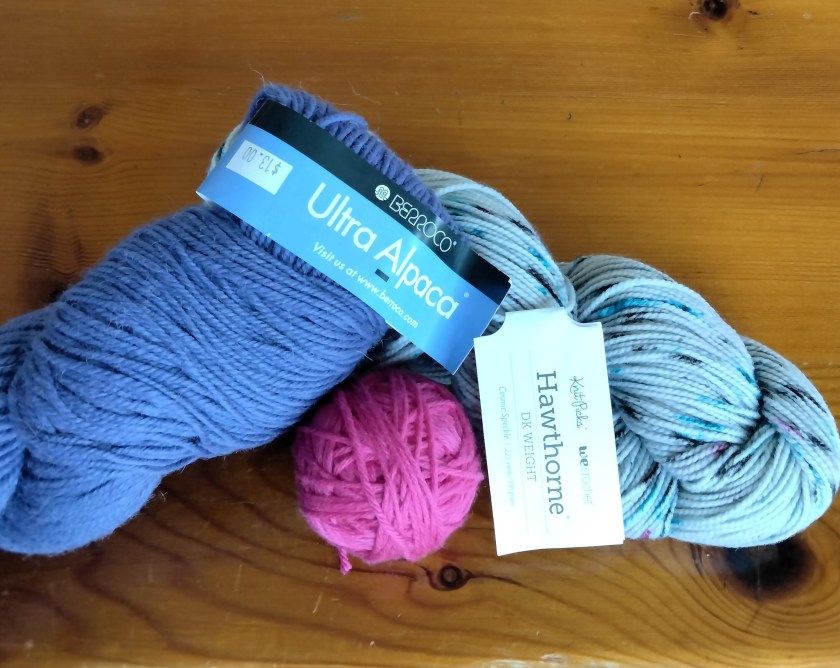
The Ultra Alpaca is a 50/50 blend of Peruvian wool and super fine Alpaca. I have loved this yarn since my early days as a knitter when I made a skirt of my own design using a peat moss color and several teal colors of wool from another source. Today I am working it with two Knitpick yarns – Swish in pink and Hawthorne in a speckled dye. The Berroco yarn is not a super-wash, while the other two are. Since they are all the same gauge, I don’t expect any trouble from those superwashes. The main yarn should keep them from stretching inordinately.

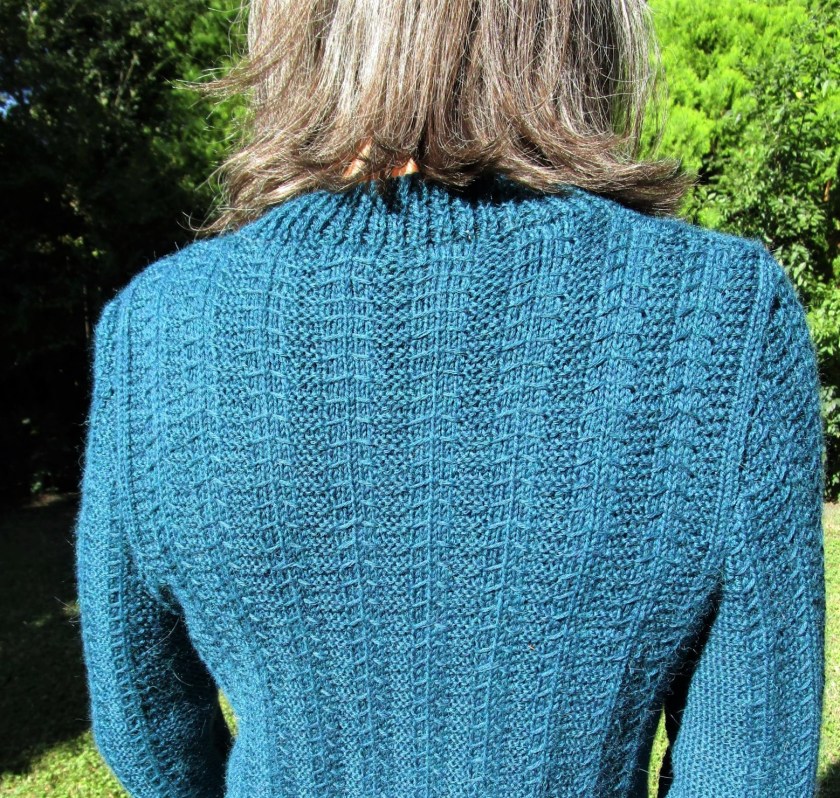
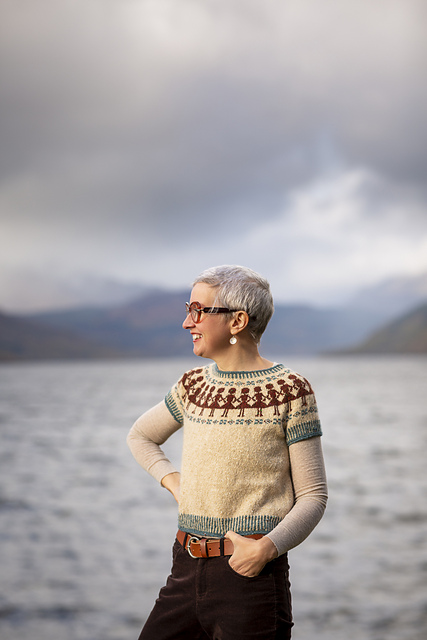
Now- the pattern. I’ve chosen a Kate Davies design going back into the aughts, called Paper Dolls. This has been in my Ravelry favorites for quite a while.

https://www.ravelry.com/patterns/library/paper-dolls

https://images4-a.ravelrycache.com/uploads/KDDandco/750184067/New_paper_dolls-79_medium2.jpg

© Kate Davies Designs

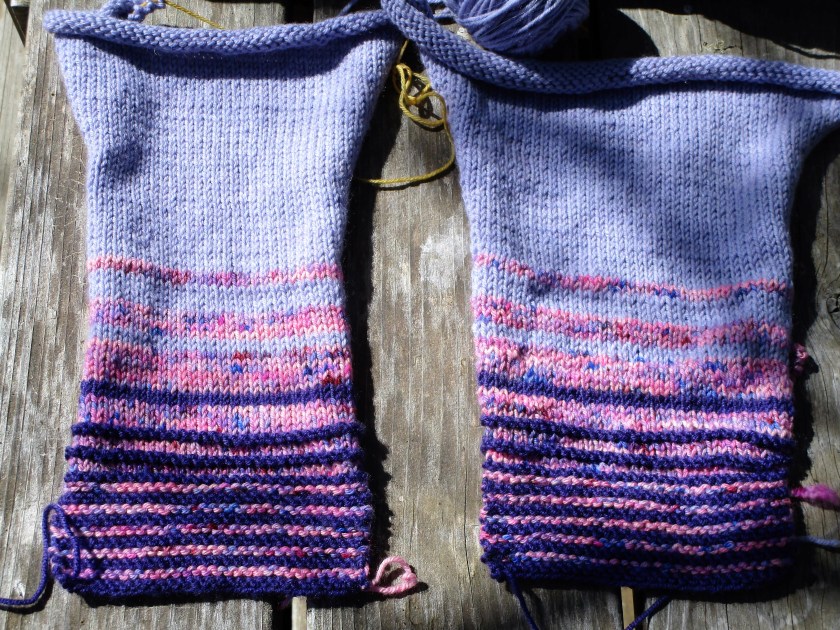
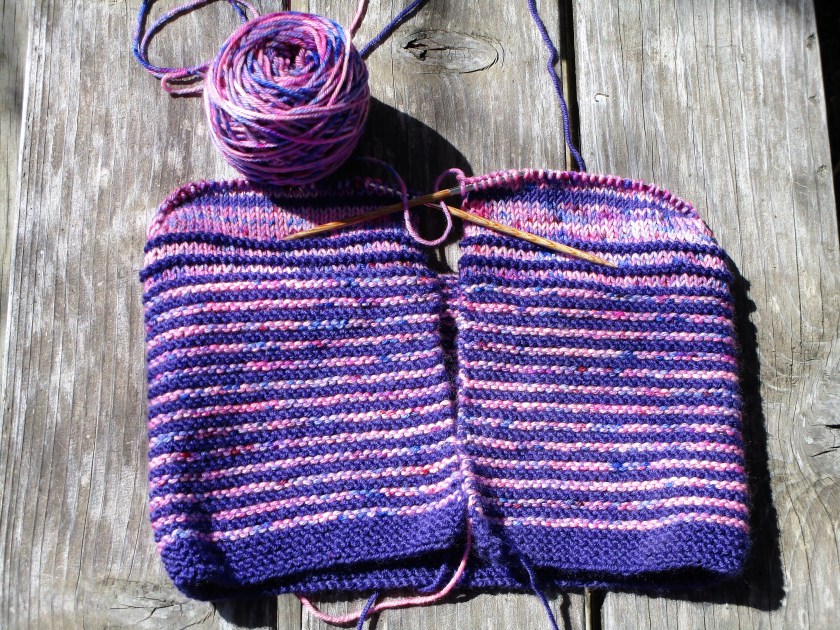
Getting gauge was a problem. Using the suggested needle (US 4) I was off significantly. But the fabric I achieved with this needle looked and felt good, so I just cast on two sizes down. I’m aiming for 40 inch width at the bust. Since this is knit from the body up, I’m pretty confident I’ll know soon enough if it will fit.

If not, I have two fans of my knitting who are smaller than me. Holiday gift giving season isn’t that far off.

If you like the look of this design, I recommend that you check out Kate’s other patterns. This is my second time using a KDD pattern. Her patterns are well written and edited, and give a lot of very useful information. Her partner Tom takes all of the photographs, which are beautiful. He is an artist in his own right.

Posted in knitting

WIP: Child Sweater

copyright 2013 Coats & Clark

It’s been awhile since I showed my progress on a sweater for Lu. In my last post, I shared the fun experience of watching Lu select a skein of yarn.

With her selection in mind, I chose this pattern, available from http://www.redheartco/uk.

Since this last post, I ordered two additional skeins of Elysian yarn in the colorway Ultraviolet. The three I purchased in St Louis didn’t provide enough yardage. Also, I needed a dark shade to balance out the tones of the variegated yarn.

I started by knitting the sleeves. This allows me to test out my color plan.

Encouraged by the way the gradation worked out, I cast on the body of the sweater and knit up to the body/sleeve split.

The project is on pause while I await some measurements of the giftee. But I am pleased so far.

Here is a link to this (very easy) pattern.

Click to access LW3852EN.pdf

Posted in knitting

Friday Finish – Chevron Scarf

A day late and a dollar short, here is my finish for yesterday. I made this for a friend’s birthday which, sadly, came and went before I had finished knitting.

The chevron stitch pattern is one I had been wanting to try for a while. This version is created using a slipped-stitch, not a stranded technique – which contributed to the lateness of my completion. Because slip-stitch, also known as mosaic technique, tends to pull the rows up tight against each other, it took 48 rows to create 4 inches of scarf.

The yarn came from Hobby-Lobby, from its new line of hand-dyed fingering weight yarns. Fiber is 100% superwash merino wool.

Bill has kindly consented to serving as my model today.

If you would like to give this stitch a try, I have attached a pdf of the twelve-row pattern that I used.

It was fairly easy to memorize, with only three right-side rows that varied. In this technique all back-side rows are the same: purl the knits and slip the slips. The pattern also features an I-cord edging.

I’m pleased with the result, but mostly relieved that I finished.

Posted in knitting

Cast-On Monday: Spring Sweater

The weather is so glorious this morning that I moved outside for this photo shoot.

Today I am starting a coat/sweater for my granddaughter. You see my swatch, which turned out with the correct gauge on my first attempt. (I was lucky.) I wanted to make a big sweater, with cables, pockets and a hood – all the design features that a northern girl needs to keep warm while playing outside in early spring. I was fortunate to find the perfect pattern by Elena Nodel on Ravelry

Photograph by Elena Nodel

https://www.ravelry.com/patterns/library/lavanda

For the yarn, I chose Wool of the Andes Superwash by KnitPicks. Just last year I used it in the Weaver’s Square vest knitted for my daughter. It has become a favorite of mine for hard-wearing garments.

https://wordpress.com/post/dailyfiberfun.wordpress.com/1559

The color here is a bold one.

The sweater is worked from the top down. It features ribbed and cabled sections, with a knitted in seed stitch button band. All of these features are set up in the first 12 rows. When you take into consideration knitting raglan increases on either side of the sleeves, it makes for a somewhat complex start to the knit.

Oh, I forgot to mention the provisional cast-on. I used the crochet chain method. This allows for the hood to be added by knitting up from the neckline.

Whew! Now that I have established each section, the next couple dozen rows should follow without incident. I’m so happy to be working on a big, size 7 cable needles, after what seems like months of working with sock needles.

Posted in knitting

Finished Object – Passages cardigan

Despite the long gestation period, this cardigan came out pretty well. I went with silver buttons to add a little bling to this teal blue sweater.

And now if you will indulge me, I would like to share some tips on how to make a sweater that fits. These nuggets of learning were revealed to me the hard way – through many years of experience and the making of several ill-fitted sweaters.

1. Start with the right measurements. For a sweater, these include hip, bust, cross-back, neck to wrist, armhole depth, upper arm width, and length (shoulder to garment hem.) TIP: If you own a coat or sweater that fits you well, you can take these measurements from it. If you don’t, get a friend to measure you.

2. Consider ease. Different body areas require different amounts of ease. Also different styles and yarn weights require more or less ease – thick yarns should have more ease, thin yarns can have no ease, or even negative ease. You may want a lot of room in your hip area, but a close fit at your bust – or vice versa! For an average fit, allow 2 inches at bust and hips and at least 1 inch at upper arm. Then use the schematic of your pattern to choose the right width to match your measurements and desired ease. TIP: Never add ease to the cross-back measurement. This is the distance across your back at the top of your armpits. If your sweater is too loose here it will slide off your shoulders.

Photo shows the cross-back area.

3. Make a swatch. Or two or three. While EZ says to swatch in stockinette stitch, I like to swatch in the same stitch that I will be using for the garment. Always wet-block your swatch. I know, this seems like an extra step. But it’s important because certain yarns (superwash) and quite a few stitch patterns open up a lot with blocking. If you take your gauge from an unblocked swatch, your sweater will invariably end up too long and too wide.

4. If you are curvy, incorporate waist shaping. Adding a decrease section and then an increase section between hips and ribs eliminates bulkiness while making room for your breasts. You can also use short rows under the bust area to add more fabric where it is needed in the sweater front.

5. Block the finished pieces before assembling. It makes the sewing up much easier. For this sweater, I wet-blocked the body and sleeves. I then sewed the shoulder seams with back-stitch and the sleeve seams with mattress stitch. Next I knit on the button band. To set in the sleeves use yarn and back-stitch up from the underarm to the shoulder seam. Tie off yarn and sew up the other side.

I hope that you have found something of value in my long discourse. For those who are wondering, the pattern is called Passages from Knit-Picks.com and the yarn is Camino Alpaca Premium 6-ply from Bremont. It is a wool, alpaca and nylon blend.