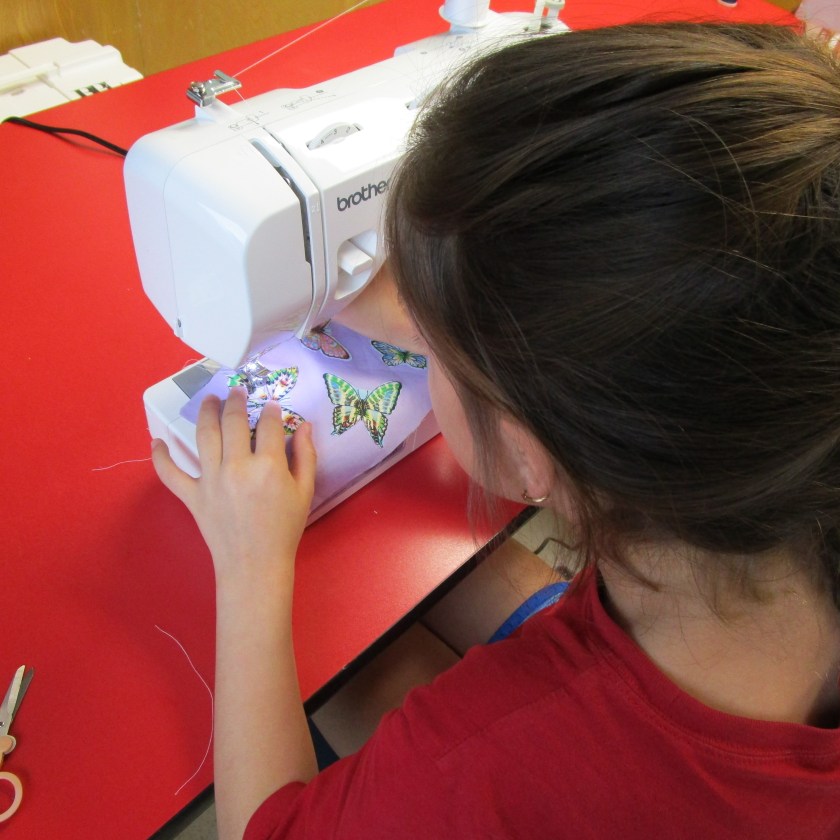
Meet Jenell. She is an inspired art teacher who is now teaching her students virtually. Perhaps some of your young artists will give these projects a try. – Laura Kate.
Check out some of our current projects happening in the art room and how they’re made! Though there’s not been as many in person classes this month, there’s still a lot going on! Check out some of the happenings below! Virtual Paint Alongs! Although we haven’t been able to do any in person paint nights…
LEARNING OBJECTIVE: Students will learn the basic process for designing and making a woven fiber object. Students will practice transferring their designs to scrim, tying knots, and using a tapestry needle to weave various patterns.
VOCABULARY: Tapestry, scrim, cross stitch, subject, background, transfer
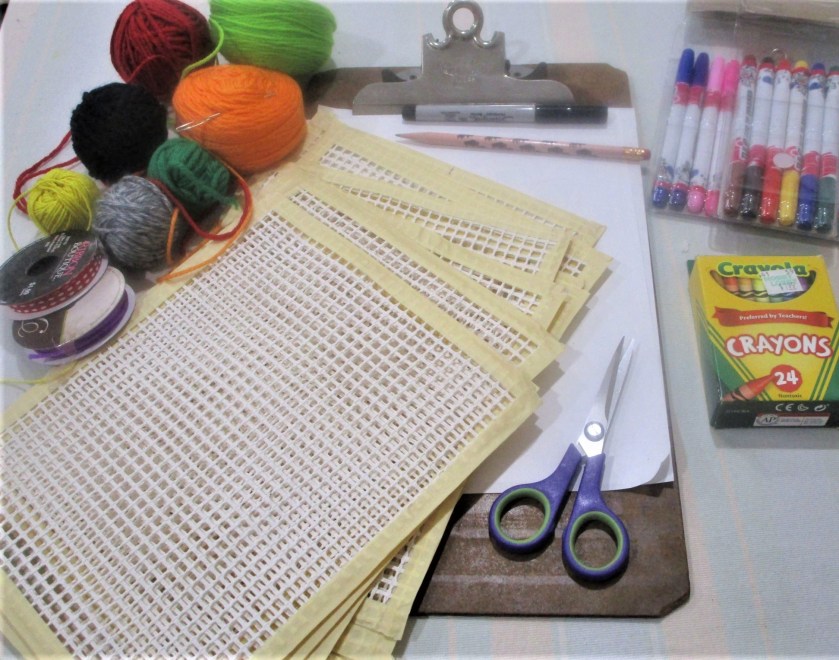
MATERIALS AND TOOLS: Paper, pencil, crayons, markers, scissors, yarn, tapestry needle, rug canvas, masking tape. Optional: String-like objects such as ribbon, cord and fleece.
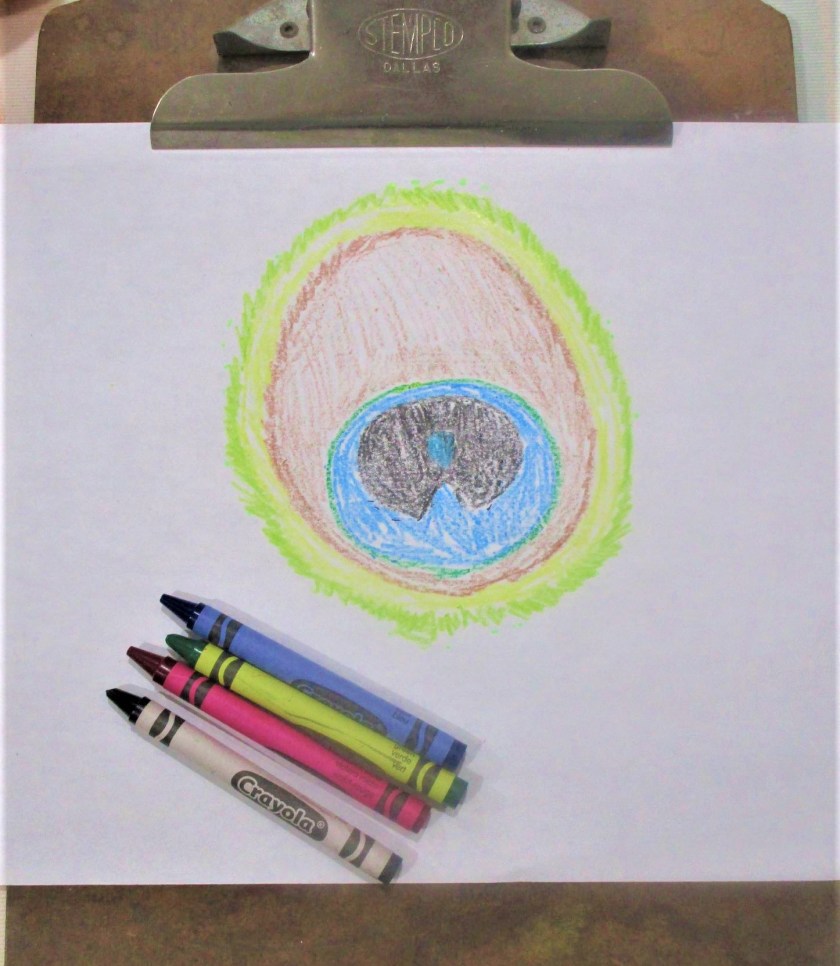
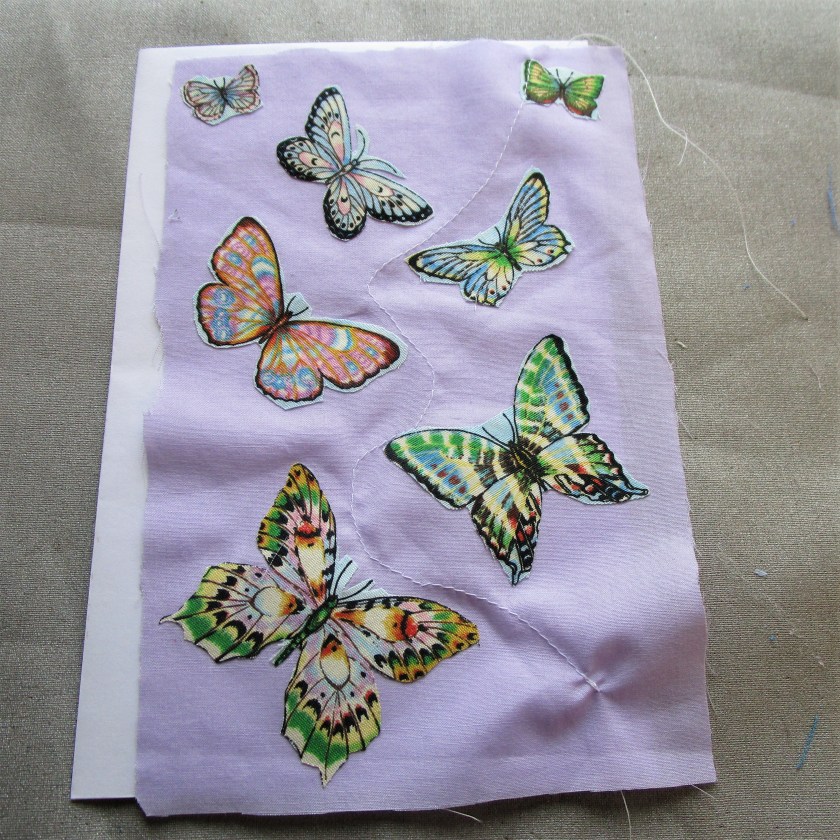
Step One: The design phase. Students will choose two yarns in favorite colors from the yarn bowl. Using a pencil and paper, they will draw a picture of an object or thing that has these colors in it. Place the scrim on top of the drawing to check that the subject of the drawing is within the margins of the scrim. Once students are comfortable with their drawings, they can color the subject using crayons.
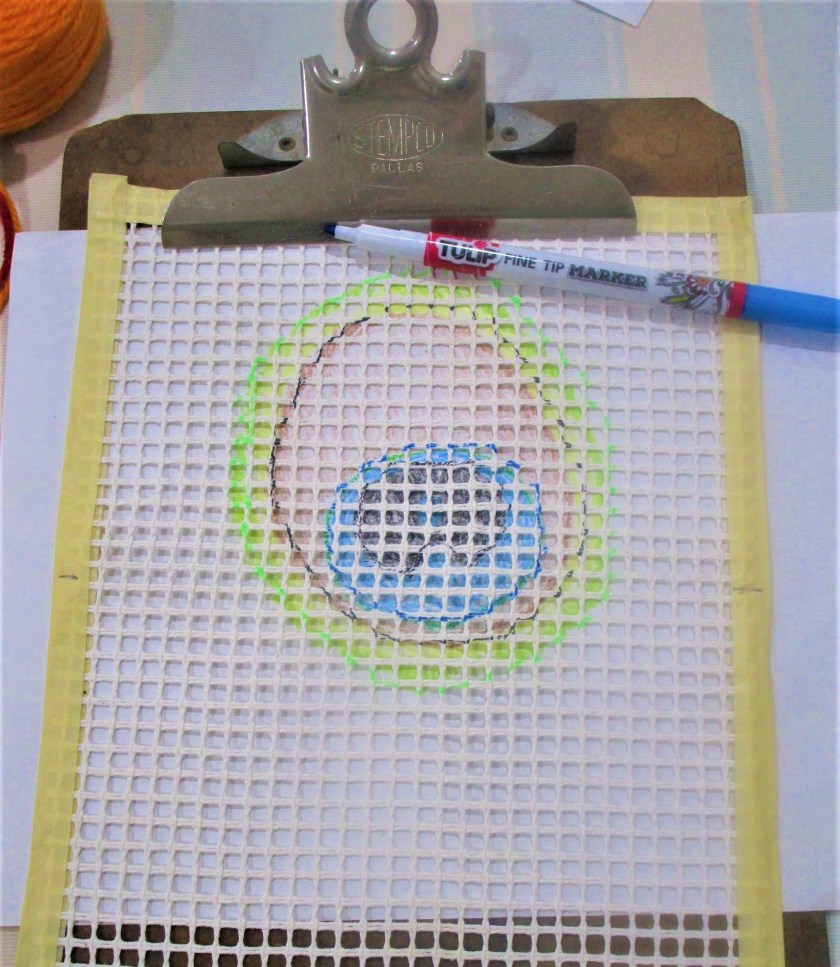
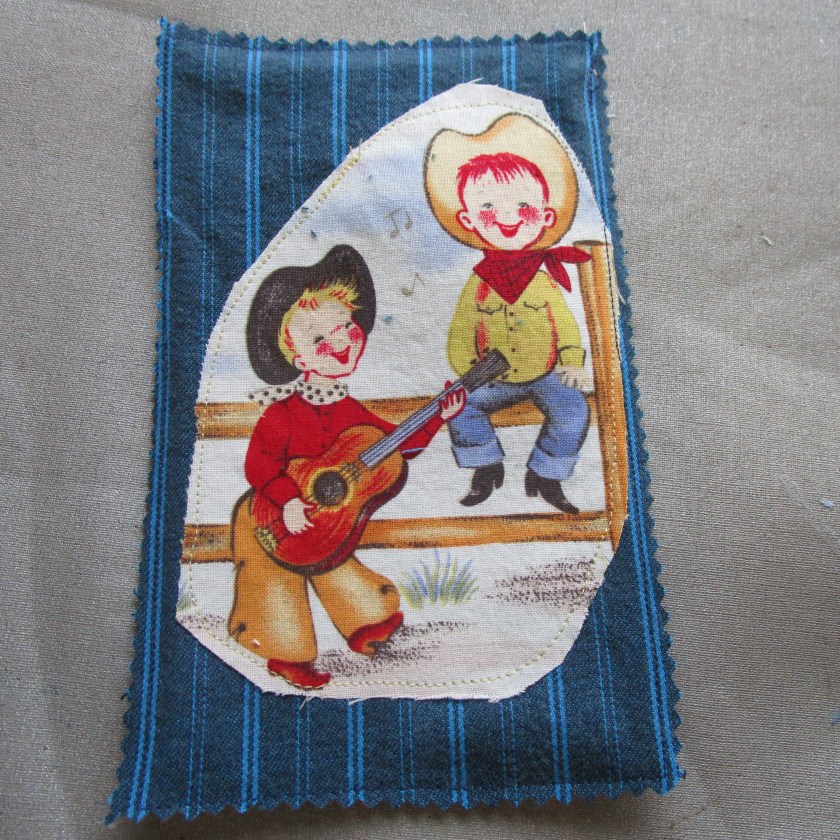
Step Two: Transfer the design. Students will lay the scrim over the drawing, centering the design’s main subject. Masking tape can be used to keep the paper and scrim from sliding around. Using matching crayons or markers, students trace the outlines of the subjects’ shapes onto the scrim. Transfer each part of the shape. (see example)
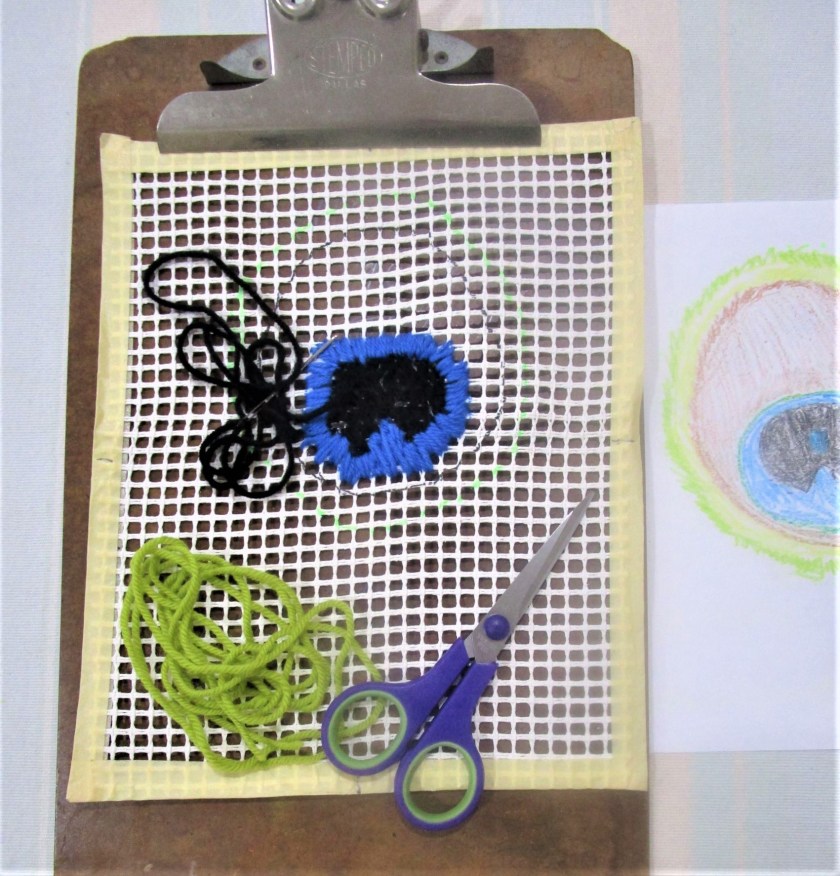
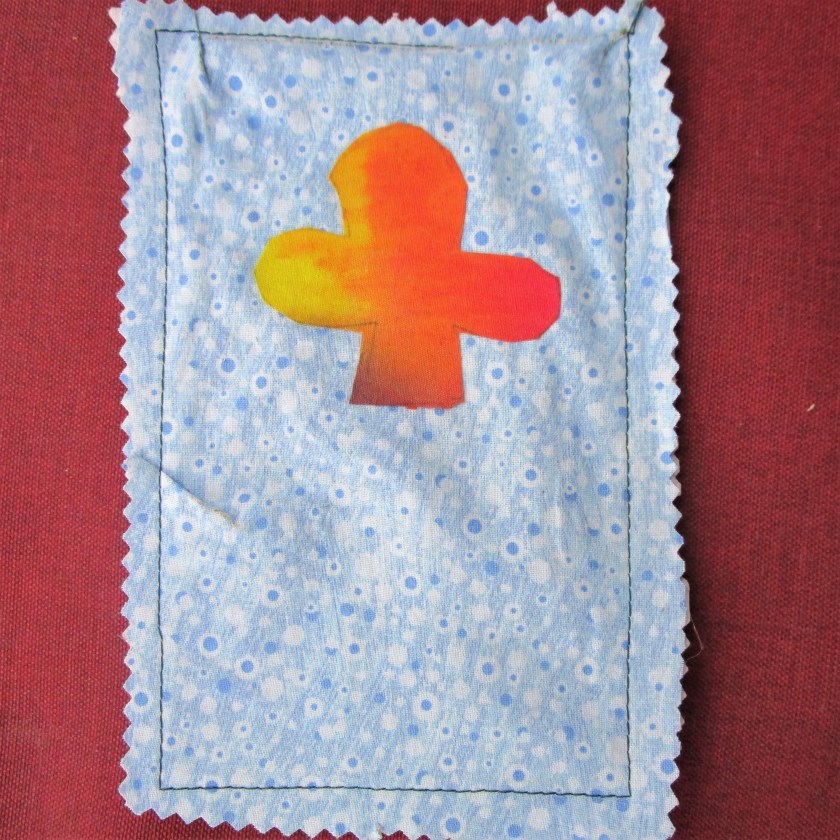
Step Three: Weave the design. First, students will choose any additional yarn colors that will be needed to complete their designs. Starting with the center of the subject area, they will use yarn threaded onto a big-eyed tapestry needle to weave over each area. Students can weave in any direction that works for them – vertically, horizontally, diagonally, or a combination of all. The objective is to cover the entire surface. This example shows diagonal weaving in the black area and a wrapping technique with the blue yarn.
When the subject area is completely woven, the background can be covered in a contrasting color yarn. Alternatively, the background scrim can be left plain or colored using crayon or marker.
In Lesson 4 the class will finish weaving, add additional materials to complete image details and frame the completed weaving.