This week was moderately productive. I finished several more blocks for the Oregon Baby quilt, including two feature blocks. There are now four features finished, except for any finishing embroidery touches.
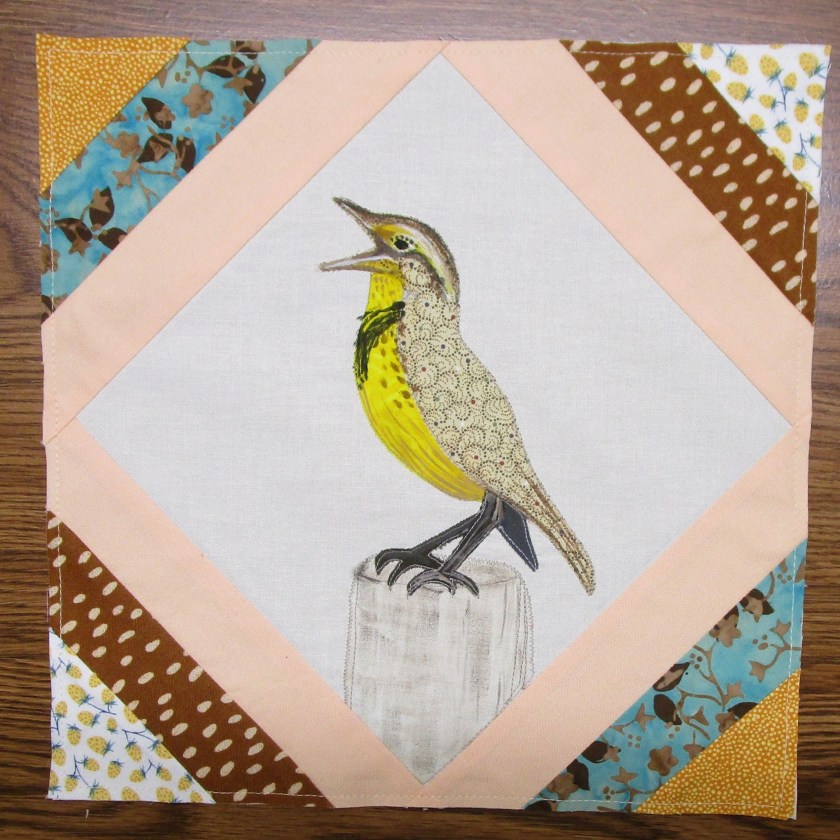
I made the western meadowlark and baby rabbit blocks.
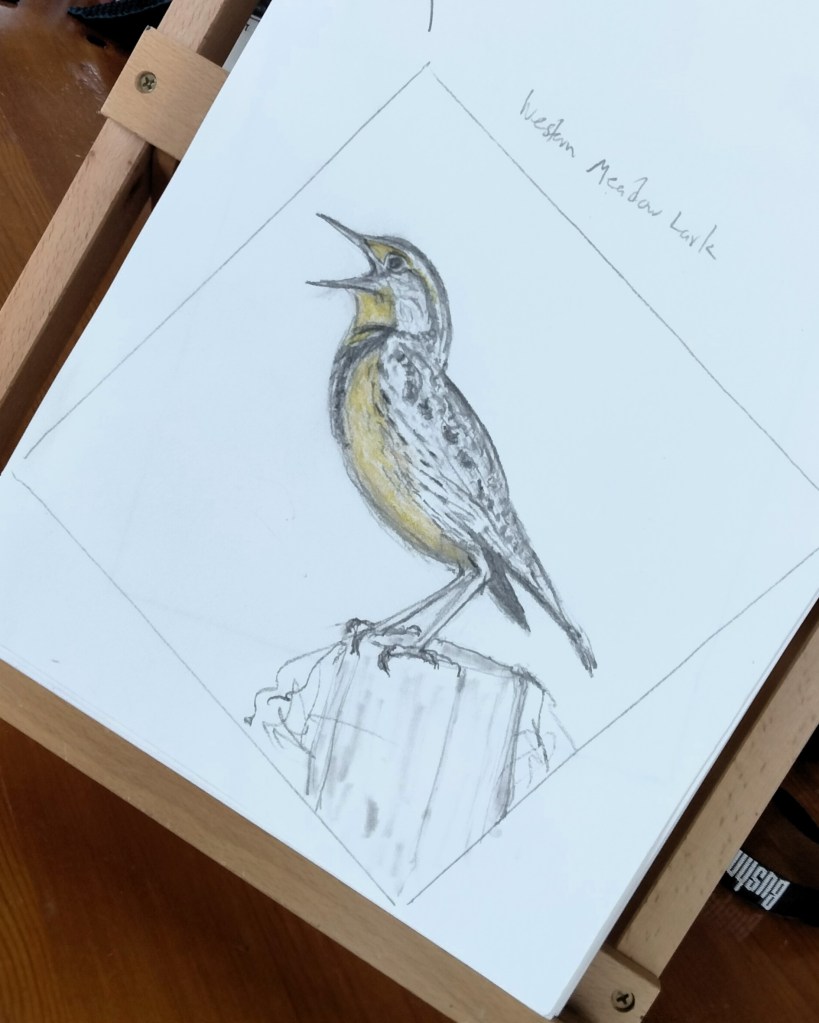
Beginning sketch for meadowlark:
Western Meadowlark
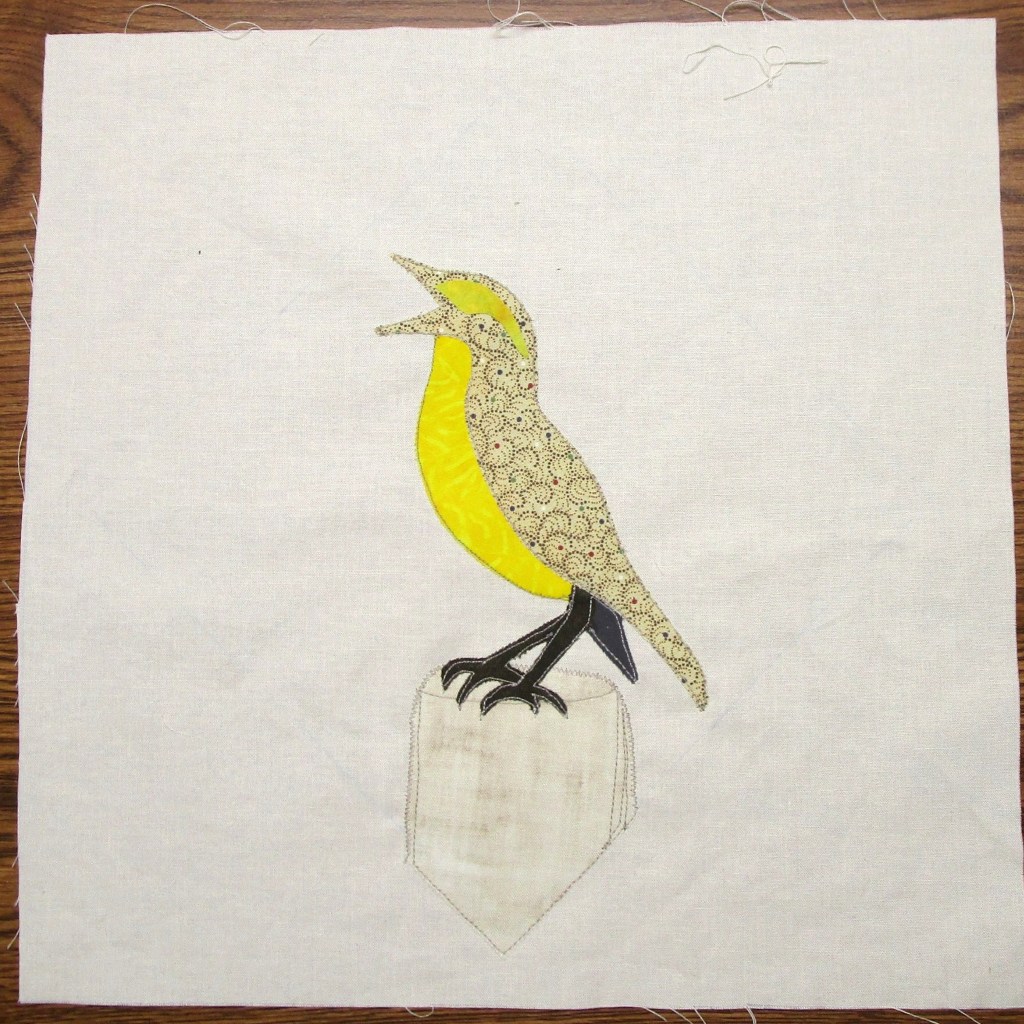
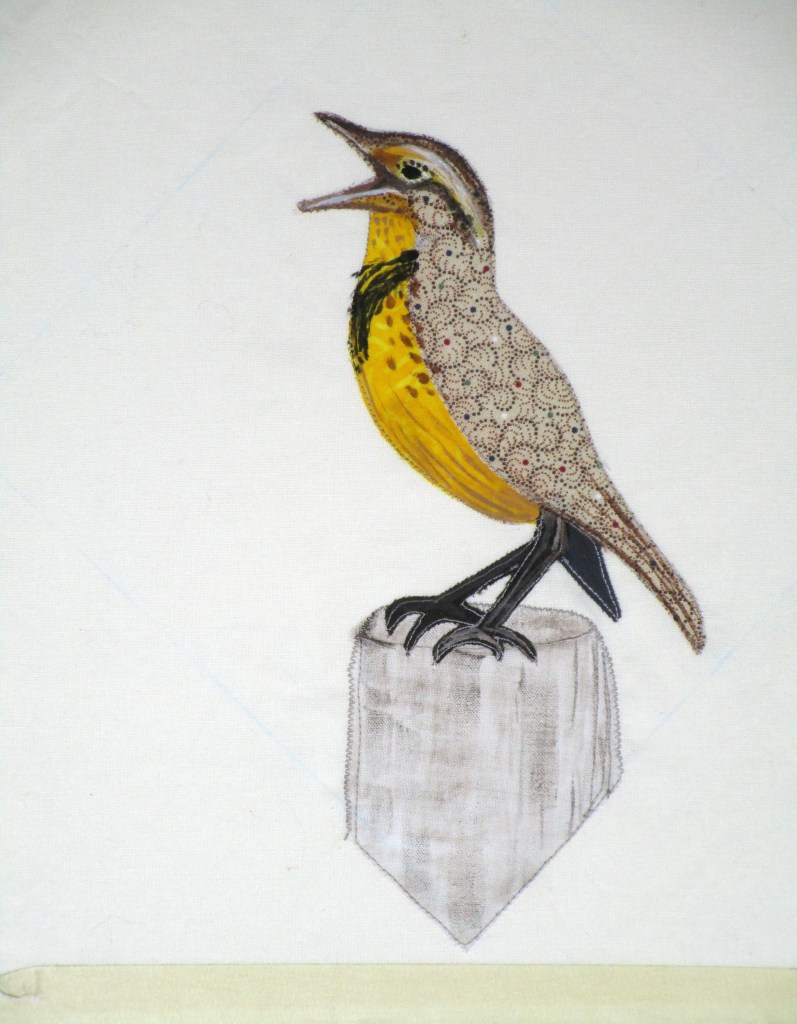
Progress photos and finished block:
AppliquedPainted and stitchedStrip piecing added
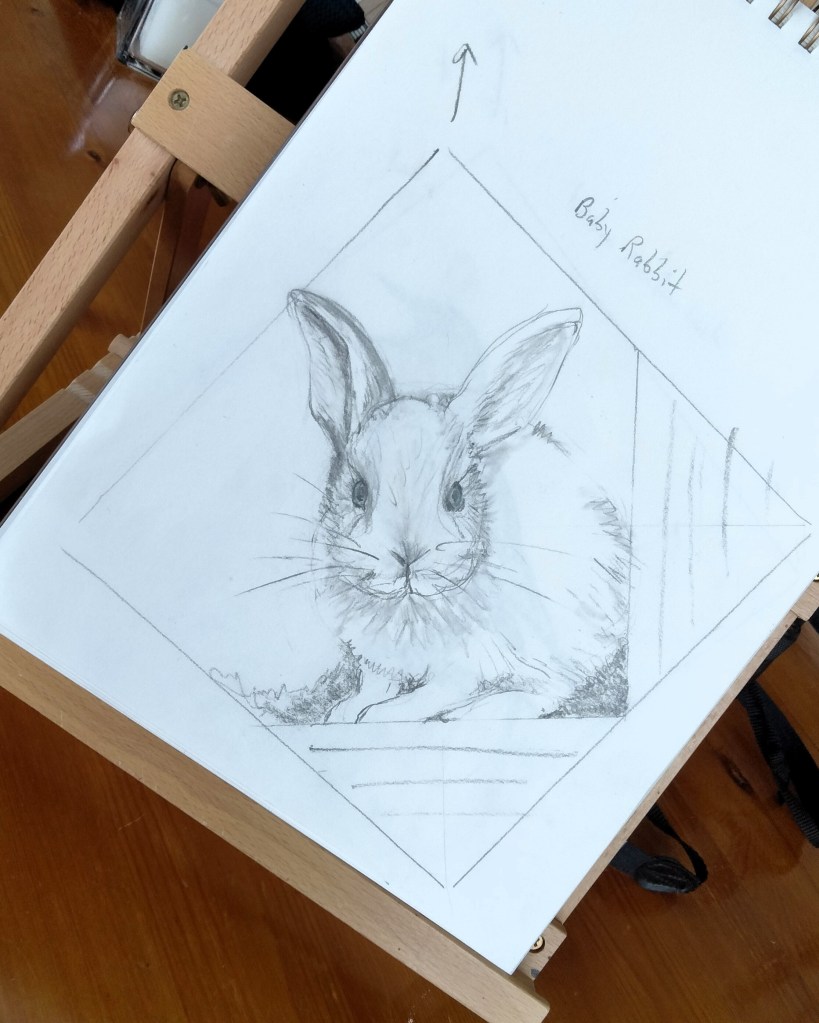
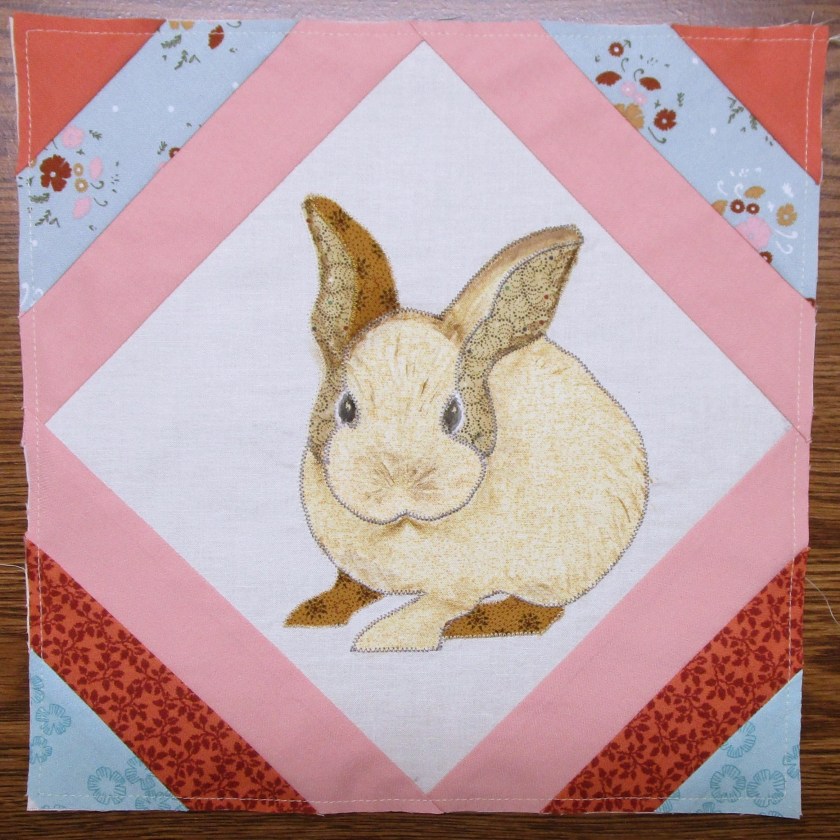
Beginning sketch of rabbit:
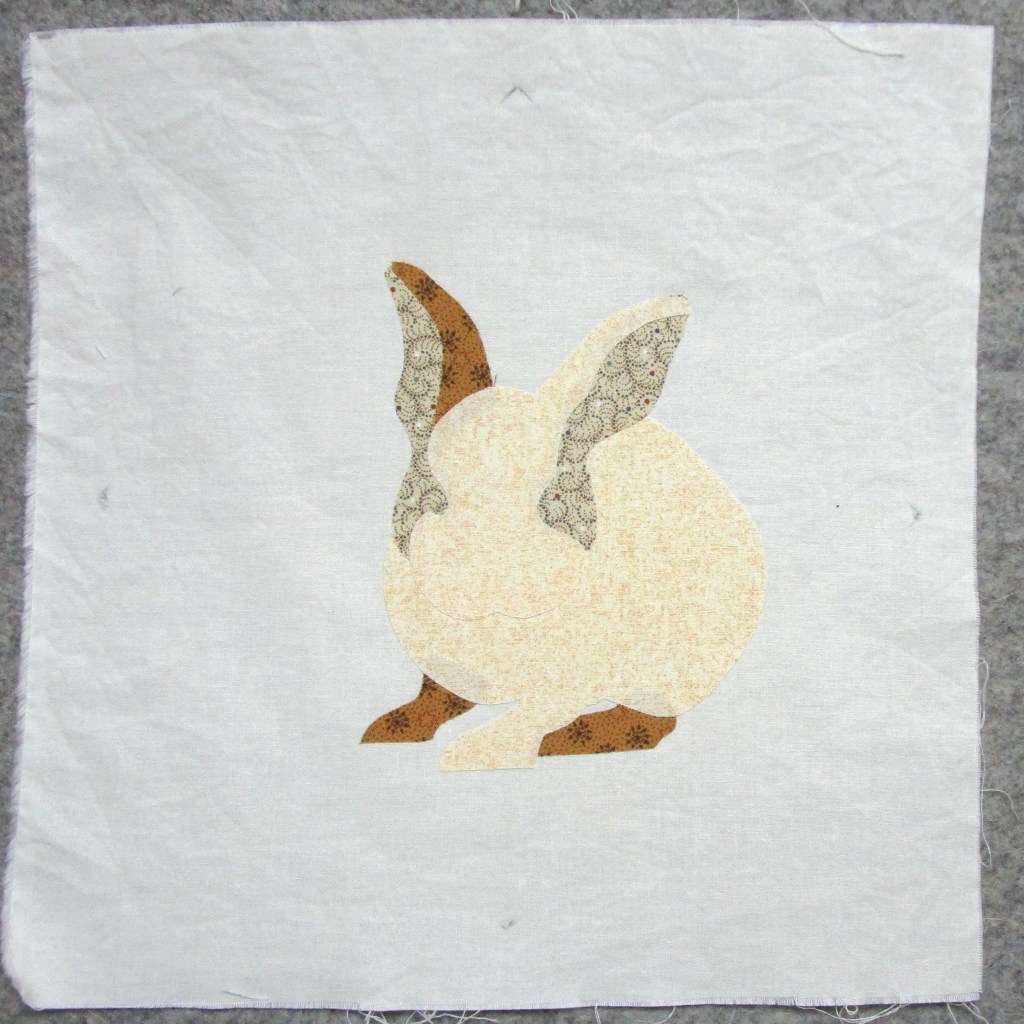
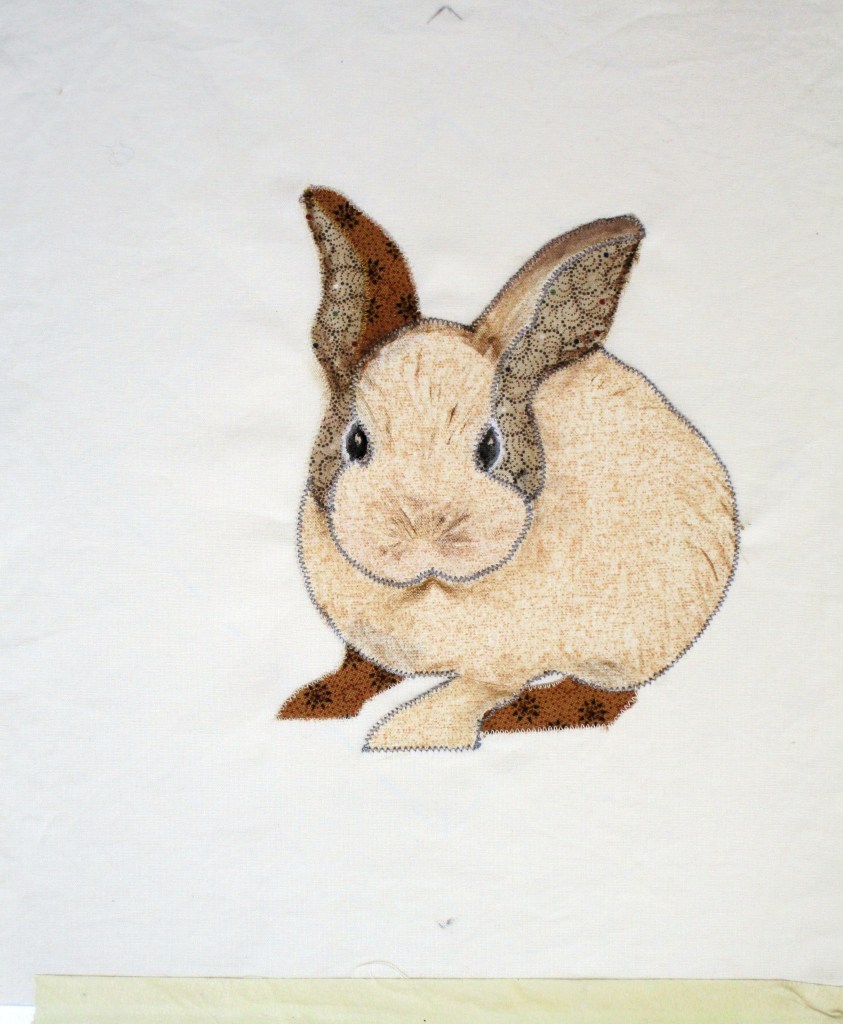
Baby bunnyAppliquedPainted and StitchedStrip piecing added
Some additional remarks about the rabbit: The original photo was of a hybrid rabbit – white fur and brown patches, pale blue eyes. I’ve been observing many wild rabbits that hop about the garden here in my new home. Their coloration is more earthy and the eyes appear jet black. So that is how I made this rabbit. Also, the poor bunny has no nose or mouth yet. Those details will be added with embroidery floss. And maybe a few whiskers to boot.
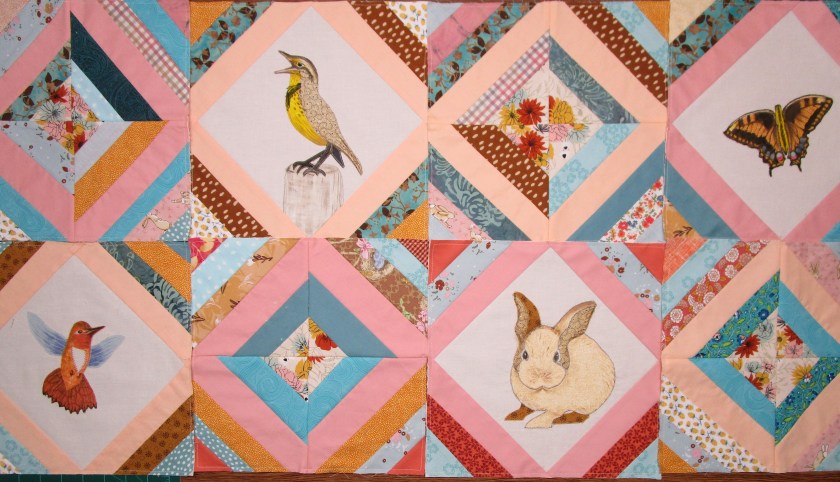
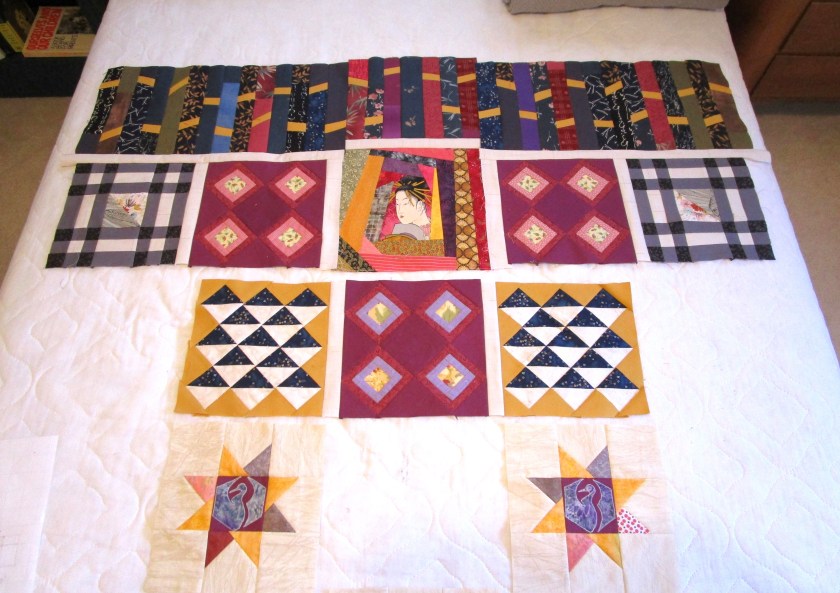
Now when I line up the completed blocks, the quilt looks like this:
Two rows out of five. The big picture is coming into focus.
Thanks for stopping by. I hope you are enjoying your long week-end (U.S. readers) Please drop me a word or two about your current project. I’d love to know what feeds your creative impulses.
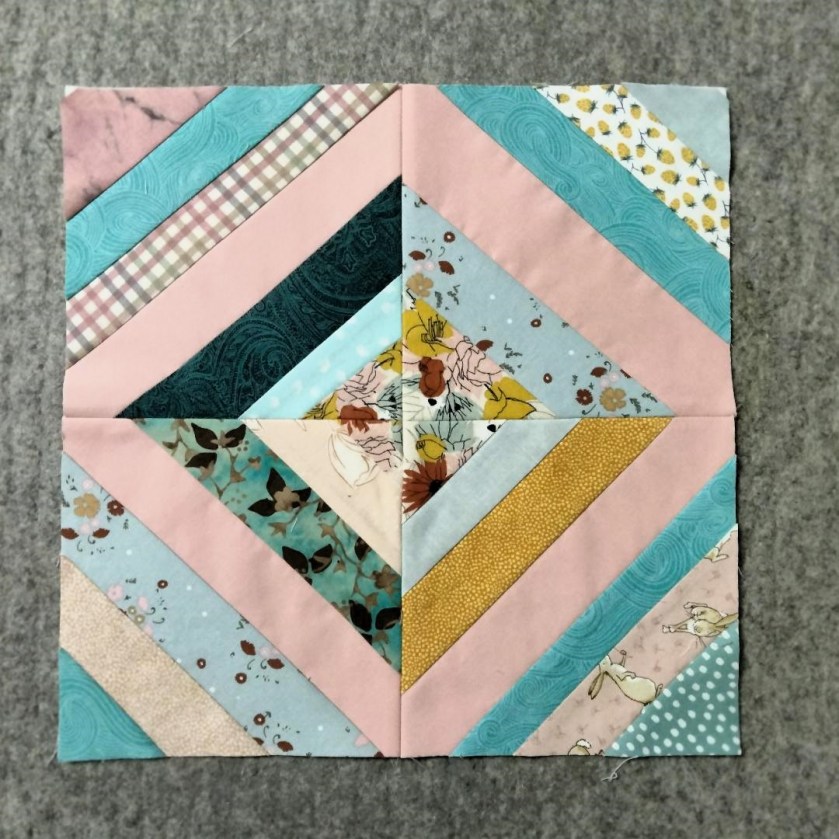
Pieceful Wendy is our host for round 4. She has given us instructions that lend themselves very well to scrap-busting and improvisational piecing: Cut a square of fabric. Slice it in half in any direction. Cut a strip of another fabric. Sew the strip to the cut sides of the square. That’s it.
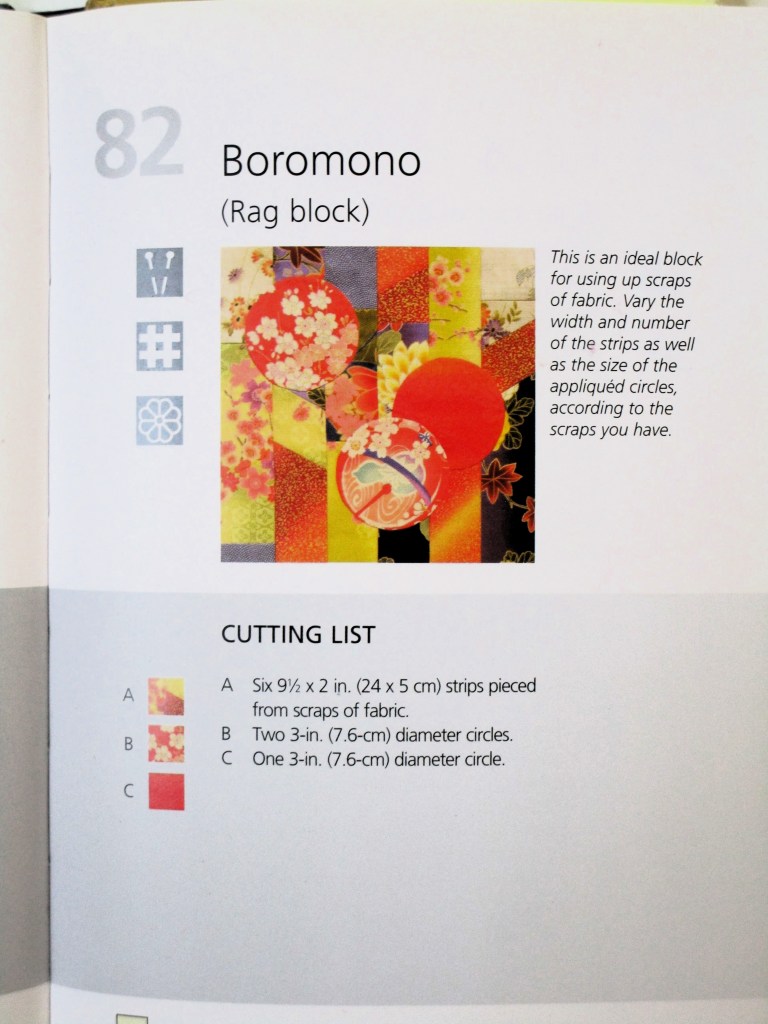
In Japanese sewing culture, boro refers to the technique of mending old clothes by sewing odd pieces of fabric over the worn places. It began out of necessity: in olden times, fabric was scarce and expensive, so each little piece was saved and used in the mending. In modern Japan, fabric is readily available and boro stitching is done just for the sheer pleasure of making things by hand.
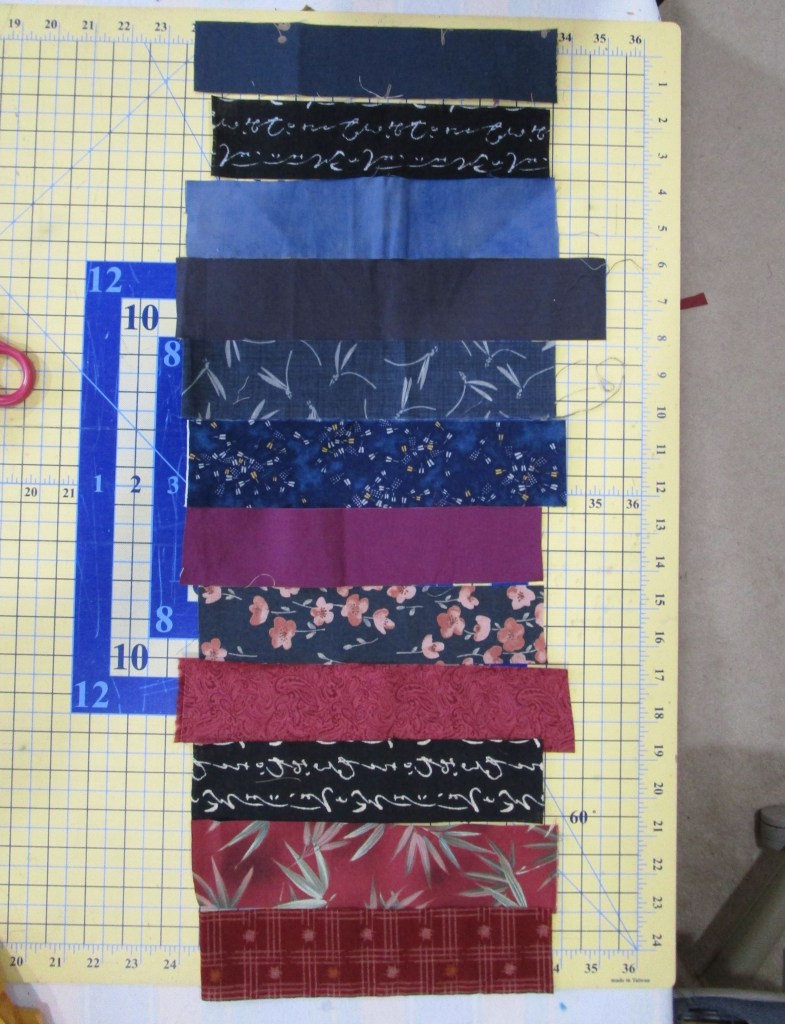
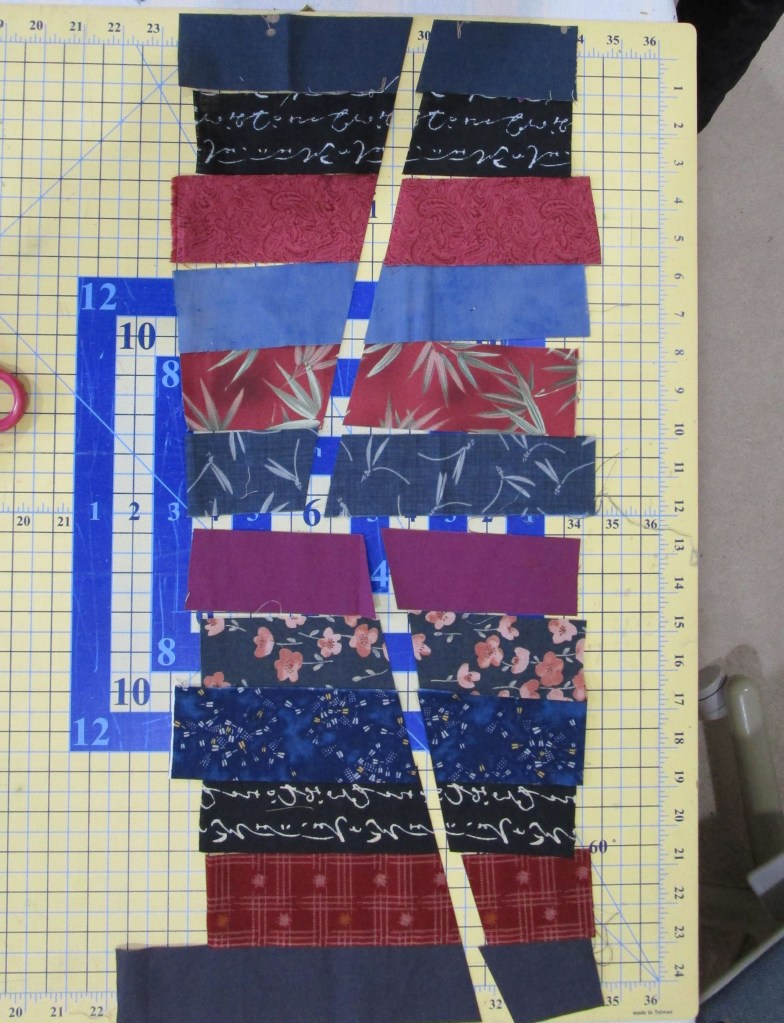
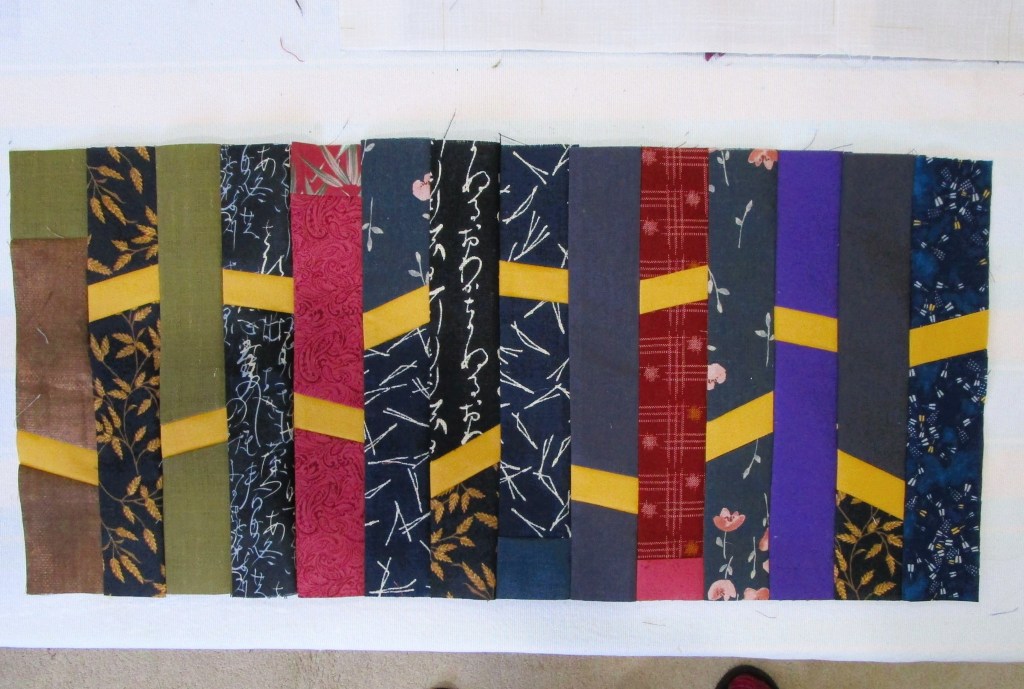
My blocks for Round 4 are not traditional boro. I was inspired by the idea of using scraps. I started by cutting many strips of dark fabrics.
Then, following Wendy’s instructions, I slashed them.
Because I have chosen to use the color gold as a unifying element, I inserted strips of gold fabric, cut at around 1 and 1/4 inch wide. They finish out at 3/4 inch.
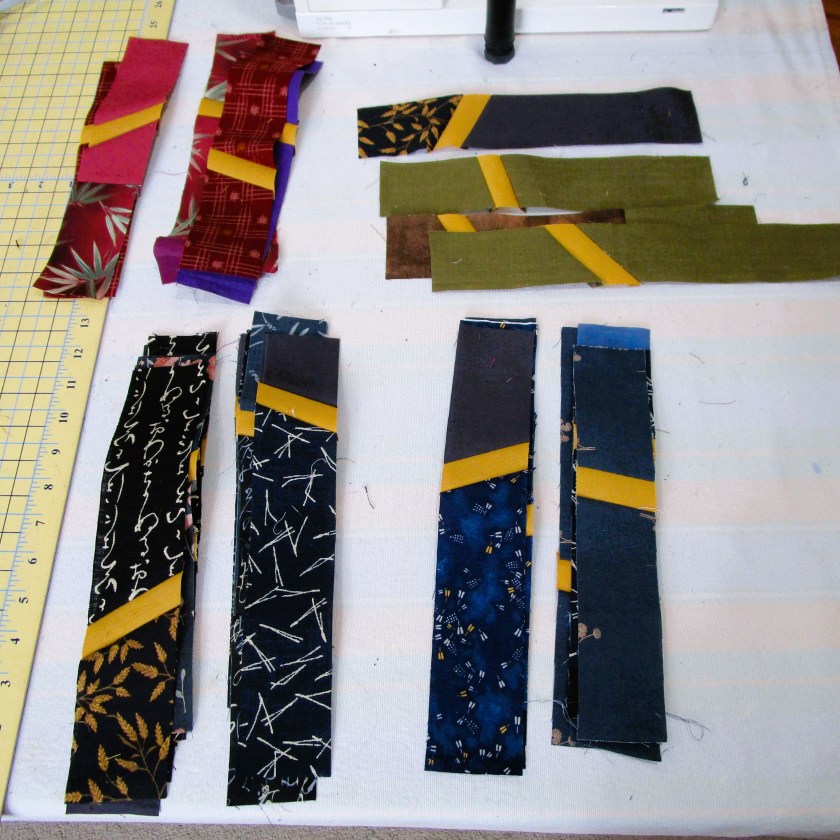
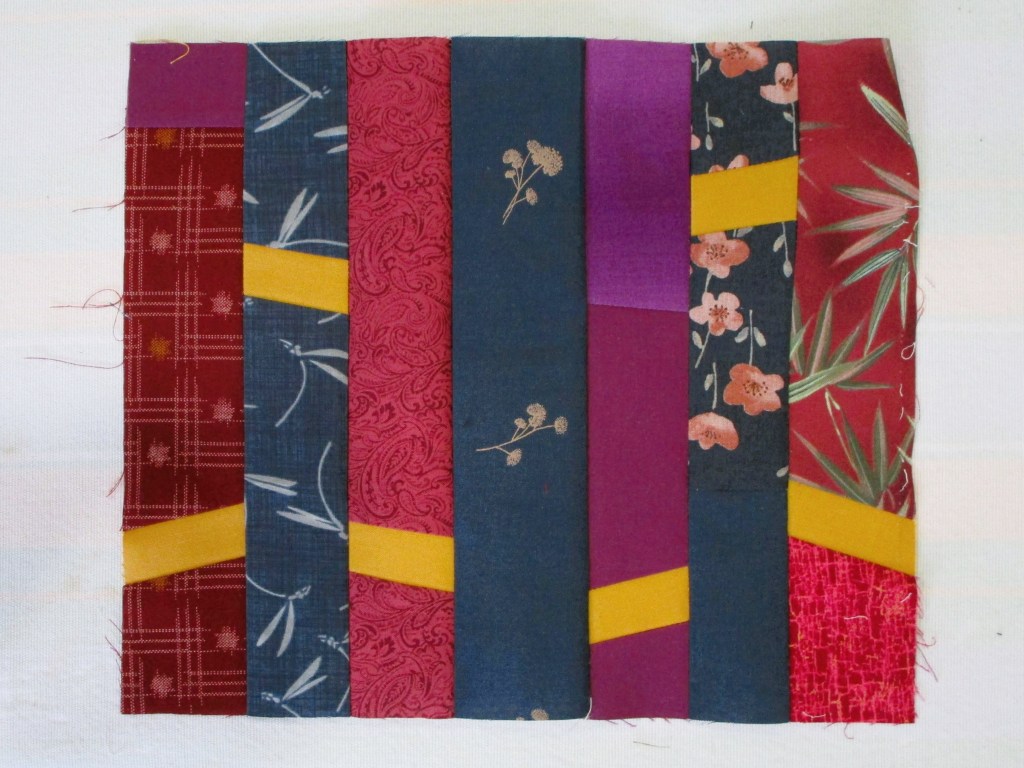
I sorted them into groups by color and direction of the insert. Then I stitched them together in three sections, to become the shoulder area of my kimono.
Left sideCenter SectionRight side
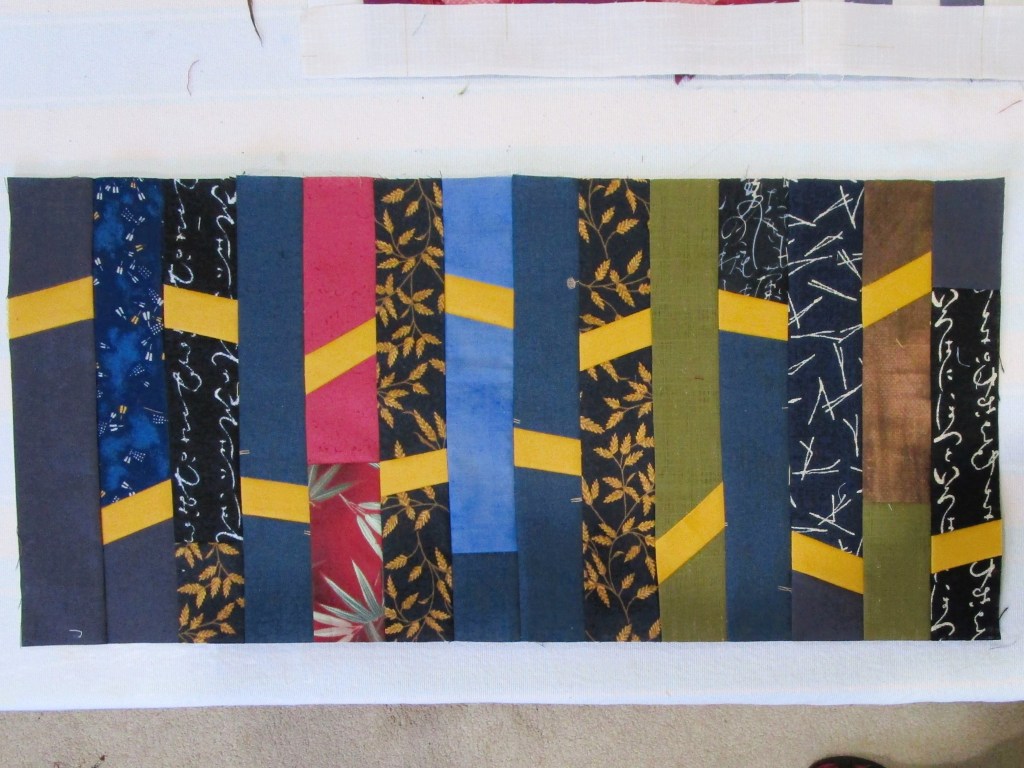
This ten-inch tall section will sit on the shoulder – 1/2 on the back of the garment and 1/2 on the front. Here is my quilt after adding the round four blocks:
Even though the back is not quite done yet, my focus for the next two rounds will be to build the blocks for the kimono’s front.
I hope you are enjoying the quilty fun happening during the Stay at Home Round Robin challenge. To see others who are participating, enter the InLinz link found on Wendy’s Pieceful Thoughts site.
And here is the complete list of our hosts for SAHRR 2025 along with their blog sites.
My obsession with strips continues. First, let me share an image of the pieced abstract landscape that I have been working on most recently.
The work at this stage looks about as I expected, although I feel kind of let down by it. I’m also stumped as to how I will proceed with the surface embellishments and quilting. As I ponder, I have laid it aside.
Leftover strips are hanging out, and they keep drawing my attention. I started noodling around with them, cutting and sewing together. Since I had used the 1- and 1/4-inch-wide strips for the landscape art quilt, I wondered what else I could do with this size. Pulling out some 2 and 1/2 inch scraps, I start sewing strips together, again.
Well geez, first I need a little bit of structure to this game. How about a palette? I decide to try analogous colors. Pulling out my color wheel, I spun it around to show that teal blue color in the center, surrounded by its four closest relatives.
Now I am really in my comfort zone. My stash contains many scraps in this range, leftovers from some favorite projects.
If I sew two thin strips on either side of a 2 1/2 inch precut, then cut that piece down to four inches, I get a nice-looking square block. I decided to stick to monochromatic fabrics for each. Here are some examples.
Combining four of these gives me a seven and 1/2 inch square.
What if I sew four of these together?
Hm. To me it looks too busy while also looking kind of boring. I can do better.
How about inserting some sashing? I have a longing to try dark background fabric with this palette.
Now we’re talking. But to get more negative space into the picture, I could put the blocks on point and space them out with a background block.
Ah, the drama it beginning to happen. I sit down with graph paper and plot out a lap sized quilt using this on-point configuration.
This could be wonderful. Perhaps I can create focal points in the dark blocks by inserting some bits of hand-painted fabric. Something like this leaf, which is left over from my very first quilt.
Gosh I feel better. Going from a vague notion to a planned design is so satisfying. Even though I had no intention of sewing up another lap quilt, I’m ready to go. The trick will be to buy as little fabric as possible and still get the look I want. I’m up for that challenge as well.
I would say nothing has changed, but I would be lying. During the planning phase, I started to think about Japanese quilts – most likely because I recently purchased two books on modern Japanese quilting by Susan Briscoe. She is a textile artist who worked in Japan for many years as an English teacher. In her book, Japanese Quilt Blocks to mix and match, she features 125 patchwork, applique and sashiko blocks in a modern style that is inspired by tradition. Textiles recycled from kimonos and other garments give the blocks an Asian look.
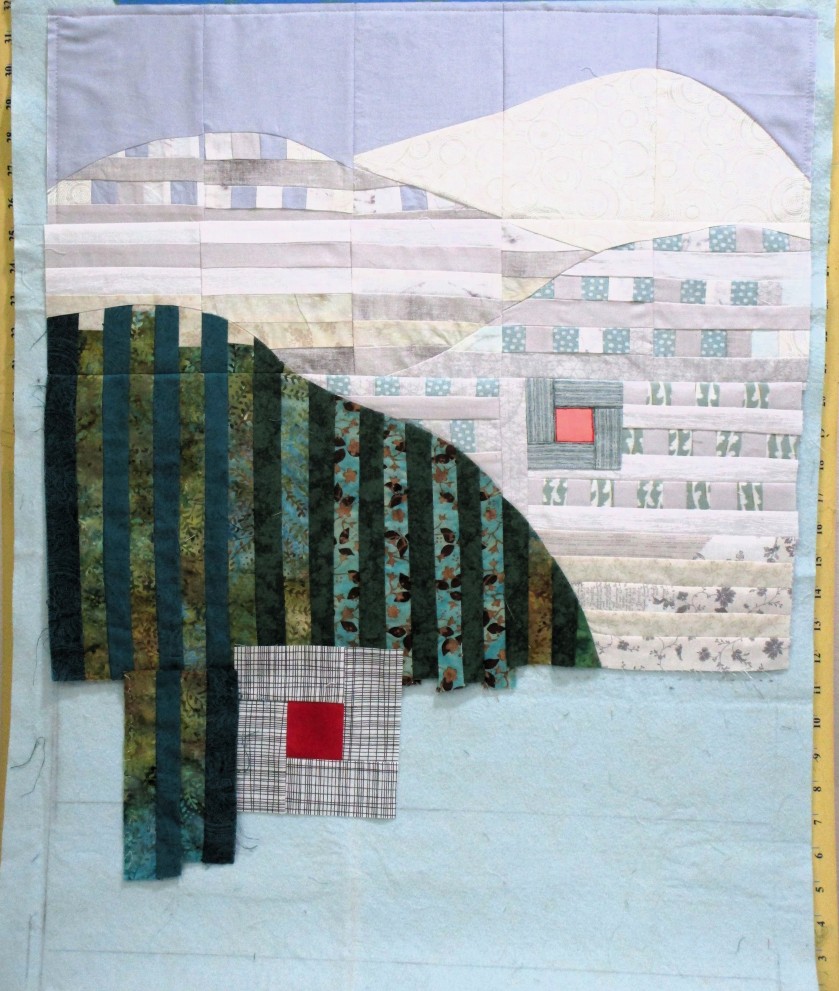
Consequently, I decided that my original plan was not abstract enough. I discarded the house block already constructed and made one using the Japanese block called Sunken Hearth.
In fact, I made two hearth blocks – one in bold colors for the middle ground and one in faded pastels for the background. This second block is located half-way up the mountain in the foggy part of the landscape.
I redrew the upper right corner of the design from clouds into a mountain. You could think of it as Mt. Fuji. The fabric is a white-on-white print of spirals, suggestive of clouds to me.
As of today, I am about 2 thirds finished with the piecing phase. I have completed four rows out of seven.
By the way, I have a new favorite tool:
This flexible flat-bottomed shape is a technical drawing tool that belongs to Bill. He got it back in his college days for a class. Using this tool, I can match up a long curve which crosses over two different blocks. I Love it.
One more Japanese touch will be added to the lower right corner. In the reference photograph, there is a group of red-twigged shrubs behind a stone wall. I plan to use the Pieced Ogi, aka Folding Fan, to abstract this feature.
Are you making something from your scraps? Do share.
Since completing the Japanese Knot bag (which turned out quite well, IMHO,) I keep thinking about the potential of making art by sewing strips of fabric together. Casting around for some inspiration, I thought about making another abstracted landscape art quilt. Last year’s landscape quilt was inspired by a visit to the Badlands at Roosevelt National Park. My technique of choice for that piece was layered applique. It interests me to try another landscape but this time piece it with blocks made of fabric strips.
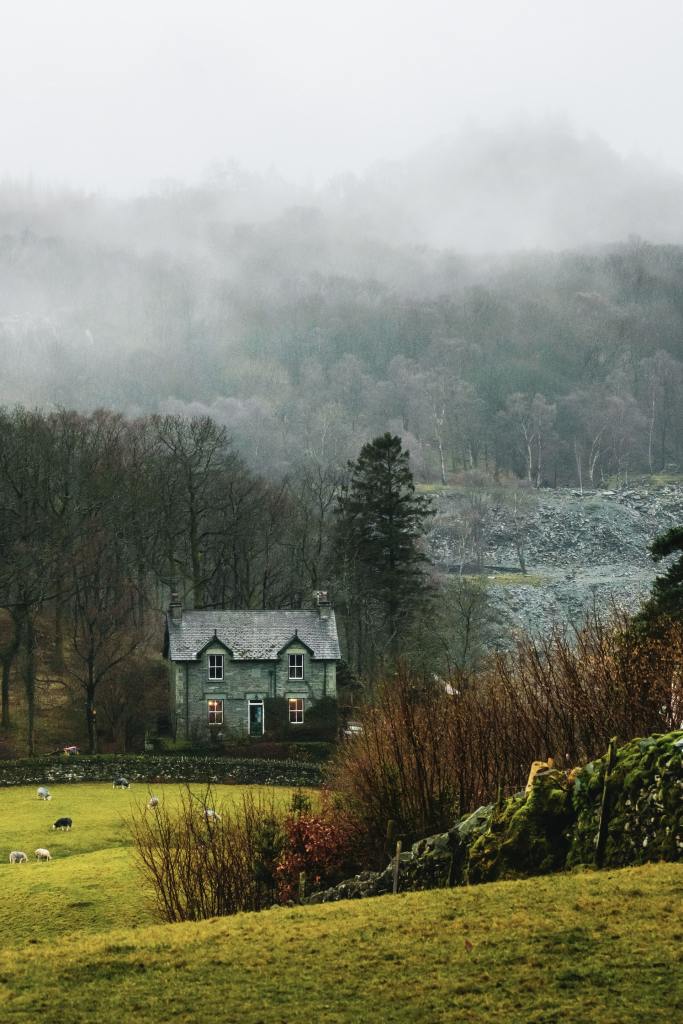
In searching suitable references, I returned to this evocative photograph by James Kemp which I had found on Unsplash a few years ago.
james-kemp-bXFEiuZtk64-unsplash
I love the contrast of pale foggy high places, with a midground of dark trees and a foreground of warm grasses and red twigs. If I can simplify the big shapes and translate the photo’s colors to fabric scraps, it could work.
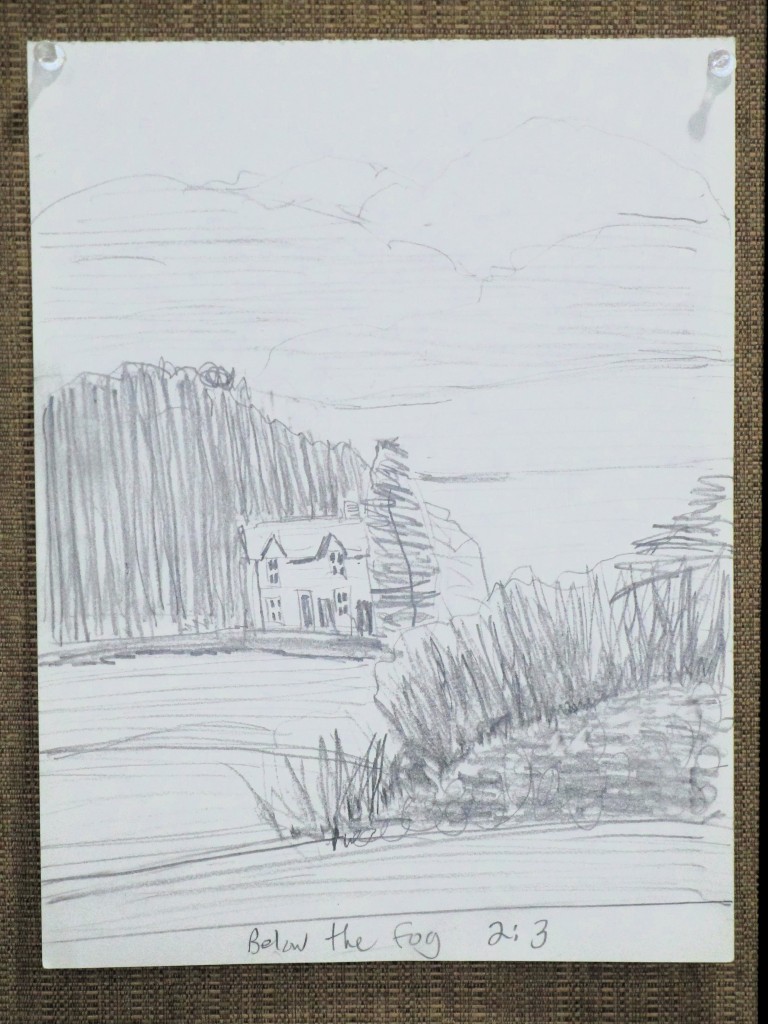
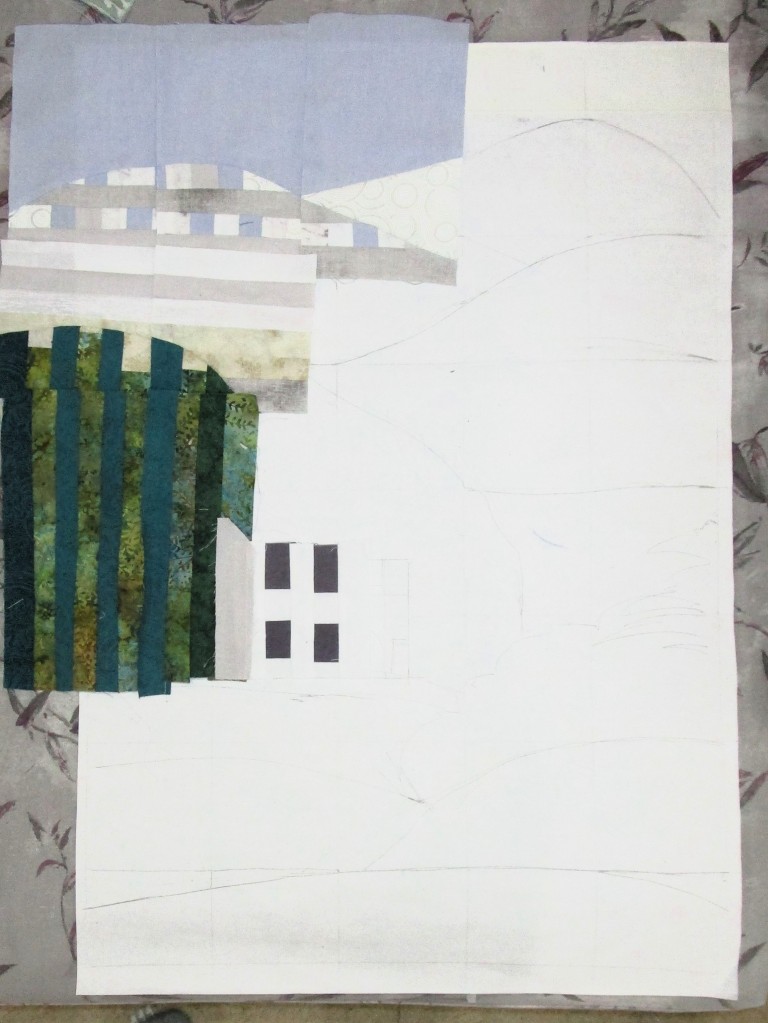
Next I did a quick, scribbly value sketch.
I transferred the major lines to a giant Post-It note, which happened to be full-size for this project. I next drew in a grid of 4 x 4 squares. Using 4 inch blocks, I will need to make 35 blocks.
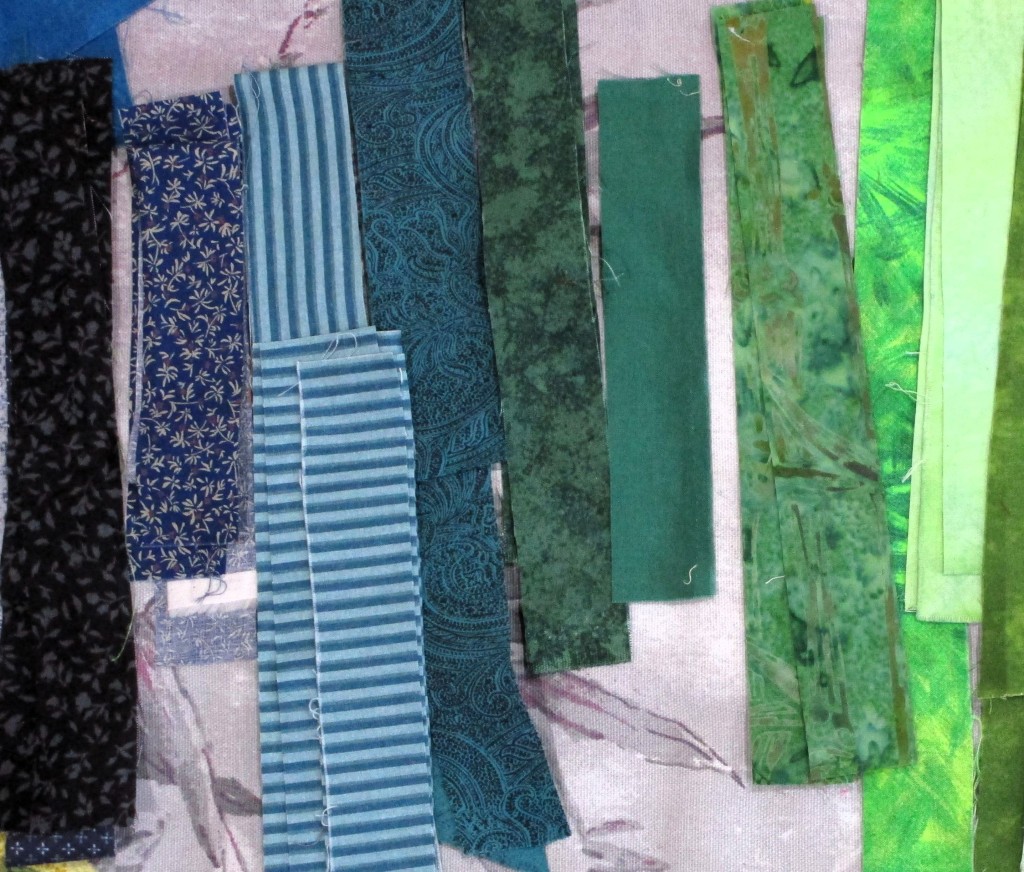
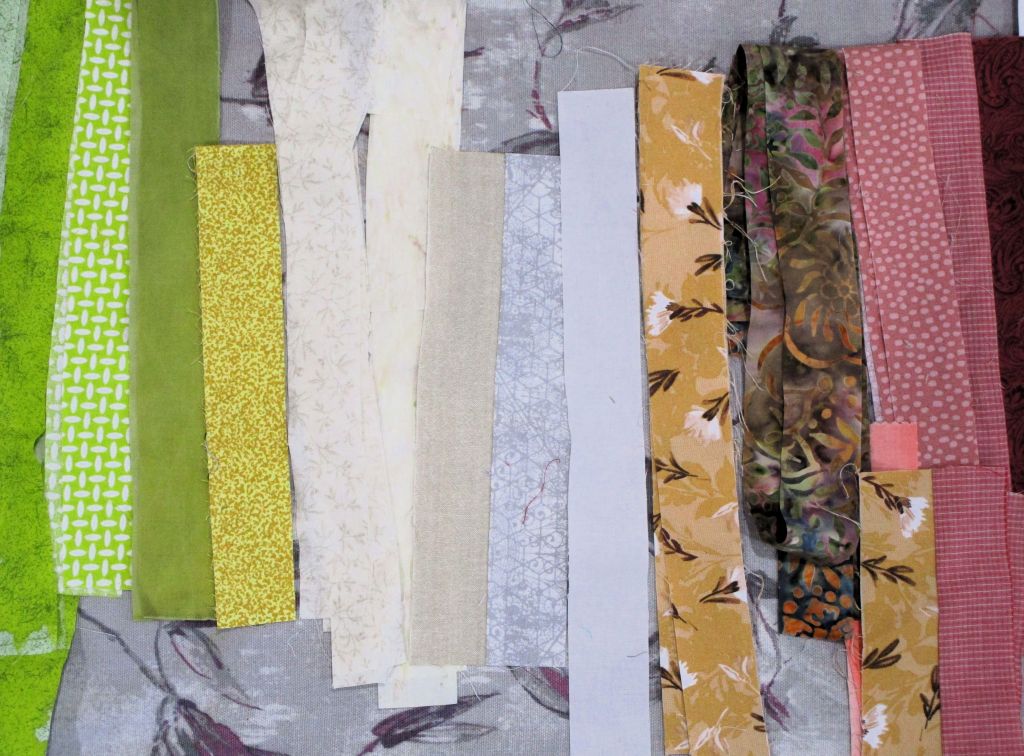
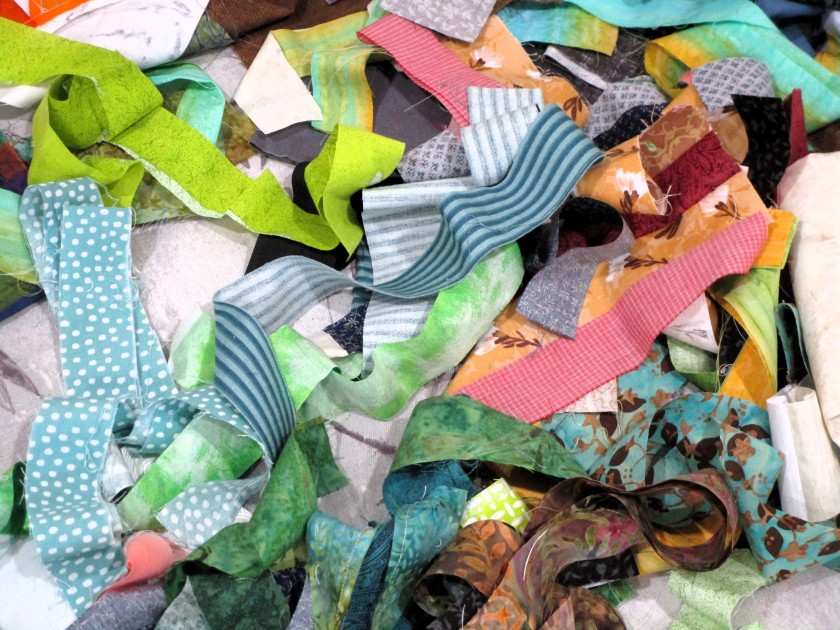
I started cutting my strips and sorting them by color.
Using the image as my guide, I built sets of six strips, arranged them along the grid and cut them down into squares.
The whole project started to spin out of control. Weirdly enough, instead of getting frustrated, I was drawn into working with more effort and thought.
Two days later, things looked something like this.
No, look away Nothing to see here!
Ah, more like this.
Sad little blocks. Believe me, it does look better IRL than in this photo.
I predict that if it keeps raining, and I can’t go outside and play, I’ll continue to cut, strip and sew on this project.