Posted in quilting

Sunday Reveal: Baby has arrived!

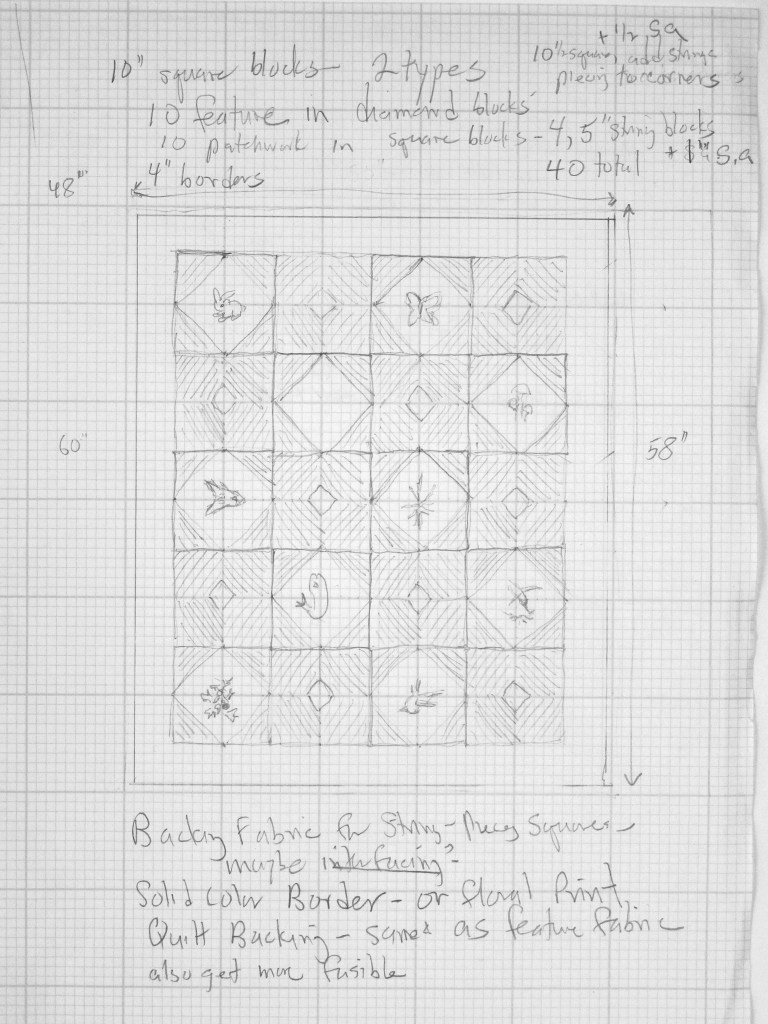
Ten days ago, my sister texted me with wonderful news: My niece’s baby arrived, on her due date. The newest family member is a little girl, named Roseanna Joy. Within days I had assembled the Oregon Natives quilt blocks and added the border.

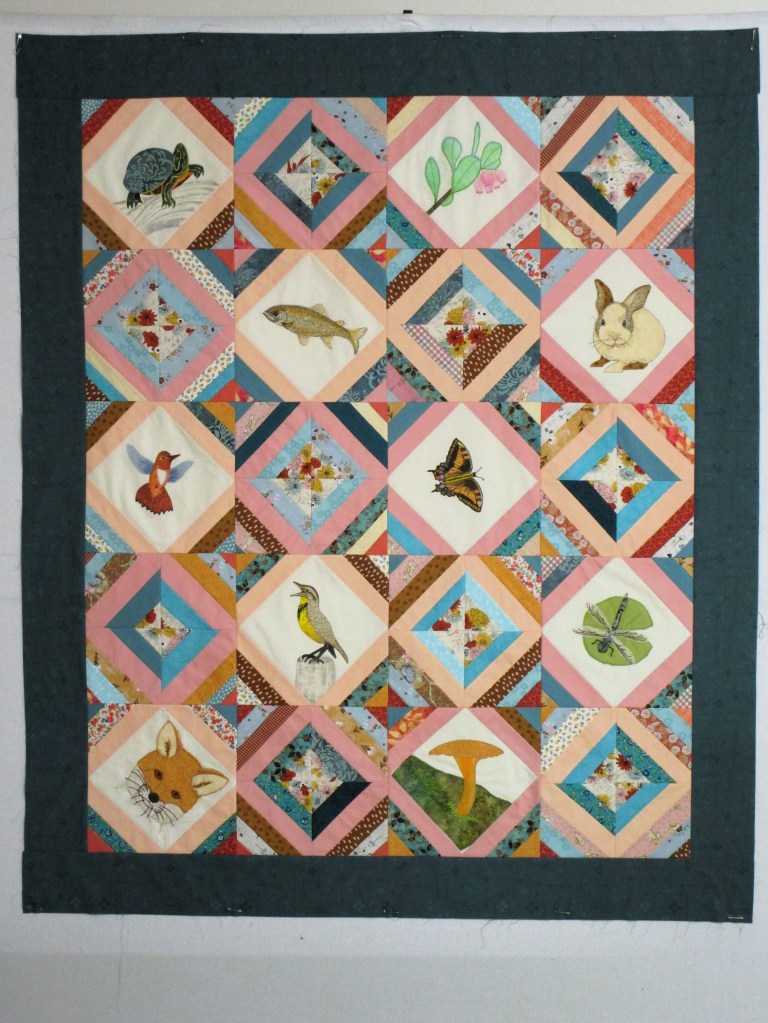
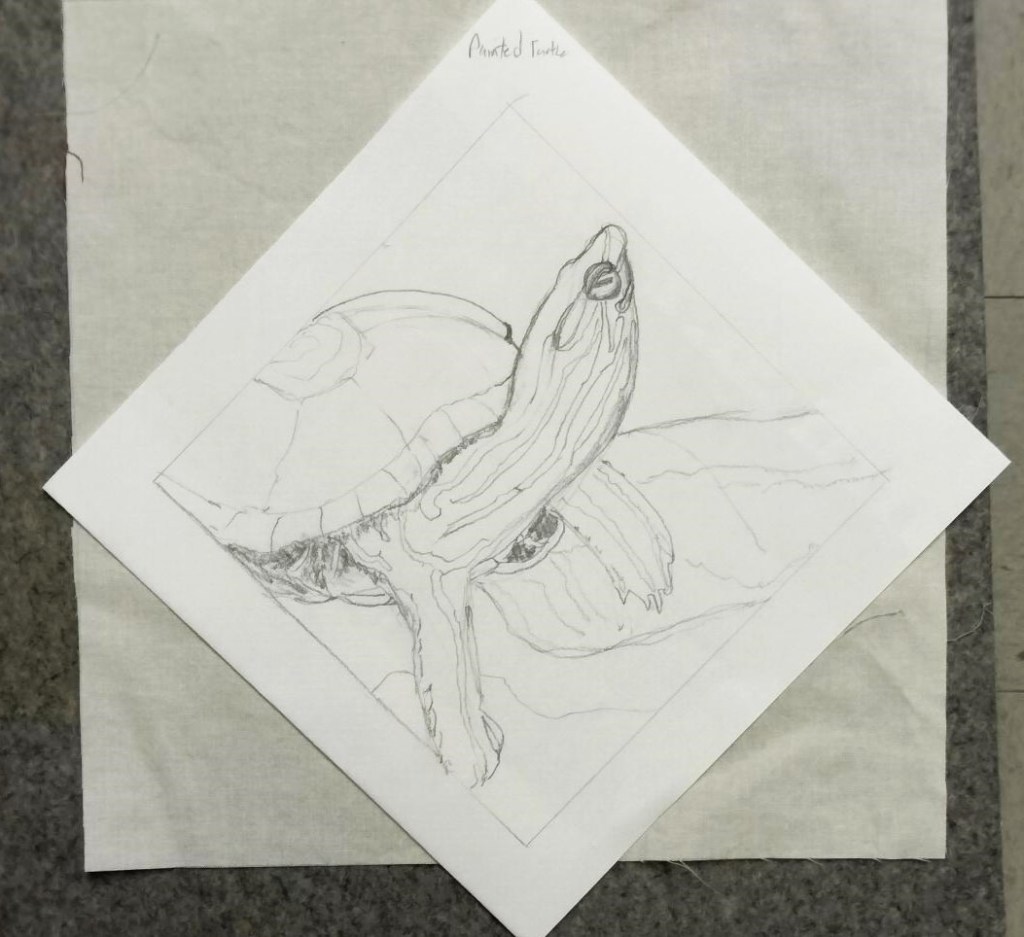
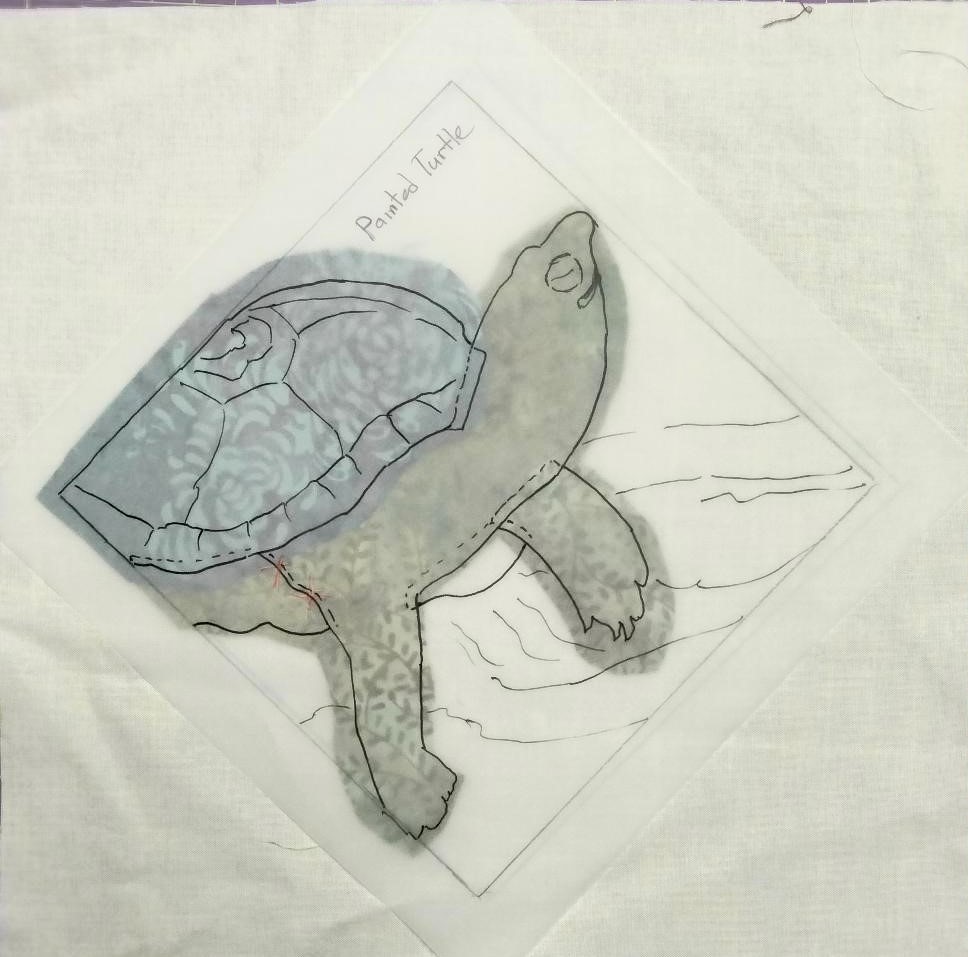
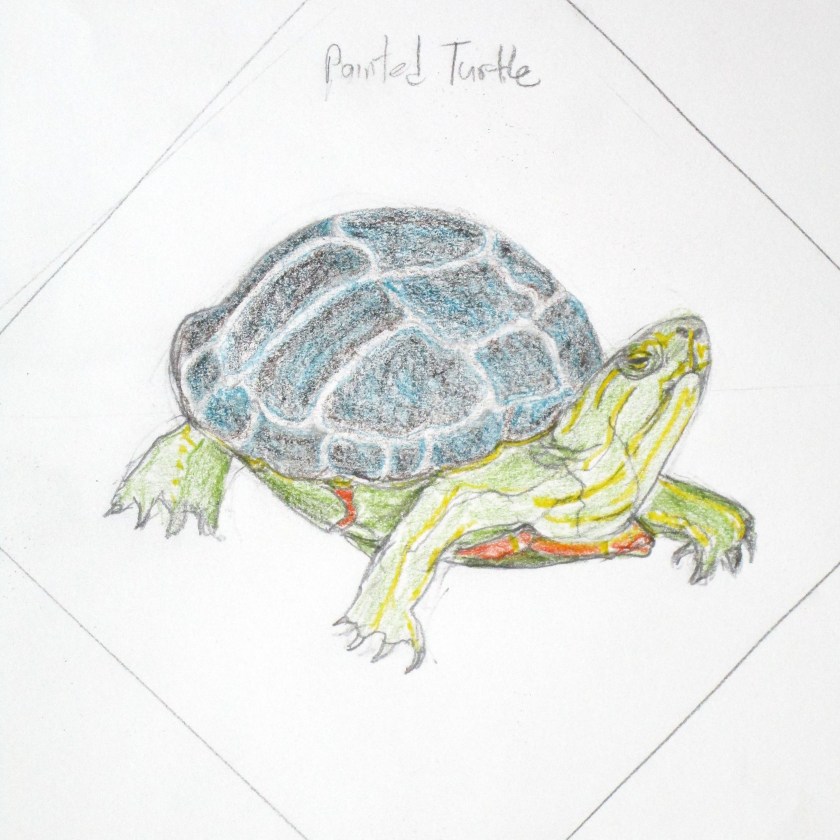
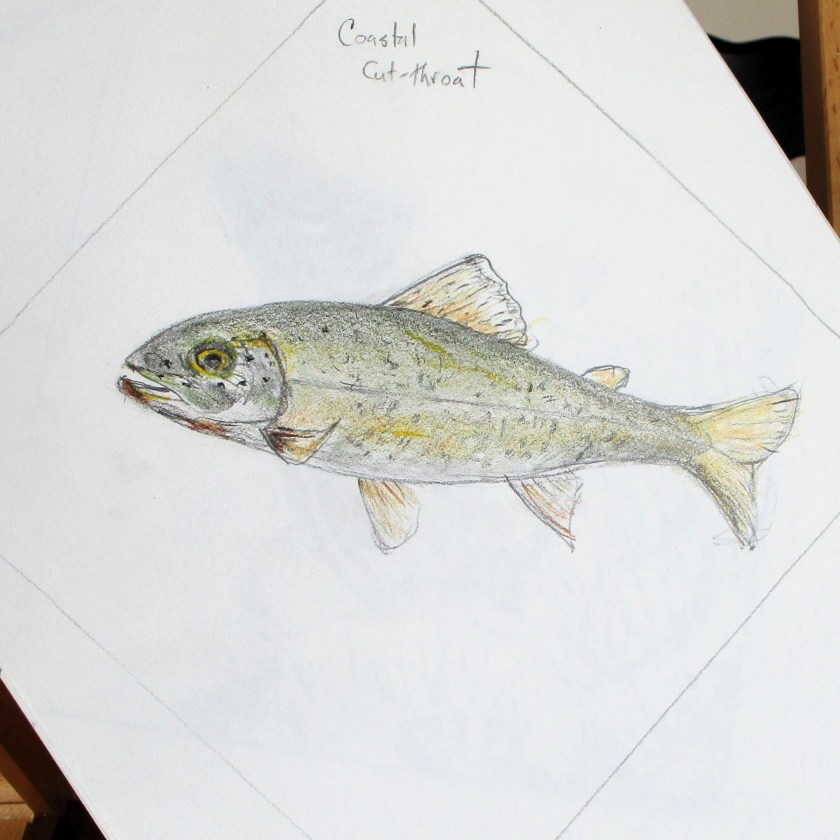
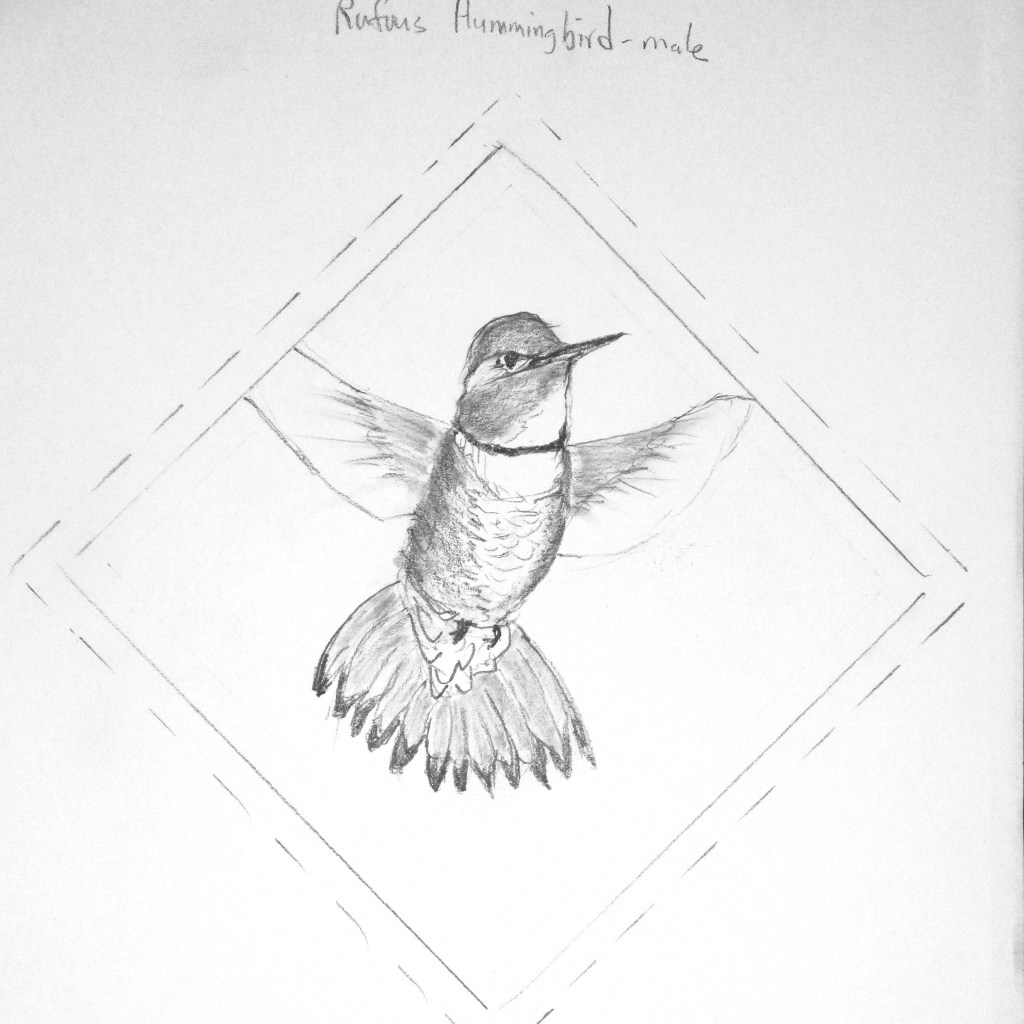
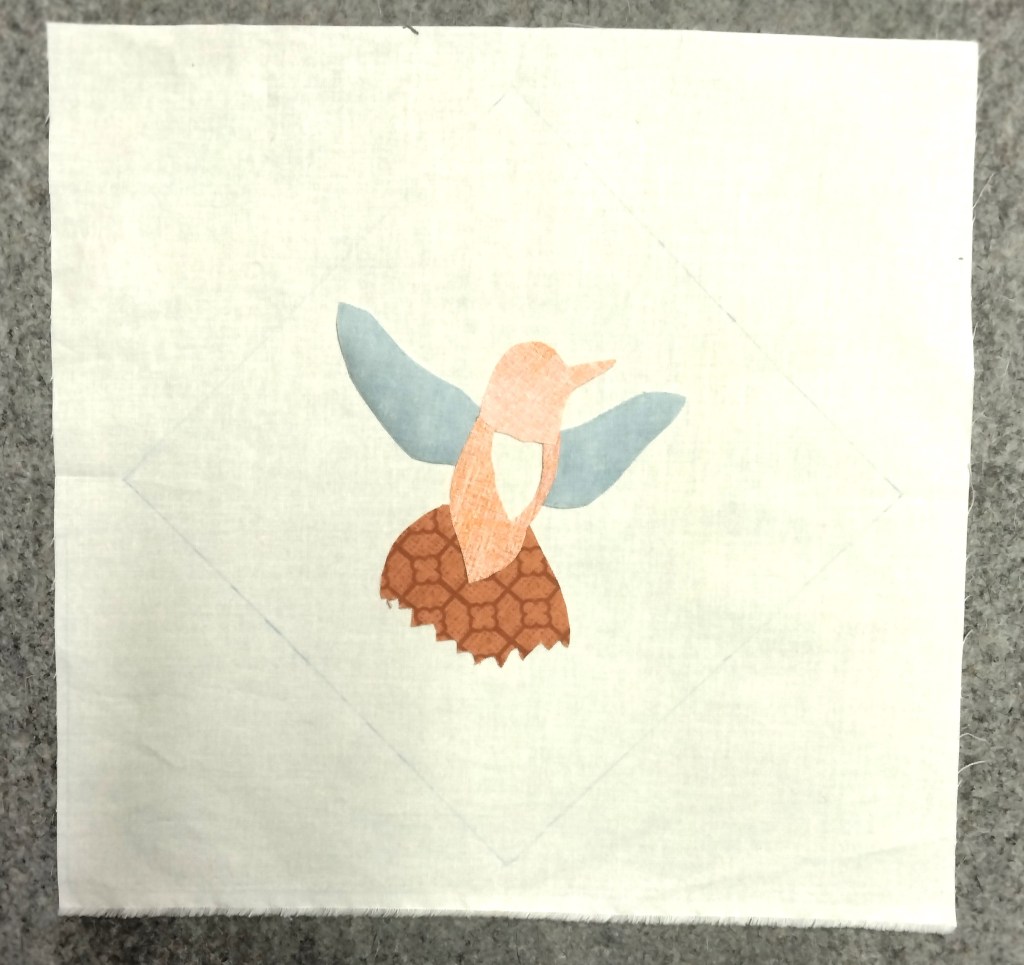
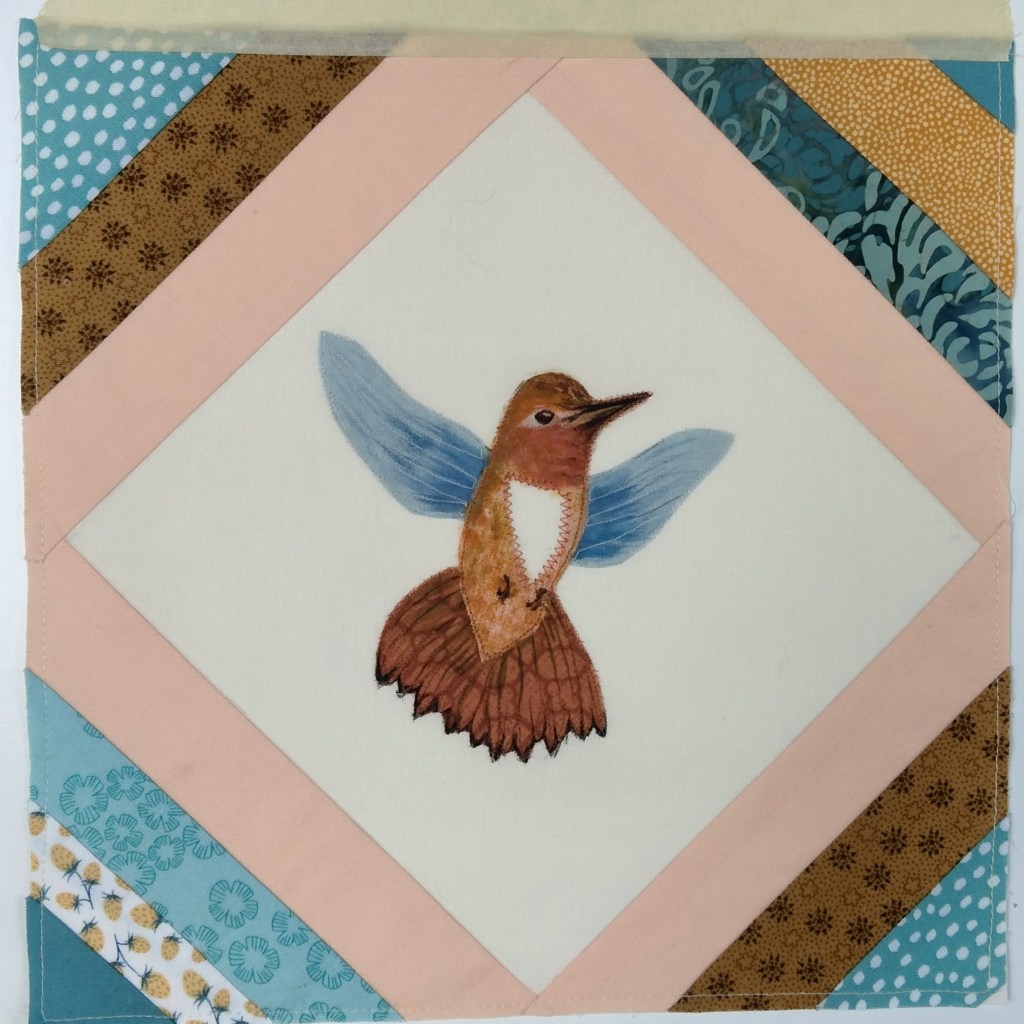
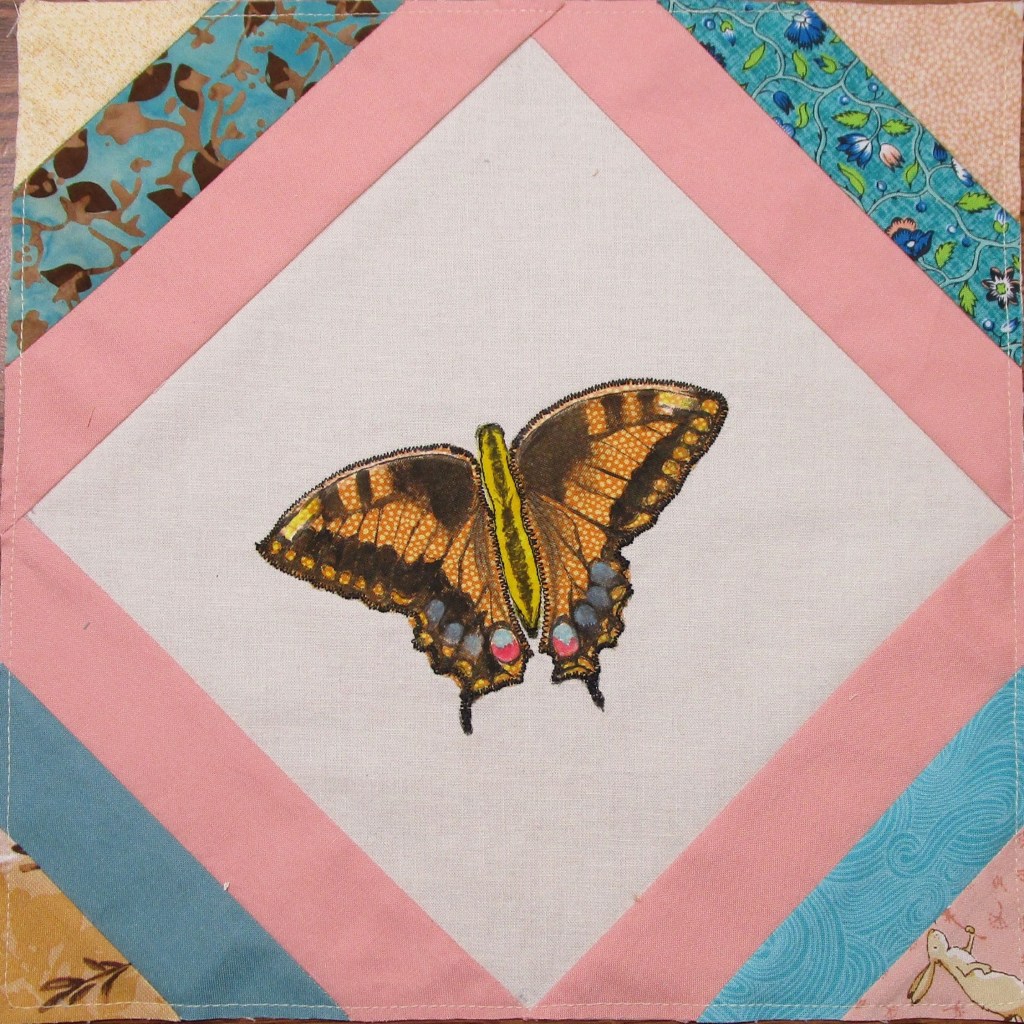
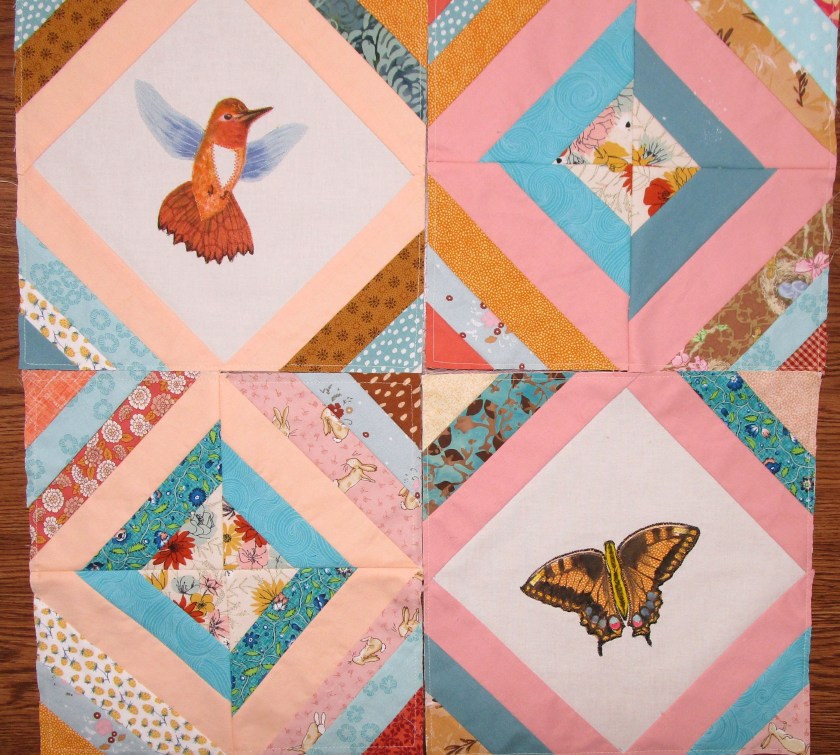
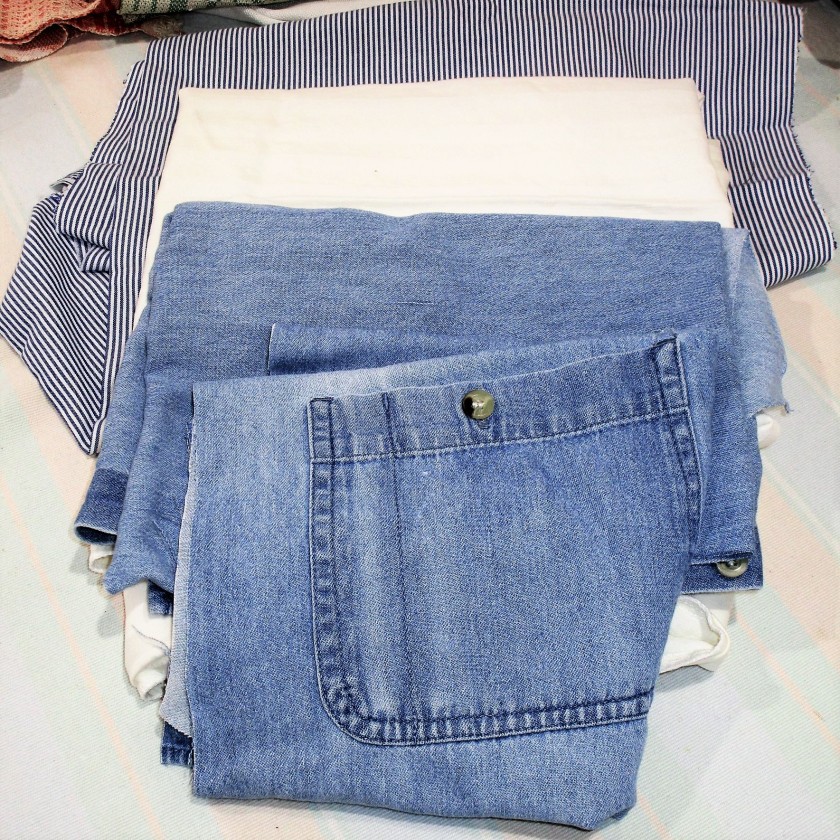
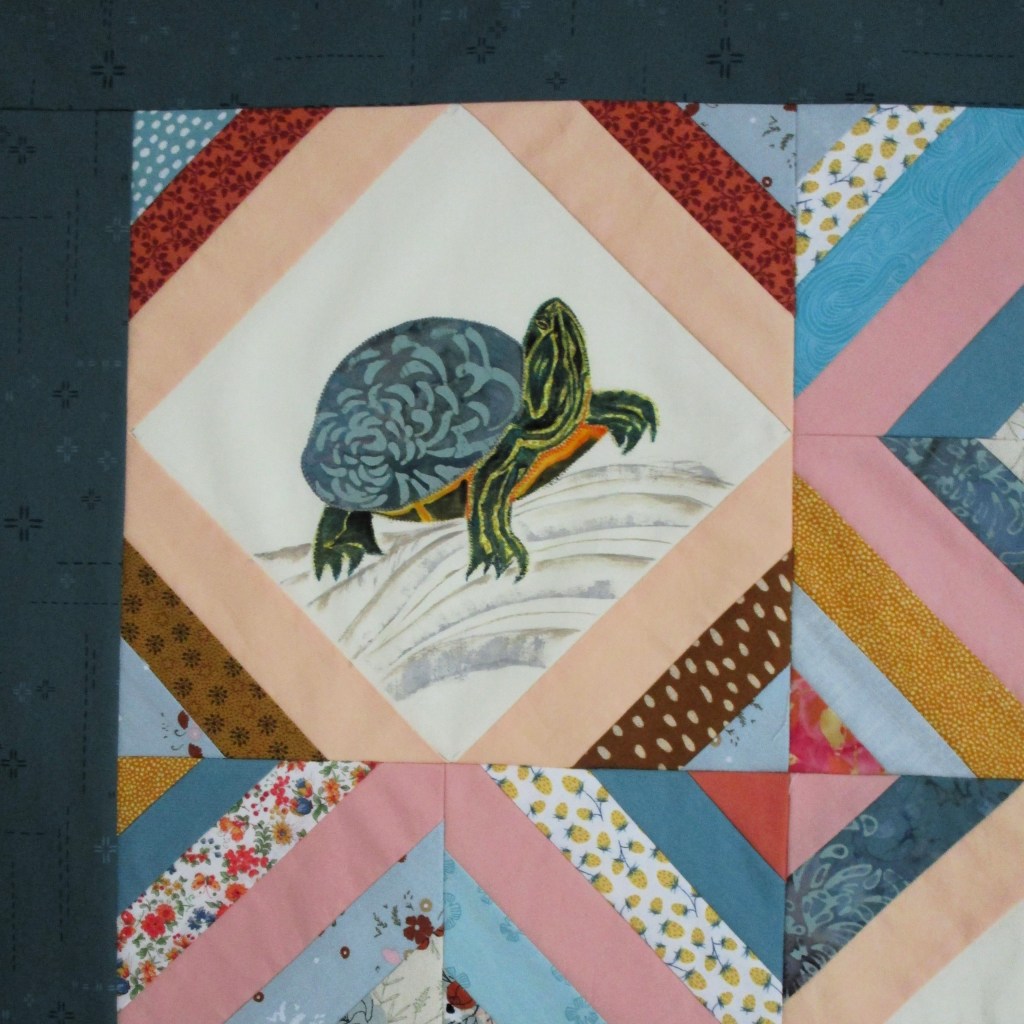
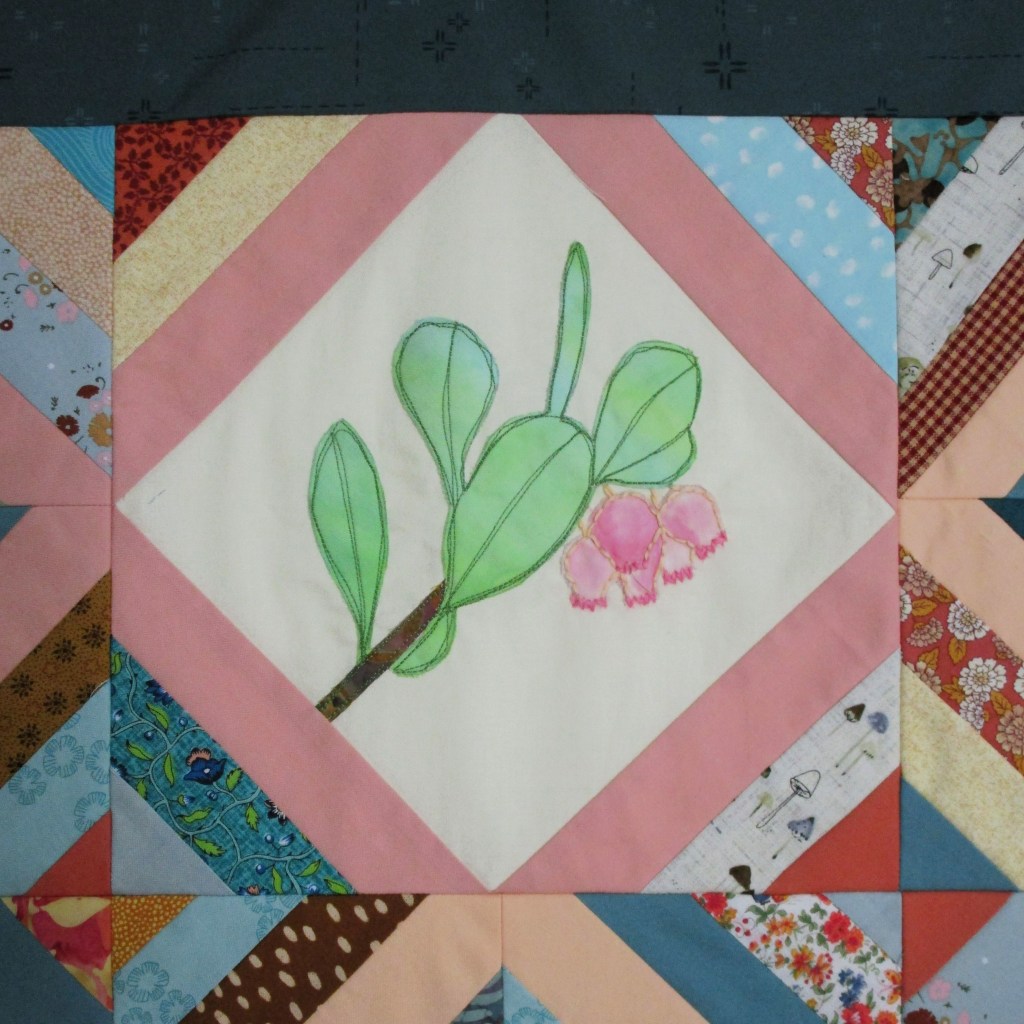
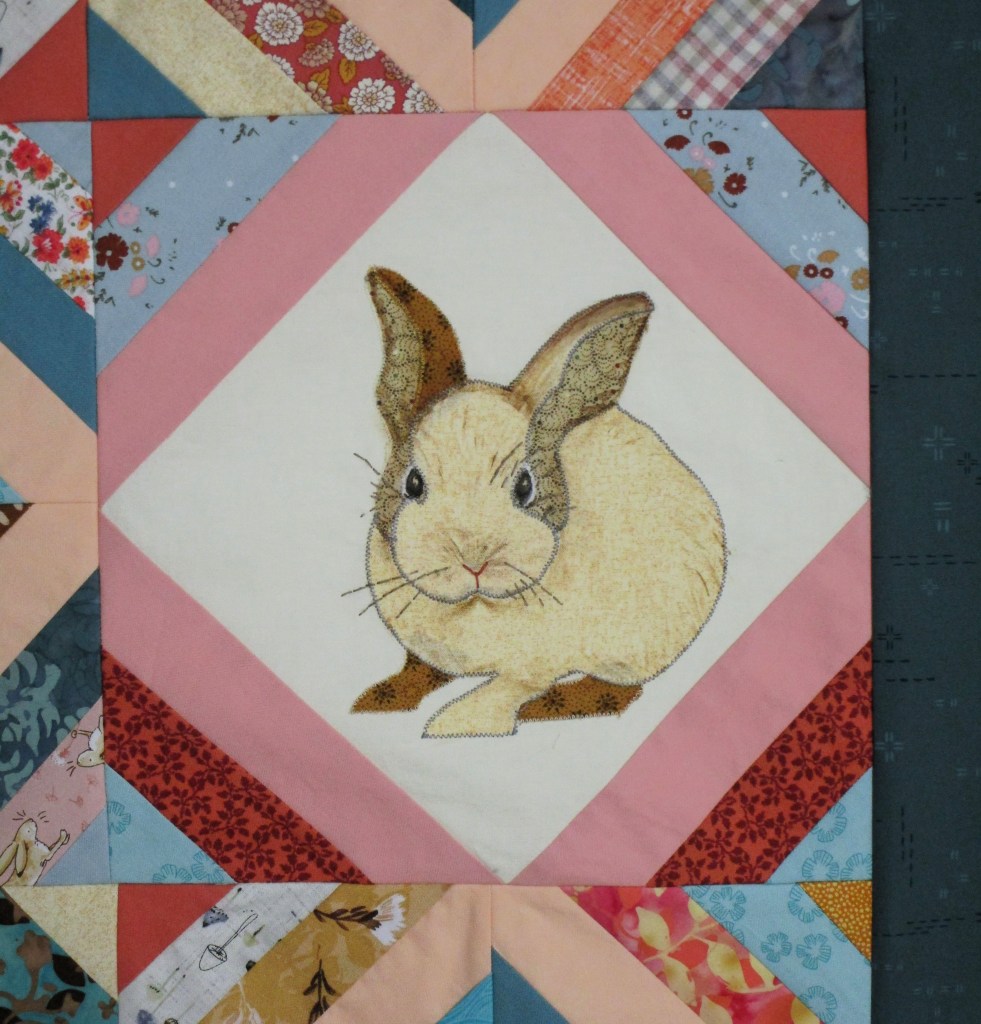
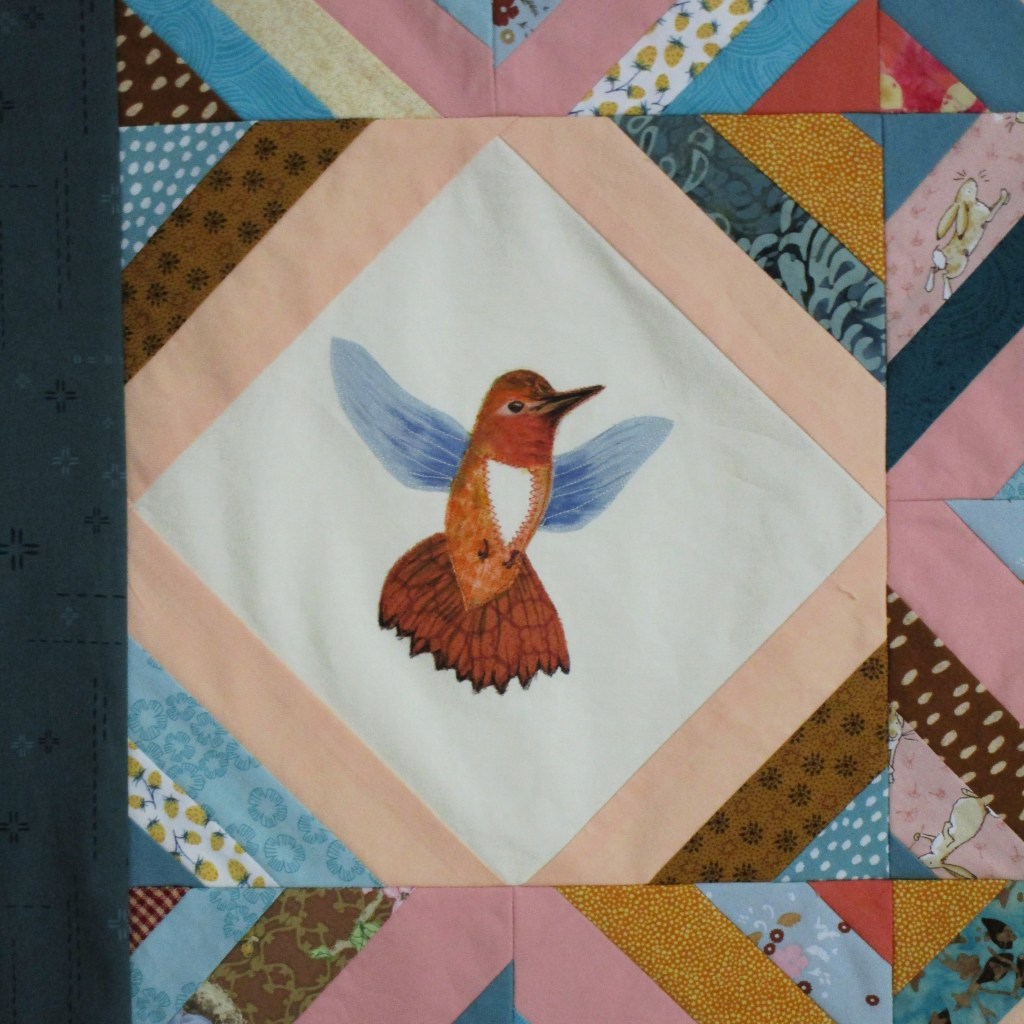
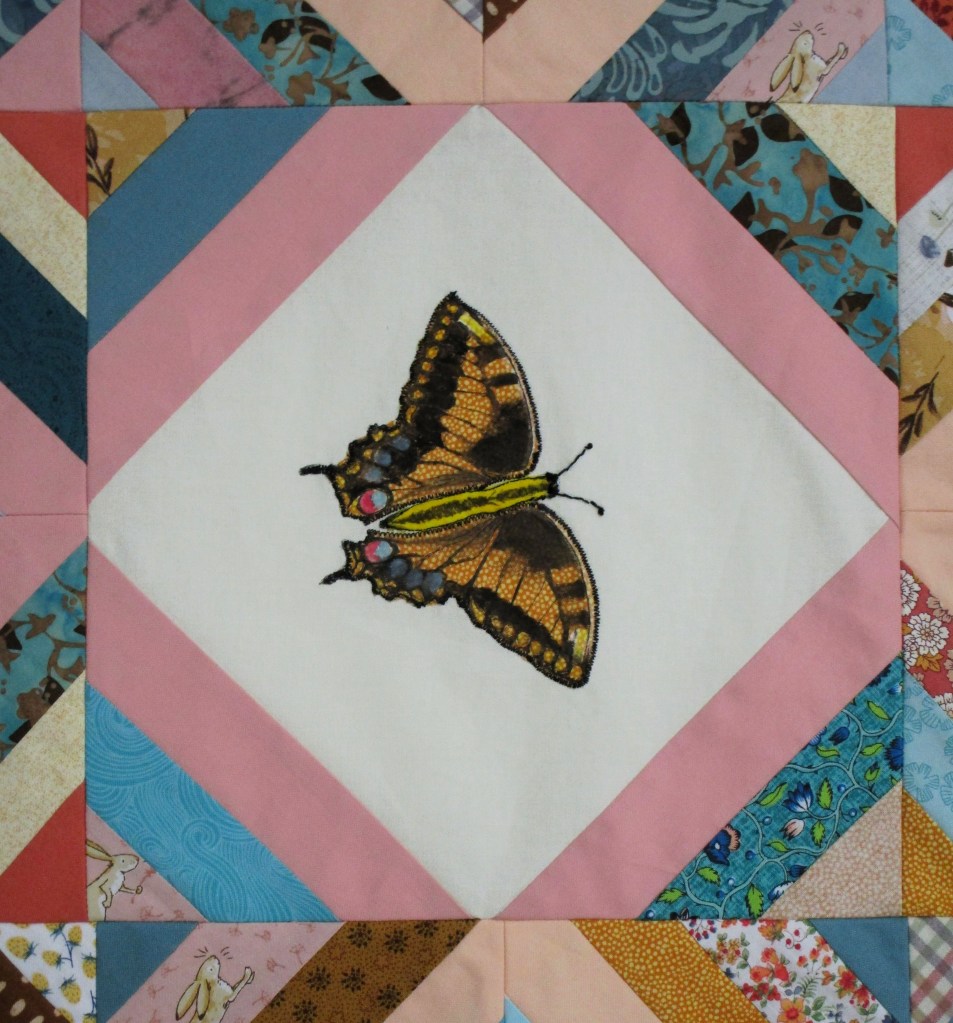
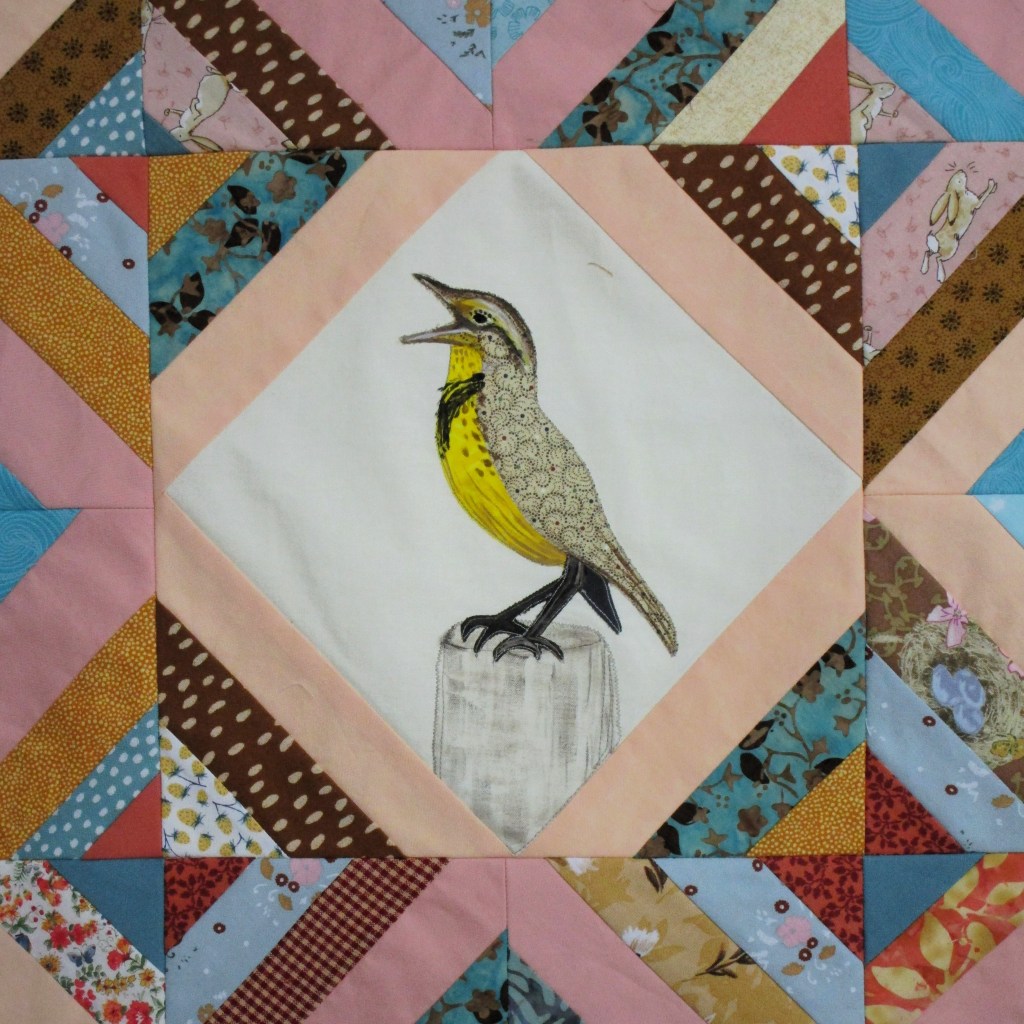
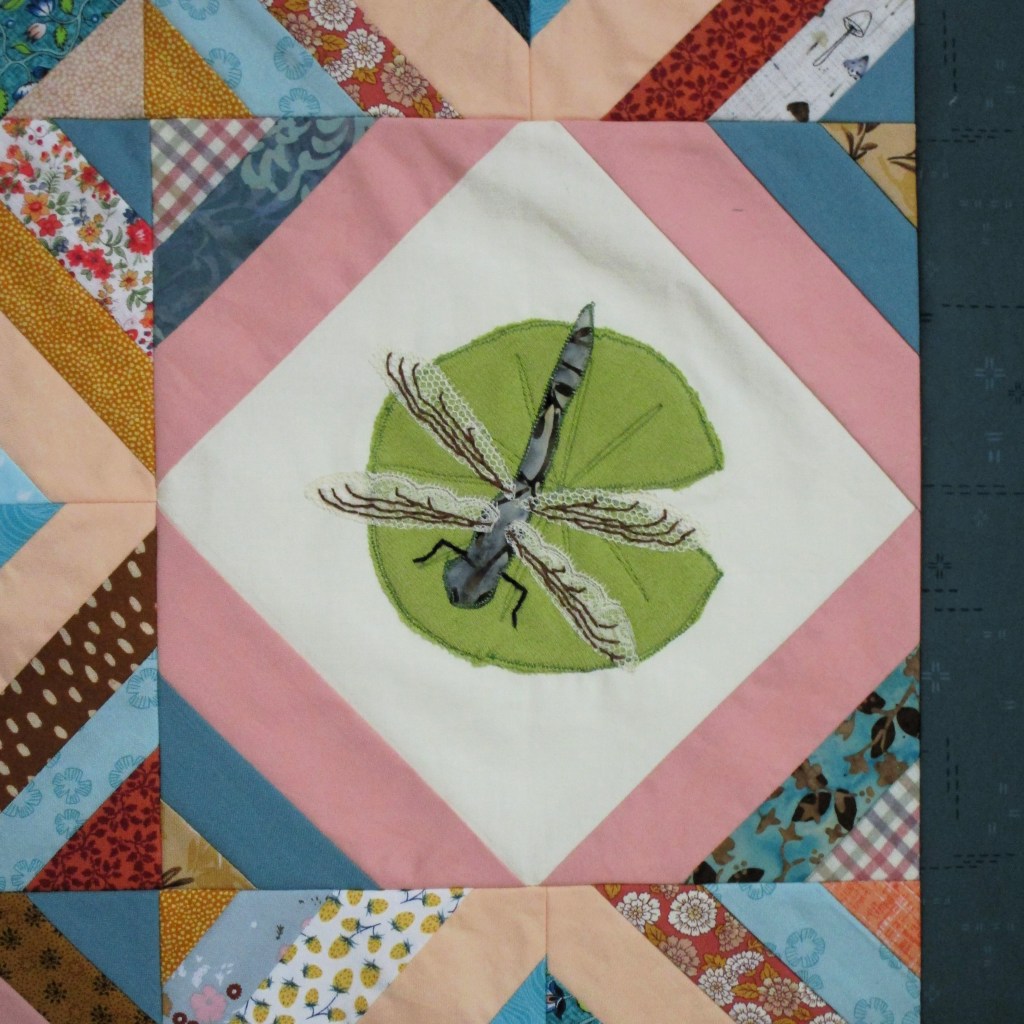
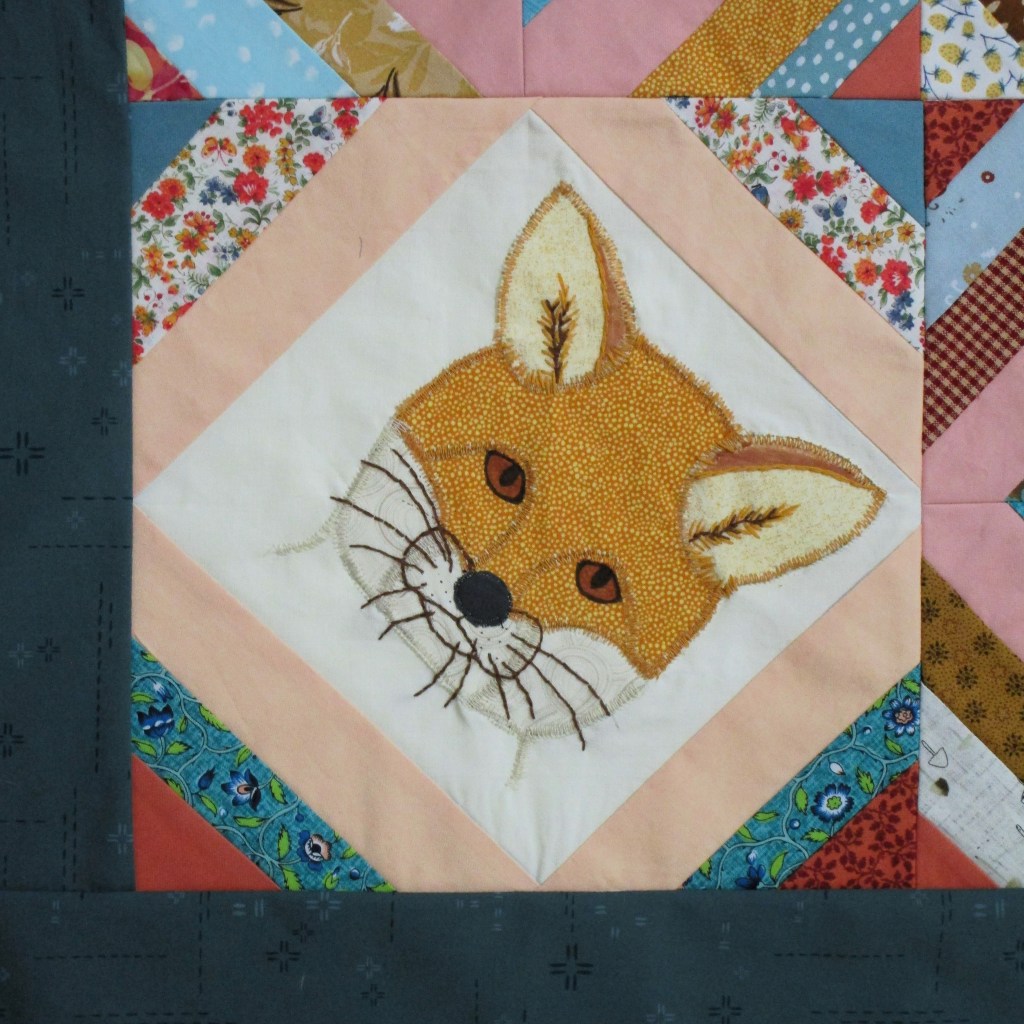
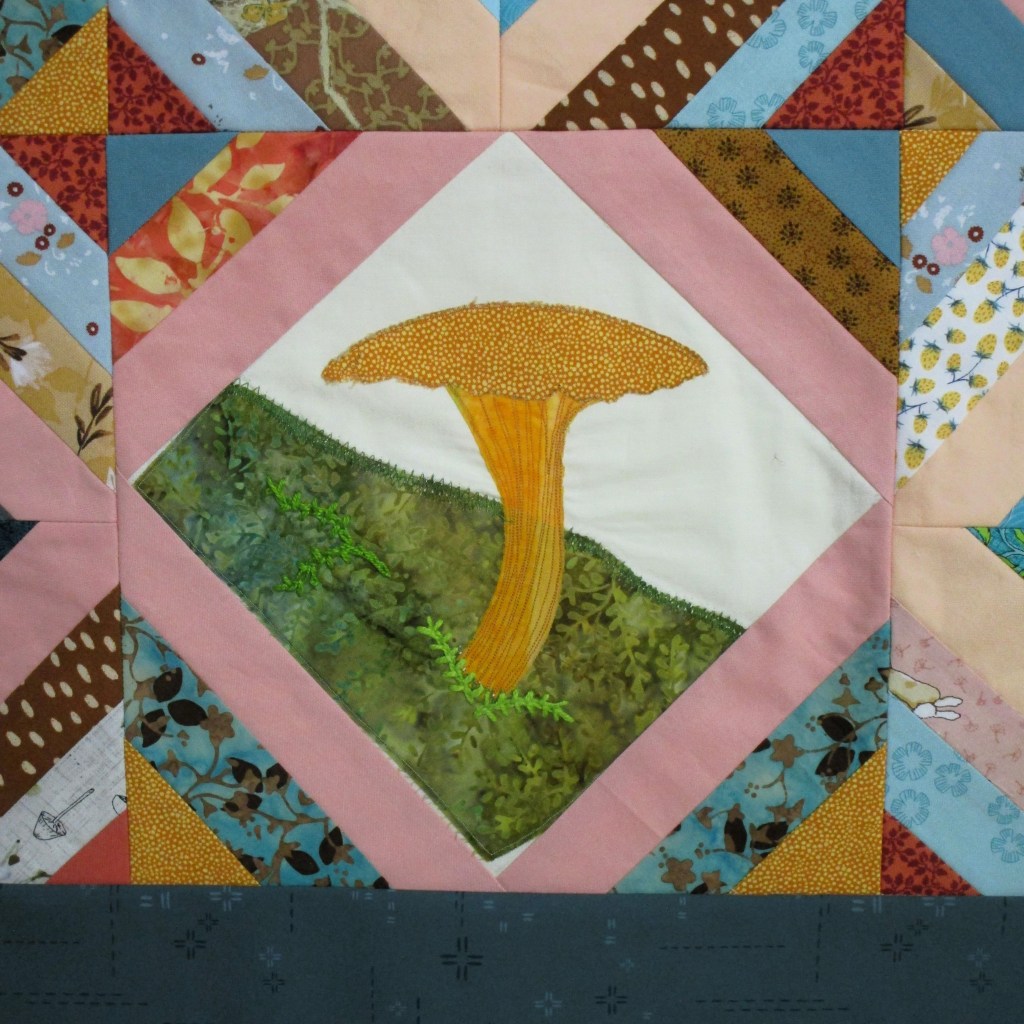
This quilt is made in strip-piece fashion and finished out at 48 x 58. I’m pretty happy with the result. Using fabrics (mostly from Connecting Threads) that match (or approximate) the color palette provided by the new mom, I organized the quilt around ten applique blocks with images of creatures and plants that live in the baby’s home state. My daughter assisted me in designing and sewing these feature blocks.

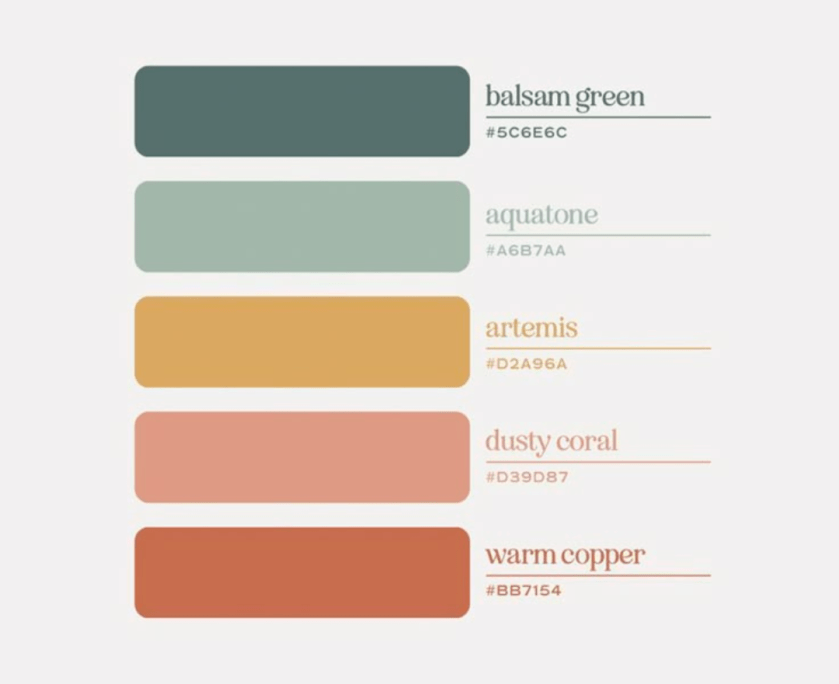
Color palette provided

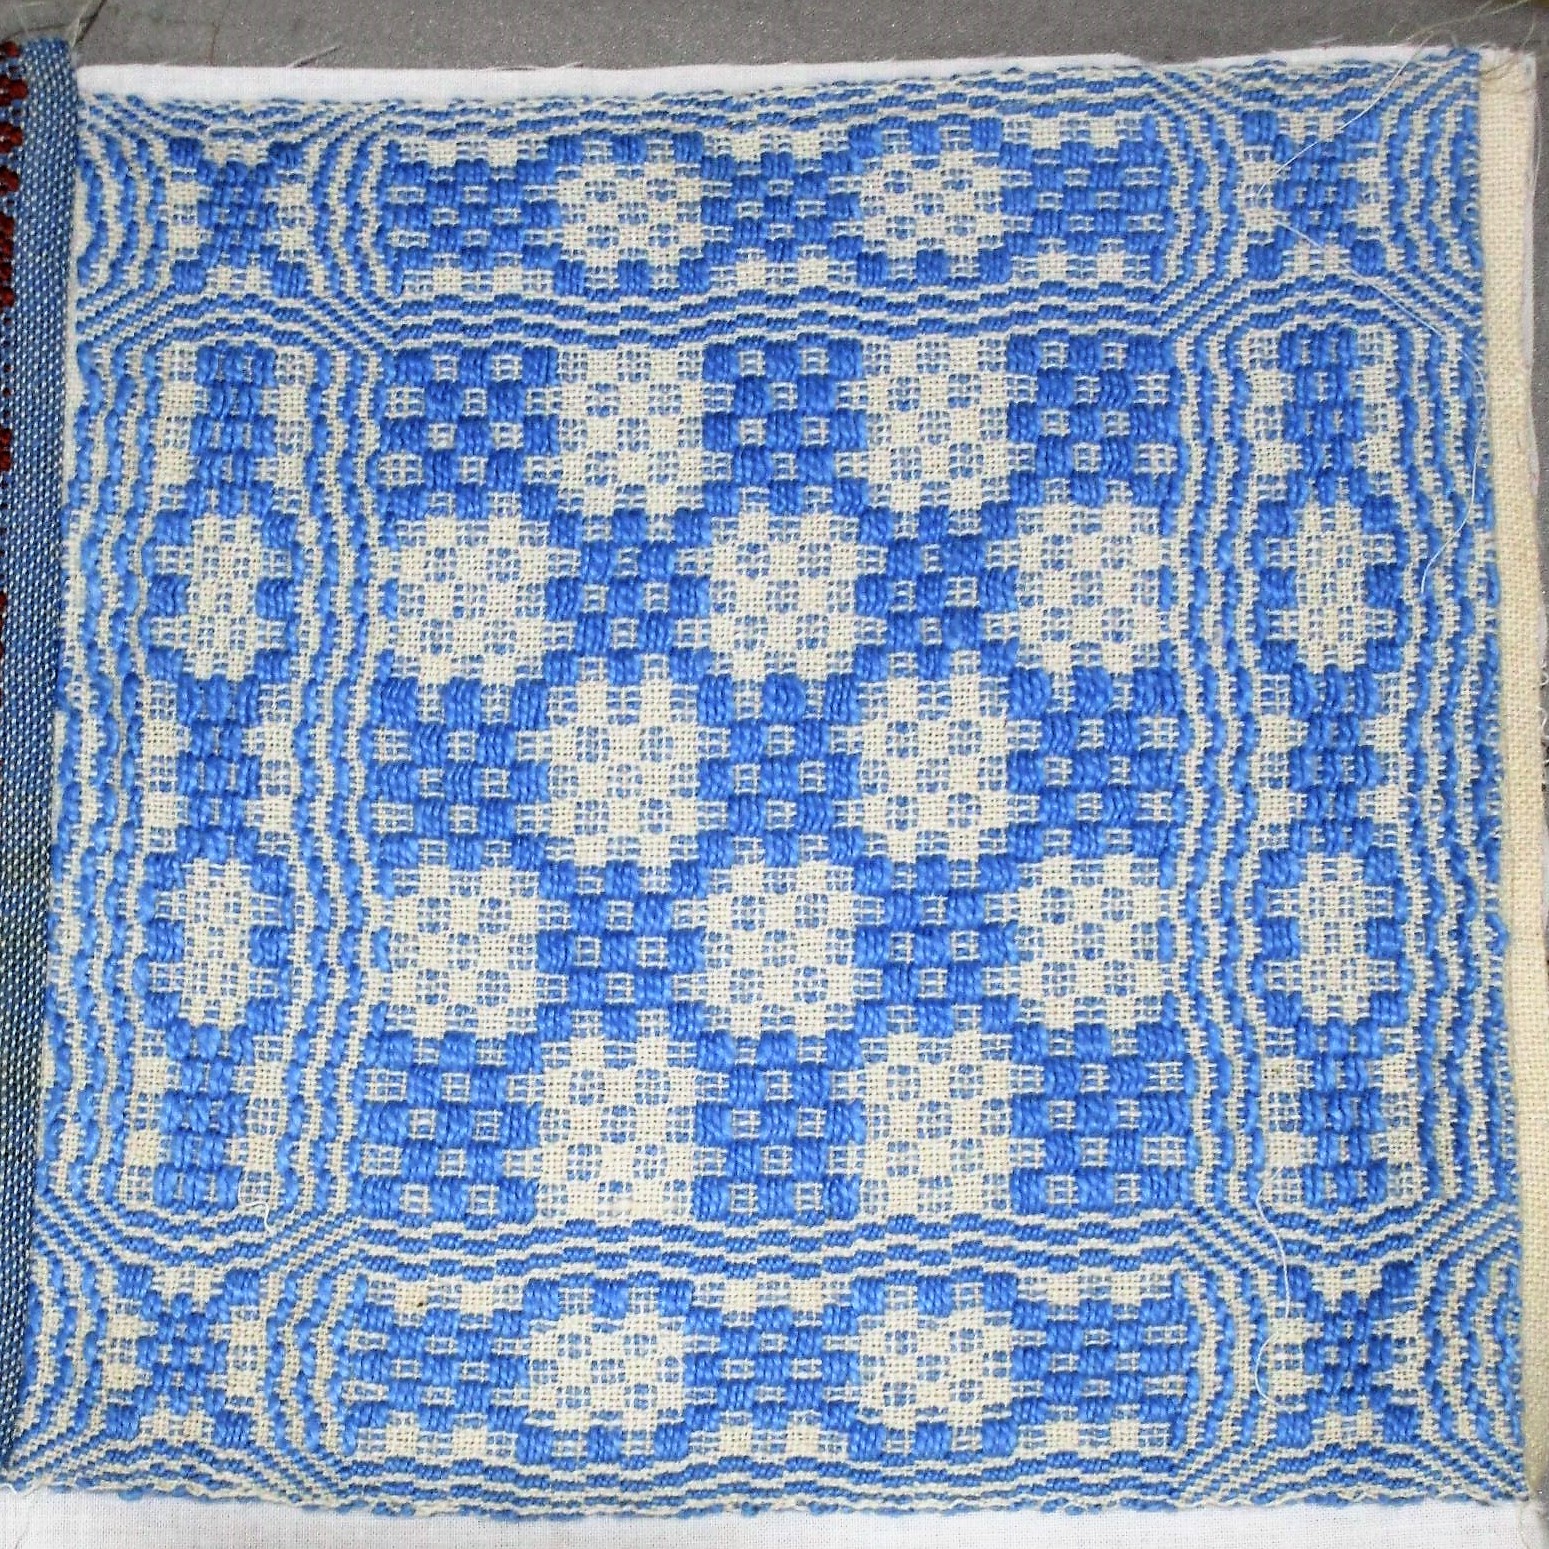
For those readers who may be surprised by the hap-hazard way that individual strips meet each other, let me say this: It’s intentional. An ecologist would call this style “disordered uniformity.” At the detail level, things seem to be chaotic, but when looked at from a respectable distance, patterns emerge. It is the way of nature.

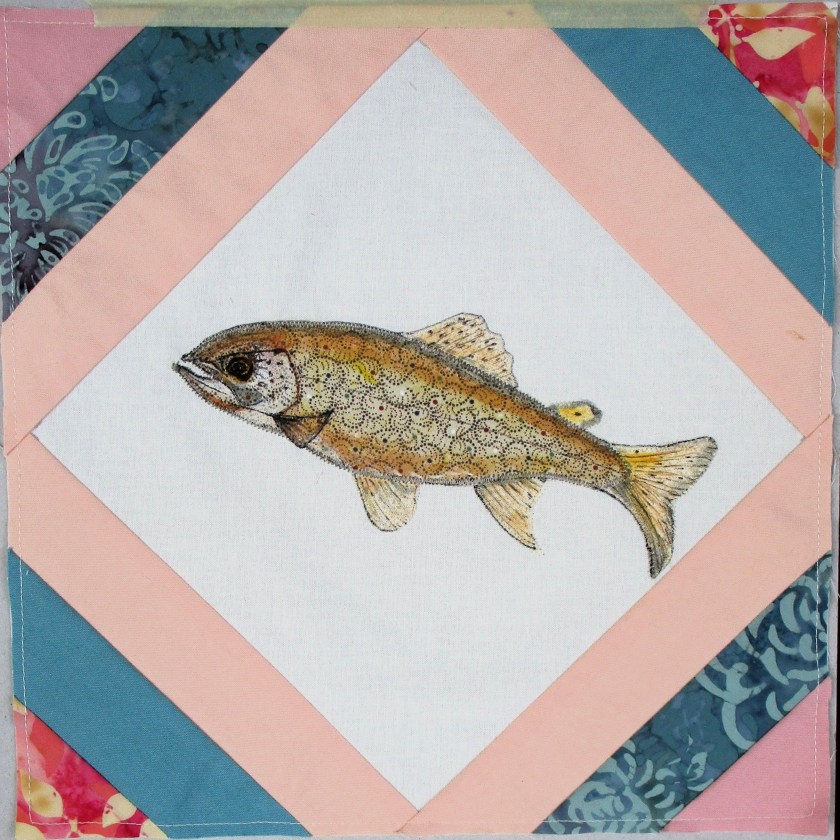
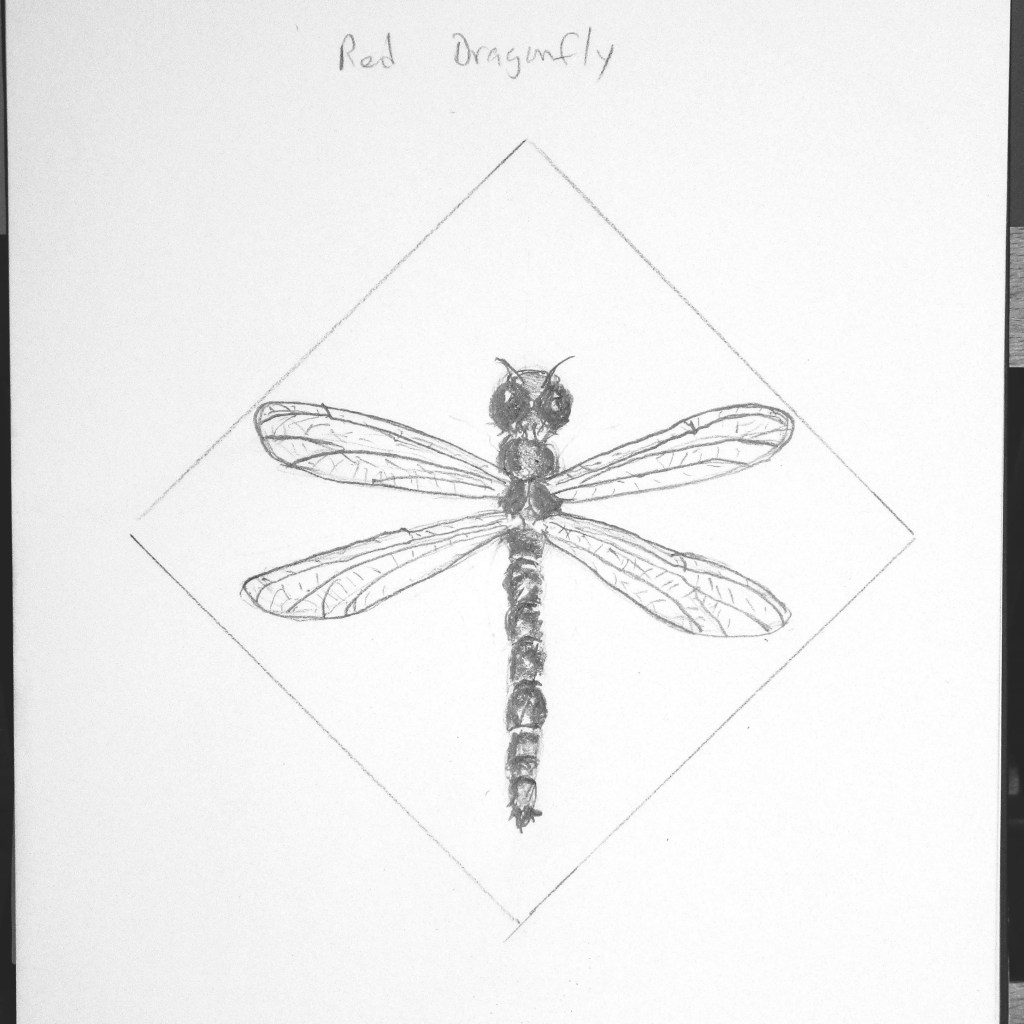
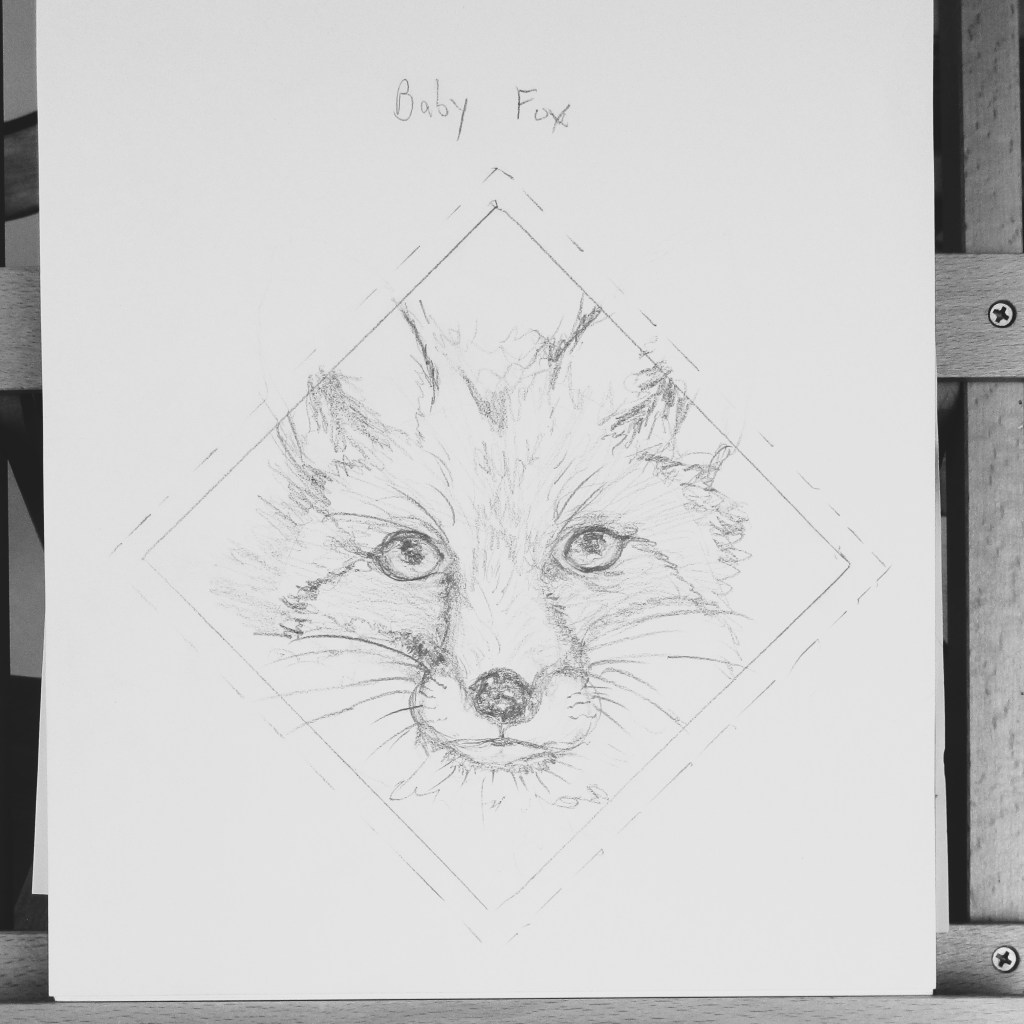
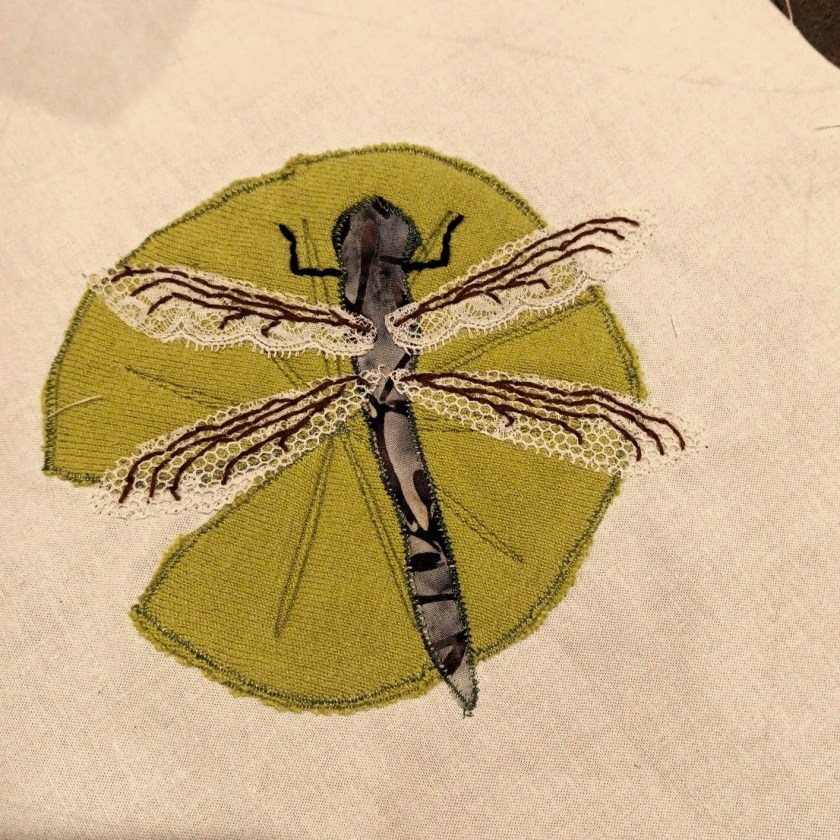
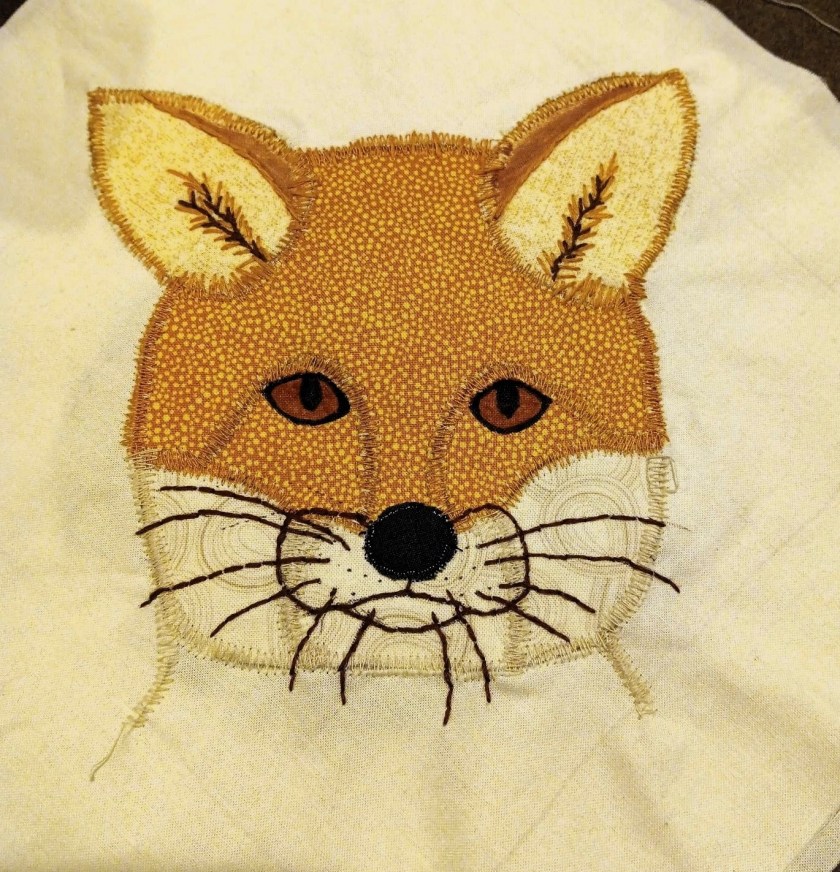
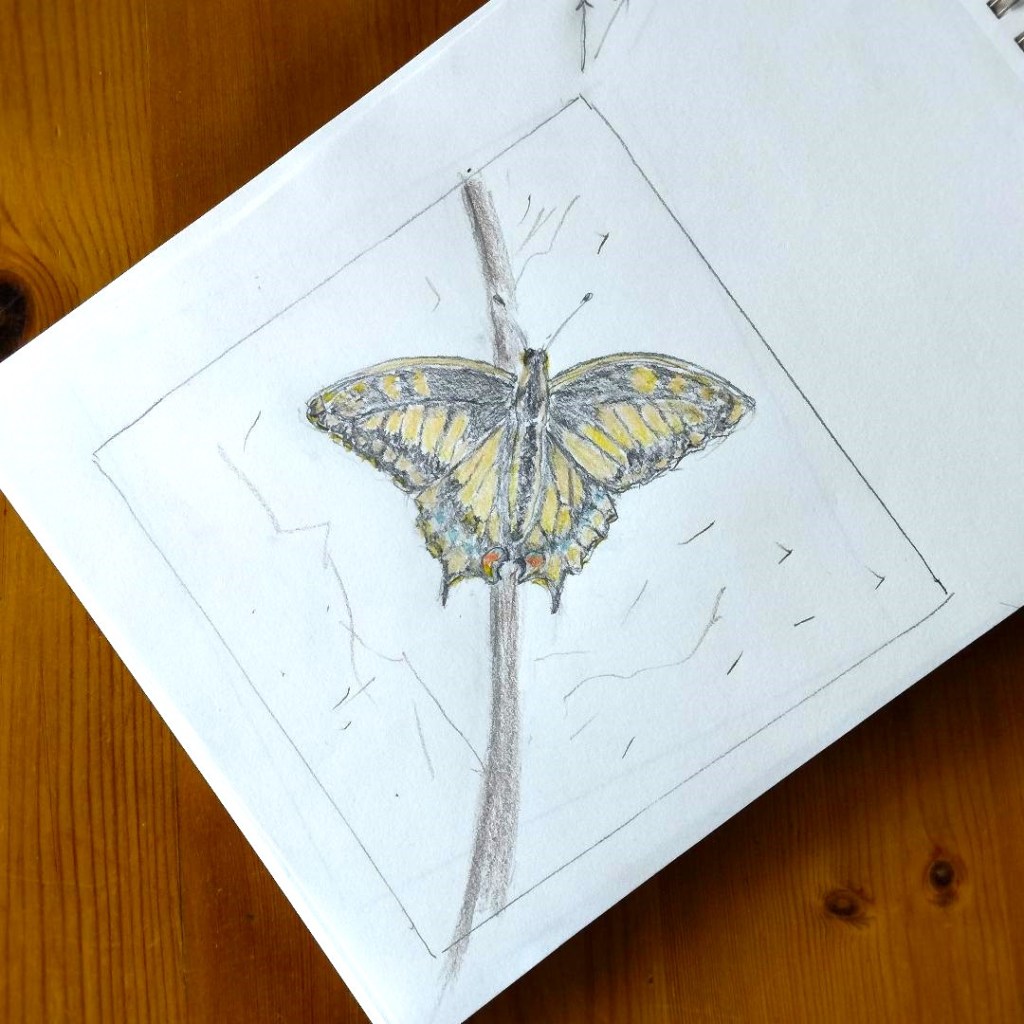
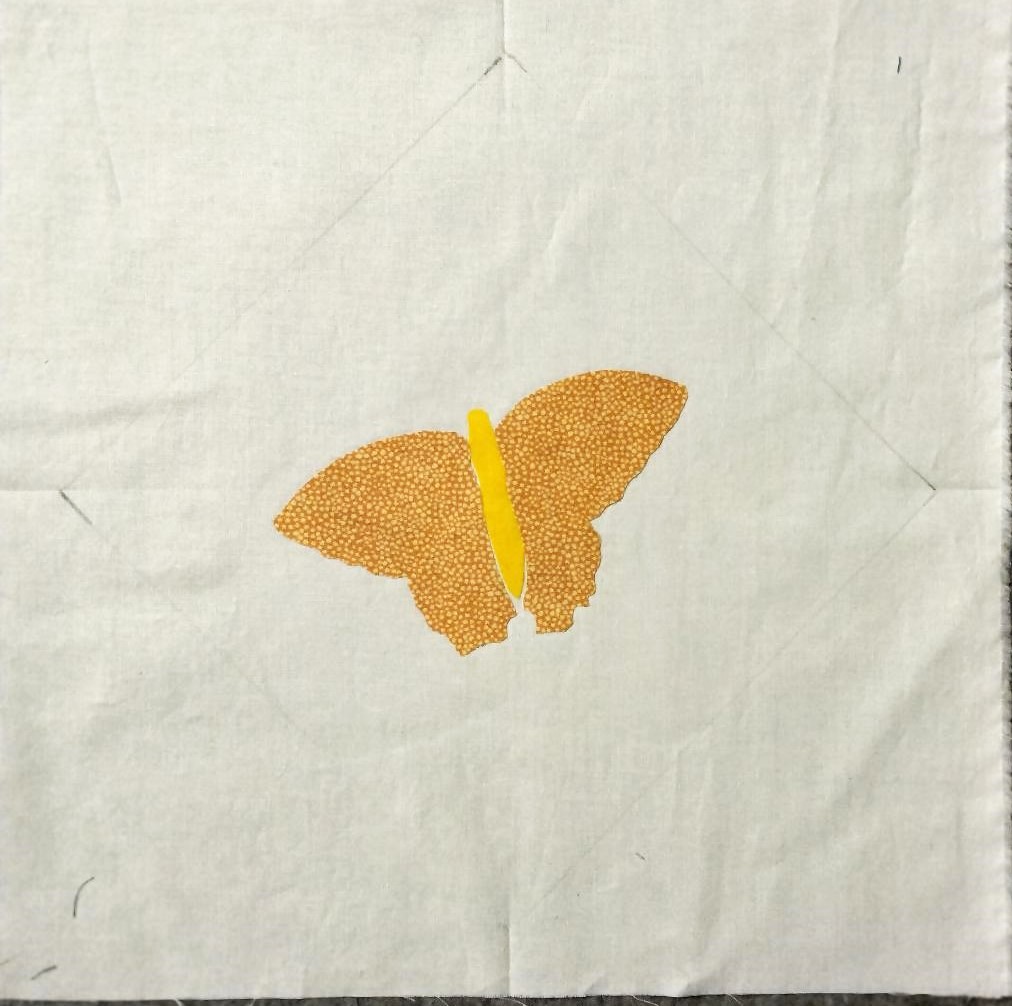
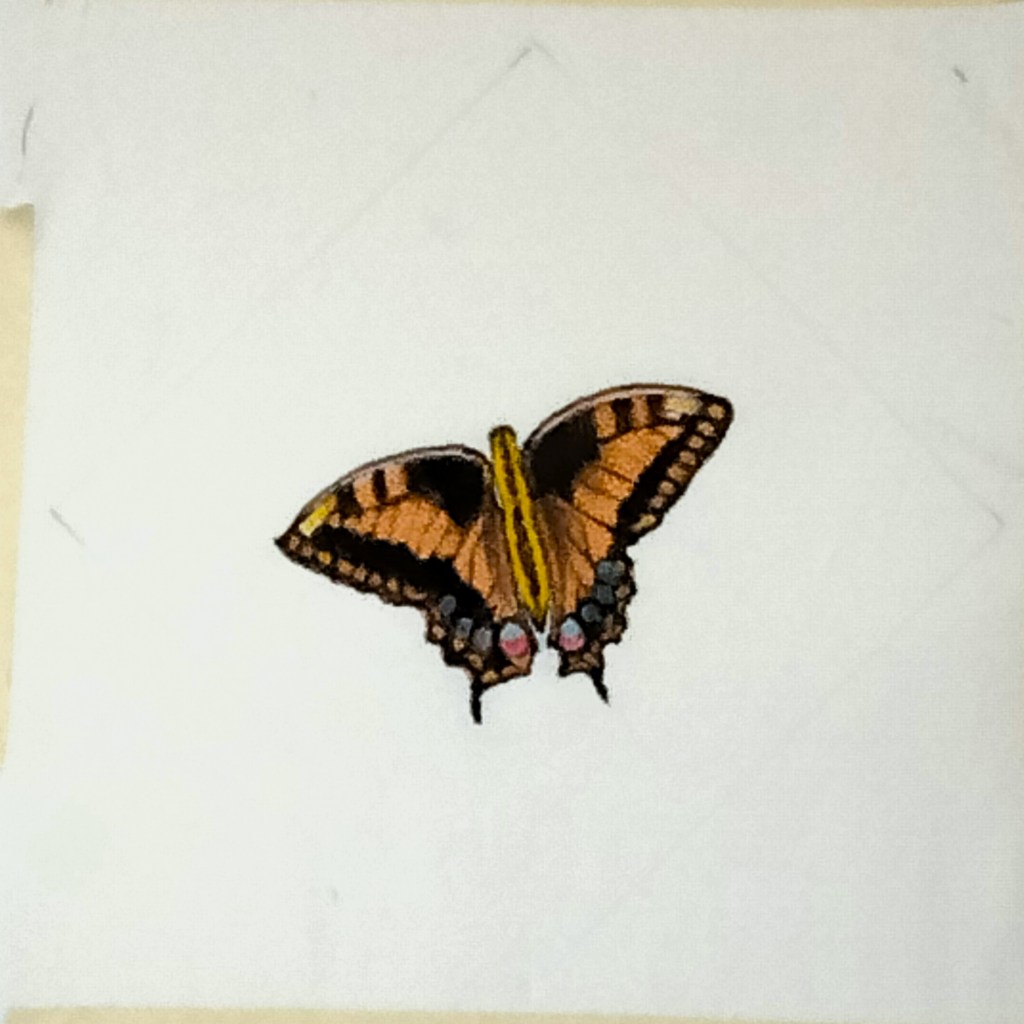
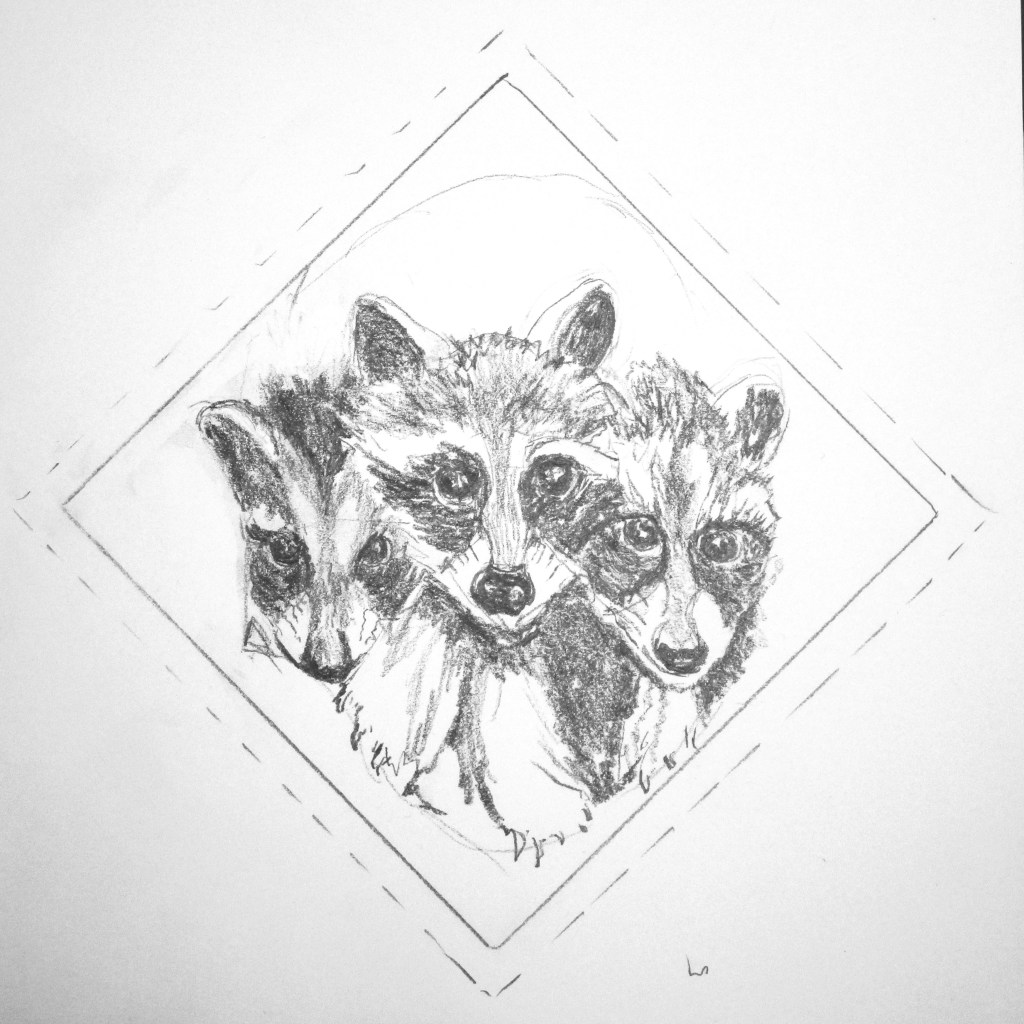
Here is a quick close-up of the mammals, birds, reptile, fish, insects, plant and fungus that will greet little Roseanna.

Steps to completion still await me. I will need to make the label, assemble the quilt sandwich and do the quilting. That part is making me a little nervous, because I haven’t figure out what quilt pattern to use. Any advice from you experts out there will be appreciated.

Linking to Songbird Designs

Posted in hand embroidery, painting, quilting

Fun Friday Finished Blocks

The Oregon Baby quilt block creation phase is ju……..st about done. Today I want to share two blocks that I finished and two images of blocks that my daughter finished.

Let’s start with sketches: My first attempt at rendering a painted turtle didn’t work out very well in the applique process. It was too complicated.

While I loved the drawing, I decided to start over. Here is my revised sketch with some colored pencil enhancements.

and here is my block complete with applique, machine stitches and painted details.

(there is a little smudge of paint that rubbed off my hand. I’ll have to find a way to cover it up before sewing this block into the quilt.)

Next I sketched a fish common to the northwest: coastal cut-throat trout.

This was easy to applique, and required very little paint to render the fishy details.

Yesterday, I was thrilled to receive two photographs of blocks completed by Amanda. During the preliminary phase of the quilt design, I had shared two sketches with her.

She took these designs and interpreted them in her own style. In addition to applique and paint, she added some expert hand embroidery touches to these blocks. Her results really bring these cute animals to life.

Dragonfly on waterlily
Red Fox

In the meanwhile, I have sewn up all of the strip pieced blocks. There are only two more feature blocks to finish before the quilt top can be assembled.

I’m pretty happy right now, and feel confident the quilt will be ready to send when my goddaughter’s baby arrives in August.

Posted in painting, quilting

Friday Finish: Baby Quilt Feature Blocks

Hi, friends,

I’m thinking that it’s time to reveal the first finished blocks that I made for Oregon Baby quilt. As I described in earlier posts, these would be various animals found in the baby’s home state.

I started with the rufous hummingbird and the Oregon swallowtail butterfly. Here are photos showing the steps to completion:

Hummingbird:

Butterfly:

Slight exaggeration here: The butterfly needs its antenna . I will hand embroider this detail before I assemble the quilt.

Some of you may think that I omitted showing all the steps in the process. And you’re right. I had to turn the pencil drawings into pattern pieces before I could convert the design to fabric. Without going into tedious details, this work was done using tracing paper and photo copies. I also did zigzag machine stitching around the butterfly and straight stitching on all the edges of the hummingbird.

Now here is an photo of how these panels look next to the string-pieced blocks.

My apologies to those who are bothered by the wonkiness of the strips. Yes, it was deliberate. So sue me.

The fun will continue over the weekend as I translate more of my sketches into quilt blocks. Which will I choose next?

Posted in drawing, quilting

Finally Friday: A New Project

During the past week I had correspondence with my niece who is expecting a child in August. I offered to make her a crib quilt, and she happily accepted my offer.

Suddenly my creativity was rekindled.

The stirrings of this project began a week or so earlier when I checked out Carolyn Forster’s book, String Quilts, from my local library.

While I am familiar with this construction technique (It is one I taught to fiber arts students in 2019) Carolyn had some excellent advice and also examples of variations that helped me to envision a baby quilt.

My niece kindly sent me an image of her nursery palette.

At this point, I graphed a design. There will be five rows of four 10 inch blocks, framed by a 4-inch solid border

I must have been channeling those days when my granddaughter was expected and I was knitting like a crazy woman. Just as then, I decided on a theme of baby animals. The animals will appear on the background color blocks. They will be made using a combination of applique, paint and embroidery. Suddenly I felt a strong desire to collaborate with Amanda, my granddaughter’s mother and also a talented fiber artist.

She was thrilled to be asked. We will need ten feature blocks. The two of us will share in designing and making these.

Yesterday and today I spent an hour or two happily sketching creatures that would fit nicely into the diamond shaped picture frame of our solid blocks.

This is just an audition. There is much work to be done before we cast all the roles.

I have also done a fabric pull and begun cutting blocks and strips. Once the fabric I ordered from Connecting Threads arrives, I can start piecing.

Posted in quilting, recycling, sewing

Inspired by Vintage

While visiting Daughter’s Family last Thanksgiving, I was invited to rummage through a stack of weaving samples. These pieces were made over a number of years by my son-in-law’s grandmother, Margaret. They were then stored away with Margaret’s son, and eventually passed into the next generation.

Here are some of the pieces that came home with me.

I was invited to keep these lovely samplers with the understanding that they could be worked into a fiber object. I feel honored to receive them.

So today, I have a tiny glimpse of an idea on what to make with them. What if they formed the feature blocks in a quilt? It would be a wabi-sabi quilt, assembled with additional fabrics recycled from articles of clothing and household linens. In my stash I came across the following items that fit the description.

Cut up shirts and old pillowcases in compatible colors

I began my work by washing and pressing the linens, then examined each piece for needed repairs. It seemed to me that, while the samples were firmly woven, the weaves are much more open than standard quilting cotton. How could I stabilize them so they wouldn’t shift during quilting? This called for a consultation with quilting expert Jackie, aka, my mom.

She had some great pieces of advice. Ultimately, I decided that I could sew the linens to a light-weight muslin backing, string piece style, then work in some rows of decorative stitching. This particular idea was top of mind, because I am currently reading this book on the Japanese practice of boro and sashiko.

I call this sort of happening a Convergence.

Let’s start the work with these three pieces as a center block.

They are of sizes that will fit together into a 12-inch block without cuts. The three contain all of the colors in my chosen palette, which could make an ideal focal point for the rest of the quilt.

DONE!

The next steps will be to design and sketch a layout, then acquire supporting fabrics. Maybe I can source more second-hand clothing items from local thrift stores.