Posted in knitting

Farm Market Yarn

While we were in Wisconsin last month, we visited the Northside Farmers Market in Madison. My daughter was eager for me to meet the local yarn vendor who had a stall there. Yorkshire Rose Farm offers lamb and chicken products, and at this market, wool products including yarn. The proprietors, as suggested by the name, came over from England and have been farming in Wisconsin since 2008.

To my chagrin, I failed to get any photos of the stall or the couple, due to my need to corral the toddler. But I discovered that the farm had a blog, so you can read about it here:

http://www.yorkshirerosefarm.com/index.php/about-us

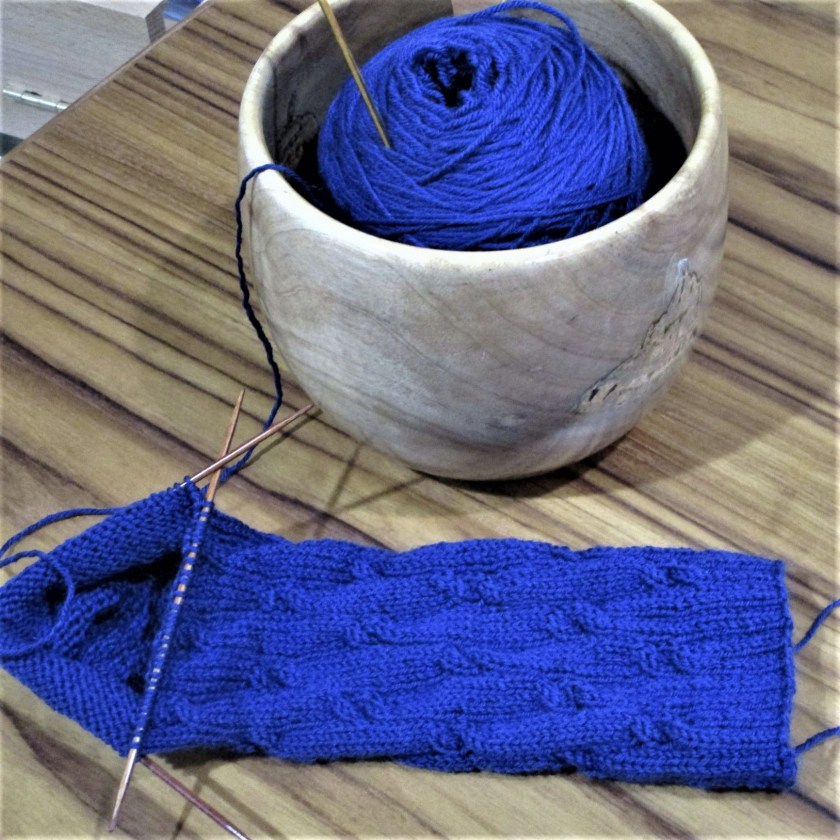
The yarn was displayed in groups by weight. I focused on the fingering weight. It was made from the wool of the Tunis breed. As expected in a natural yarn, it was a bit scratchy. I chose the colorway Peacock and Turquoise. It has short color repeats.

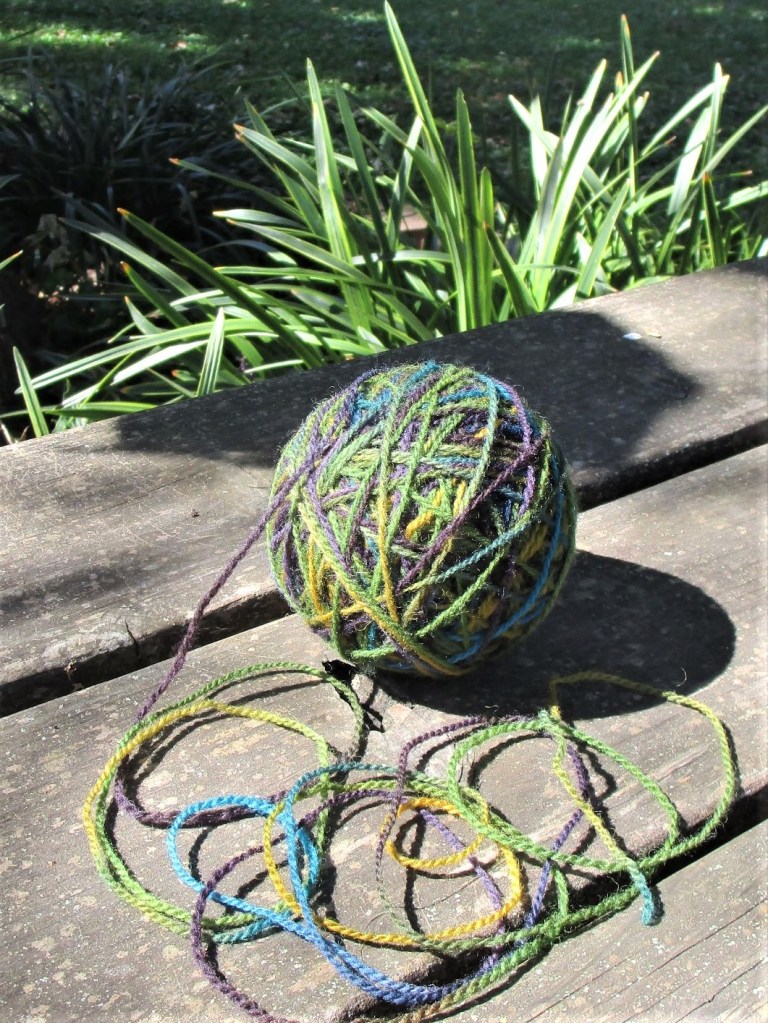
It seems to be a 2-ply yarn, in my mind very comparable to Knitpicks Palette. I found it combined beautifully with a grass-colored fingering twist yarn I had in my stash. Since the Tunis yarn has no nylon reinforcement, I decided not to use it to knit socks. Instead it will be made into a hat and/or gloves.

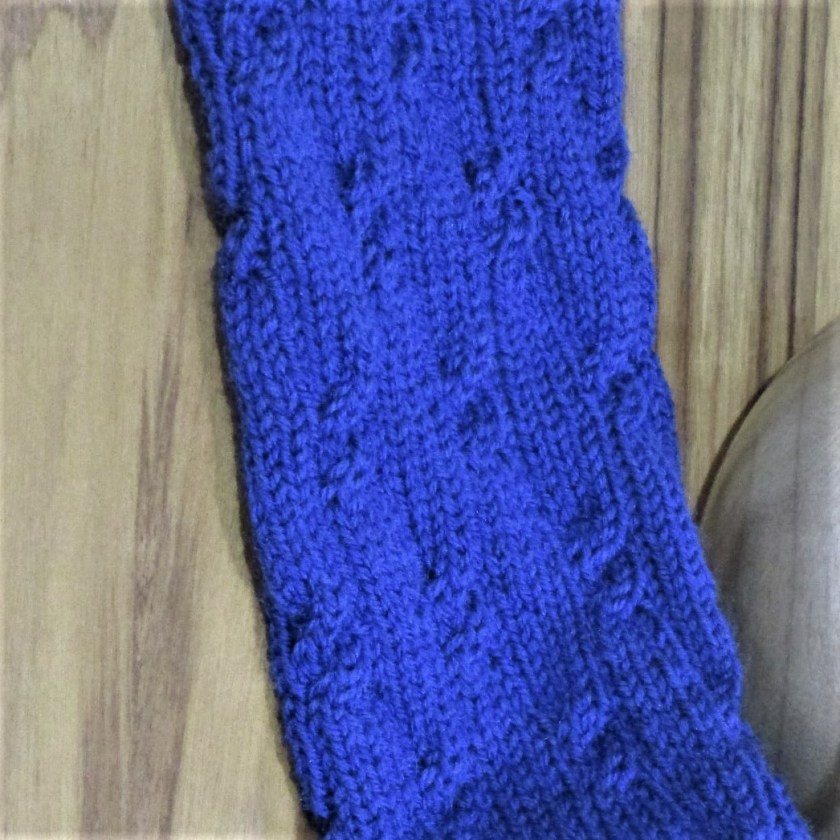
Here are the two yarns knitted in stripes.

And here they are in a stranded pattern called Rose Window.

Another option would be a mosaic stitch.

So, what do you think of the two yarns together? And should I work them in stripes or Fair Isle pattern?

Posted in knitting

Summer Stashbusting + Pass-along

This time of year I frequently find myself diving into my yarn stash. The goal is to USE it, and to use it in projects that are comfortable for the knitter to make on hot summer days and nights. Today I have three items that fit in this category.

First up is this quirky little hat.

Earlier this year my daughter gave me the small, beat-up hat you see on the right side of this photo. She had inherited it from another mom. Our baby really liked wearing it, but now it was too small and full of holes. I dove into my stash and found plenty of yarns that almost matched, color-for-color, the hues of the original hat. De-coding the pattern was quite simple, since it was a classic shape and used only stockinette with a few purl rounds. The only challenge was working the decreases at the top, to reproduce the “stem.”

During my stash dive I discovered several sock yarn skeins, some of which have enough yardage for a pair of socks. This deep blue yarn was left over from a sweater I made for myself a few years ago.

Love this Color.

The sock pattern comes from a book by one of my favorite knitting writers, Clara Parkes. The Knitter’s Book of Socks is quite good. It includes twenty sock patterns, each by a different designer. She also writes about the characteristics of different yarn fibers, and how these might match up with the qualities required by socks: elasticity, strength and absorption. I highly recommend this book for knitters who like making socks.

This pattern is Firefly, by Jennifer Hagan. The two by two cables are all right-leaning. She has them spaced out along the leg of the sock in such a way that they are easy to make.

My last stash buster started out as a pass-along yarn. Knitting friend Kathy gave me several skeins of Peruvian sock weight yarn in a so-so shade of blue. The blend includes alpaca and wool, but also 50% acrylic. In my stash I found a pale blue tweedy sock yarn bought on sale that had not inspired me. But by knitting them held together, these two yarns worked harmoniously. There was just enough for the skirt of a toddler dress.

When the pale blue ran out, I continued on up the bodice with the alpaca blend held double. The yoke includes a small pattern using strands of Cascade 220.

The dress design is mine, but the stranded design comes from a traditional Faroese Kettunøsin pattern. They are little dog heads.

While I sit here indoors, out my window it is raining heavily. This downpour is quite welcome, since it is the first rain since May. Gardening is out for the day, but knitting, quilting, writing and painting will keep me busy until dark.

Posted in knitting

Weaver’s Square Vest Reveal

Completing the front of the vest didn’t take very long. I chose to use a 1 by 2 rib which matched the edge rib of the vest back. The front hem carries on the same stitch and colors of the back hem – brown with a purple stripe – to provide more unity to the garment. The neckline is a wide V and the button placket is garter stitch. The only hiccup I encountered was that the garter rows proved to be tighter than the rib rows, (naturally) and I had to throw in a few short rows to compensate. Here are the front pieces on the blocking mats.

And here is the finished vest.

I’m pleased with how it turned out. And here I am turned around.

The side seams were sewn with mattress stitch. I like that the vest shows both the serious side and the fun side of the wearer’s personality.

All yarn is from KnitPicks. Thank you to Kieran Foley and knit/lab for creating the Weaver’s Square design.

https://www.kieranfoley.com/

Posted in knitting

Milestone for Weaver’s Square Vest

Back is Finished!

I bound off the back of the vest last night. Today it is drying on my blocking mat. Despite the fact that it looked Very Small and Narrow the whole time I was knitting, it turned out to match the gauge of my blocked swatch. Hooray! As all knitters will surmise by looking at the photo, there are a gazillion ends to weave in. That will occupy me for a few hours.

Here is the schematic I drew for the making the vest front.

I will be using a superwash Peruvian wool yarn from Knit Picks called Merlot Heather. To make the vest fit close to the body, the stitch pattern will be a broken rib stitch and there will be waist shaping decrease-increase stitches near the natural waist. Buttons?

Still undecided.

Posted in knitting, painting, quilting

Catch-Up Friday

Since I didn’t finish any of my fiber objects this week, I have decided to write a progress report. You see above about ten inches of the Weaver’s Square pattern, which will become a colorful vest for my daughter. This is the back of the garment. The front I have planned will be much more subdued. While working with seven strands of yarn each row has been a challenge, the satisfaction of the work and the excitement of seeing the color emerge has more than compensated for any difficulty. I have chosen to switch out the vertical colors at a rate of two or three for every band of horizontal color. As a result, the pattern has a more vertical effect.

Log Cabin Mini Quilt

Another work in progress is picture above. The quilt sandwich is constructed and some stitch in the ditch took place. At that point, I decided to work some embroidery in the flower squares and add hand quilting to the strips.

Blue block nearly finished.

I also felt that a border was essential to provide balance between the light and the dark sections of the piece. Going further, I plan to hand-paint this border in multiple hues. It will be exciting to see how well that goes, and it will take me more time.

Last week-end I started a tutorial on painting with water color on paper. This class was offered on Bluprint.com. Despite a little trepidation, I am sharing my work today. Keep in mind I am a rank beginner and be kind.

Seascape at daybreak with birds.
Color Block using primary colors, salt, colored pencil and micron pens.
Realistic style chickadee

Such a fun week. Sometimes I have to pinch myself to remind me that this life is real.