Posted in knitting

Repost: Cast-on Monday: I-Cord Fun

My class on knitting I-cord jewelry starts Saturday October 22nd, at my local art association. So today, I am reposting my blog on this topic from earlier this year.

——- Laura Kate———

Last week I was recruited to teach a class at my local art association. I said yes, but I was at a loss on what to present. The introductory knitting classes which I taught last year were very lightly attended. I had to do some recruiting just to get a minimum number of students.

Thinking about possible roadblocks to knitting, I came face to face with certain inalienable facts about the craft:

  1. The learning curve is steep.
  2. Projects take a long time to finish.

What if I narrowed the number of skills required to a minimum, and what if I used these few techniques to make quick-to-complete projects? ……………..

The answer is I-Cord! This little add-on is used for strings for tying knitted hats and other decorative frou-frou. All it takes is a few yards, a cast-on, and repeated knit stitches over a very short row.

So today I am researching and stitching up all kinds of I-cord accessories. These projects will include jewelry so I will need a selection of beads.

The two strings in the left of the photo were purchased today. All the others I had acquired in the past 3 or 4 four years.

I also perused my stash for left-over fingering weight yarn. (No shortage here.)

To kick things off I worked up this 18-necklace using tonally dyed merino wool and some porcelain beads.

https://www.ravelry.com/patterns/library/simple-beaded-i-cord

My version is made with just one strand because I had only 24 beads. I love how each bead dangles below the cord. I am wearing it over a shirt, but this necklace would also be soft against bare skin.

A bracelet is next.

http://lovingtopurl.blogspot.com/2017/02/3-colors-knitted-i-cord-bracelet.html

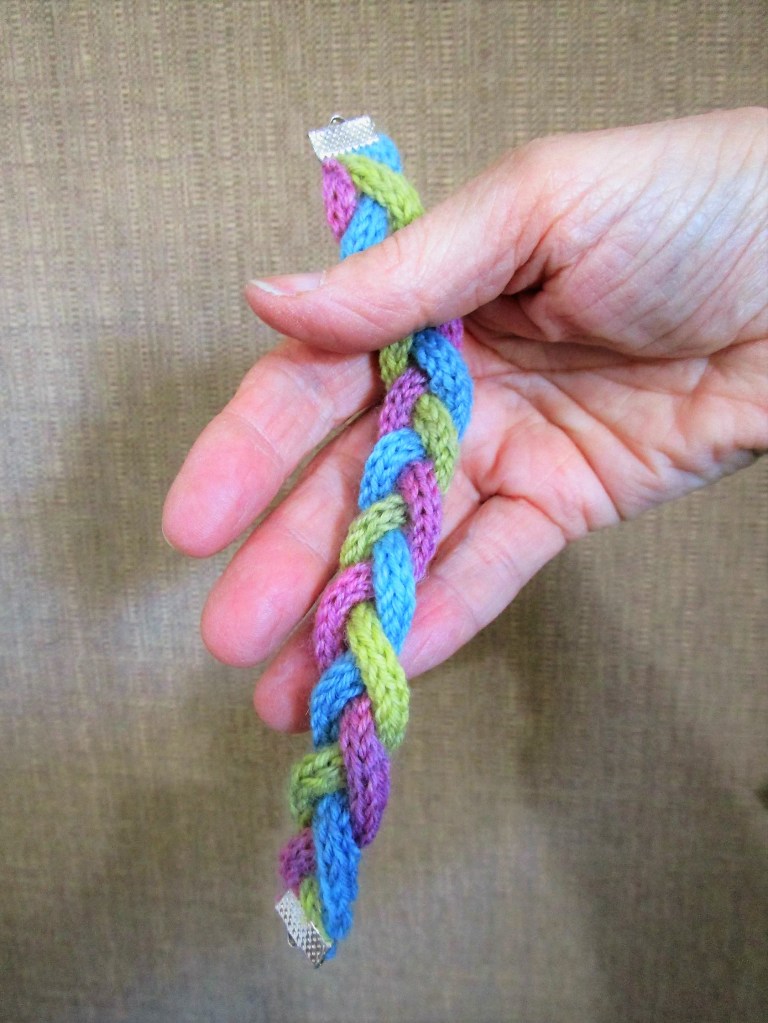
I sewed one end of the three strands together, braided them and then sewed the other end. The crimping finial is designed for holding ribbons so that they don’t fray.

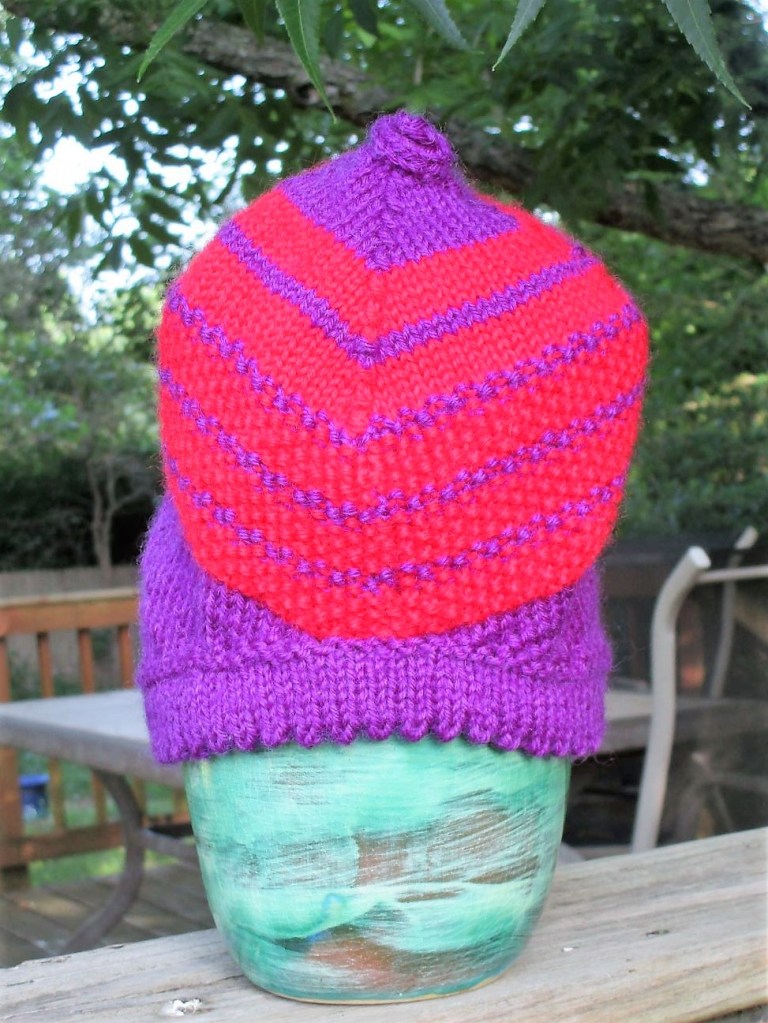
For my third item, I switched to worsted weight yarn and move up to a size 5 needle. I was so happy to use up the left-overs of this lovely variegated Malibrigo merino.

This necklace doesn’t use a pattern. It will be made to my own specifications.

And here are my three I cord samples as of dinner time.

This should be enough material to work up a class proposal. I will also try making a headband and a multi-strand necklace.

Posted in knitting

WIP Wednesday: Sock Challenge Progress

I’m slogging away at my sock challenge.

It’s going quite well. I have finished the first Novita sock and worked my way well down the leg of the second one.

This is the first time I have worked socks on two cable needles, and I have to say that I am enjoying the process. I find that I drop stitches less frequently than when working with sock needles, which are by design quite short. Also, the knitting seems to go faster because I pause to shift the work twice per round instead of three or four times per round. The biggest disadvantage is the need to own two cable needles of the same size.

Not really much of a financial hurdle in my mind. A good cable needle can last one’s entire knitting career.

Right now I am sweating the yarn situation.

This is all that’s left of the cream ball. I’ll be truly annoyed if I end up buying another skein just to get an additional 30 or so yards.

Posted in quilting

Friday Finish: Baby Quilt

Yesterday, I learned that baby quilts are the best!

Looking back at my notes, I realized that I started making this quilt only two weeks ago. Last week, in my letter to mom, I gave a few details about this project: 1. Based on a pattern by Erica Jackman, of Kitchen Table Quilting. 2. Color palette to match recipient’s nursery theme of teddy bears. 3. Background fabric and batting came from my mother’s stash.

Top completed, sandwiched and ready for quilting

And now the quilt is finished.

I say baby quilts are the best because:

  • They are suitable for a lot of fun colors and novel fabrics.
  • They don’t take much yardage, which keeps the cost down.
  • They are perfect for using up stash fabrics.
  • They can be quilted on an ordinary home sewing machine.
  • They are quick to make!
Quilted and bound

I quilted it using the walking foot – stitch in the ditch and straight-line quilting,

It was so much fun that I am actively seeking out another expectant family so I have a reason to make another one.

If you like this pattern, check out Erica’s website.

Posted in quilting

Dear Mom

Good morning, Mom. I hope you are well.

Today I’m writing to let you know how much I am enjoying the materials and tools I collected from your sewing room in May. You were so generous to let us kids have whatever we wanted.

It’s interesting to see how just a few tools have made my work so much easier. Let’s start with your big purple Martinelli self-healing mat. I can cut whole yardage into strips with ease and accuracy using this mat. Another thing I am grateful for is the tabletop wool pressing pad. I recently used both of these tools to cut, sew,press and square-up a whole bunch of half-square triangles.

Let me tell you about a few projects where I used some fabric from your stash.

I found about a quarter yard of striped cotton with black warp threads. It turned out to be just right as a binding for my Shell Lake Story quilt.

I worked the free-motion quilting on this piece wearing a pair of your quilting gloves. They fit me perfectly. Looking down at my hands I imagined how your energy, which these gloves retained, radiated back to me. I felt loved and powerful.

My next project is a baby quilt for Jasmine and Stephen’s son, expected in August. I’m certain that, if you were able, you would be working on a quilt for this baby already. In your stash was a crib-sized batt still in its package and a yard of buff color solid quilting cotton – very high-quality stuff. (I know it was a yard because you had measured and labelled it so!) It is just enough for a baby quilt background.

After speaking with Stephen’s mom, Debbie, I learned that the couple had chosen teddy bears for the nursery room theme with a color palette of blues and neutrals. Using the buff and several stash fabrics, I put together a quilt top from a pattern called Elena. It features a nine-patch block with two corners of half-square triangles.

With a backing in tumbling teddy bear fabric that I bought on the Internet, this quilt is a dream to make. The top is almost done.

Well, that’s about all I have to share today. Take care of yourself and give my love to dad and the siblings.

Love, Laura

Posted in knitting

Finished Object Friday – Fair Warning

” When I am an Old Woman, I shall wear purple with a red hatwhich doesn’t go, and doesn’t suit me “ – Jenny Joseph

I don’t know if this is the sort of hat that the poet had in mind. But perhaps if she had lived in the 21st century, in a cold climate, and was 3 and 1/2 years old, she might have chosen it.

Despite my playful suggestion about an old woman, this hat is indeed meant for Laura Lu. In my determination to use stash yarn, I came to the conclusion that red would work perfectly fine with purple yarn and a purple sweater.

The pattern, which includes a picot edging and very deep ear flaps, is Cameron’s Cap by Sarah Peasley.

https://www.ravelry.com/patterns/library/camerons-cap

The designer offers this pattern in four different sizes. I chose the child size, but it is ample enough to fit the child well into teen-hood.

The yarn is Wool of the Andes superwash, by Knitpicks.

Tell me, would you be bold enough to wear this color combination?