I have been spending time with pencils this week. The first sketch is a study for a watercolor landscape that I am planning.
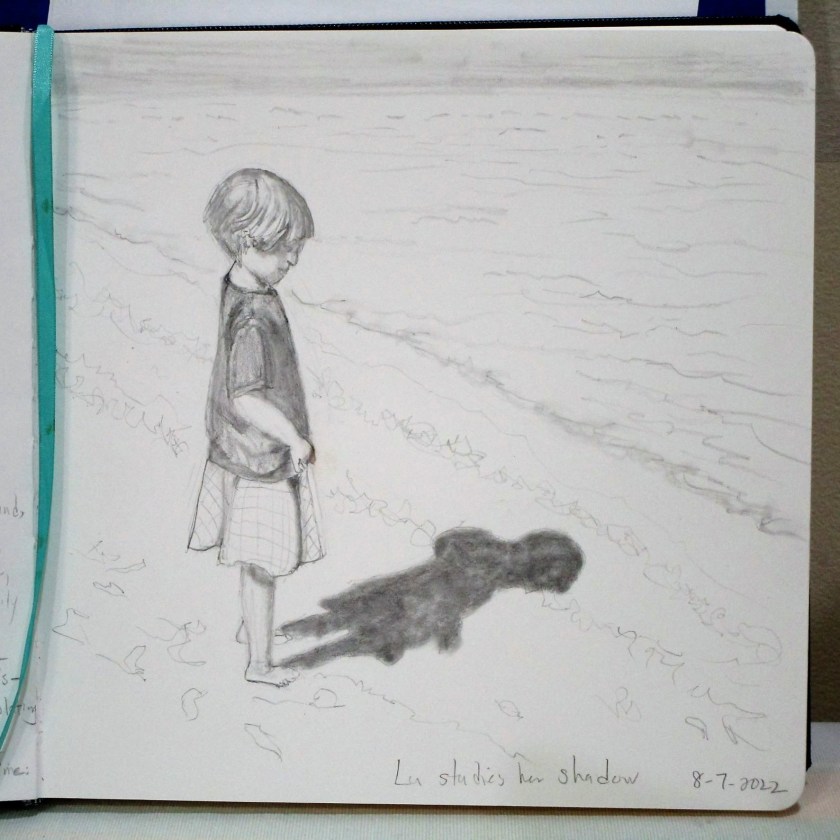
This next drawing, still unfinished, is based on a sketch I made of Henry last month.
FORTEEN CANDLES
I transferred lines from my preliminary sketch onto toned pastel paper, then built up layers of graphite. A little chalk pencils brightens up the flames.
I drew this one loose and fast, but took my time inking and painting it. It’s on Bristol paper, not watercolor paper, so I got some waviness. Quinacridone gold, transparent orange, cerulean blue and Payne’s gray. My pen was a Pigma Micron 05.
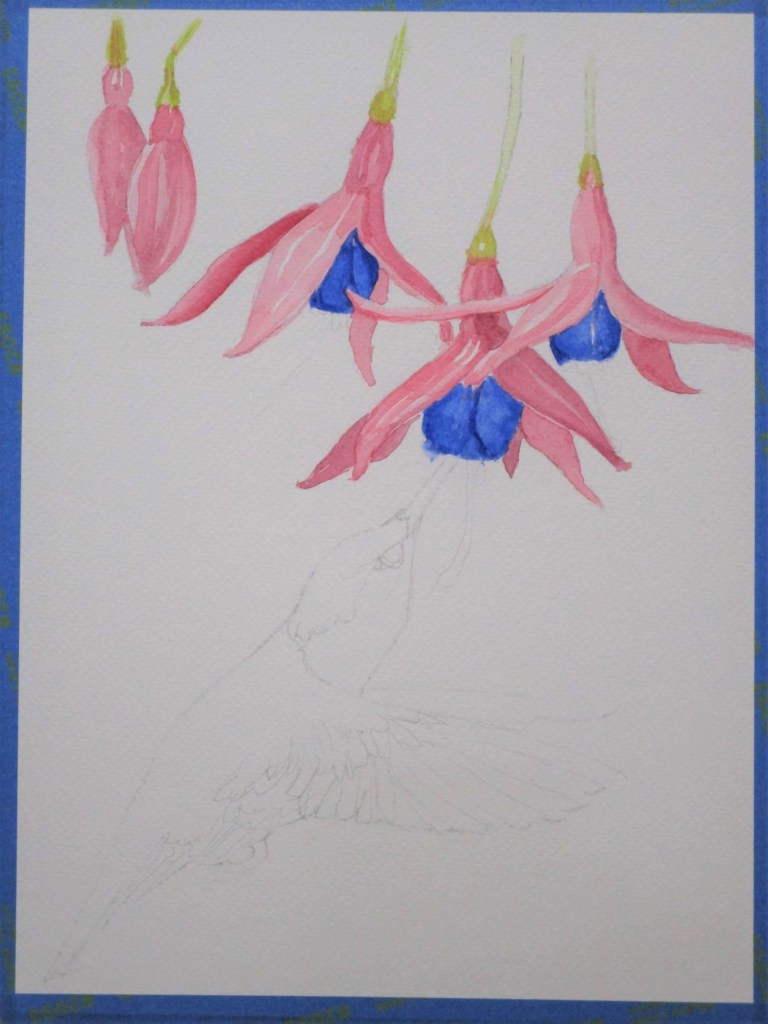
This project has been sitting around since mid May.
Back then, I sketched a picture that was a composite of two photographs: A group of fuchsia blossoms and a hummingbird.
Eventually I used this image during a class I attended on collage technique.
It was more convenient to transfer the image in reverse.
But had always intended to paint it. Today I finally finished. Here is my process:
Transfer of drawing and first wash of flowersBird body and wings painted, second wash on flowersDetails added to birdPAINTING COMPLETED
To finish it, I worked in a pale background wash, added final details to flowers and deepened the darks on the hummingbird.
This was a very good learning experience. If I were to paint it again, I would choose more transparent pigments. The cobalt blue was more granulating than I liked, and the alizarin crimson did not give a clean delicate hue on the flower petals. Instead I would use a mixture of ultramarine blue and Thalo blue and use quinacridone magenta, very thin, for the petals. I would also apply the background wash first. It was very tricky to work it around the finished flowers.
The parts I do like: The composition, the texture of the feathers and bird wings, and the shading on the petals.
Yesterday and today I took a break from sewing to paint with watercolor. I have been following a tutorial by Montreal artist Shari Blaukopf called Sketching Landscapes in Pen, Ink and Watercolor. My goal for this painting was to practice skies. I chose a reference photo that had a very nice sunset and featured clean, simple shapes. This would allow me to make a finished painting but focus on the sky. The photograph also featured a reflected sky (another good subject for practice.) After making a pencil sketch, I jumped right in on the sky and reflection. Next came a few pen marks to guide the rest of the work.
After drying over night I added the other washes – mountains, meadow and trees. Once these had dried, I used my brush to give texture to the trees and shadows to the pond.
So far I’m liking this. But I felt that the painting did not really show the warm glow of morning light that I saw in the photograph. To correct this, I made a wash of burnt sienna and quinacridone red and stroked it fairly evenly over the grass.
Ahh that’s better. I used a dry brush technique to give a little texture to the grass and let the painting dry. For the last step, I followed Shari’s instructions and added pen marks to the trees, grass and pond edge.
This painting gave me a great deal of pleasure. I avoided most of the miss-steps with the watercolor paint and achieved the look I was after. I guess it’s worth signing.
I will put in the link to Shari’s class, but it’s on Bluprint.com Unless you are already a subscriber, you may not be able to open it.