Recently, one of my blog readers sent me a request. She asked me to make “baby napkins. My baby is so messy!” I said yes immediately. Then I started to wonder. What exactly did she mean by baby napkins? For you folks in the U.K, it isn’t what you might think. Baby nappies, or what we in the U.S. called diapers, go on the baby’s bum. She wants something more akin to smallish dinner napkins, for wiping the baby’s face during meals. I thought to myself, why doesn’t she just use a burp rag for this purpose? Then I realized that there was more than one objective here. This little fiber object will help to civilize and educate this child. So here is what I came up with:

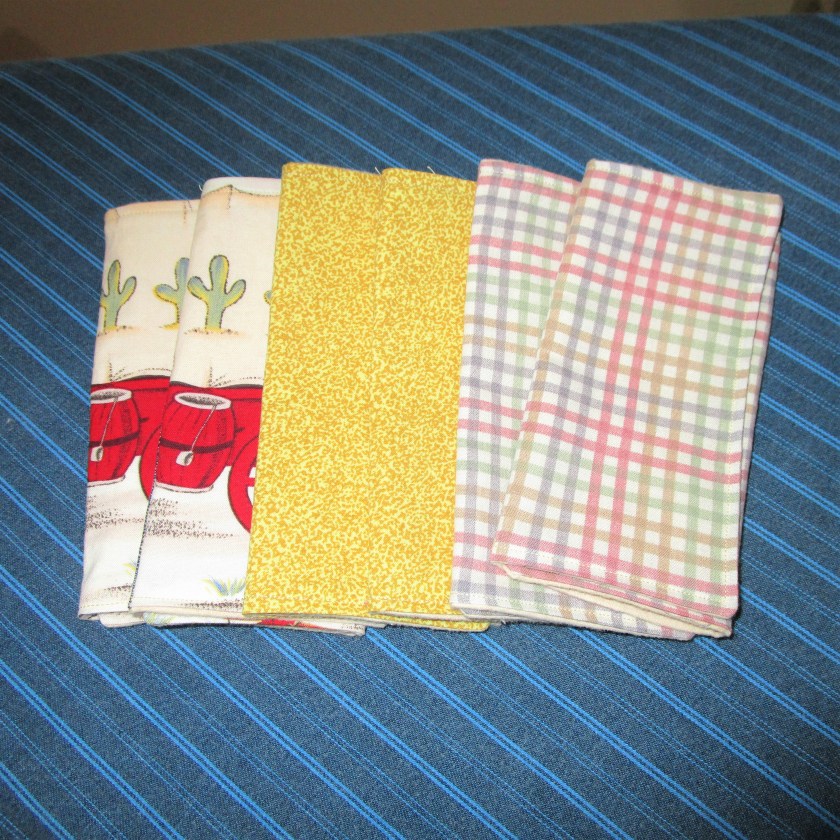
I selected three cotton prints and cut them into 7 x 10 inch rectangles. Finished size will be 6 x 9. The tan color flannel will be sewn to the print fabric, making the napkins twice as absorbent. That will take care of the practical need to wipe messy hands and faces. The front and back will be sewn on all edges, right sides together, leaving a small opening for turning.

After turning out to the right sides, I stitched all around the edges. So far, these are just like any ordinary napkins, only thicker and smaller. They can be laid on the table at meal times, along with the regular napkins for the other family members. Baby will eventually become aware of the patterns, rituals and customs of family dining.
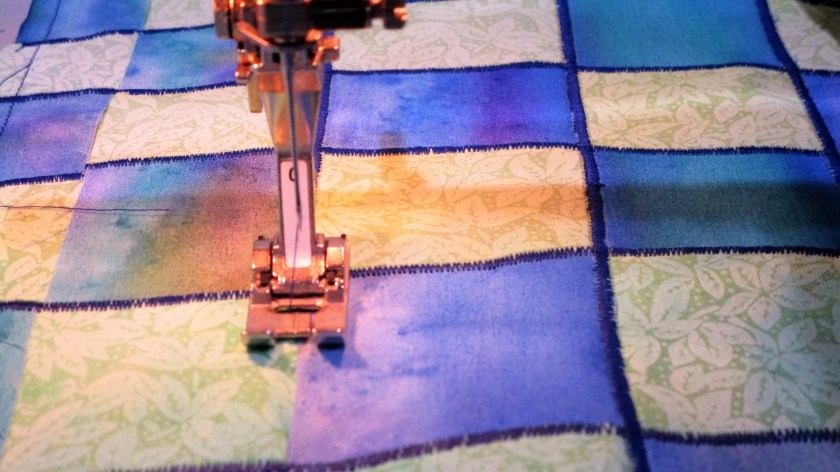
The second little adjustment I made to the design is to machine-embroider two vertical lines, dividing the napkin into thirds. When baby is ready to help with chores, she will easily fold the napkins after they have been laundered.
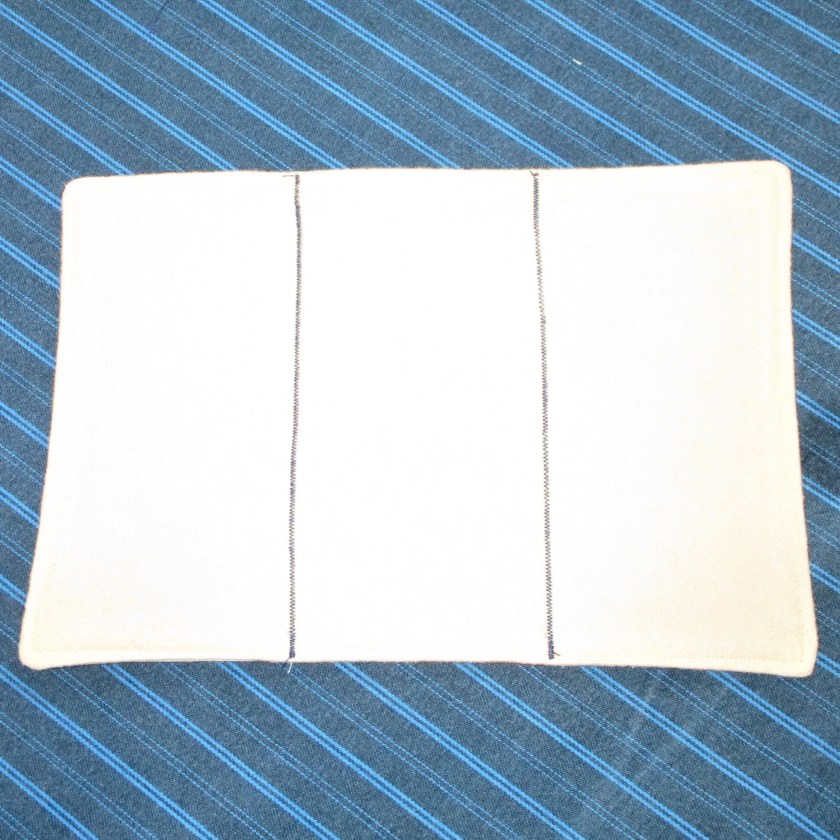


Here are the finished baby napkins. Bon Appetit, Bebe!