Posted in quilting

SAHRR 2025 Border 1 Japanese style

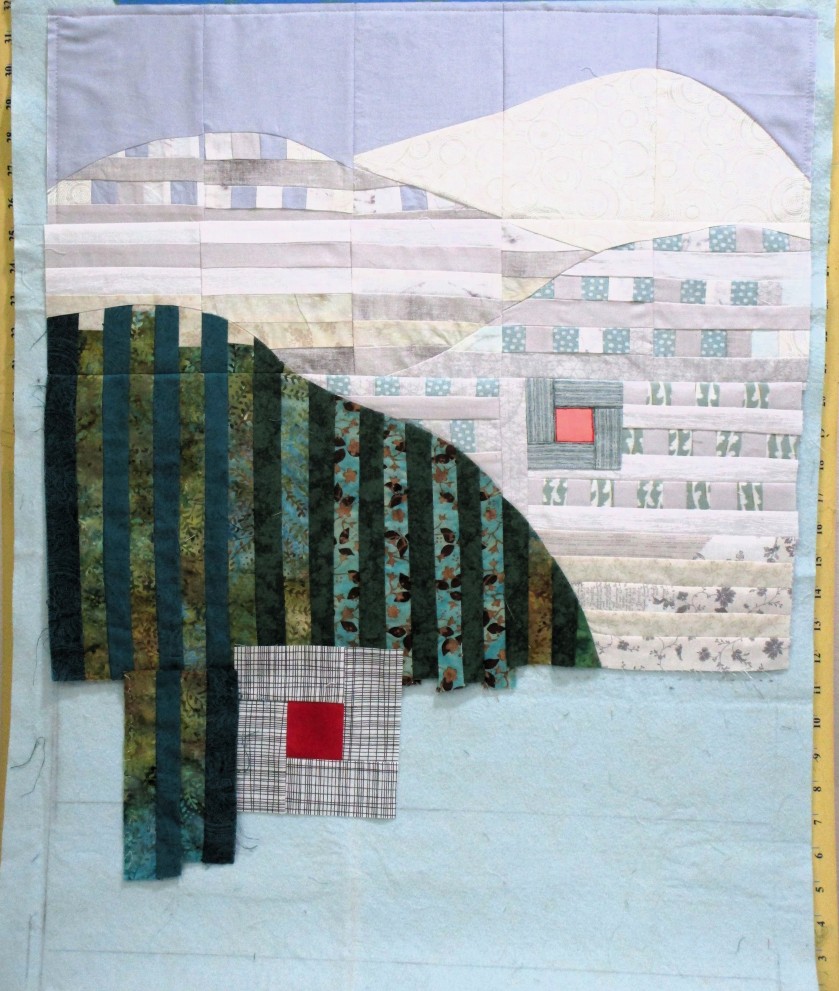
I wanted to write a bit about the traits of Japanese style quilting compared to Western style quilting, but today’s schedule is a bit tight and the posting deadline is here. I’ll just show a few pictures. Or maybe I’ll use bullet points:

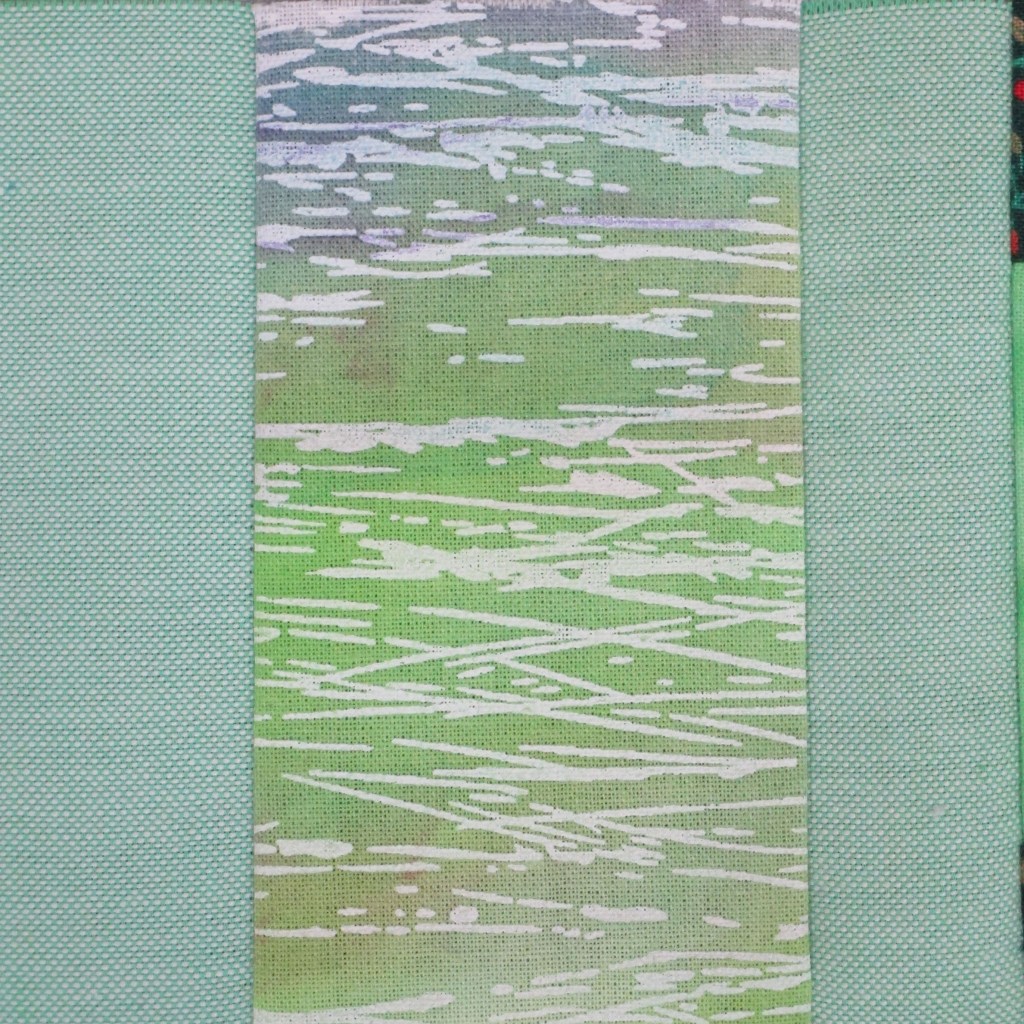
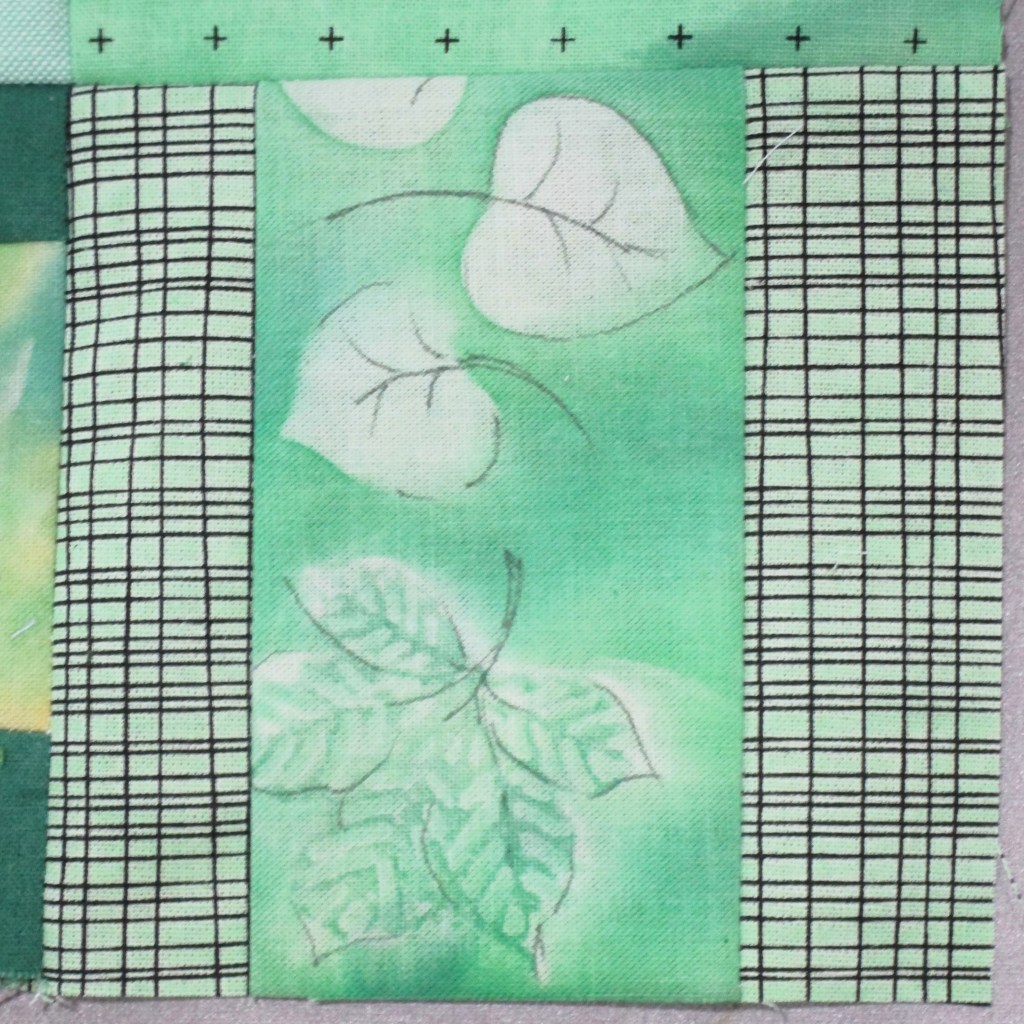
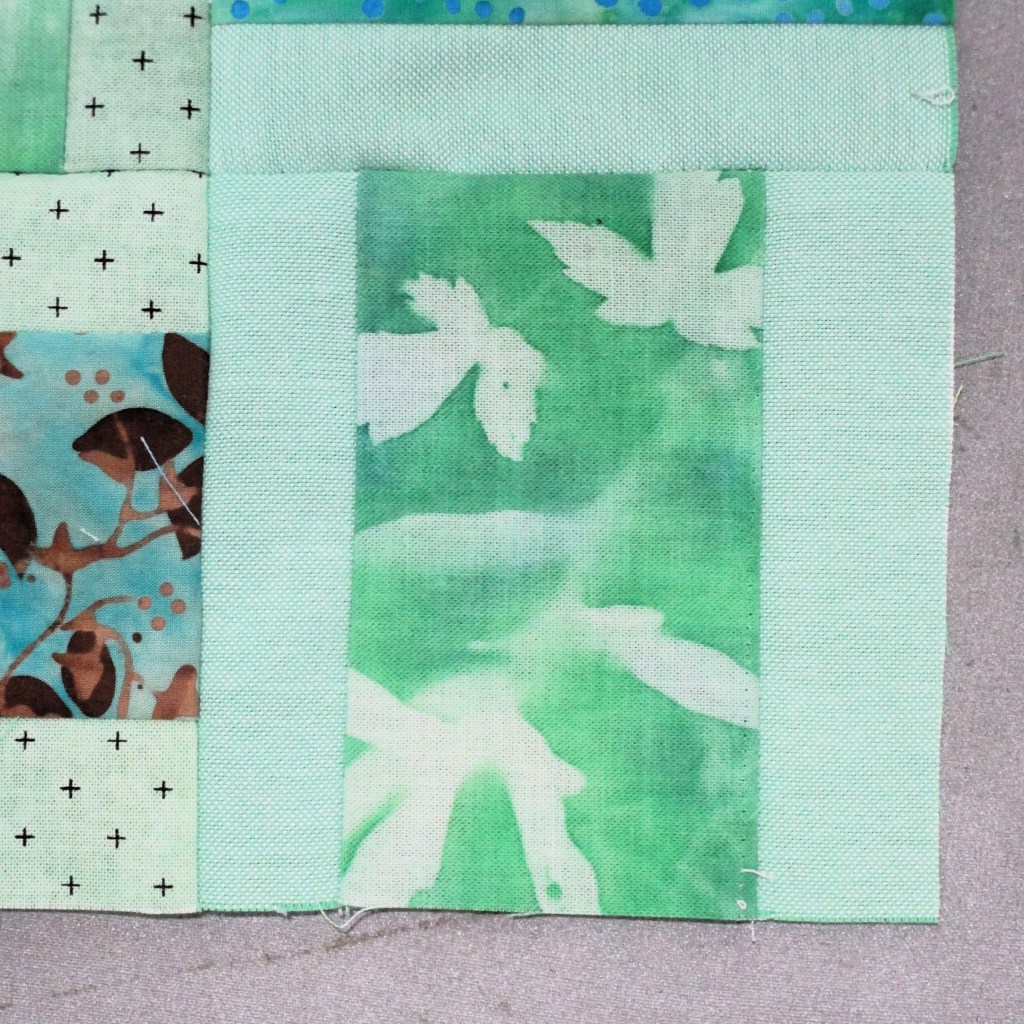
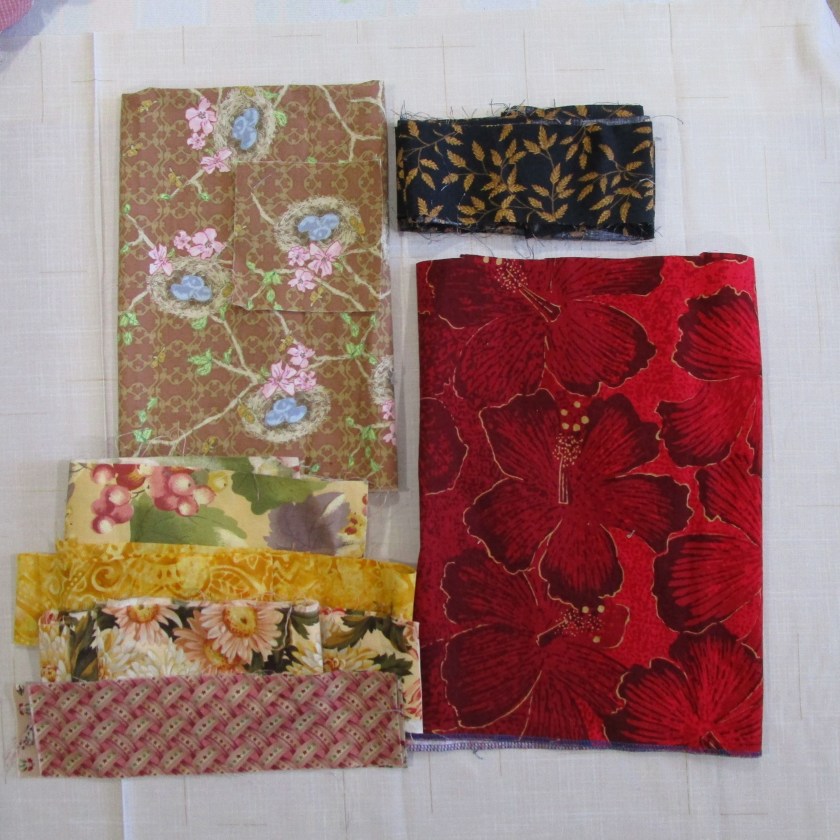
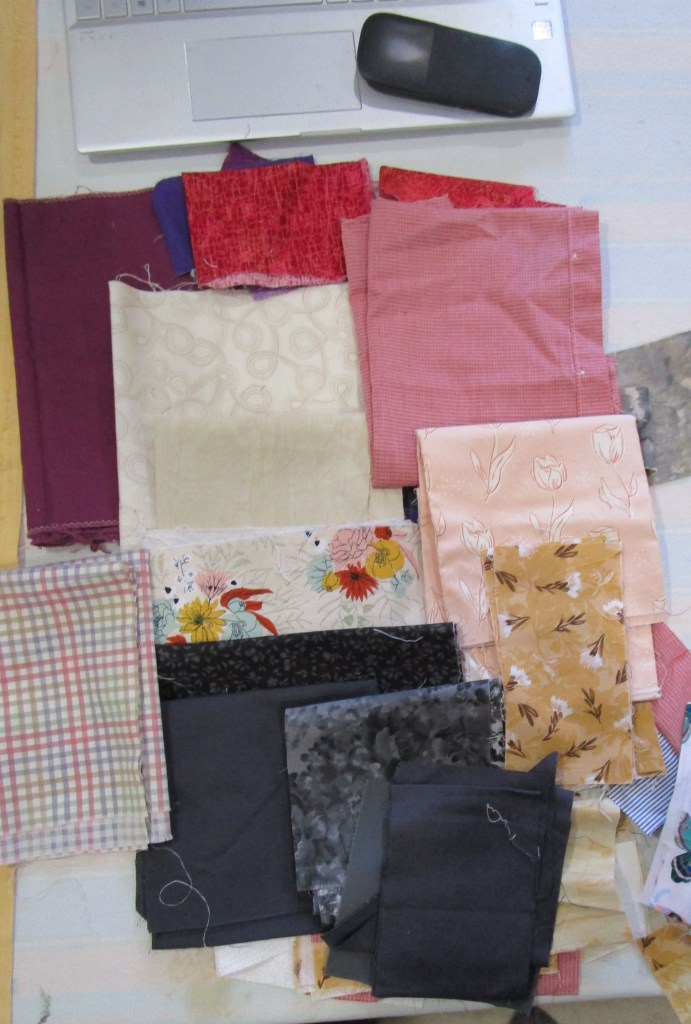
Types of fabric: plain cotton, woven patterns, large and small scale dyed patterns, stencil dyed cottons, silks and wool.

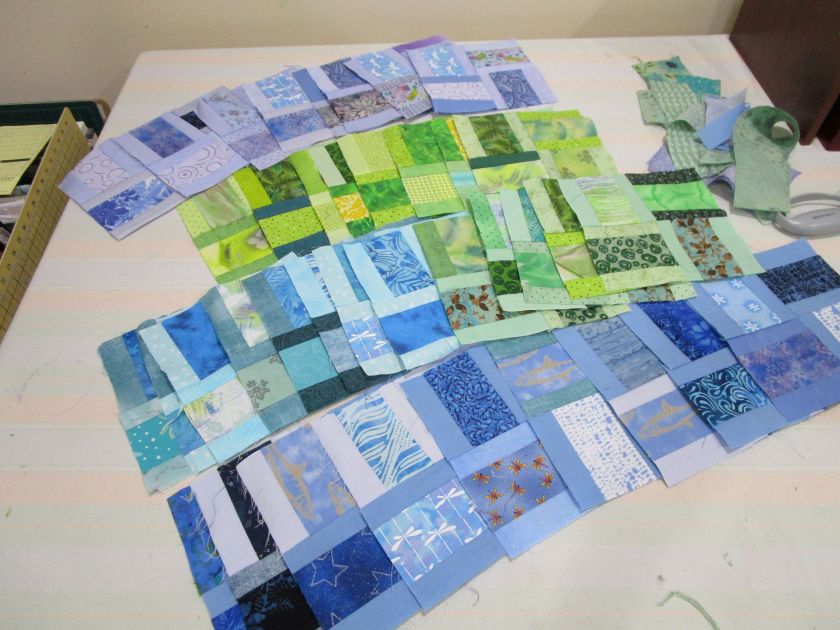
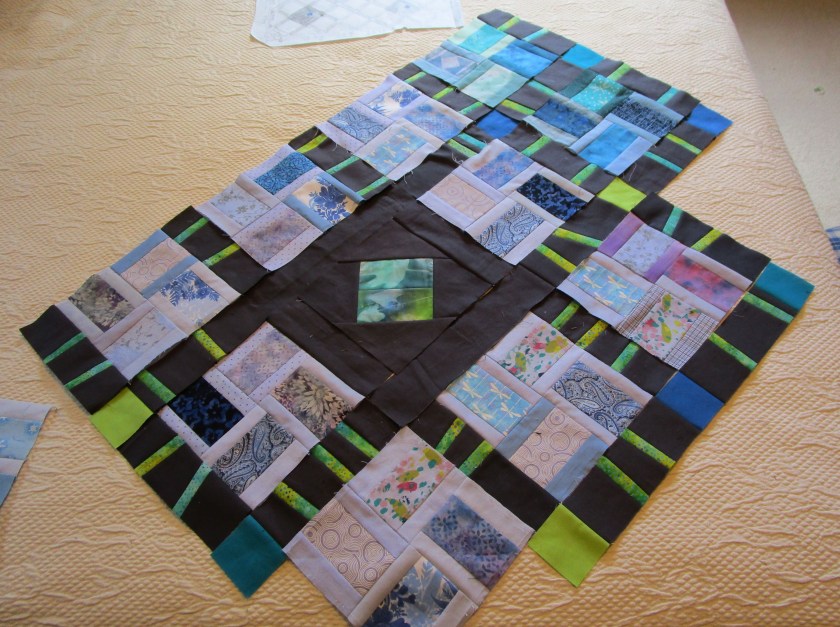
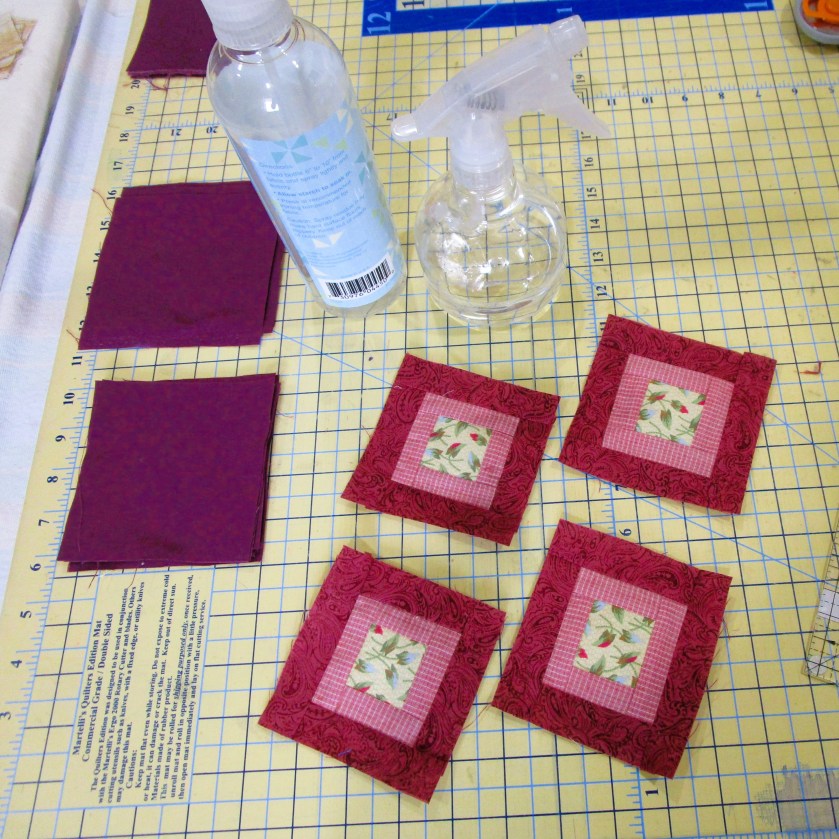
I tried to choose colors that were present in the center block.

From my mother’s stash
From my own stash
A few fabrics purchased from Hobby Lobby

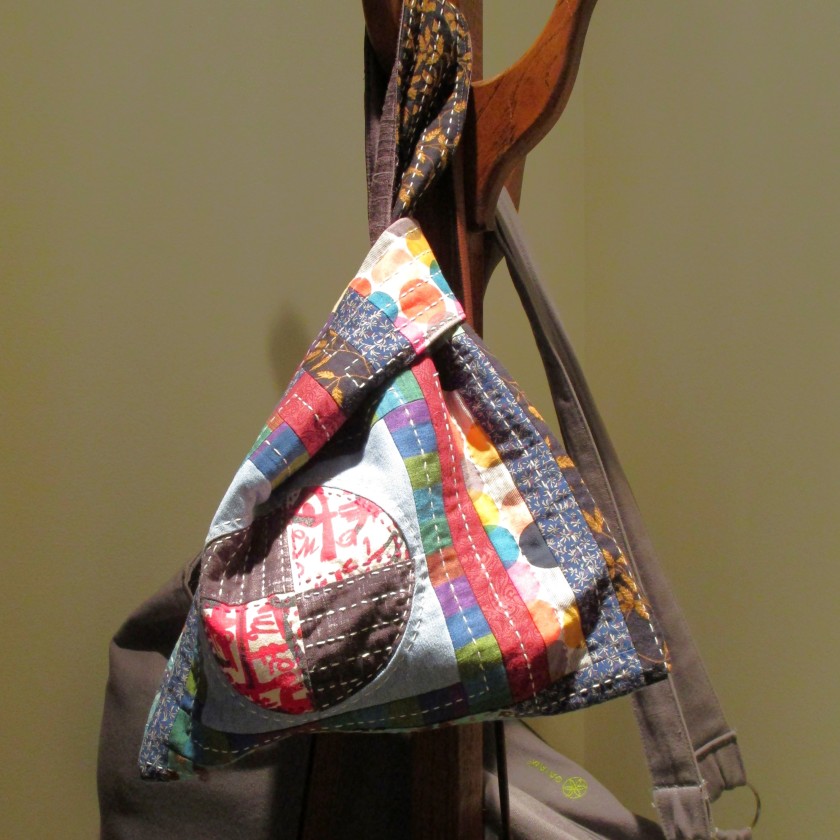
Block categories: patchwork, Sashiko, Kamon (traditional family crests worked as applique or sashiko) and Takarazukushi (good fortune symbols worked in applique.)

Now to the clue: Kathleen suggested King’s Crown pattern for this round, or choose a block that begins with a K, or that begins with the first letter of my name, L. I immediately thought of Log Cabin. But turning to my Japanese block design book, I saw no examples that looked like a log cabin. In studying the block names, I realized that the “L” sound is absent from the Japanese language! Lots of blocks start with a K. I settled on this pattern – Kumiko – which translates to Lattice.

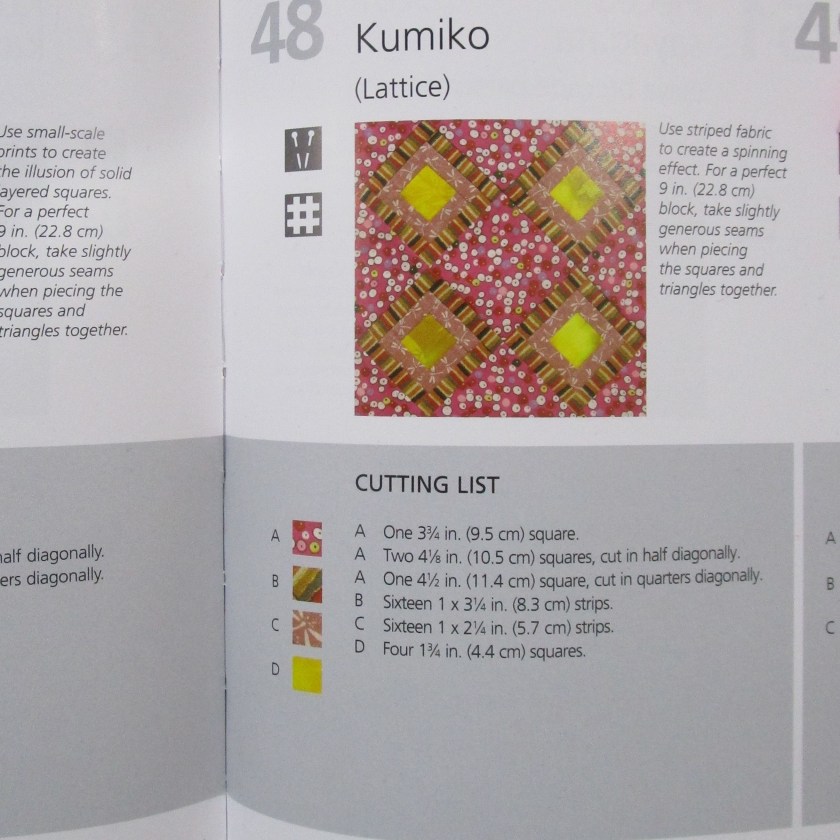
And its construction begins with making four strip-pieced squares built around a center square. Hm, that resembles the beginning of a log cabin.

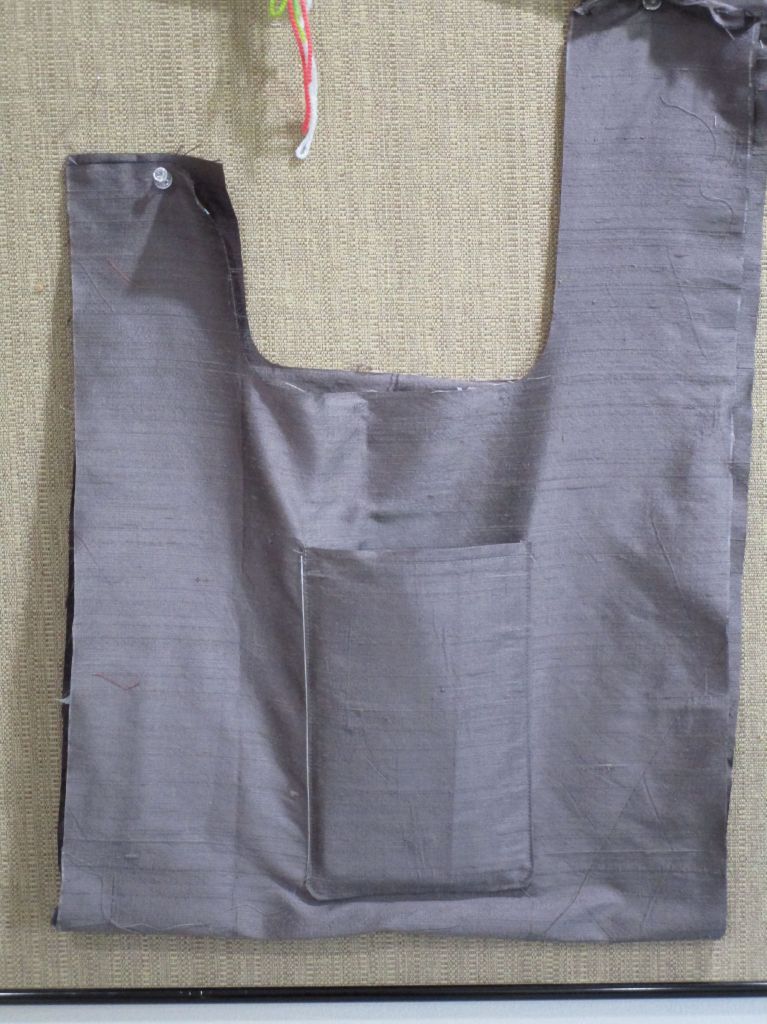
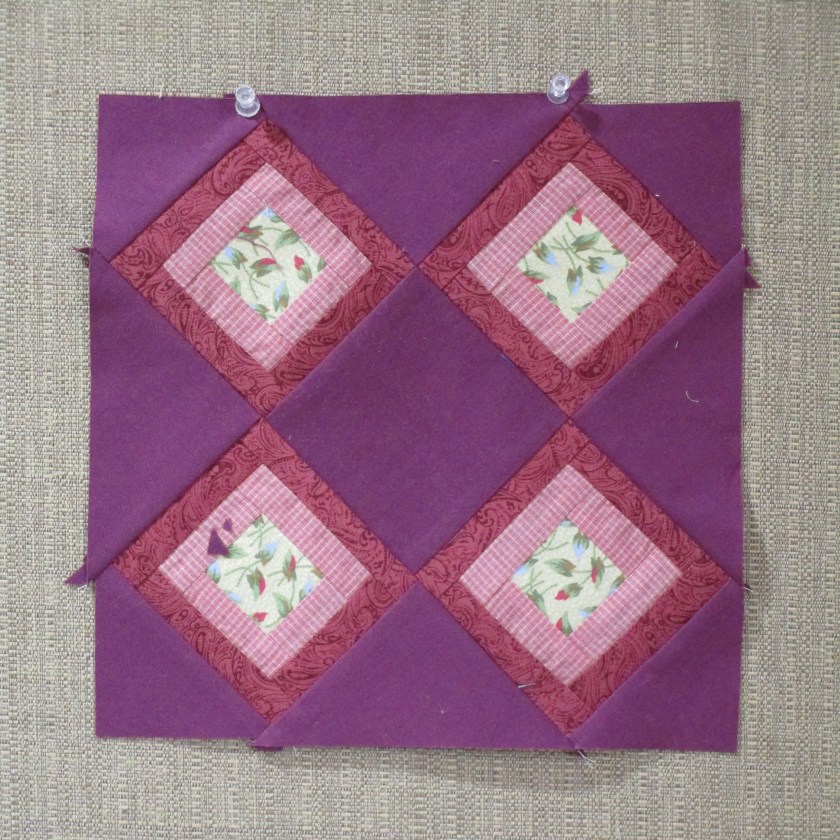
And here is my first block for Border One.

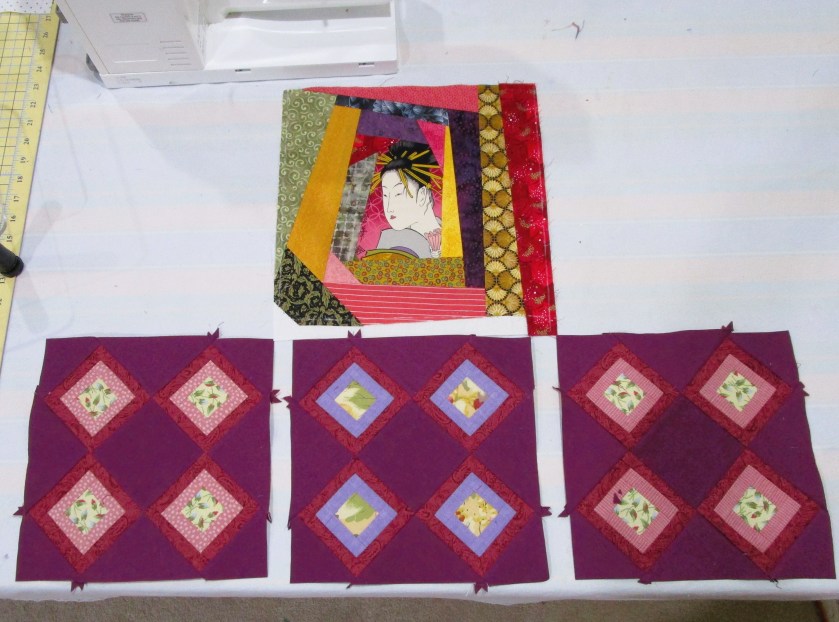
I ended up making three blocks, which I plan to place just below the center block row.

And so the first round is done, and my post written before the Linky party closes.

I see that my chosen path will hold much challenge if I stick to the plan.

If you want to follow along with Stay at Home Round Robin, here are the hosts and the weekly schedule. Check out their posts!

Posted in painting, quilting

Wednesday WIP: Scrappy quilt update

I feel like I have been assembling four square blocks all summer long. I have sewn five sets of eight blocks, each set confined to one color in my analogous palette.

Finally, I am nearing the end of the block-building phase. There were two glitches that lengthened the time spent building blocks. Firstly, I ran out of scraps and couldn’t find the colors I needed at Hobby Lobby. This led me to adding color to my white or pale fabrics by painting them with Jacquard Dye-na-flow paint. I painted the featured 4 x 2 and 1/2 strips AND the 1 and 1/4 border strips to get the effects I was seeking. It was kind of fun, in a time-consuming sort of way.

Here is a sampling of some painted strips/blocks in green hues.

I ended up needing painted fabric in blue-violet, teal AND yellow green.

The second issue arose when laid out my blocks. I took an intense dislike to any block that had dark borders. To fix this, I cut apart many blocks and replaced the dark strips with light colored fabrics (mostly were created with paint on white fabric.)

I now have enough blocks to form the five regions of my quilt. I have sewn a center block for each region using black fabric and hand-painted feature fabrics. To create some breathing room between my blocks, I made sashing with black fabric. Believing the black fabric was too boring, I cut the sashing randomly and inserted “sticks” of multi-hued batik fabric. Here is a the “blue-violet” region laid out and ready to sew.

I’m excited to start assembling the quilt, but a little nervous that the pieces won’t fit together properly.

Posted in quilting

Fabric Strips Saga: Chapter Three

My obsession with strips continues. First, let me share an image of the pieced abstract landscape that I have been working on most recently.

The work at this stage looks about as I expected, although I feel kind of let down by it. I’m also stumped as to how I will proceed with the surface embellishments and quilting. As I ponder, I have laid it aside.

Leftover strips are hanging out, and they keep drawing my attention. I started noodling around with them, cutting and sewing together. Since I had used the 1- and 1/4-inch-wide strips for the landscape art quilt, I wondered what else I could do with this size. Pulling out some 2 and 1/2 inch scraps, I start sewing strips together, again.

Well geez, first I need a little bit of structure to this game. How about a palette? I decide to try analogous colors. Pulling out my color wheel, I spun it around to show that teal blue color in the center, surrounded by its four closest relatives.

Now I am really in my comfort zone. My stash contains many scraps in this range, leftovers from some favorite projects.

If I sew two thin strips on either side of a 2 1/2 inch precut, then cut that piece down to four inches, I get a nice-looking square block. I decided to stick to monochromatic fabrics for each. Here are some examples.

Combining four of these gives me a seven and 1/2 inch square.

What if I sew four of these together?

Hm. To me it looks too busy while also looking kind of boring. I can do better.

How about inserting some sashing? I have a longing to try dark background fabric with this palette.

Now we’re talking. But to get more negative space into the picture, I could put the blocks on point and space them out with a background block.

Ah, the drama it beginning to happen. I sit down with graph paper and plot out a lap sized quilt using this on-point configuration.

This could be wonderful. Perhaps I can create focal points in the dark blocks by inserting some bits of hand-painted fabric. Something like this leaf, which is left over from my very first quilt.

Gosh I feel better. Going from a vague notion to a planned design is so satisfying. Even though I had no intention of sewing up another lap quilt, I’m ready to go. The trick will be to buy as little fabric as possible and still get the look I want. I’m up for that challenge as well.

Posted in quilting

In Progress: Pieced Landscape Art Quilt

Today I’m catching up on the abstract landscape quilt that I started in mid-May:

Obsessed by Strips

I would say nothing has changed, but I would be lying. During the planning phase, I started to think about Japanese quilts – most likely because I recently purchased two books on modern Japanese quilting by Susan Briscoe. She is a textile artist who worked in Japan for many years as an English teacher. In her book, Japanese Quilt Blocks to mix and match, she features 125 patchwork, applique and sashiko blocks in a modern style that is inspired by tradition. Textiles recycled from kimonos and other garments give the blocks an Asian look.

Consequently, I decided that my original plan was not abstract enough. I discarded the house block already constructed and made one using the Japanese block called Sunken Hearth.

In fact, I made two hearth blocks – one in bold colors for the middle ground and one in faded pastels for the background. This second block is located half-way up the mountain in the foggy part of the landscape.

I redrew the upper right corner of the design from clouds into a mountain. You could think of it as Mt. Fuji. The fabric is a white-on-white print of spirals, suggestive of clouds to me.

As of today, I am about 2 thirds finished with the piecing phase. I have completed four rows out of seven.

By the way, I have a new favorite tool:

This flexible flat-bottomed shape is a technical drawing tool that belongs to Bill. He got it back in his college days for a class. Using this tool, I can match up a long curve which crosses over two different blocks. I Love it.

One more Japanese touch will be added to the lower right corner. In the reference photograph, there is a group of red-twigged shrubs behind a stone wall. I plan to use the Pieced Ogi, aka Folding Fan, to abstract this feature.

Are you making something from your scraps? Do share.

Posted in hand embroidery, recycling, sewing

Japanese Knot Bag

Having recently finished a wall quilt, I found myself with various pieces of fabrics left over. Instead of stuffing them into a box and shoving the box under a bed, I decided to cut the fabric into strips for the purpose of sewing them into a project bag.

Back two years ago, I became interested in the Japanese art of stitching, aka sashiko and boro stitching. There was a pattern for a knot bag in this book by the Shibaguyz.

I did a post about it on Jan 5, 2022.

To make the bag, I would need fabrics for the base and lining, along with my strips of fabric. Fortunately, I had both. My daughter gave me some yardage of sturdy cotton flannel and my friend and co-worker Scott Perkins gave me a sample of raw silk.

Here is what I came up with using one quilt block made of a circle in a square. I then sewed strips of fabrics around it to cover all of the base and raw edges.

Side One
Side Two

Fabric selection included bits of three men’s shirts. (The dark red and dark green strips, and the blue chambray behind the first circle.) All three of these fabrics had been worked into the Shell Lake Story quilt. So, I am using scraps of scraps!

My next step was to sew up a lining using the same pattern as the base.

A cellphone pocket in the lining.

Adding the hand stitching took a few weeks. I marked all the stitch lines with a chalk pencil. Using white Sashiko thread I worked a running stitch in straight lines on the strips and circles around the circles.

And here is the front and back of the bag after all the top stitching is in place.

Finally, the seams of bag and lining are sewn up, the bag inserted into the lining with right sides facing and the U-shaped top edges are sewn together. This last step took me two tries, btw, so seam ripping happened.

Turning the bag to the outside, the only remaining steps were to close the strap side seams and top-stitch the opening.

To use the bag, the long handle is threaded through the short handle.

A quick look at the lining before it is turned to the inside. I love the look of the silk, and it is pretty easy to handle. Fraying was the only thing that gave me some trouble. The next time I sew with silk, I will zigzag the seam allowances

Here is the completed knot bag, filled with a knitting project.

Front of bag as it hangs from a coat rack.

Back of bag.

This project was great fun (except for the seam ripping) and I would enjoy making more of these nifty bags. A larger size would be handy for bigger projects. And what a good way to use up scraps.