Posted in quilting

SAHRR 2025 Round 4: A Nod to Boro

Pieceful Wendy is our host for round 4. She has given us instructions that lend themselves very well to scrap-busting and improvisational piecing: Cut a square of fabric. Slice it in half in any direction. Cut a strip of another fabric. Sew the strip to the cut sides of the square. That’s it.

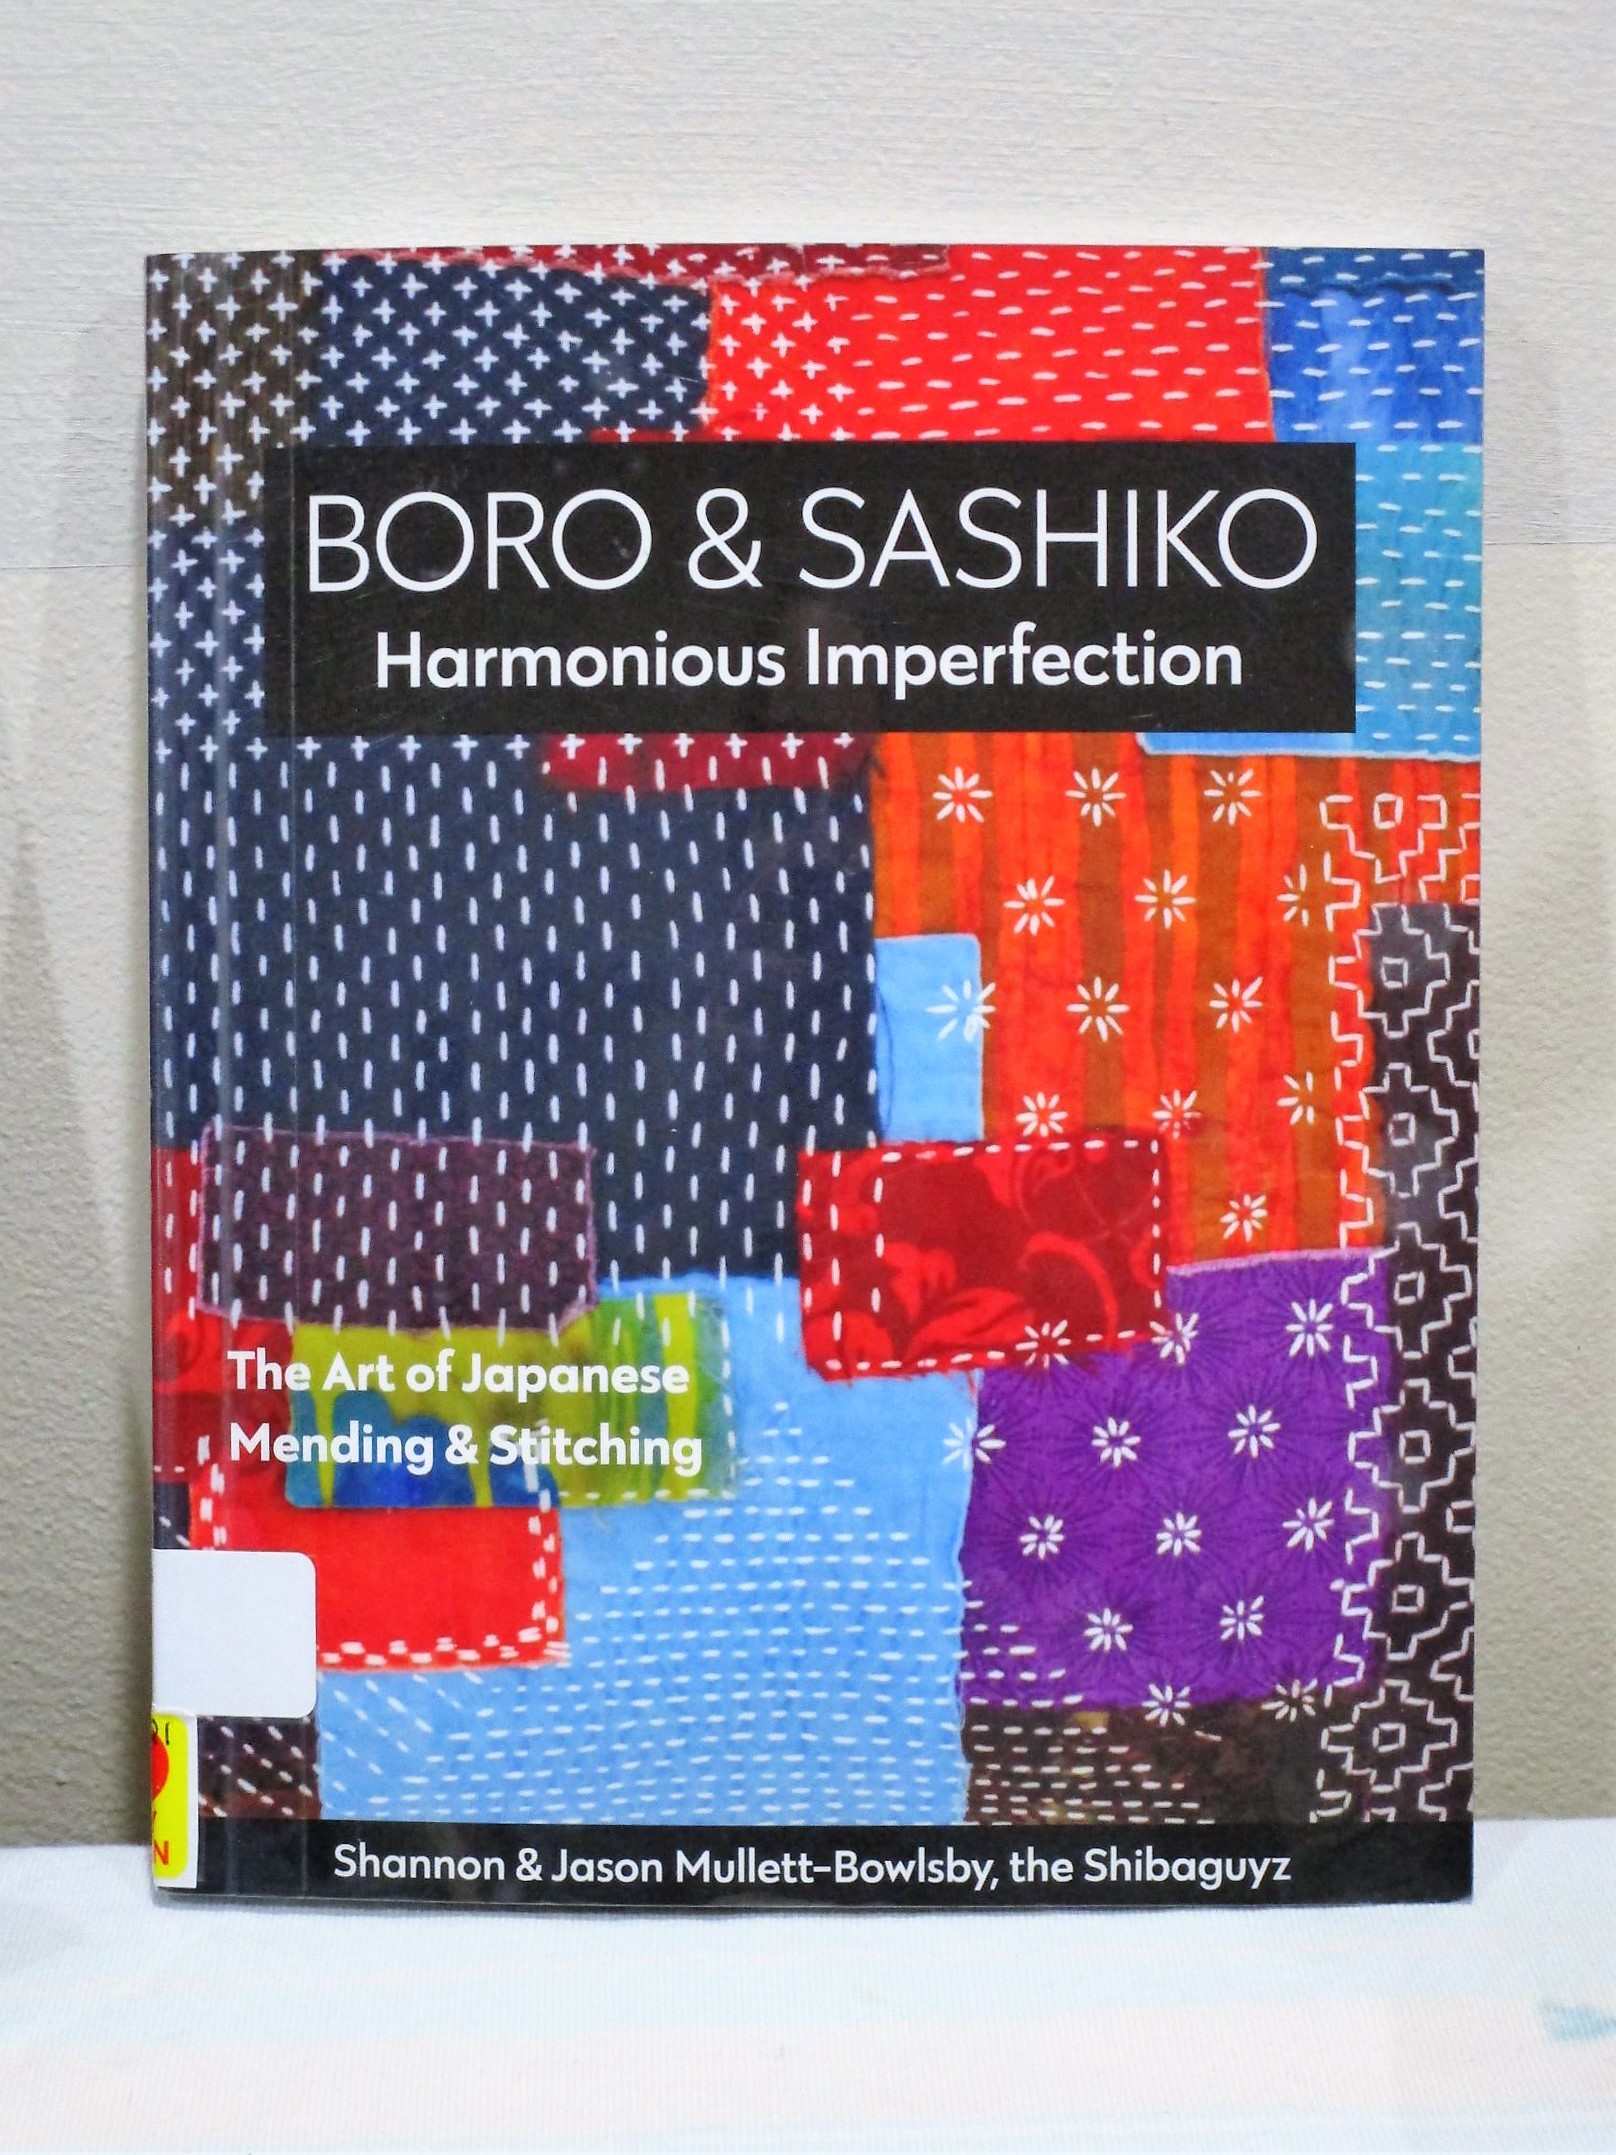
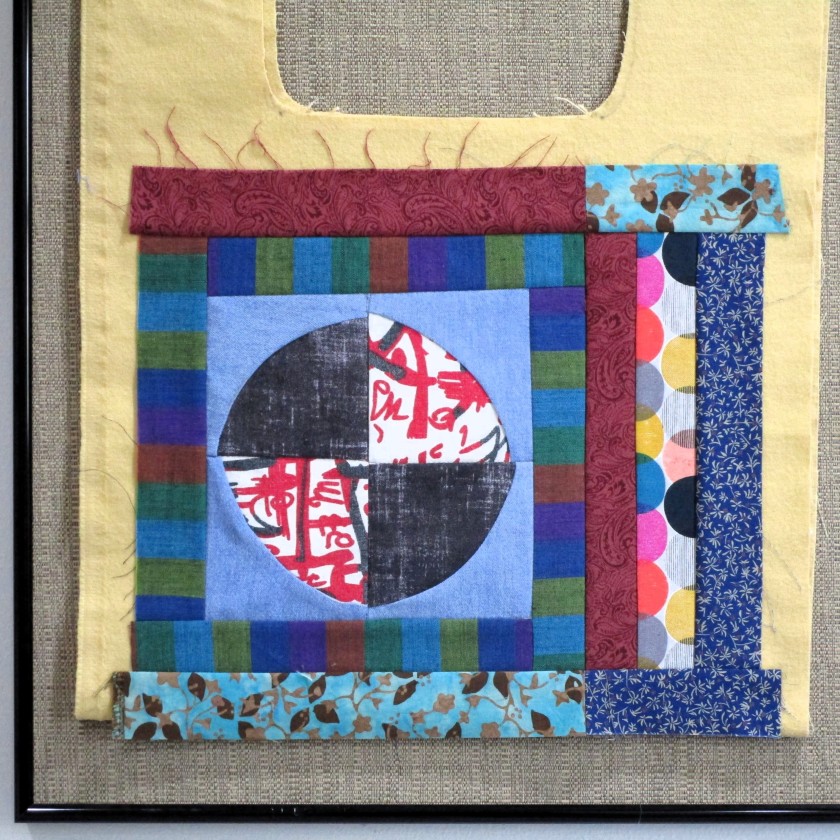
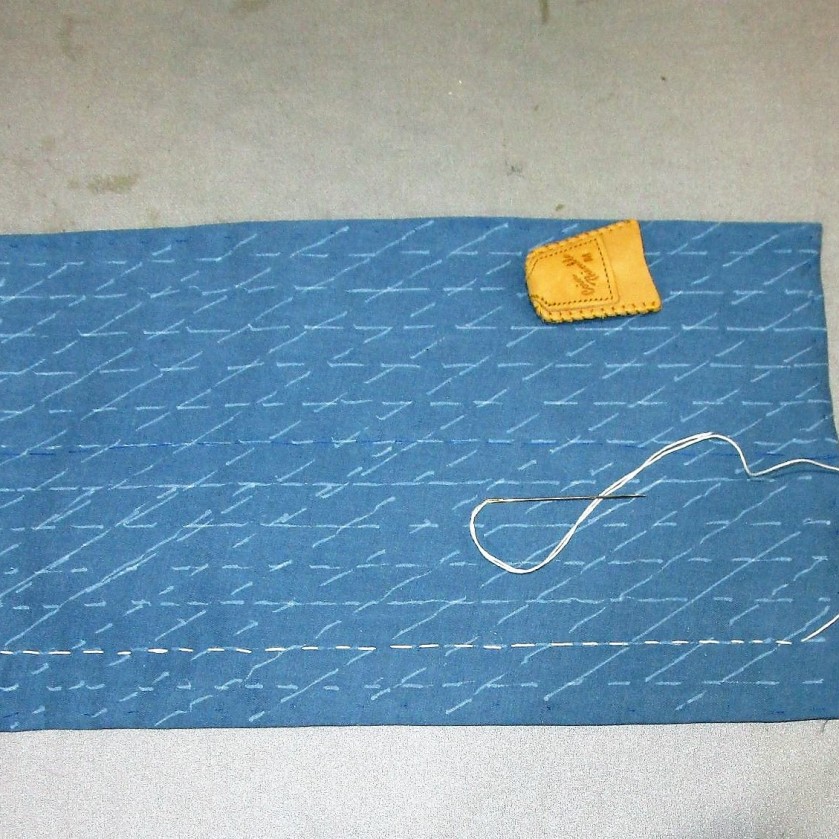
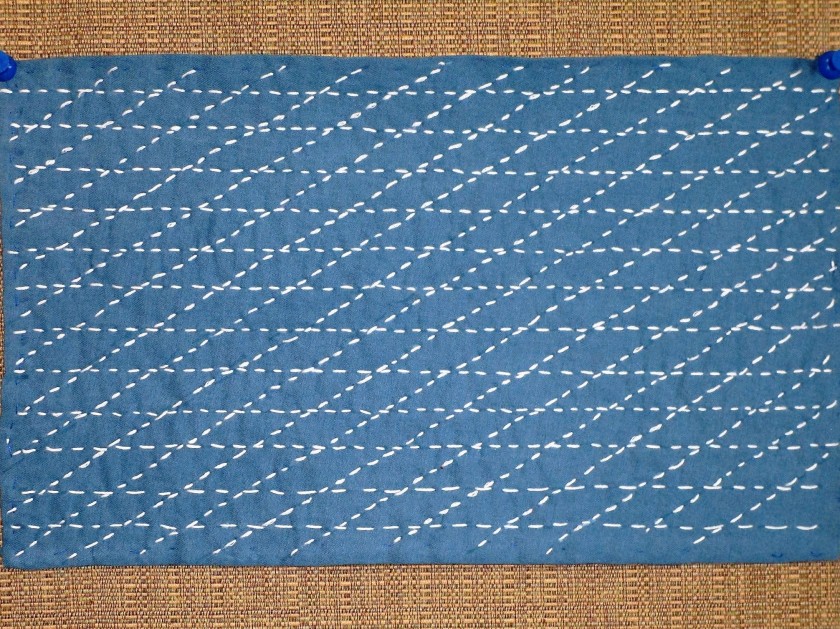
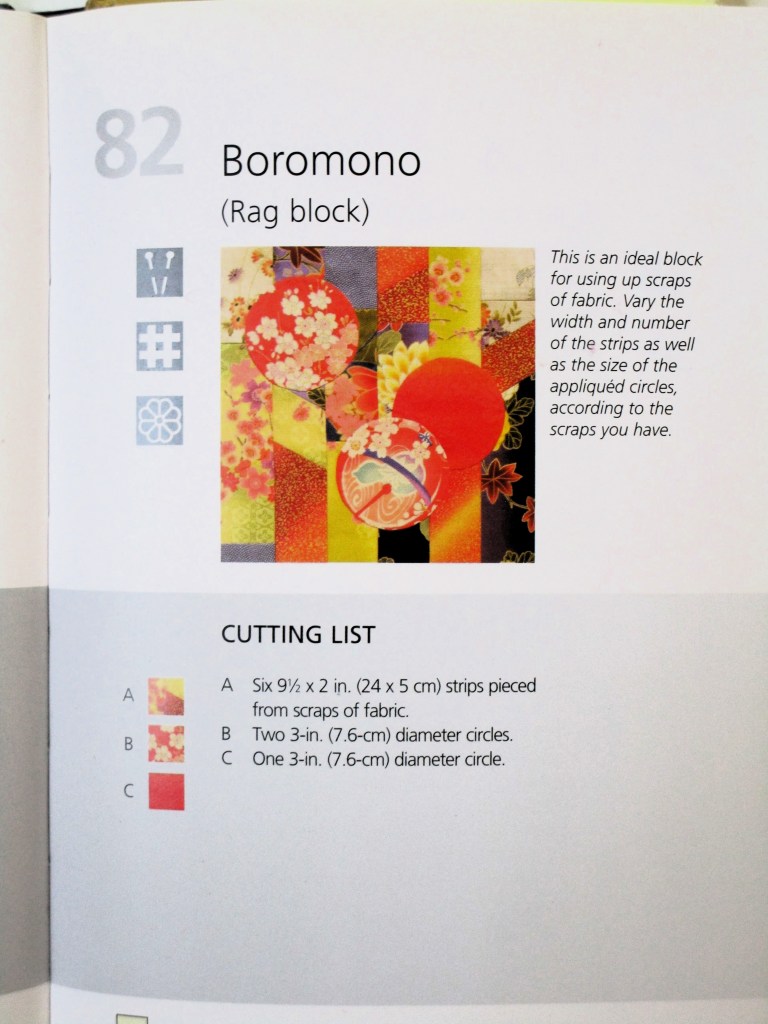
There is a pattern in my Japanese quilt block dictionary that references Boro stitching.

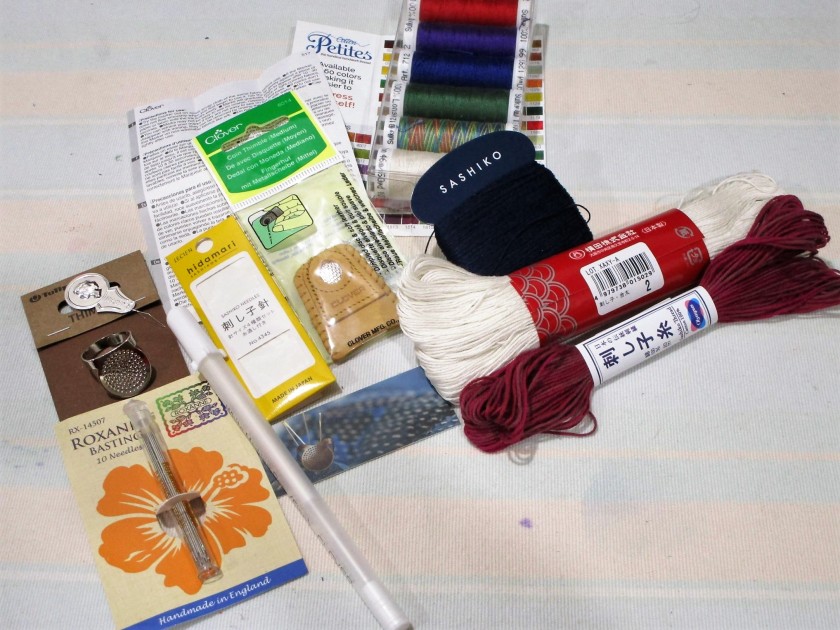
In Japanese sewing culture, boro refers to the technique of mending old clothes by sewing odd pieces of fabric over the worn places. It began out of necessity: in olden times, fabric was scarce and expensive, so each little piece was saved and used in the mending. In modern Japan, fabric is readily available and boro stitching is done just for the sheer pleasure of making things by hand.

To read my post about boro stitching, click here.

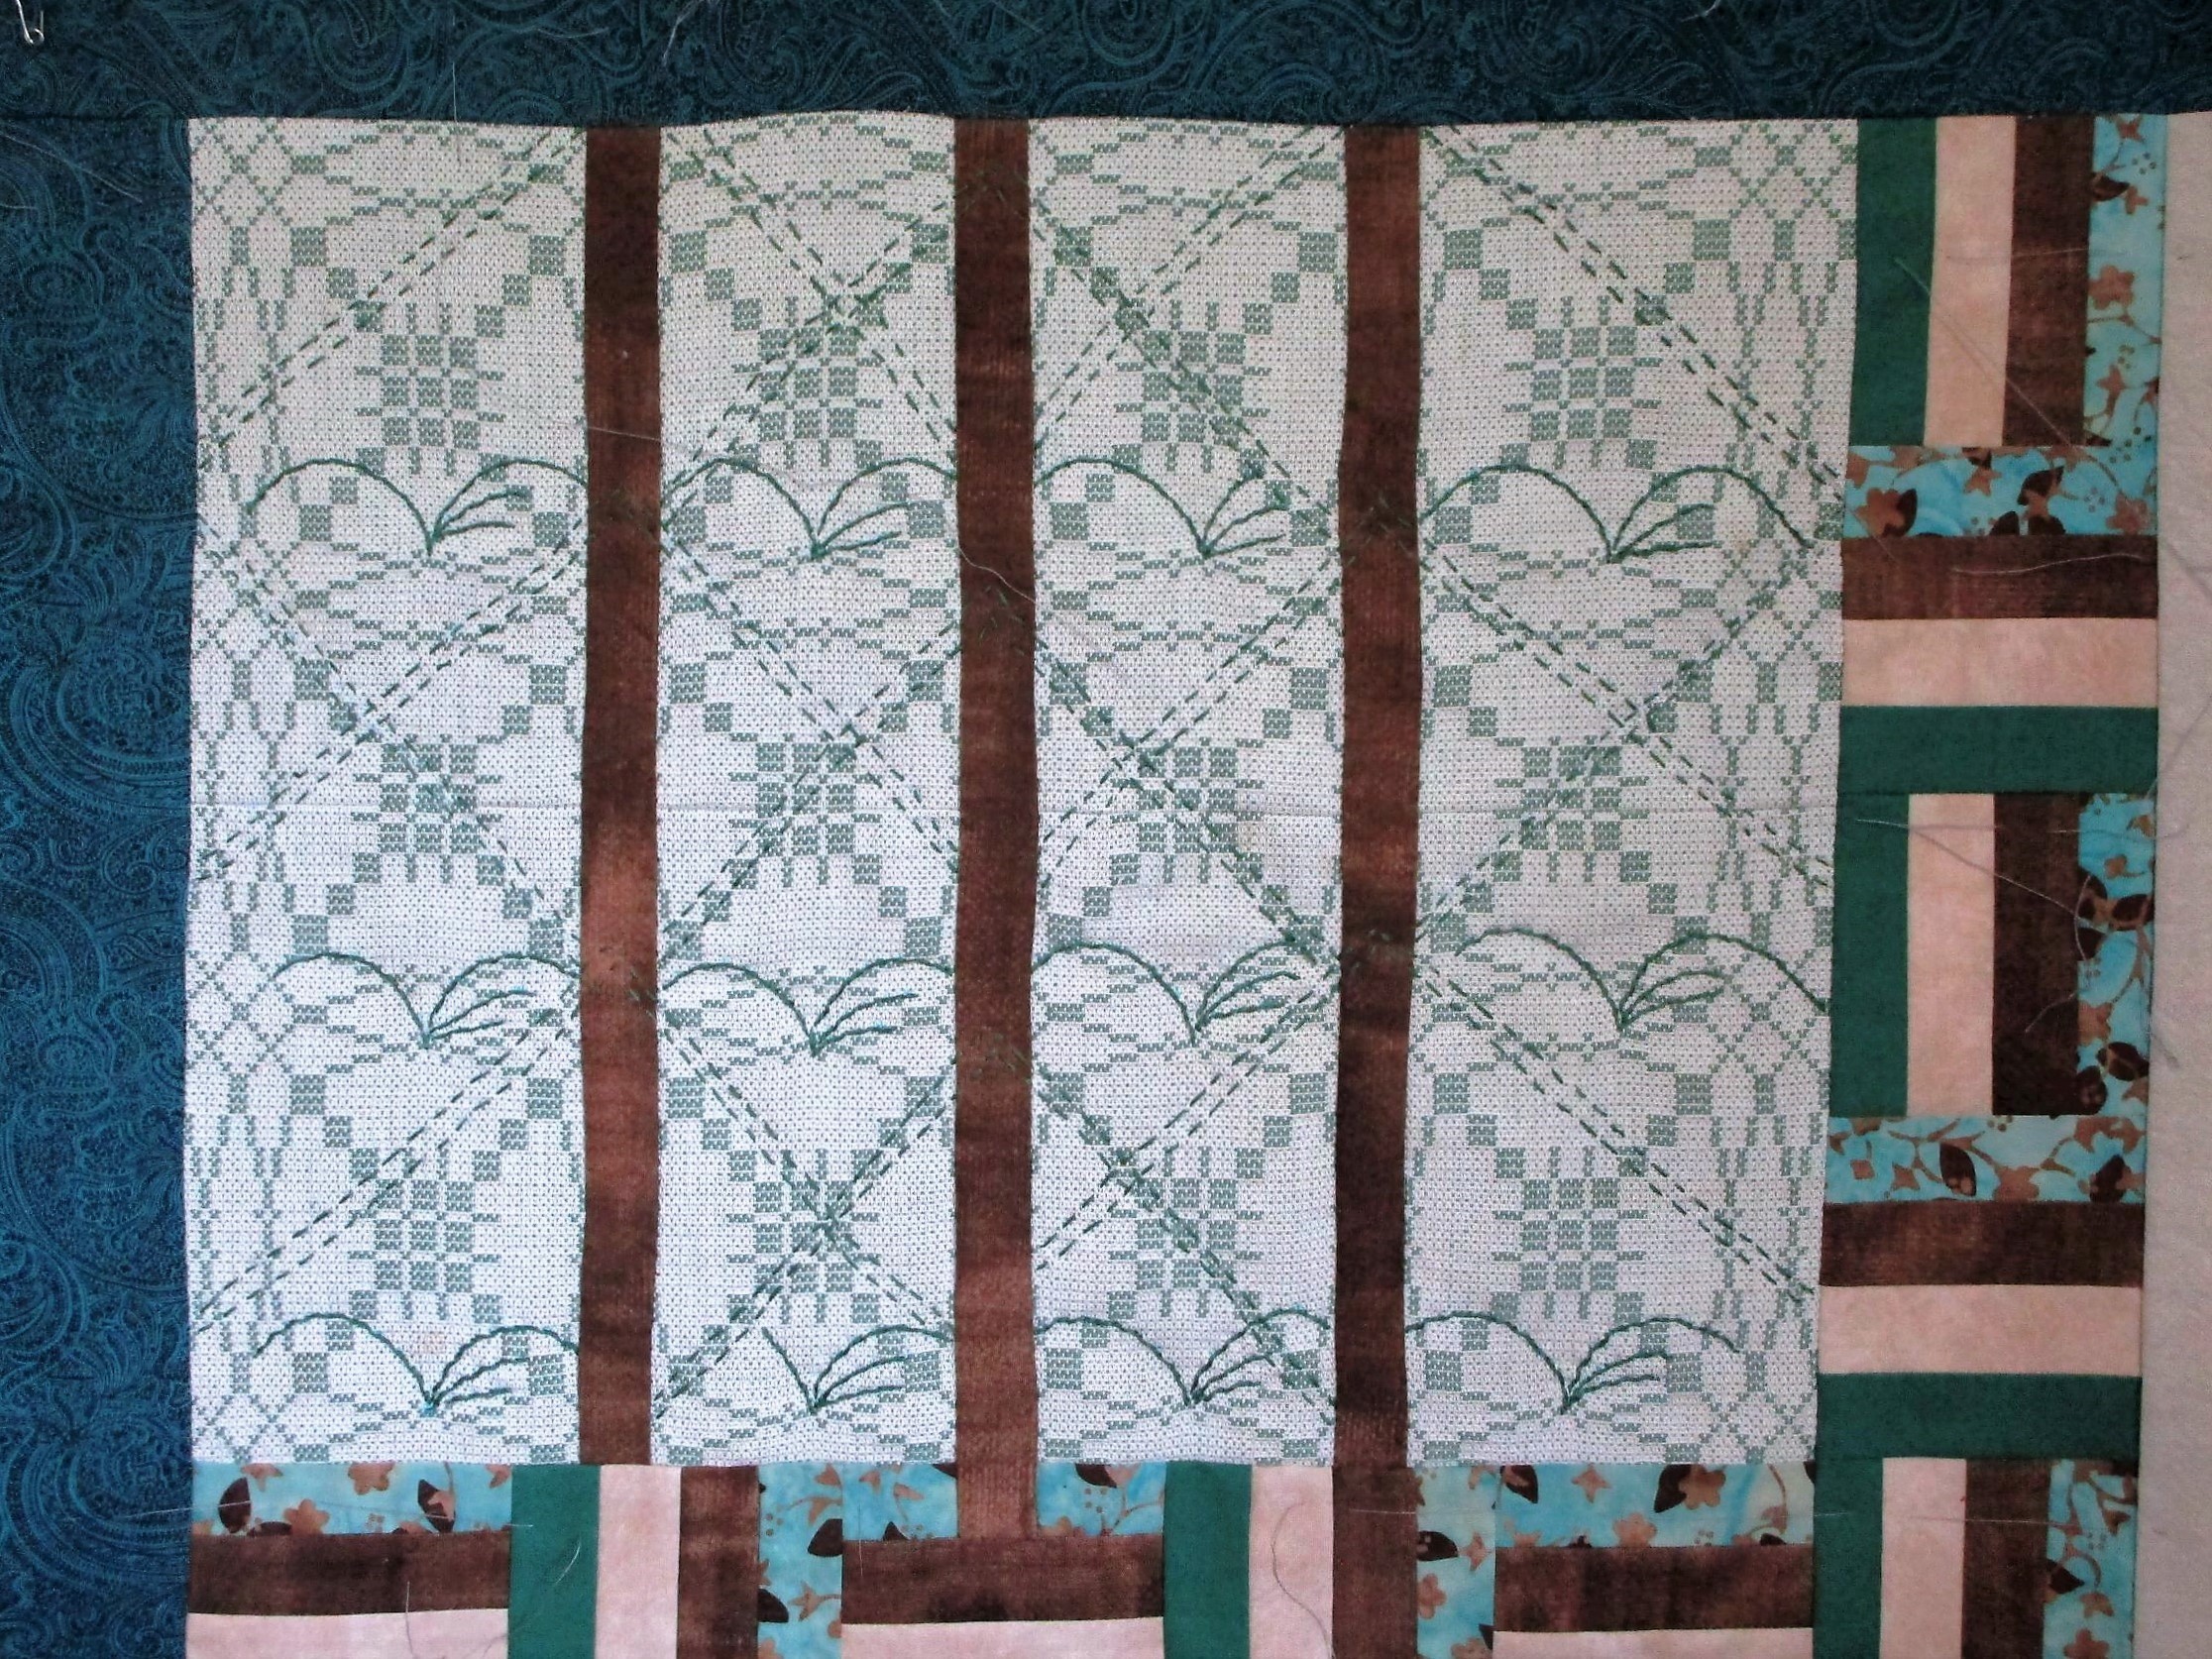
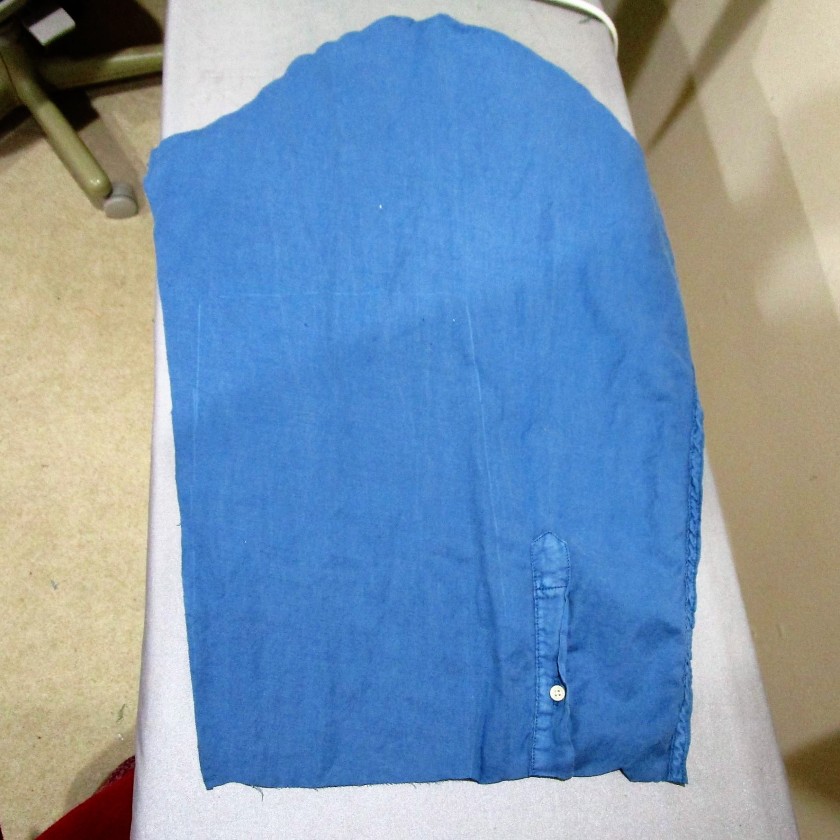
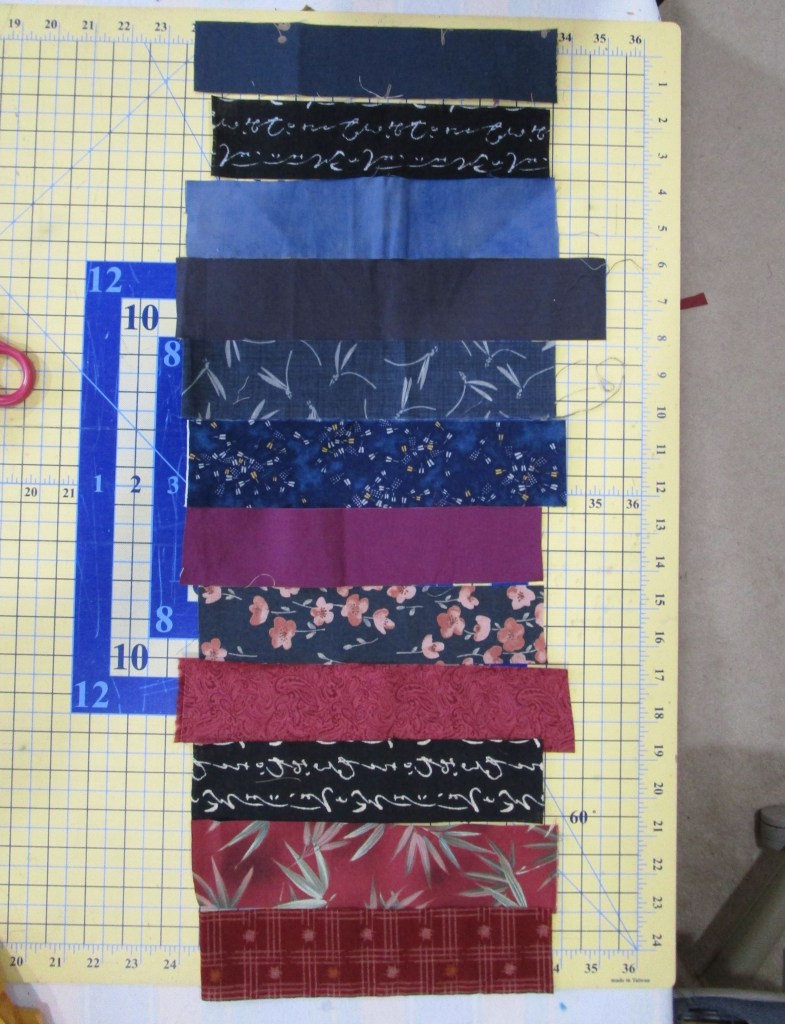
My blocks for Round 4 are not traditional boro. I was inspired by the idea of using scraps. I started by cutting many strips of dark fabrics.

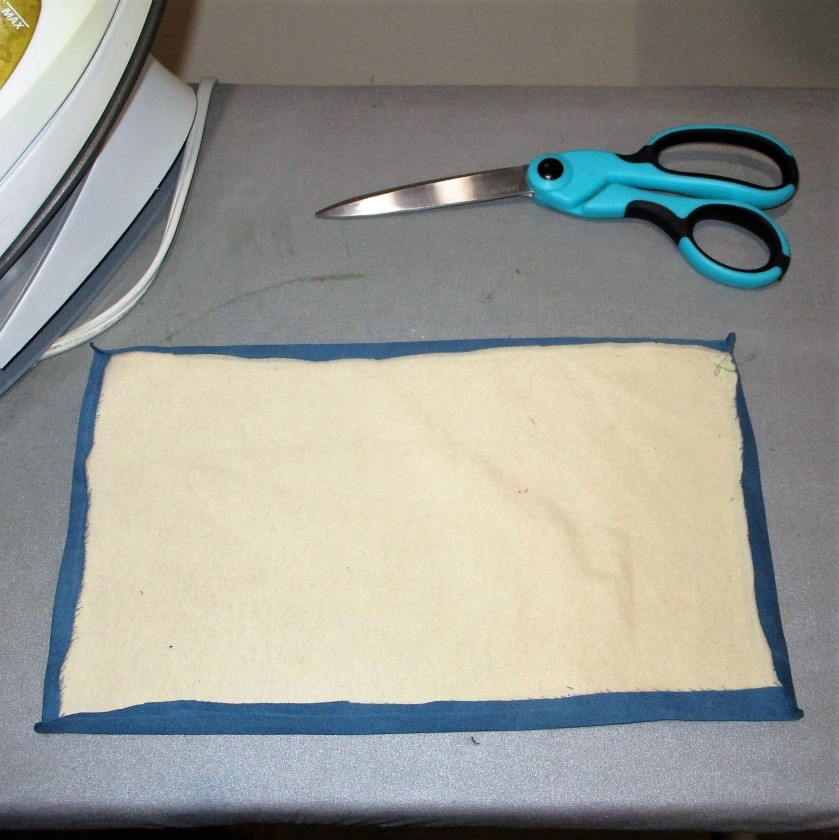
Then, following Wendy’s instructions, I slashed them.

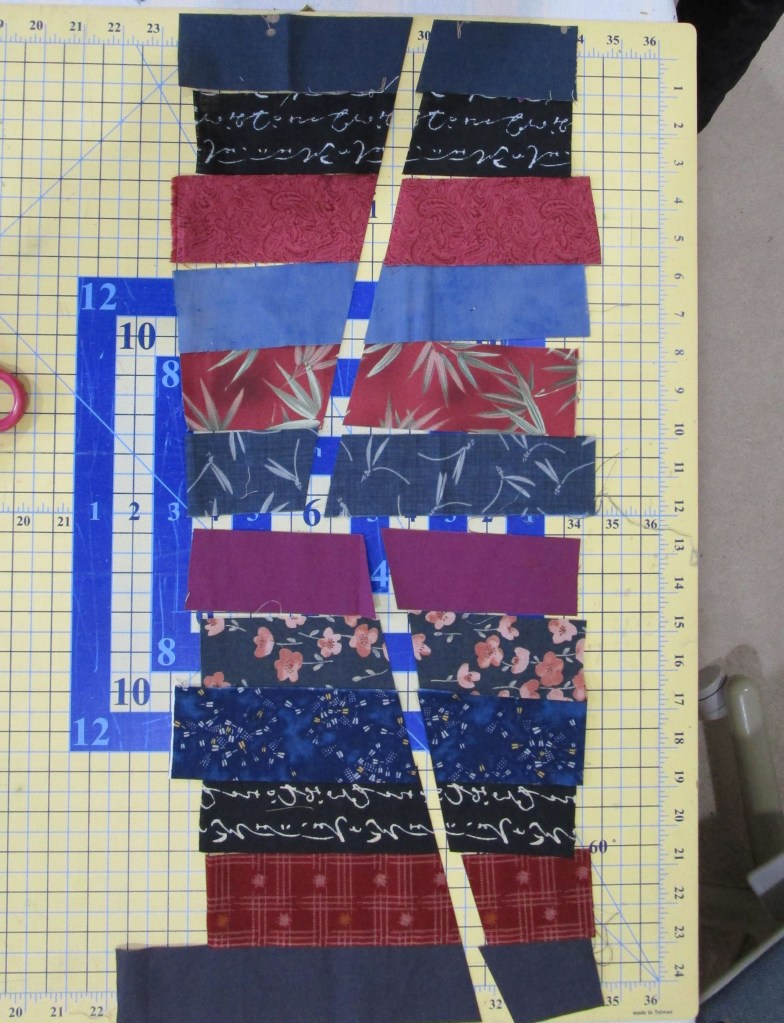
Because I have chosen to use the color gold as a unifying element, I inserted strips of gold fabric, cut at around 1 and 1/4 inch wide. They finish out at 3/4 inch.

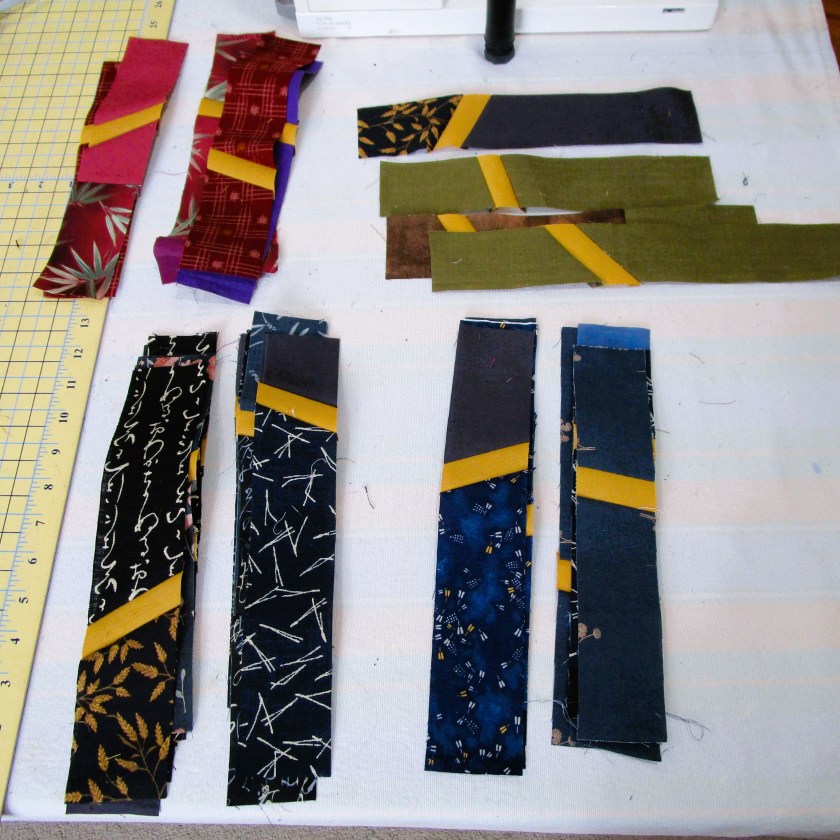
I sorted them into groups by color and direction of the insert. Then I stitched them together in three sections, to become the shoulder area of my kimono.

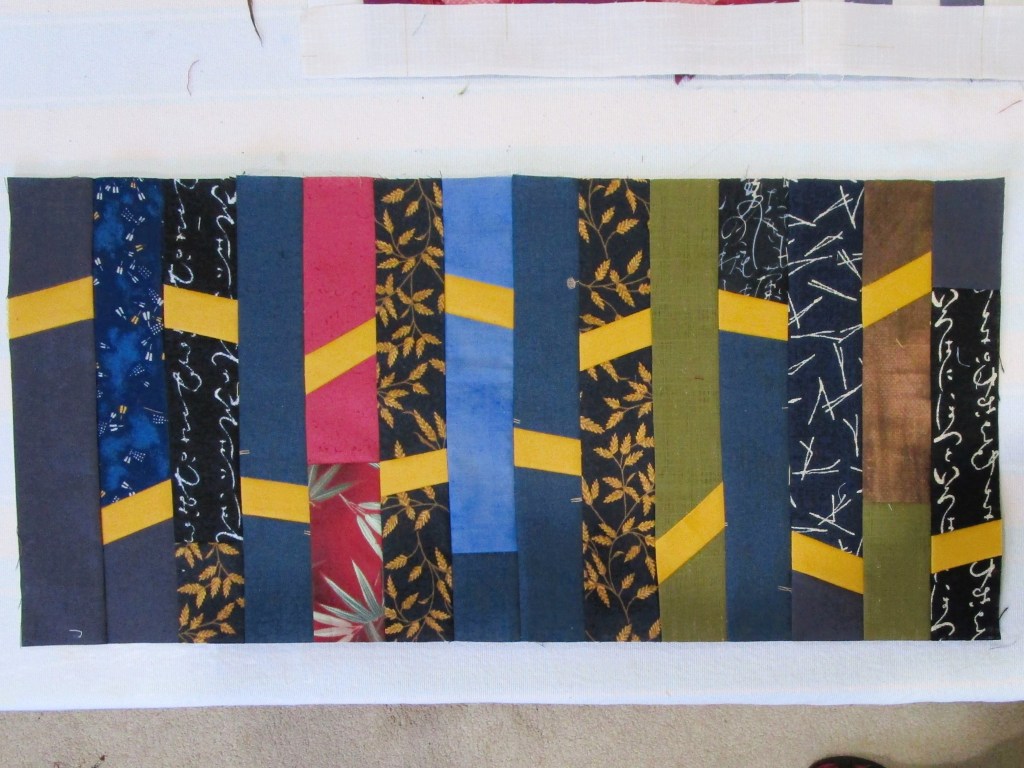
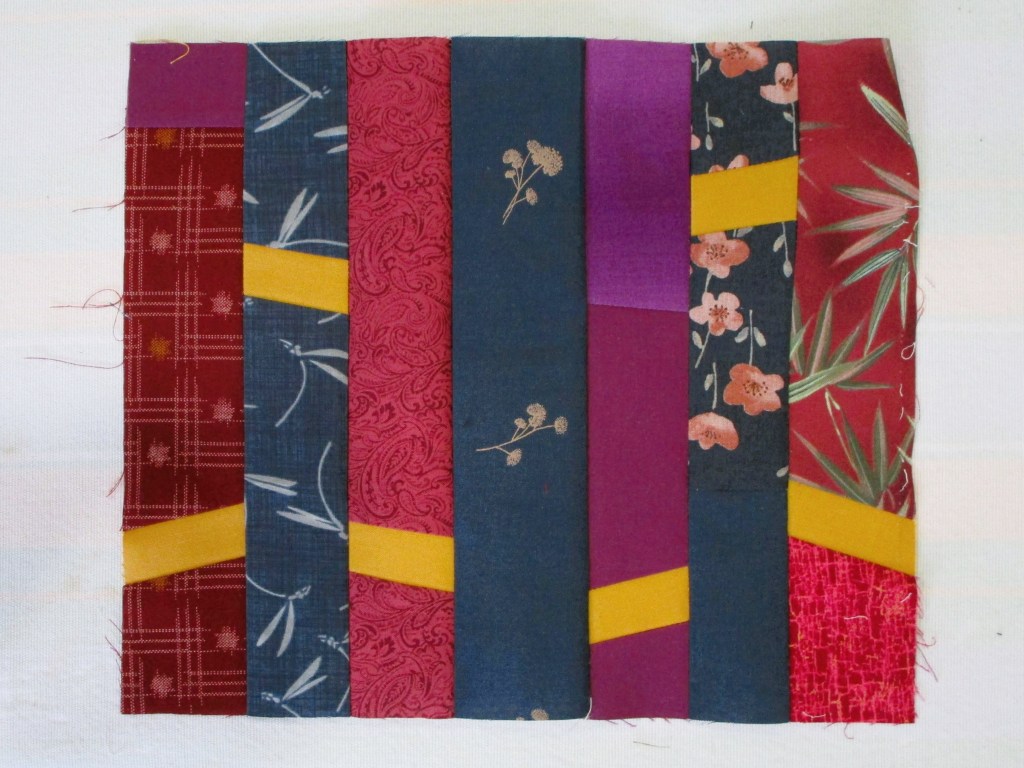
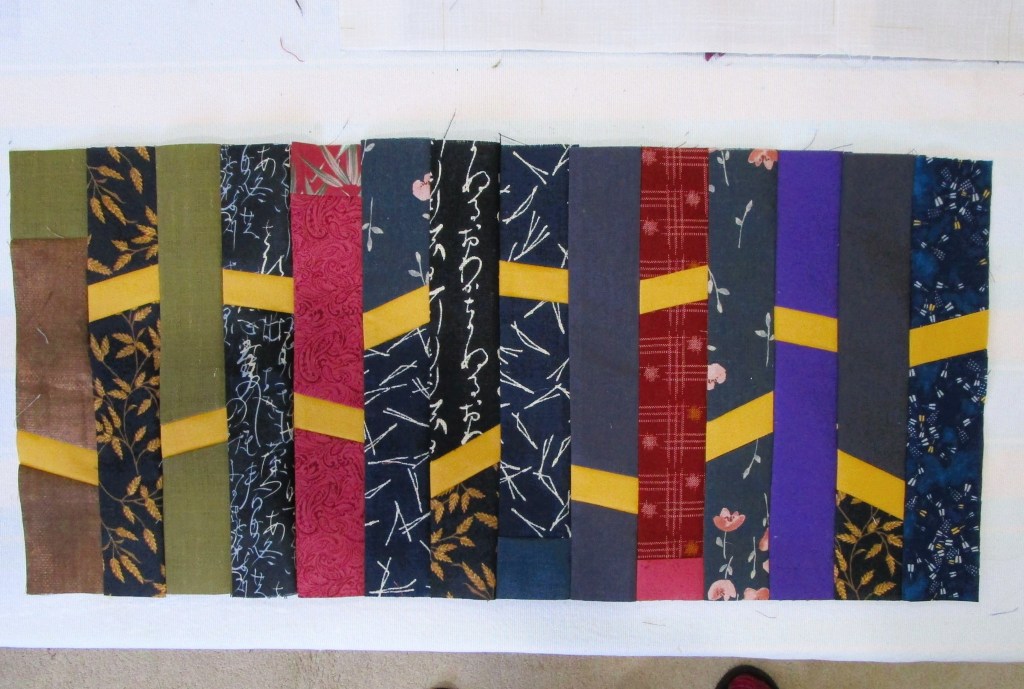
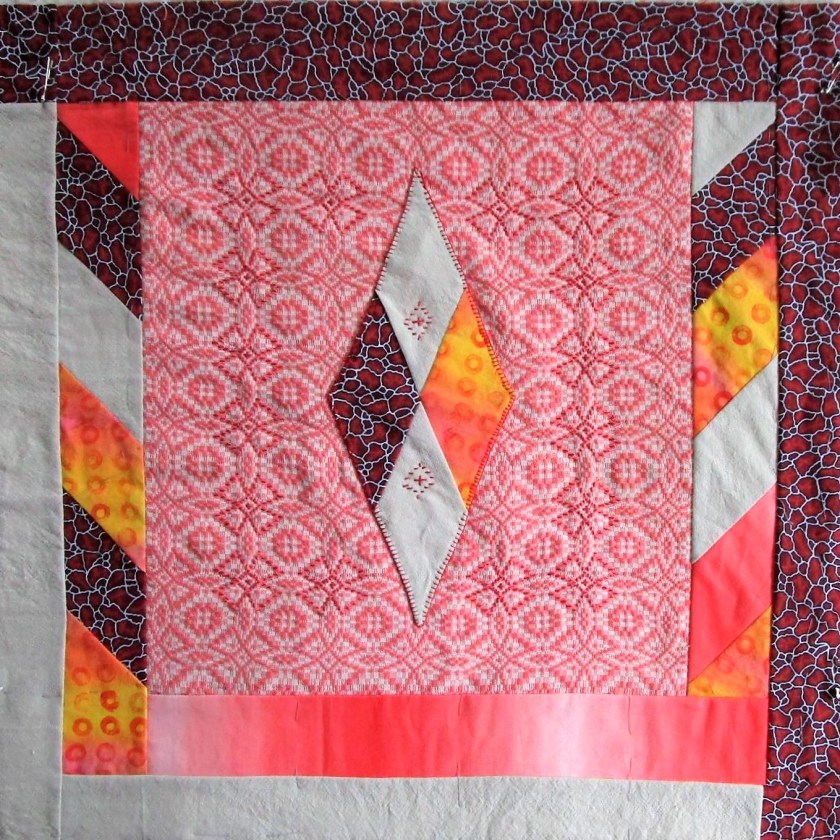
This ten-inch tall section will sit on the shoulder – 1/2 on the back of the garment and 1/2 on the front. Here is my quilt after adding the round four blocks:

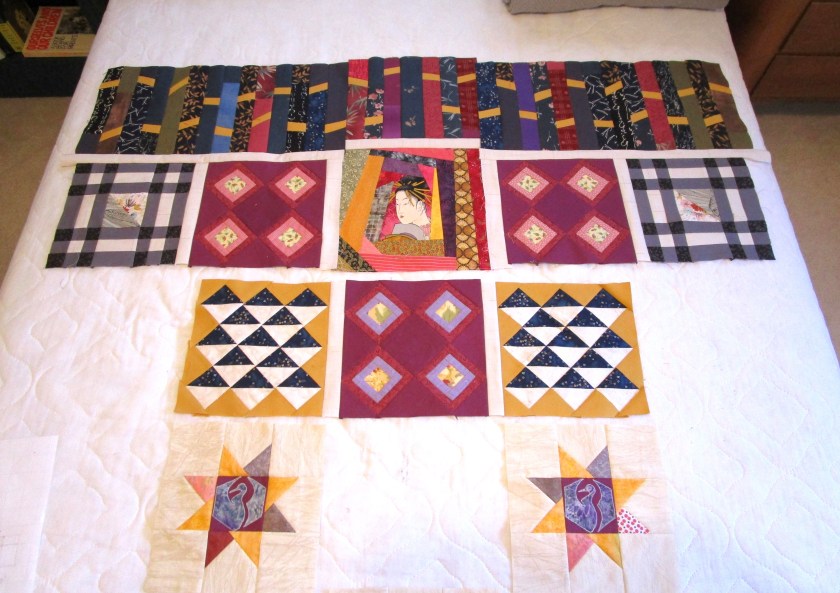
Even though the back is not quite done yet, my focus for the next two rounds will be to build the blocks for the kimono’s front.

I hope you are enjoying the quilty fun happening during the Stay at Home Round Robin challenge. To see others who are participating, enter the InLinz link found on Wendy’s Pieceful Thoughts site.

And here is the complete list of our hosts for SAHRR 2025 along with their blog sites.

Posted in hand embroidery

WIP Wednesday – The Final Panel

Today I stitched the last stitch in the final panel of “Here Be Dragons” art quilt. In looking back through my photography files, I discovered that I had painted the panel way back in June of 2023. Here is how it looked at that point.

Reference photography for the two dragonflies came from Bill. They were part of the 100 day project, along with all the other dragonflies that made their way to this quilt. The background was painted with Dye-Na-Flo fabric paint first, with masking used to reserve white where the insect’s bodies would be.

I then used the thicker Jacquard Textile acrylici paint to render the dragonflies, finishing up the fine details with Micron pens.

Here is the panel today.

A combination of stem stitch and rice stitch outlined the subjects and enhanced the shapes in the background.

Close-up of the two dragonflies.

I believe that I will meet my deadline for getting this work ready to show in February. Some straight line sashiko sewing in the sashing, then mounting the quilt to stretchers is all that is left to do.

Posted in hand embroidery, recycling, sewing

Japanese Knot Bag

Having recently finished a wall quilt, I found myself with various pieces of fabrics left over. Instead of stuffing them into a box and shoving the box under a bed, I decided to cut the fabric into strips for the purpose of sewing them into a project bag.

Back two years ago, I became interested in the Japanese art of stitching, aka sashiko and boro stitching. There was a pattern for a knot bag in this book by the Shibaguyz.

I did a post about it on Jan 5, 2022.

To make the bag, I would need fabrics for the base and lining, along with my strips of fabric. Fortunately, I had both. My daughter gave me some yardage of sturdy cotton flannel and my friend and co-worker Scott Perkins gave me a sample of raw silk.

Here is what I came up with using one quilt block made of a circle in a square. I then sewed strips of fabrics around it to cover all of the base and raw edges.

Side One
Side Two

Fabric selection included bits of three men’s shirts. (The dark red and dark green strips, and the blue chambray behind the first circle.) All three of these fabrics had been worked into the Shell Lake Story quilt. So, I am using scraps of scraps!

My next step was to sew up a lining using the same pattern as the base.

A cellphone pocket in the lining.

Adding the hand stitching took a few weeks. I marked all the stitch lines with a chalk pencil. Using white Sashiko thread I worked a running stitch in straight lines on the strips and circles around the circles.

And here is the front and back of the bag after all the top stitching is in place.

Finally, the seams of bag and lining are sewn up, the bag inserted into the lining with right sides facing and the U-shaped top edges are sewn together. This last step took me two tries, btw, so seam ripping happened.

Turning the bag to the outside, the only remaining steps were to close the strap side seams and top-stitch the opening.

To use the bag, the long handle is threaded through the short handle.

A quick look at the lining before it is turned to the inside. I love the look of the silk, and it is pretty easy to handle. Fraying was the only thing that gave me some trouble. The next time I sew with silk, I will zigzag the seam allowances

Here is the completed knot bag, filled with a knitting project.

Front of bag as it hangs from a coat rack.

Back of bag.

This project was great fun (except for the seam ripping) and I would enjoy making more of these nifty bags. A larger size would be handy for bigger projects. And what a good way to use up scraps.

Posted in hand embroidery, quilting

Re-entry

Last Wednesday, the husband and I returned from a very long journey. Over 13 days we drove over 3,000 miles, traveling through nine states. The climax of the trip was three days spent in Ohio, assisting my five siblings in sorting the parents’ household good in preparation for distribution and sale. It’s hard to describe the physical and emotional energy exhausted during that effort, so I won’t try. I wish I could show you a lot of great photographs from the trip, but I didn’t manage to get any worth sharing.

Back here in Oklahoma, it took me a few days to settle back into my normal life. The last few were spent working on hand embroidery of the Shell Lake quilt blocks. It was a good choice for my re-entry, because I could do it slowly while listening to podcasts and drinking lots of coffee. I think that I am done, but not sure. To give me some perspective on my work, I have photographed and posted each block. Let me know if you think the woven sections have enough stitches.

CENTER BLOCK

FOREST BLOCK

FIRE BLOCK

LAKE BLOCK

SKY BLOCK

On another topic, I have brought home a few UFO projects from my mother’s stash that I promised various people that I would finish. My plan is to post about each one as I work through them. If you’re not a fan of sewing and quilting, don’t jump ship yet. I will be continuing to explore watercolor painting, drawing and knitting in the coming months.

Posted in sewing

Sashiko Sunday – Updated

By the end of last week, my order of supplies had arrived.

My new supplies: thread, needles palm thimble, leather thimble Clover white marking pen

After spending time reading about sashiko (pronounced sah’ shee koh, by the way) I realized that it would require special tools and materials to work this style of stitching successfully. Fortunately, nothing was terribly expensive. I have to give a shout out to KimonoMomo’s Etsy site for its diversity of product, reasonable prices and swift delivery. I purchased needles, thread, thimbles and a marking pen there.

https://www.etsy.com/shop/kimonomomo?section_id=20099573

Today was the day to get started. I chose the sleeve of a man’s blue shirt to practice on, because blue is the traditional color for sashiko-stitched fiber objects.

A piece of beige cotton flannel became a backing.

I started by folding the edges under, gluing the corners, and basting the swatch around all sides with ordinary sewing thread. Next came the marking. I just used my rectangular clear quilting ruler to create a diamond grid.

The traditional sashiko thread is sold in a skein. After carefully stretching the skein out fully, I found where it was knotted, then moved to the opposite end of the loop from the knot and cut the skein through. Next the skein is braided loosely and tied. To remove a length of thread, it is pulled out at the top, near the knot.

Here are my materials, ready to work.

And here is the first row of stitches.

Sadly, it was necessary that I perform other tasks, did not get to practice any more today. But I am confident that I have the knowledge and skill now to use sashiko as a tool in my fiber manipulation toolbox. I’ll post a photo of the finished sample in the near future.

Update, Jan 21, 2022: And here is my finished sample.

As I stitched along, I began to develop a little more consistency in my stitch length. It didn’t take nearly as long to complete as I feared.