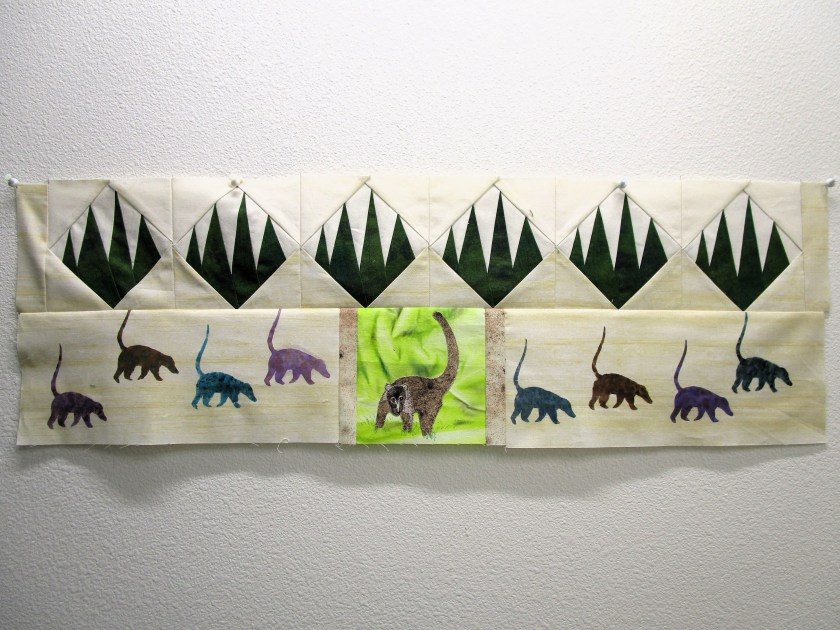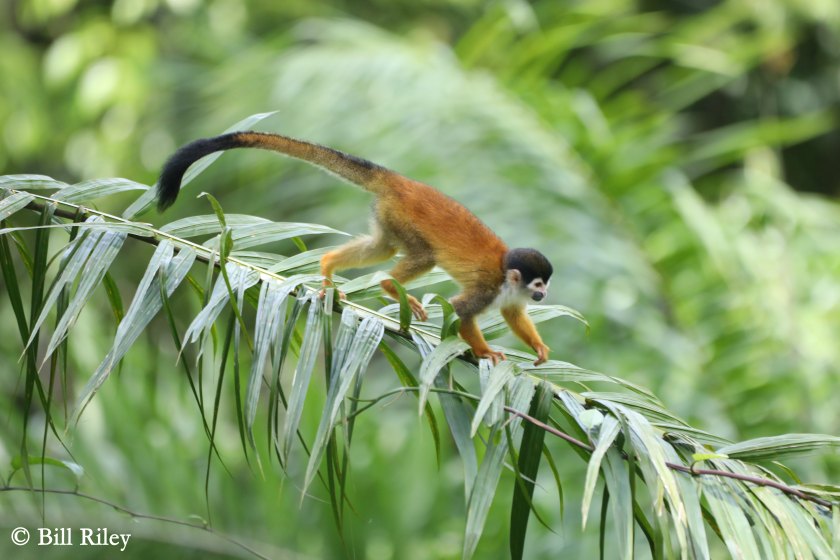
It’s been two weeks since I last posted about my 2026 Stay At Home Round Robin project. This week I am finally getting back to the monkey blocks. For a reference image I am using the photograph above, by Bill, for the center panel of this round. When we spotted this guy working his way down a long palm frond, it was hard to tell where he would end up. Reaching the end of the branch, he just leapt away to safety. What a plucky little creature! I just had to include him in my Costa Rica quilt.
I started in my usual manner. Making an applique transfer of the monkey was not difficult. I just traced the shape from the photograph in one piece, laid the tracing onto fused fabric and cut it out just as you would a paper doll.
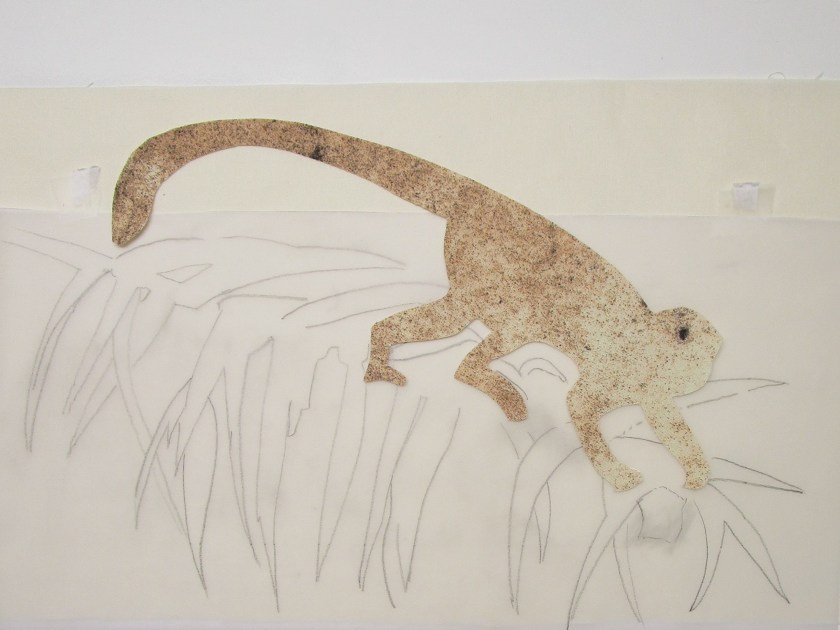
In this photo you see the monkey cut-out overlaying the background fabric pre-painting You also see the tracing I made of the palm frond. It required multiple pieces of fused fabric to render a convincing applique version of the various leaflets.
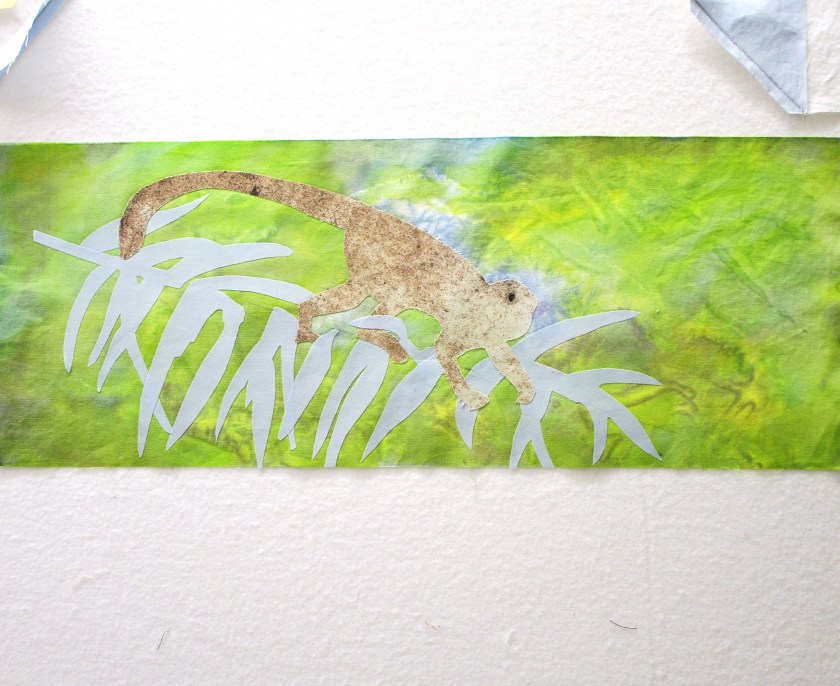
The work happened over several days. Here’s the background fabric painted and the monkey and palm applique pieces fused but not sewn down yet.
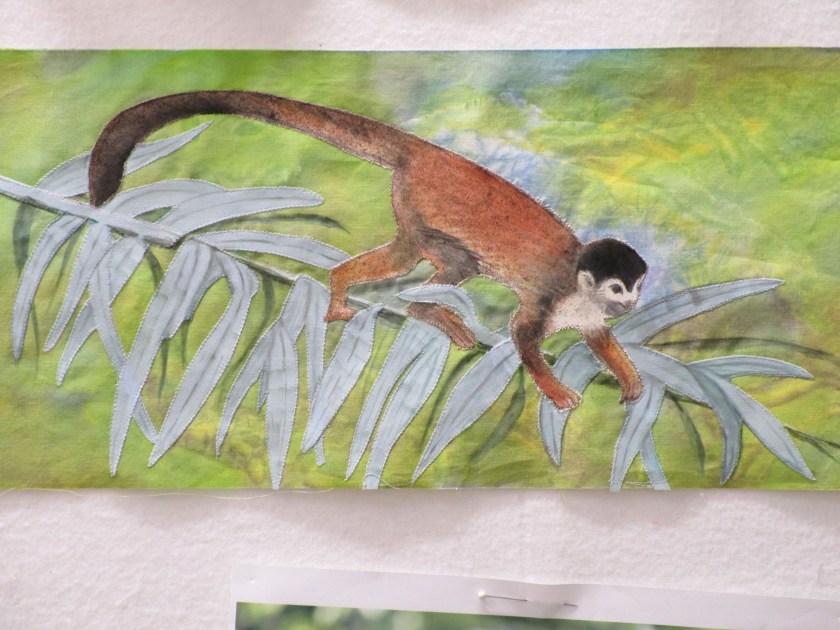
Today I got out my Jacquard Textile paints and finished the work.
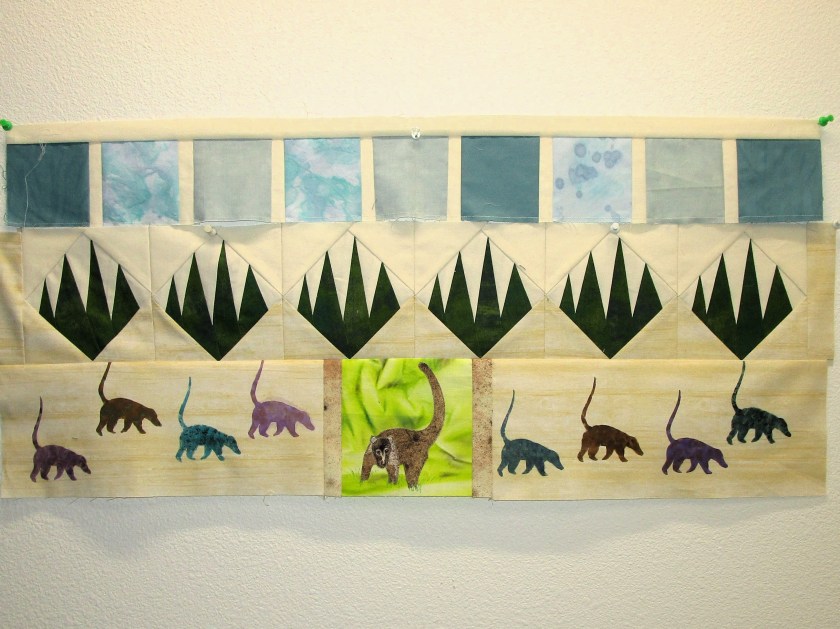
And here is how my monkey row will look with the two monkey wrench blocks at each end.

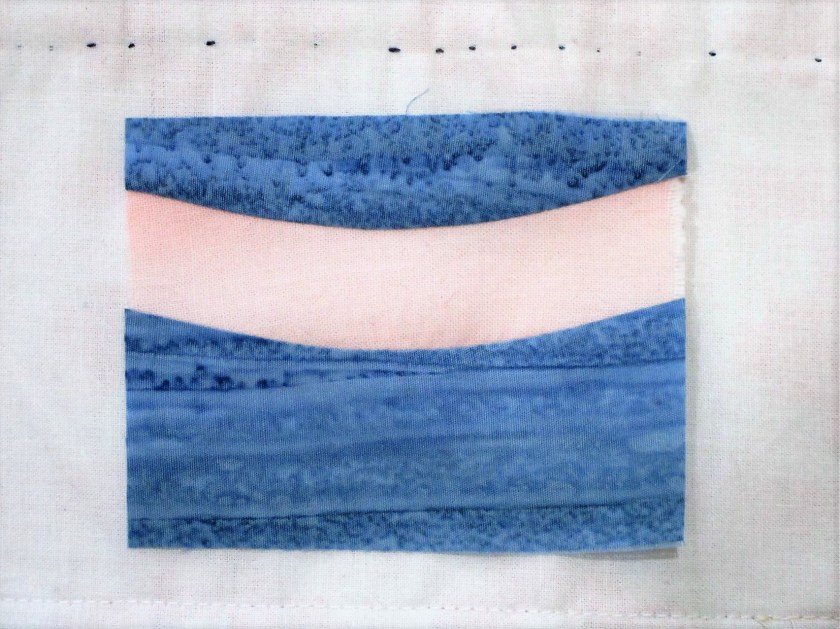
I have a plan for one more landscape panel to finish out this quilt. It will depict a sunrise as viewed from the villa we stayed at in Costa Rica last September.
Wish me luck.