It’s that moment in the week to plan for my Friday fiber arts classes. Today I am working on a small stuffed toy that might be simple enough for my six to eight year old students. I learned to make it from Brenna Maloney’s book SocksAppeal. She transforms old socks into 16 delightfully cuddly friends. I’ll be making the bunny.
Here is a nice assortment of plain and colorful socks for the students’ consideration
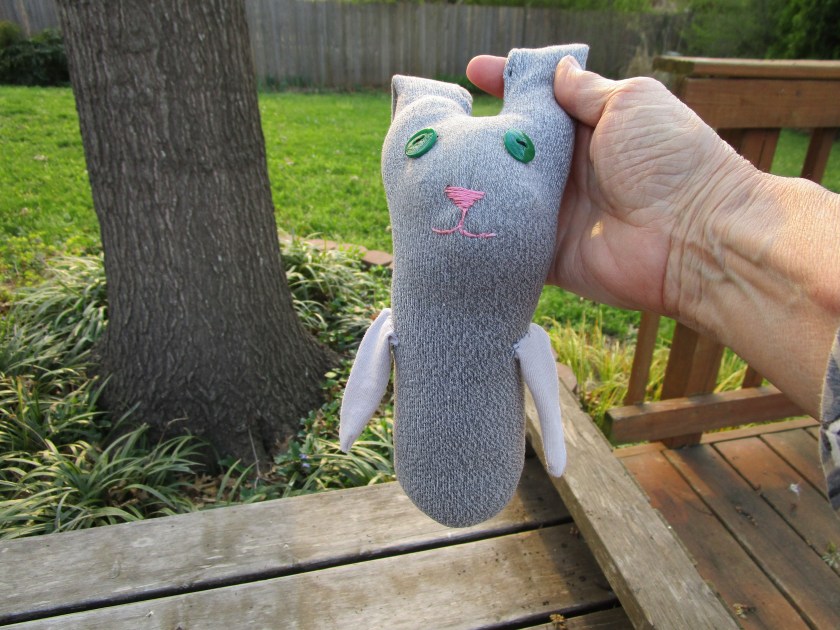
This is an old gray sock of mine that lost its mate. I start by cutting down the foot to separate the sock into two ears. I am using an old t-shirt for the arms and tail.
Ears and arms are cut and sewn up.
Here she is fully stuffed. I pushed a little stuffing into the ear cavities, just enough to make them stand away from the body a smidge.
My little bunny’s Irish eyes are smiling because she is all put together now. I think that I will have to help the little students with some of the cutting and sewing. They can probably manage to make the ears, insert the stuffing and sew the button eyes – maybe even a do little embroidery. We’ll see how it goes.
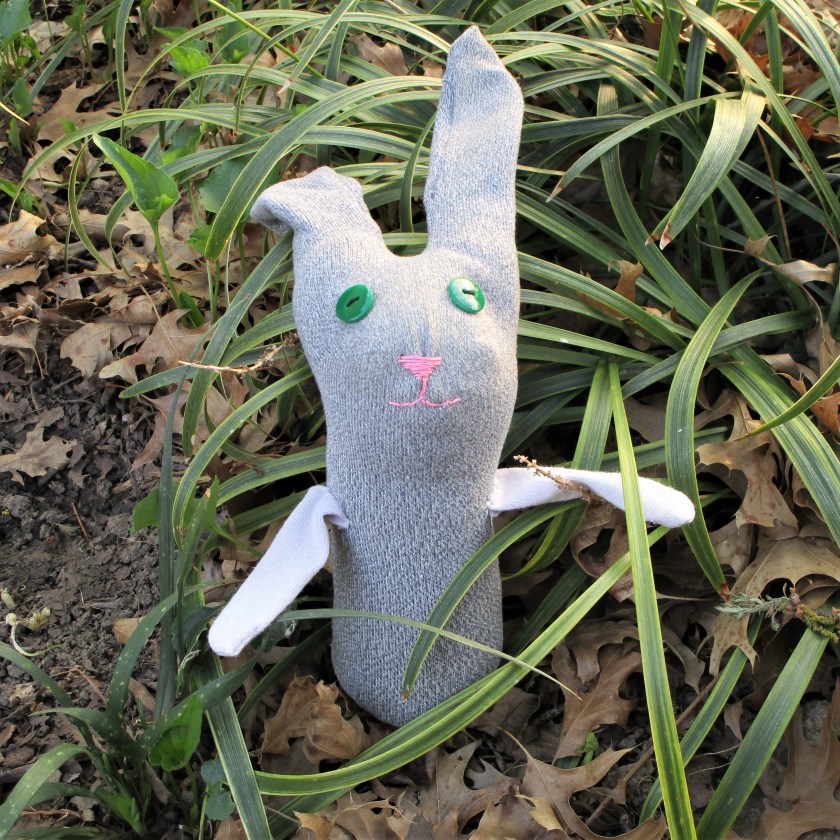
Outside for a walk around the garden
She hopped around outside for a while, then back in the house for bedtime.
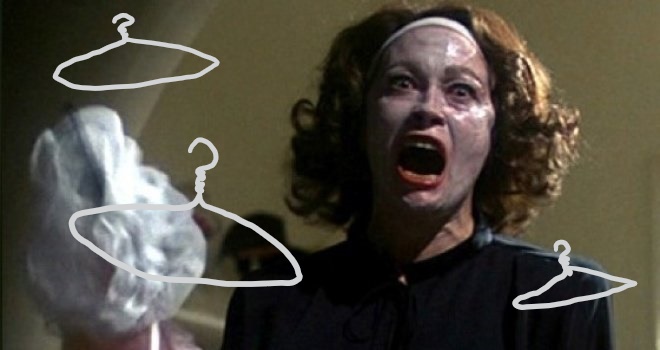
Around here, we seem to have a coat hanger problem. They are everywhere. And, while I don’t condone her approach, Joan Crawford was right about the bad things that wire coat hangers can do to your favorite garments. Today’s post is about turning those nasty wire hangers into lovely padded hangers. As an added benefit, all the materials I am using are recycled.
Along with coat hangers, I have bubble wrap (another item that seems to accumulate, especially if your family likes shopping on-line) and a discarded shirt. You will need some masking or painter’s tape, thread, and a little bit of felt. Hopefully, these things are all on hand.
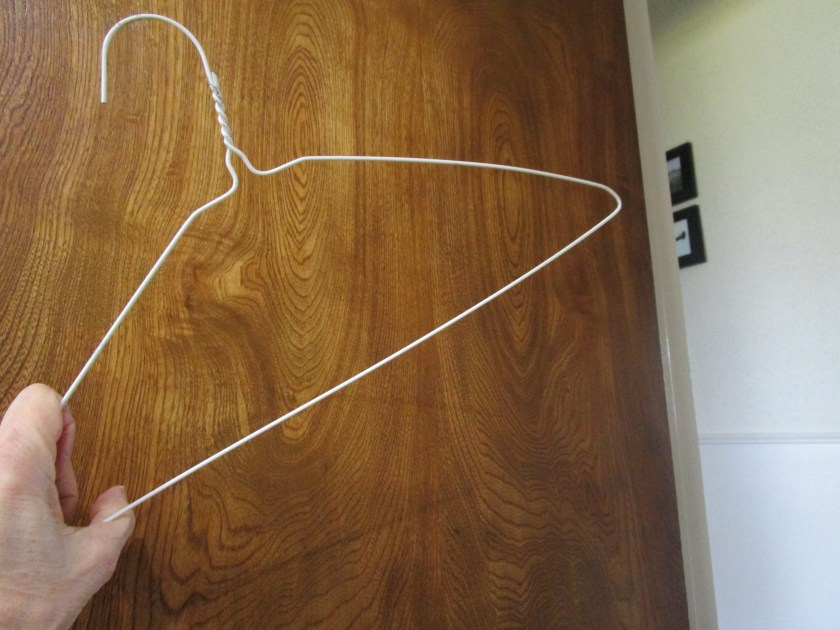
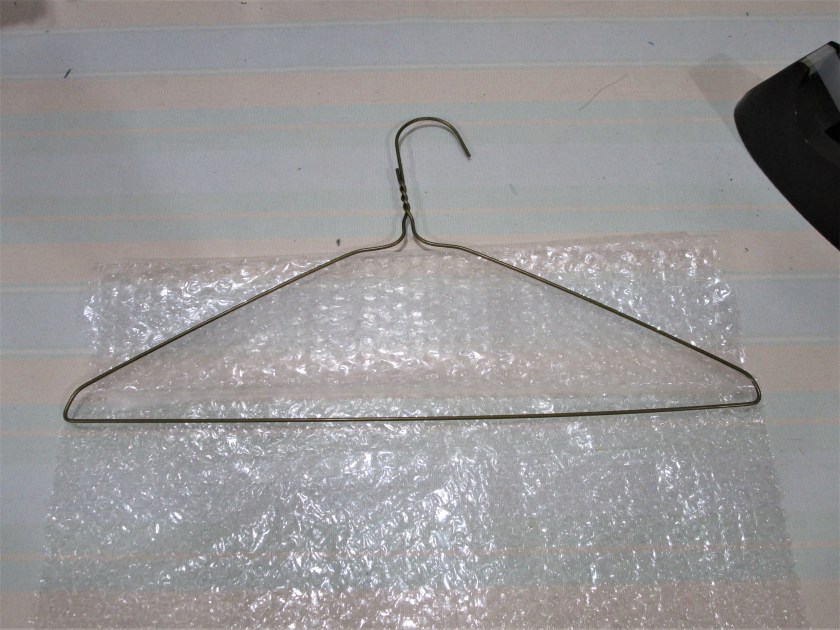
Here’s one of those bad boys.
Start with your bubble wrap. Fold it over a few times and lay the hanger on it.
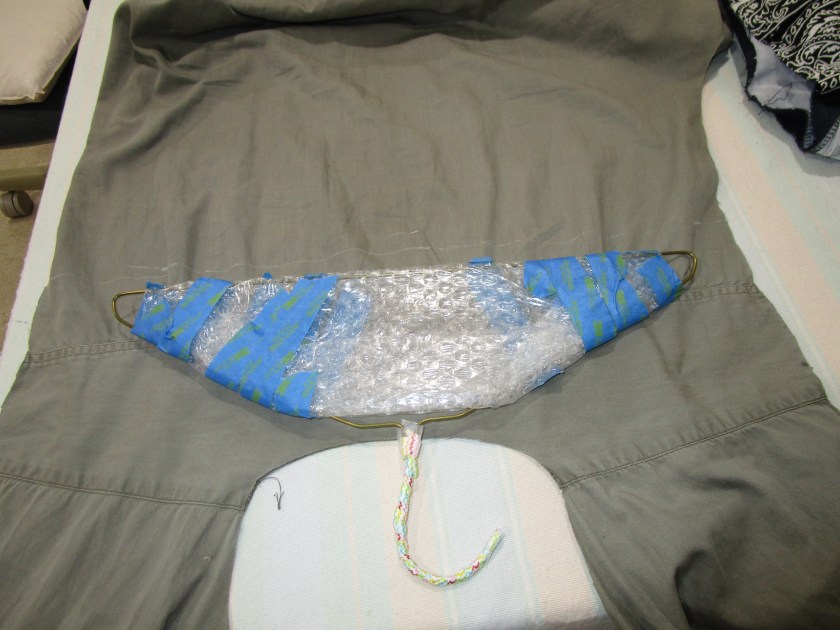
Fold the upper edges down, and bring the lower end of the wrap up to meet the top. Use tape to secure the edges. Wrap the tape around several times. When finished, it will look something like this:
Don’t worry, none of the tape will show, unless you use a thin fabric.
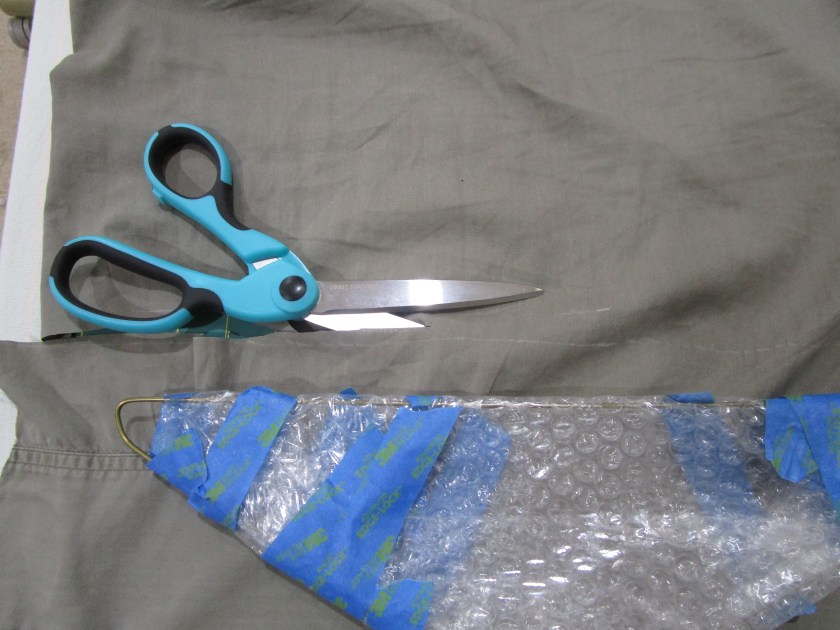
Now the shirt. My husband got a tear in the sleeve of this one. Irreparable. I will be using fabric from the upper body, front and back. Cut off the collar and sleeves. Continue cutting the shirt around until you can open it out flat. Lay the wrapped hanger down on top of the opened shirt. Cut around the hanger, leaving at least one inch for the seams at top and bottom of hanger.
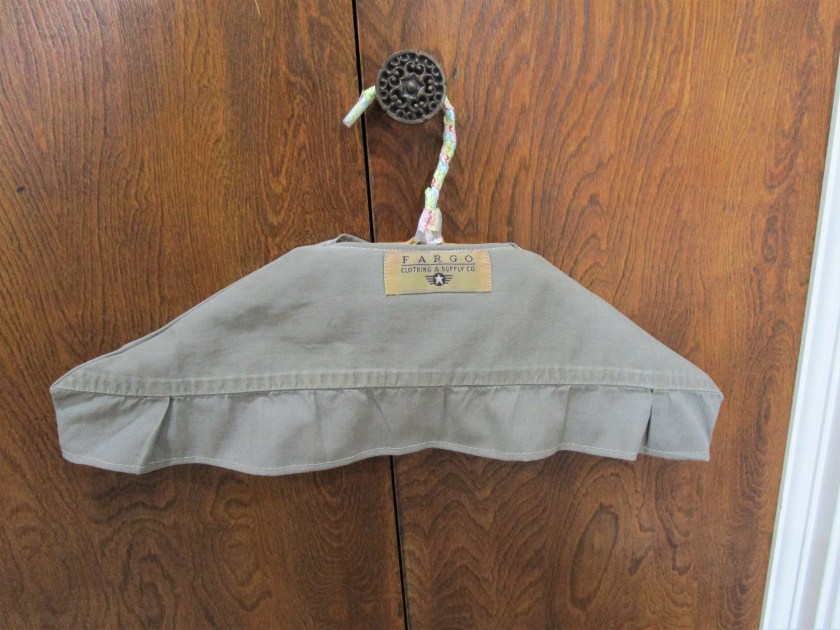
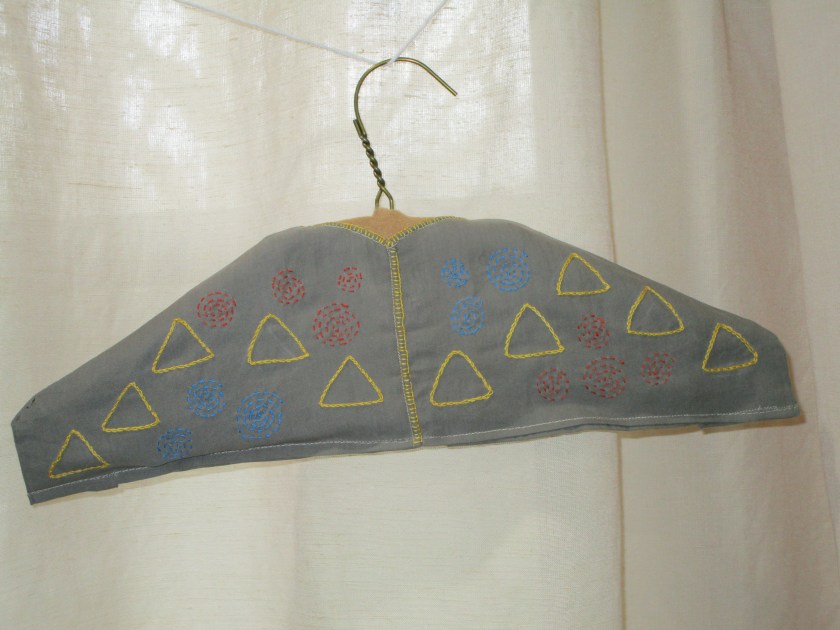
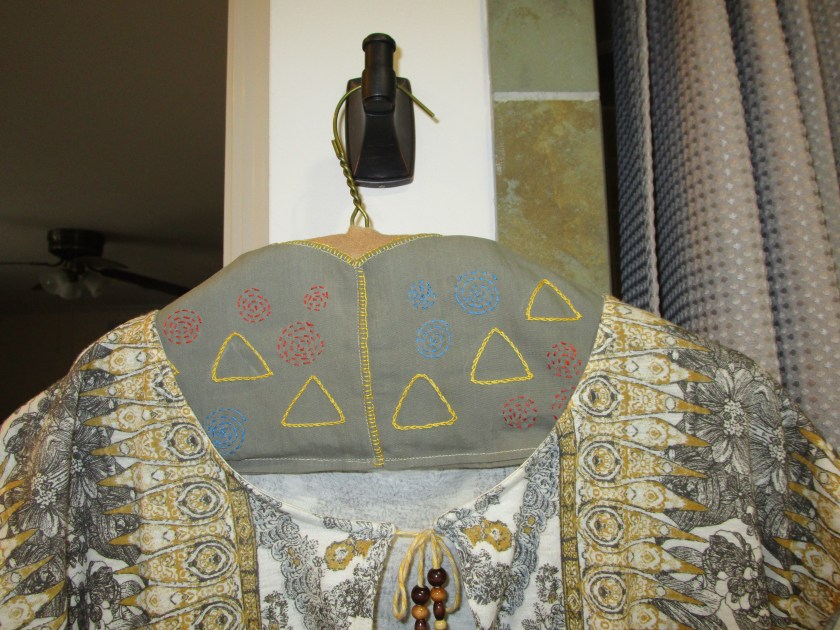
I’m afraid I didn’t get any photos of the sewing-up process – sorry. Basically, you sew the front to back at the shoulders and sides of the hanger, conforming to the hanger’s shape as best as you can. Turn, press and sew under the remaining raw edges – neckline, lower edge, and center front. I inserted a small patch of felt around the area of the hook, because there was no fabric at that location. Here is the back view of the completed cover:
I thought the label was cute, so I used the inside back of the shirt.
Close up the lower edge by stitching with the zipper foot of your machine, and you’re done! But, of course, that wasn’t good enough for me, because this is Fiber Art. I added a bit of embroidery, including the international symbol for Recycle.
Maybe if poor little Christine Crawford knew this trick, her mom wouldn’t have been so mean to her.