Posted in quilting

More Piecing: Get to the Point

It is a really fine day to be in my fiber studio. The sky started out pouring with rain, and it ended up raining very hard again this afternoon. Today my goal is to practice piecing with triangles. For some reason, I find this shape way more interesting than a square or rectangle. I have been on-line viewing a wonderful tutorial by Johanna Figueroa, through BluPrint.com. You can find this lesson at https://www.mybluprint.com/playlist/5055/10267

Her first lesson is based on a Japanese block she discovered. She calls it Jelly Girl. Here is an image of her example quilt:

As you can see, it is a hexagon pattern. But inside each hex is a swirling shape made up of six triangles. The hexes are spaced apart with white equilateral triangles. She promises that it will be easy to piece together.

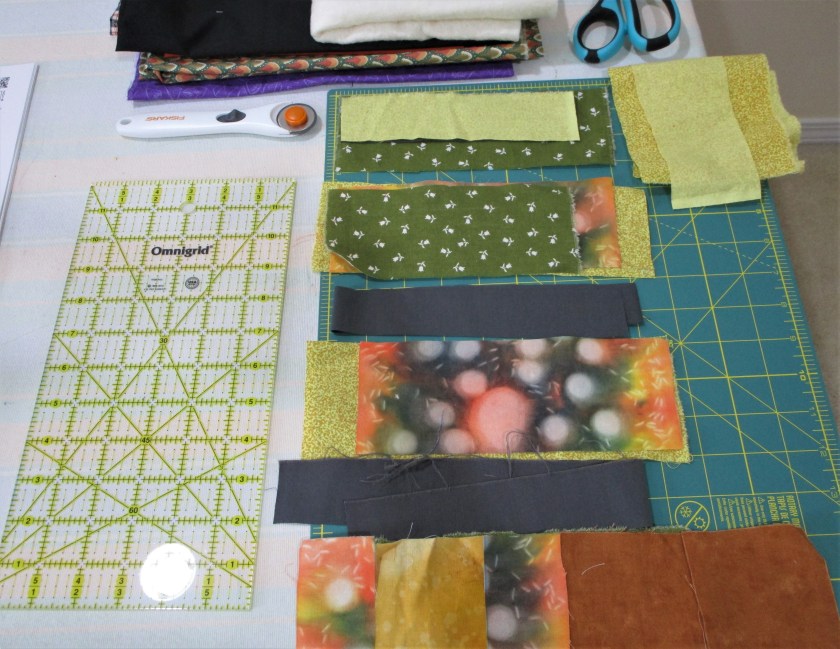
I have small amounts of these three fabrics, so this will be a sampler. To start the project, the fabric is cut into 2 and 1/2 inch strips, across the grain.

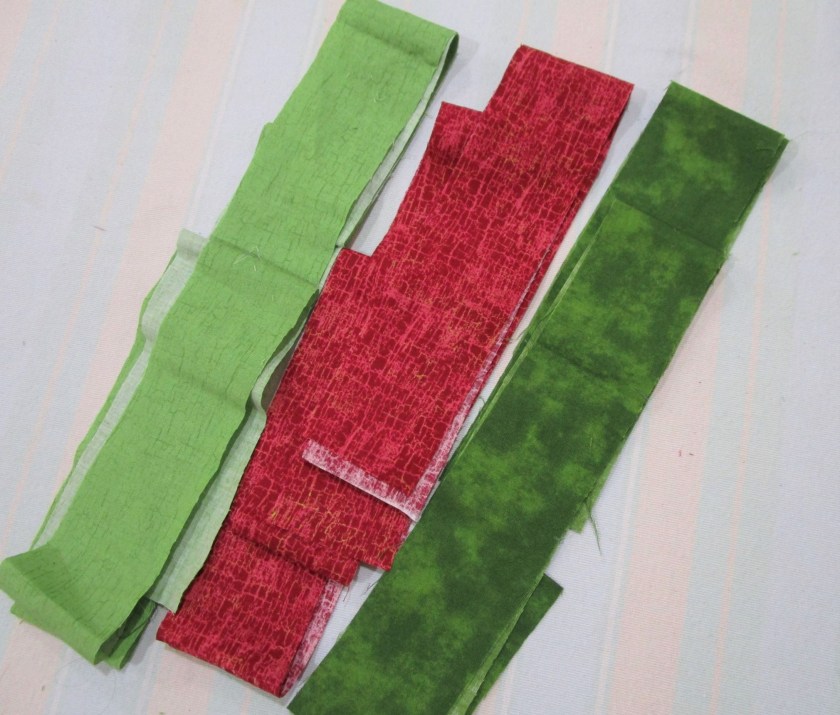
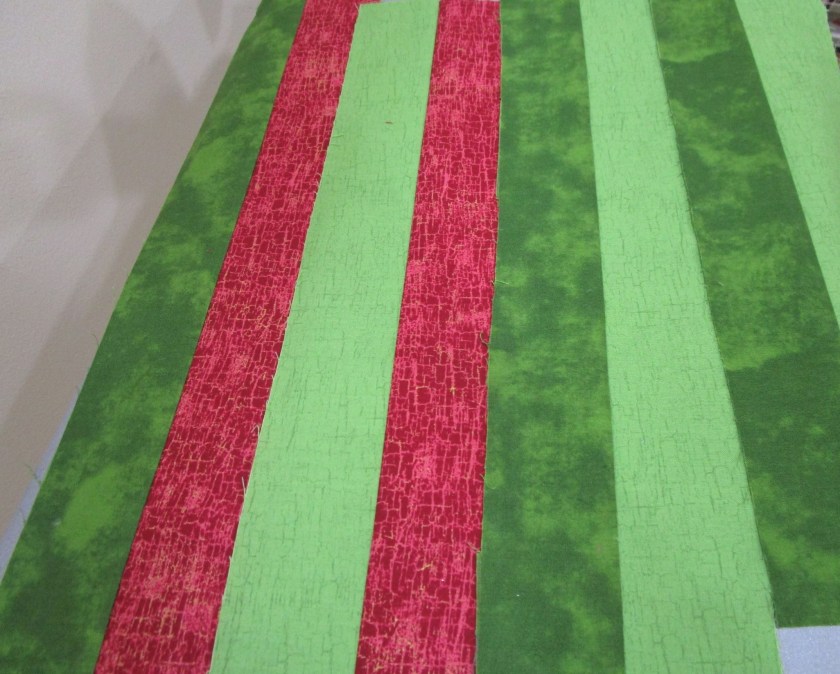
Next the strips are sewn together in twos. Here are my strips after pressing.

This is where the triangle part comes. Using an Omnigrid ruler that has lines for 60 degree angles, the strips are cut into equilateral triangles. For the three types of strips, I ended up with six types of triangles.

They look like Christmas trees!

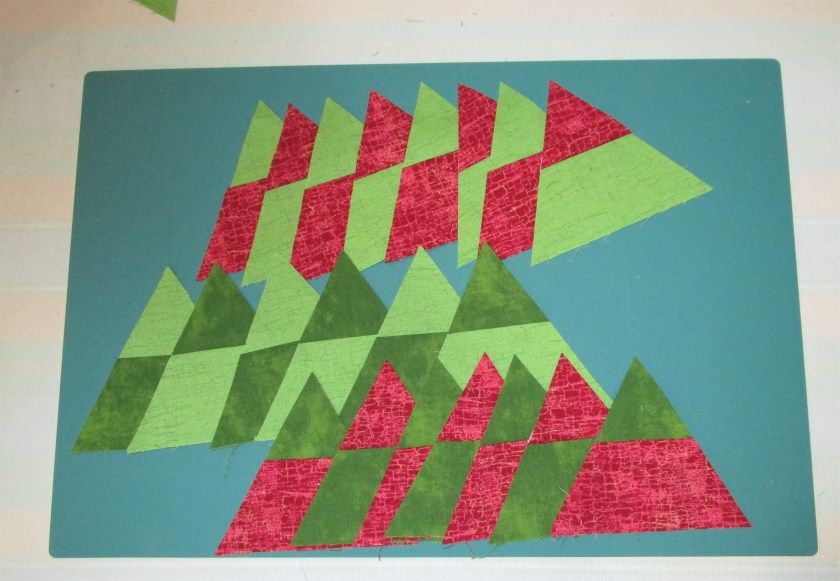
Next six triangles are laid out into hexagons. Only three of the triangles are sewn together at a time. The two halves of the hexes will not be joined until the rows are sewn together.

Here are my results at the end of the day:

I love the whirligig shapes.

I also cut the white equilateral triangles, which will be used as spacers. This colorful sampler will get finished next time.

Posted in quilting

Little by little, piece by piece

So far my quilt-making efforts have been limited and tentative. I have a pretty good grasp of applique technique, and can put together a log cabin block. Now it is time to move on to new skills. To celebrate my decision, I have acquired a few more items.

Twelve inch square blocking ruler, Fisker 45 mm rotary cutter and wash away adhesive tape

For the past three days, I have been viewing lessons on BluPrint.com and checking out U-Tube videos. Now I am ready to try an exercise in free-motion quilting. The lesson, “Free Motion Quilting Essentials,” was presented by Christina Cameli on BluPrint. First I selected some fabrics to piece together into a practice block.

These remind me of a cheese plate.

Here is the block assembled.

Before I continued on to the quilting, I squared the block using my new Omnigrid ruler. Then I made the traditional quilt sandwich of backing, batting and top. I used a muslin top for the first practice stitches.

It took a little effort to get my Bernina working correctly. I had to clean out the lint, change needles and try a couple of different threads. Here are my first efforts:

Pretty wobbly. I discovered that I got better results by working from right to left instead of left to right. This may be due to my left-handedness. Whatever the reason, it was a relief to find a method that gave improved results.

WIGGLES AND LOOPS.

The block shows a little more mastery of technique. I do believe that I will need several hours of practice before I am comfortable with free-motion quilting.

Posted in quilting, sewing

The Last Day of Fiber Arts Class

Today my fiber arts students finished up classes for the year. I can hardly believe that I taught children a fiber arts project every week for eight months! In the end, I feel that I gained just about as much as I gave. While the students tell me that they learned a lot and had fun, I also learned much about making things with fiber in the process of developing lesson plans. Our last class was the wrap-up on string quilt samplers. The quilt tops made in previous weeks had backings added, were quilted, and bound off. Here are some images at the end of today’s work:

Zion, Age 11
Madelynne, Age 11
Louis, Age 12
Gianna, Age 13
Ezekiel, Age 10
Emma, Age 10

I love that the designs are all so different from each other. Some of the students incorporated the fabrics that they color washed. It took a lot of patience and perseverance for them to finish these quilt samplers. I’m very proud of their accomplishments.

Posted in quilting

String me along

I’m teaching myself to quilt, so that I can teach my older fiber arts students to quilt. So there is some time pressure here. While perusing The Encyclopedia of Quilting Techniques by Katharine Guerrier, I learned that the string quilt is one of the simplest of techniques. So that is what I shall make today. This method was developed to use up long strips of fabric, such as leftovers from dressmaking, and pieces of worn-out clothing and blankets. The sample I am making uses 3 inch wide strips cut or sew together from fabric fragments in order to span the width of the piece. I’m excited to be using one of the heliographed fabrics from Monday’s work.

Here are my selected fabrics. There are six strips in total, four at 3 inches wide and two at 1/12 inches wide. My color scheme comes from the marble and rice swatch in orange.

First I sewed the shorter pieces into the length of strips that I need. (14 in.)

Here’s the heliographed fabric under the needle. Notice the cute red clips I just purchased. They hold the fabric while you sew it, in place of pins. Fantastic! I highly recommend.

Next I position two strips, right sides together onto the upper half of the batting, and sew in place. The seam allowance is finger-pressed to one side.

Ready to sew.
The top half is sewn into place. Uh oh it appears that my batting base is now uneven. I will persevere and hope that it gets sorted out in the end.
Here is the completed quilt top. I will have to square-up the edges with scissors.

I’m liking what I see. Once I got into the flow, the sewing was easy and fun. I hope that this piece will inspire my students. Next week I will add the backing fabric, top stitch the quilt and sew up the edges.

Posted in colorwork, quilting

Free Motion

Ah, Freedom! Something we long for when pressed with daily obligations. Something we were promised by our founding fathers, along with life, liberty and the pursuit of happiness. But when is freedom not really that great? I’ve discovered in life that a complete lack of restrictions often leads to mental paralysis. If I have unlimited choices, how do I decide what to do? Which way to go?

Okay, enough philosophy. We’re talking free motion quilting today. In this technique, the machine is set up so that all motion is created by the operator. Forward, backward, sidewise, whatever. Even though I have done almost no quilting before, given an opportunity to quilt, I choose the free motion type.

So my experiment today starts with a piece of fabric which was a previous experiment in color:

This was colored by layers of stamping. The dots were created with bubble wrap. The shell motif was printed with a stamp I made. Lines were added with fabric pens. Today I want to quilt on it. My plan is to sew curvy lines around the groups of motifs, then add a center dot in each group of shells. Finally, I will stitch down the ivy stem.

The first step is to make a sandwich, which includes a muslin base, fiber batting middle and the pattern fabric on top. The sandwich is basted with safety pins.

Next is to set up the machine. Sorry, no photo of this. The steps are to attach a little circular embroidery foot and lower the feed dogs. For those who don’t sew, feed dogs are the two serrated plates underneath that move the fabric through the machine. Now I’m getting a little nervous. Better do some practicing:

A little wobbly. This is much trickier than I expected it to be.

Taking a deep breath, here I go.

This isn’t a totally bad result. I liked making the little spirals, and they turned out good. The lessons I learned are

  1. I should have chosen a fabric with no pattern on it for my first attempt.
  2. A thread color with higher contrast to the background would have been a better choice.
  3. It’s important to let up on the foot control when you slow or stop moving the fabric with your hands.
  4. With greater freedom comes greater responsibility.