This week is the final challenge for the Stay at Home Round Robin 2026 quilt along. Anja Quilts is our host today. She most generously and kindly suggested that we each choose a block for ourselves. That’s right, it’s Quilter’s Choice. This makes me happy, because now I can monkey around.
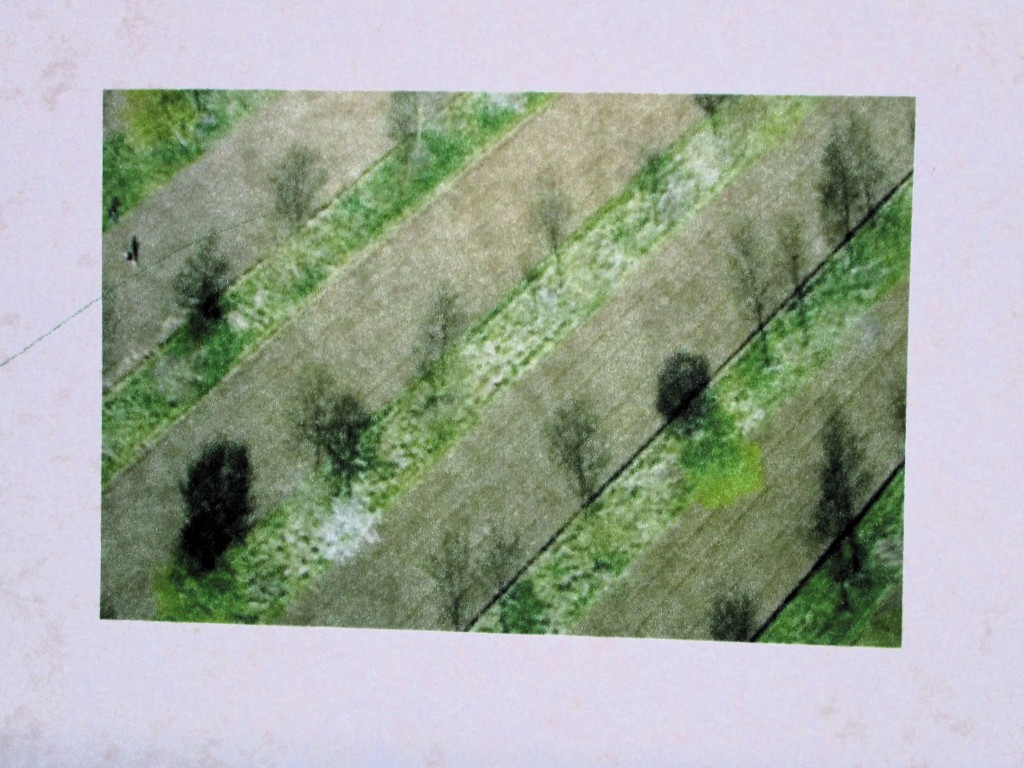
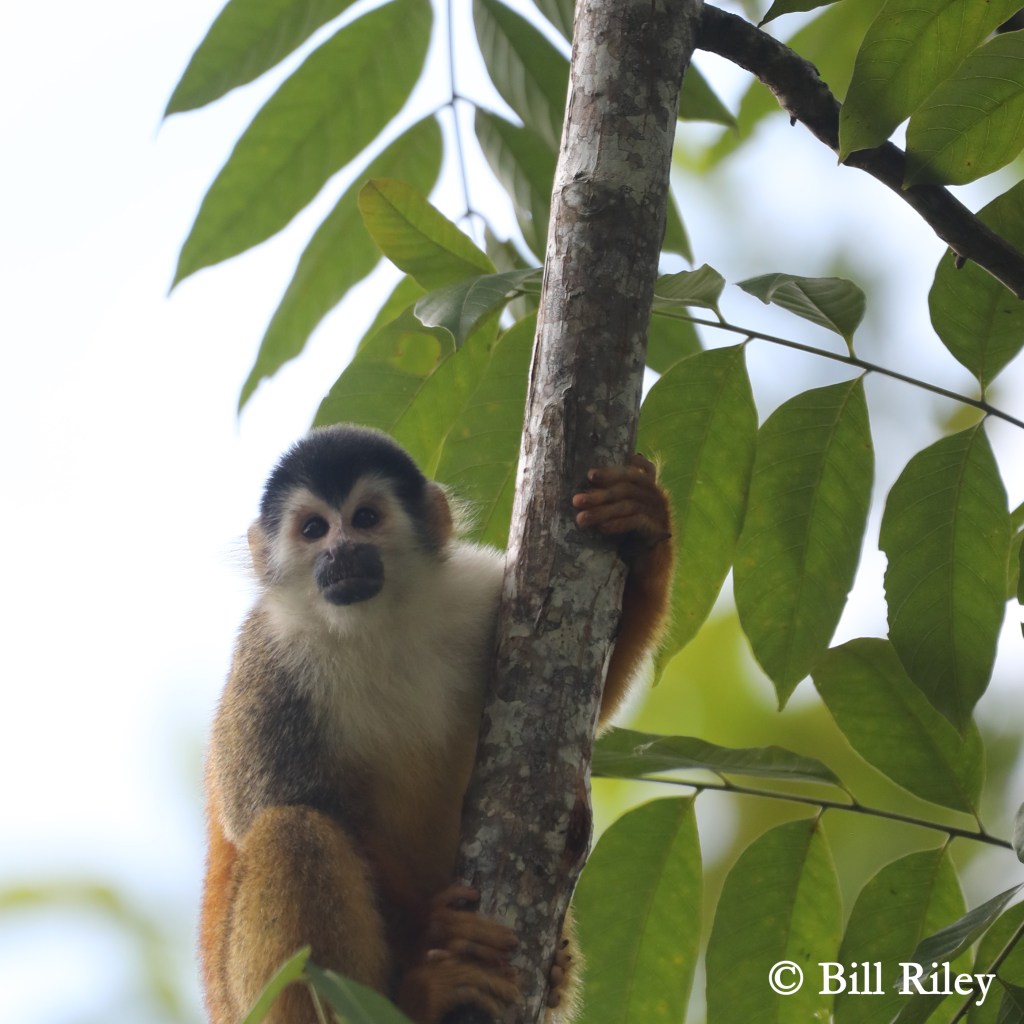
One afternoon, our little group was hanging around the villa in Costa Rica when we heard lots of rustling noises in the forest. Dashing outside (with cameras in hand) we were greeted by a gang of spider monkeys, working their way noisily across our view. Specifically, they were squirrel monkeys. Bill got some good images. He shared several, and I chose three to use in my “Monkey Round.”


It took me three days to come to a conclusion about a block to use. I will need three blocks for my row, each featuring one photograph. The centerpiece was easy – it will be an applique block of the brave monkey climbing out on a limb. But what about the others?
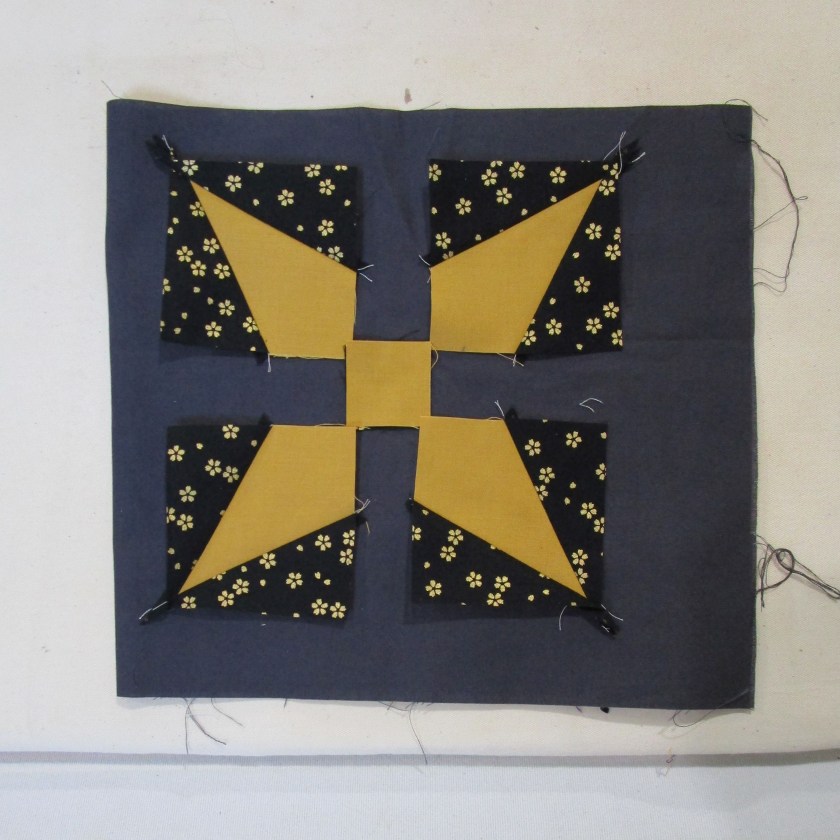
I started to think about monkeys in the context of quilting. In researching several standard quilt blocks, I learned that the Churn Dash block is sometimes called the Monkey Wrench – Eureka!
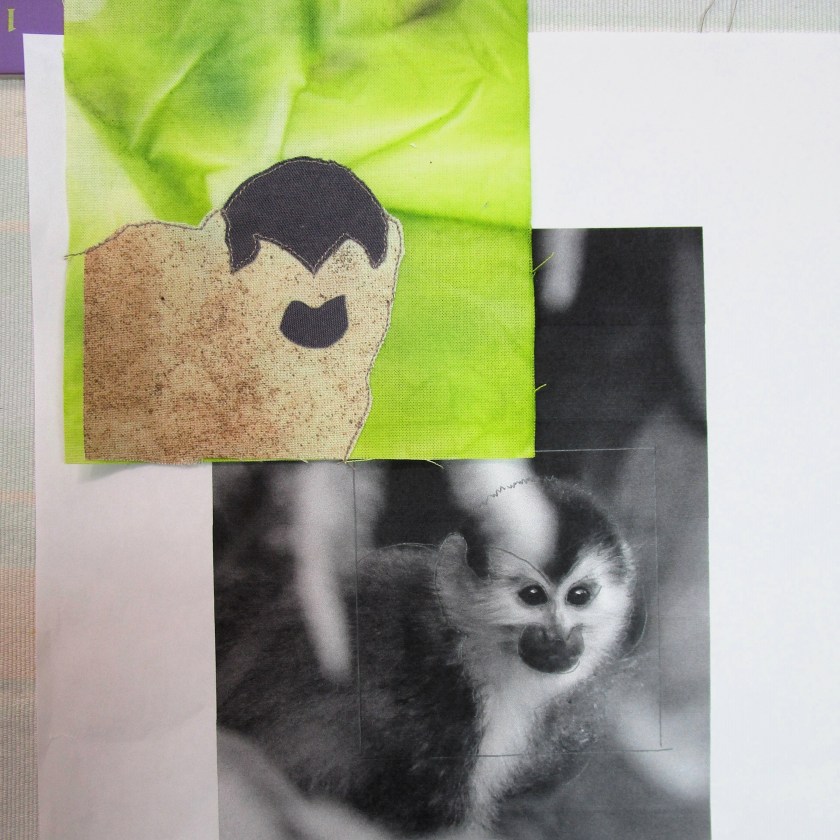
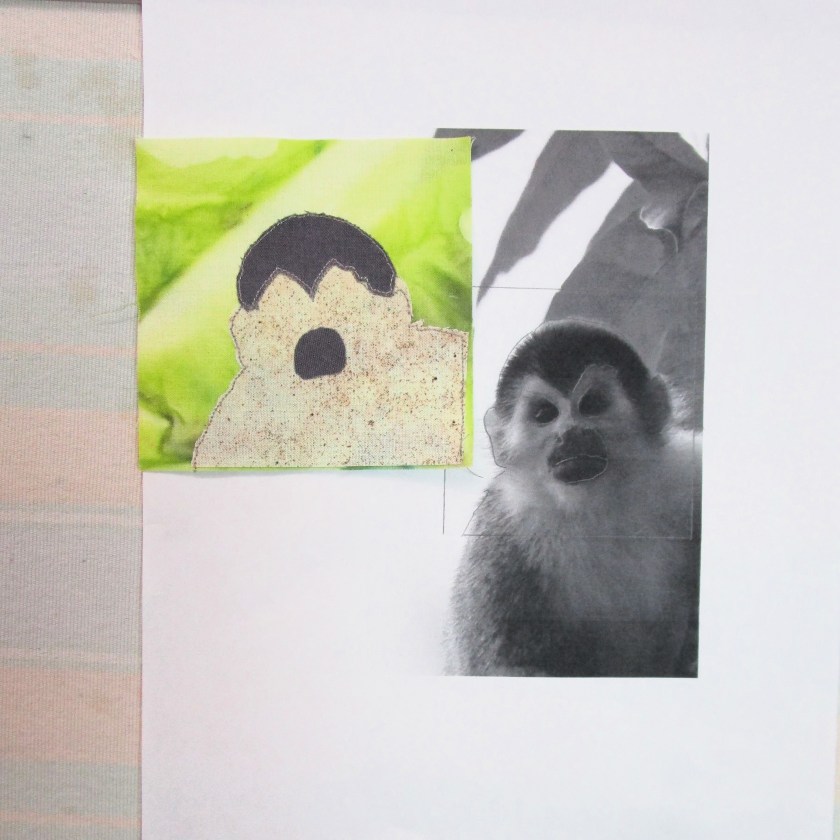
I traced the photos to produce a pattern for each “side monkey.” They will look like portraits in the center square of the churn dash blocks. My backgrounds will be left-over hand painted fabrics. After fusing and stitching down the cut pieces, I compared my two blocks to the photographs.
This should come out just fine. Next, I took a little time to prepare the center panel. I will have to paint a background for this one (no more leftover painted fabric.) But I did prepare the applique of the monkey.
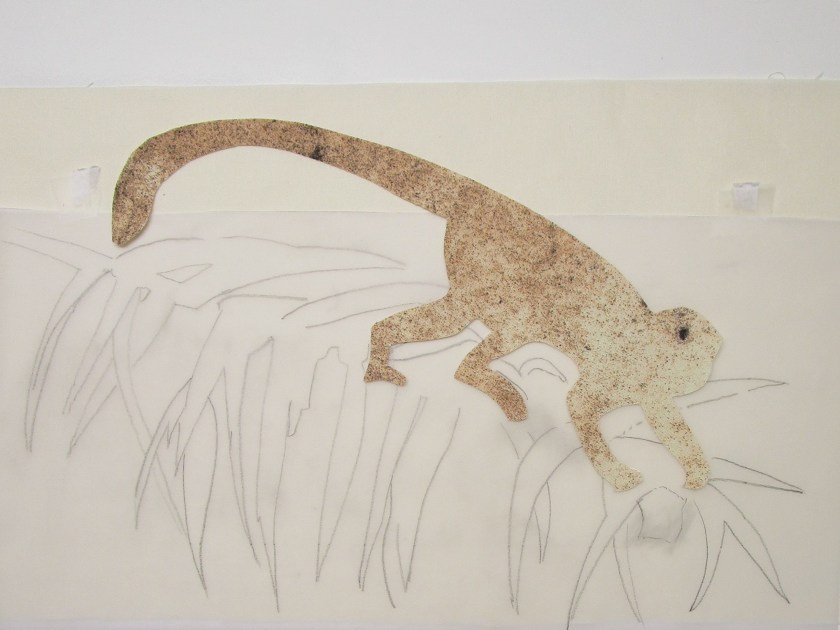
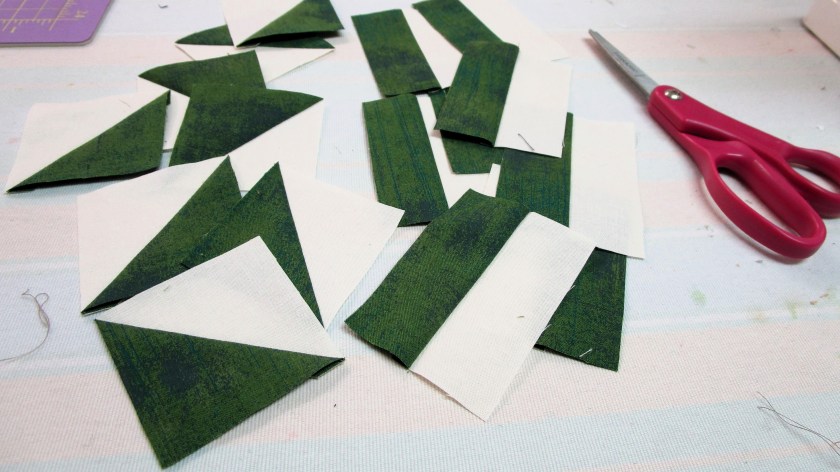
He is standing on a pattern I traced for the palm fronds.
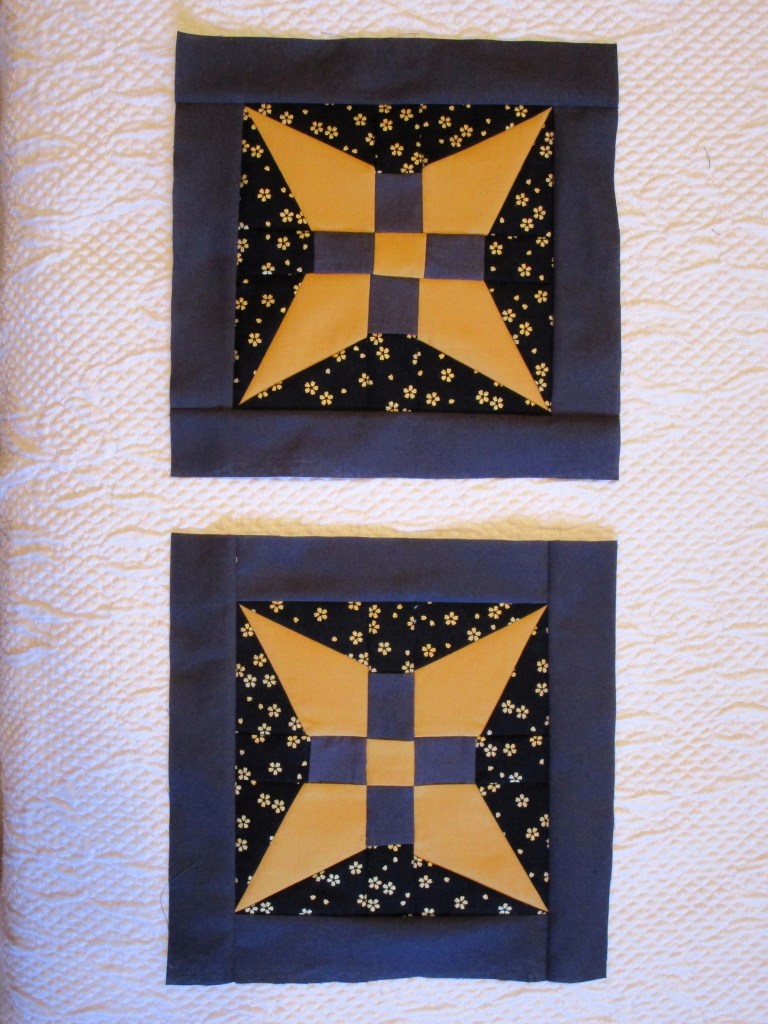
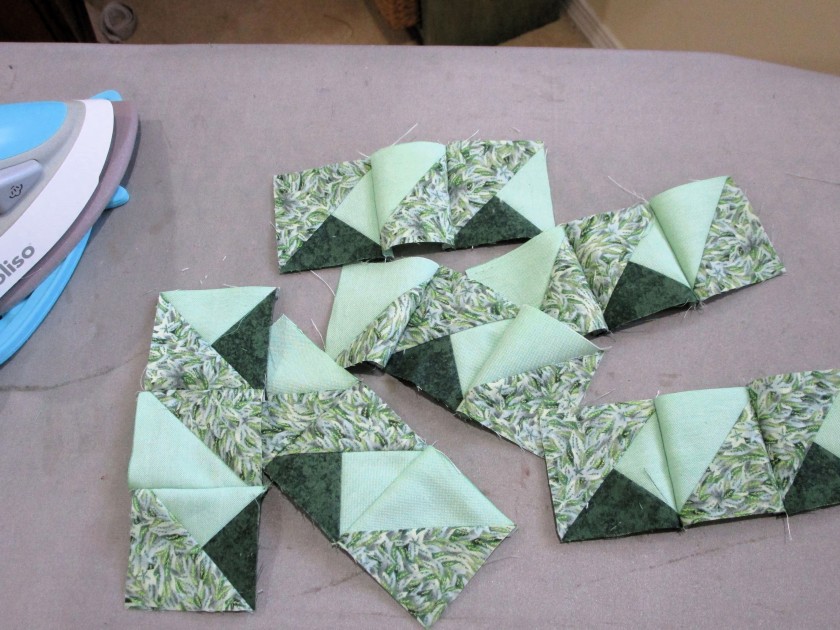
Putting the center panel aside, I got busy painting details on the other two monkeys. My textile paint of choice is Jacquard Textile. The paint dried quickly, allowing me to sew up the churn dash blocks using pieces I had cut yesterday. They finish at 7 inches.
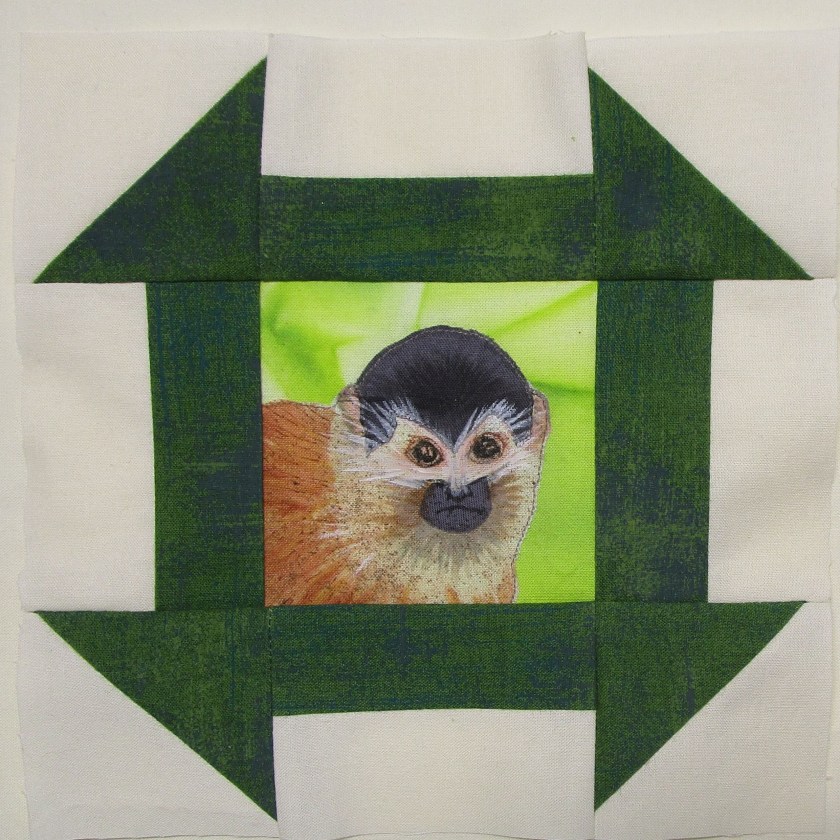
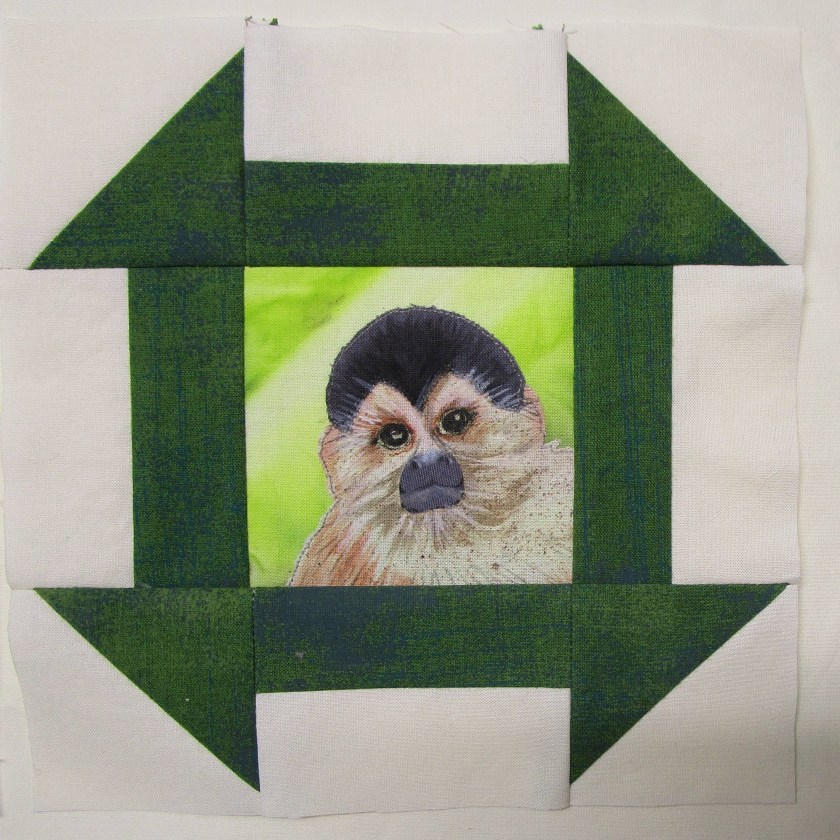
Here they are side-by-side.

Finishing the center block will have to wait a while.
To see what other quilters selected for their sixth round, visit Anja Quilts.
We now have until March 25 to do all the finishing work in time to add our quilts to the quilt parade. That round will be hosted by Kathleen McMusing. I invite you to check back then to see how my Costa Rica quilt turns out.