Posted in quilting

Stay at Home Round Robin Re-Entry

After a nine day trip to the west coast, I am jumping back into quilting. It’s crystal clear that one cannot do a stay at home round if one doesn’t stay home…….. hm. I departed just as Pieceful Wendy’s revealed her challenge: Use Curves. My curvy round will be delayed until next week. I’ve got a few cute animal images to work with that are chock full of curves. I arrived home one day after Quilting Gail’s prompt, so I will jump in there.

Gail told us to use any two colors, adding some background fabric if needed. Considering that my quilt is about a rain forest, I will use lots of green to represent all the leafy plants that grow in great profusion there: ferns, bromeliads, palms, vines and grasses. My second color will be yellow. I will need a background fabric as well.

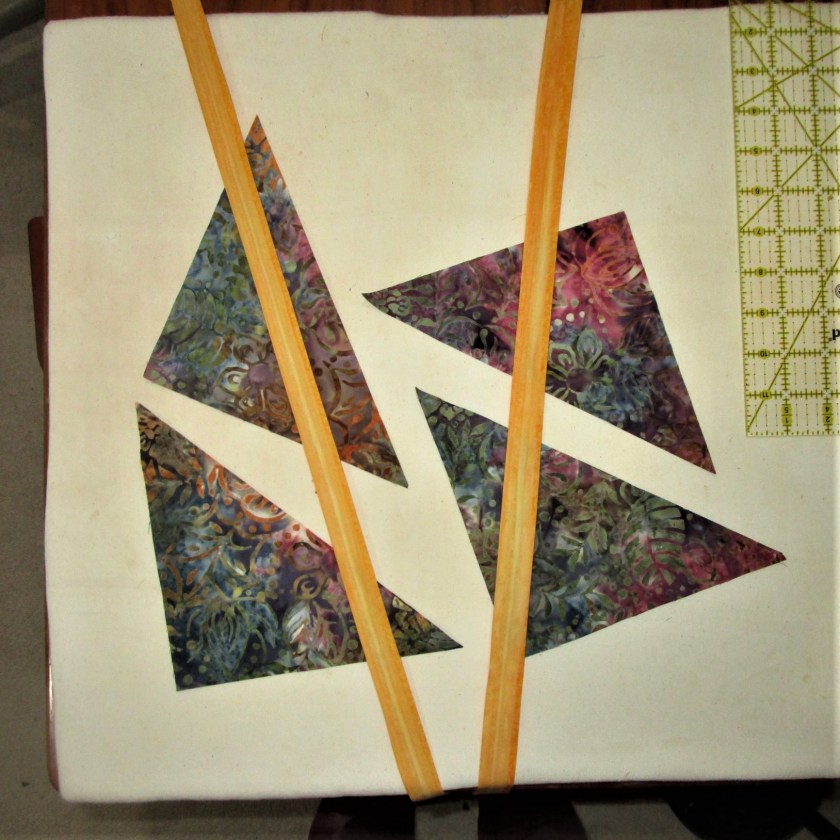
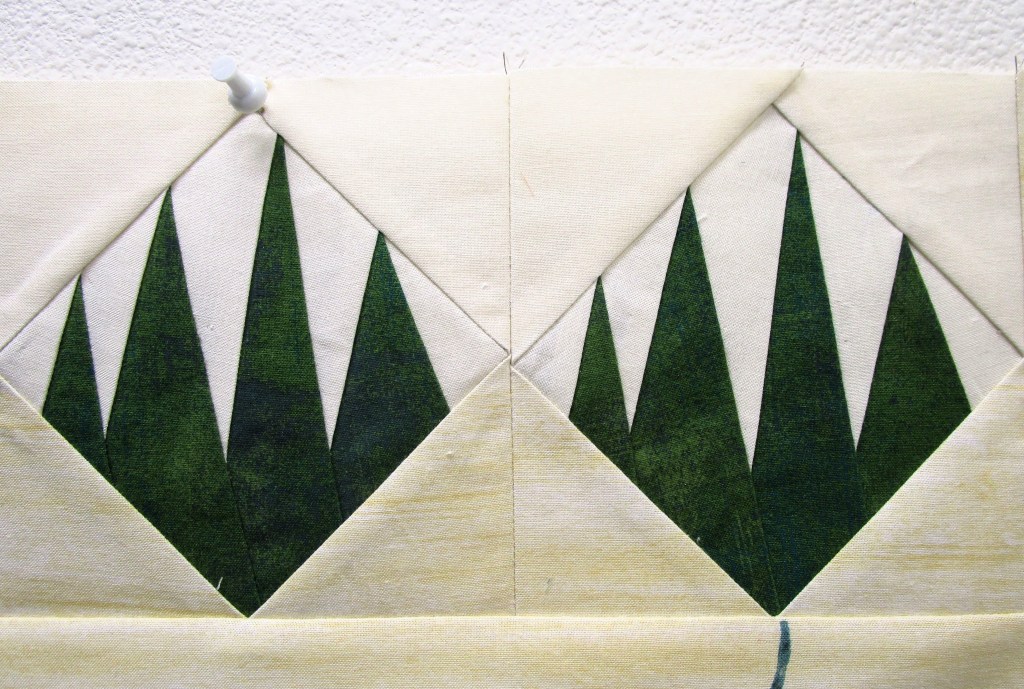
To challenge myself, and to keep it interesting, I decided to use foundation paper piecing in constructing my round 5 blocks. Inspiration and instruction came from quilter Amy Friend’s book:

Amy’s goal is to tell stories with her quilts, utilizing fussing cutting and foundation paper piecing. Each chapter is a project. The project’s templates are included at the end of the book. I chose the project Grasslands.

And this is the template I will use.

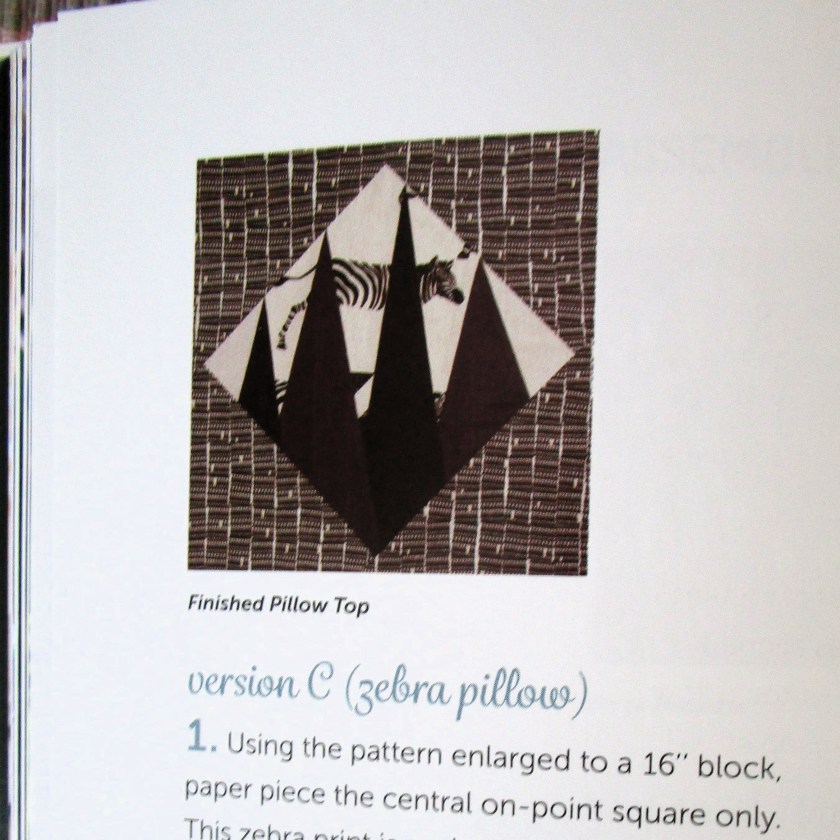
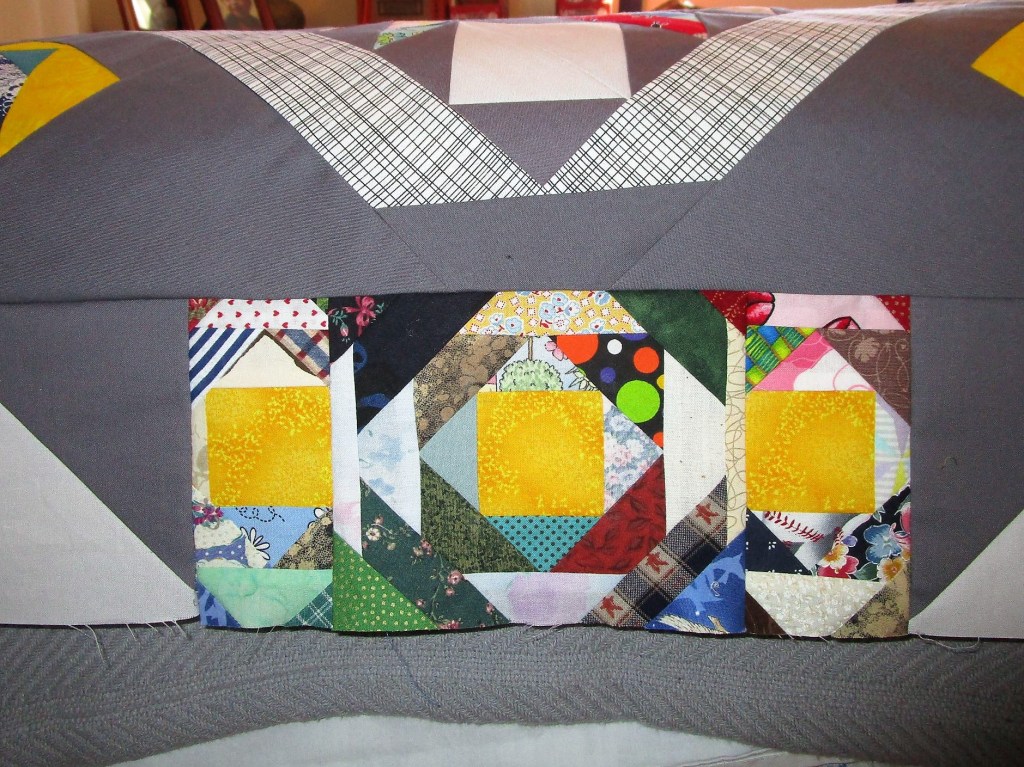
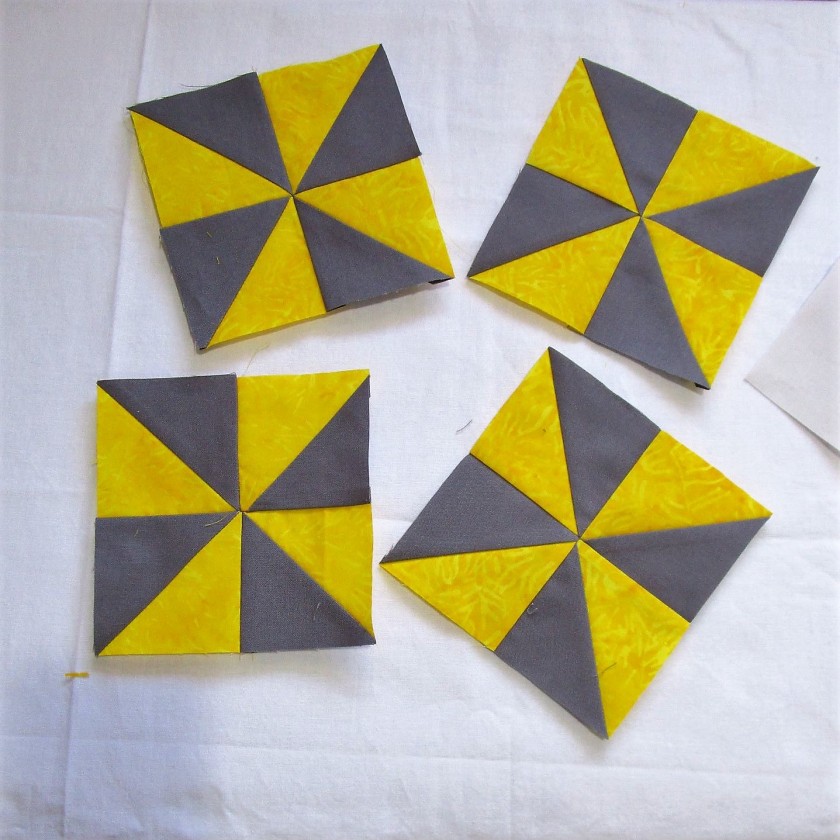
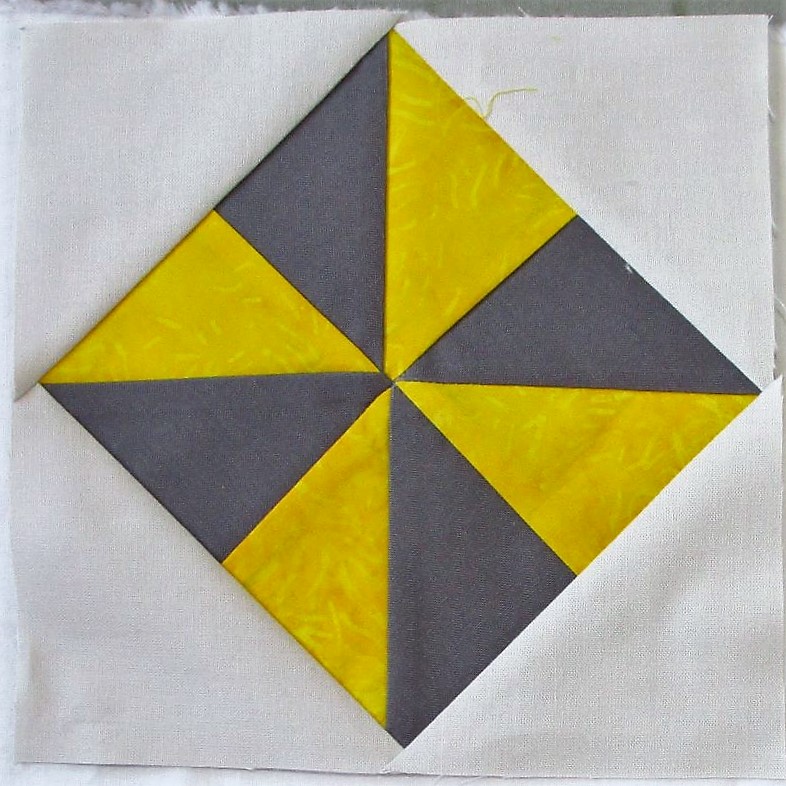
I love the idea of the zebra hiding within the grass. Since time is of the essence, and I am a rank amateur at paper piecing, I won’t attempt to insert any rain forest animals into my grass blocks. It took me several hours over two days and a certain amount of seam ripping. Eventually I managed to sew up six blocks.

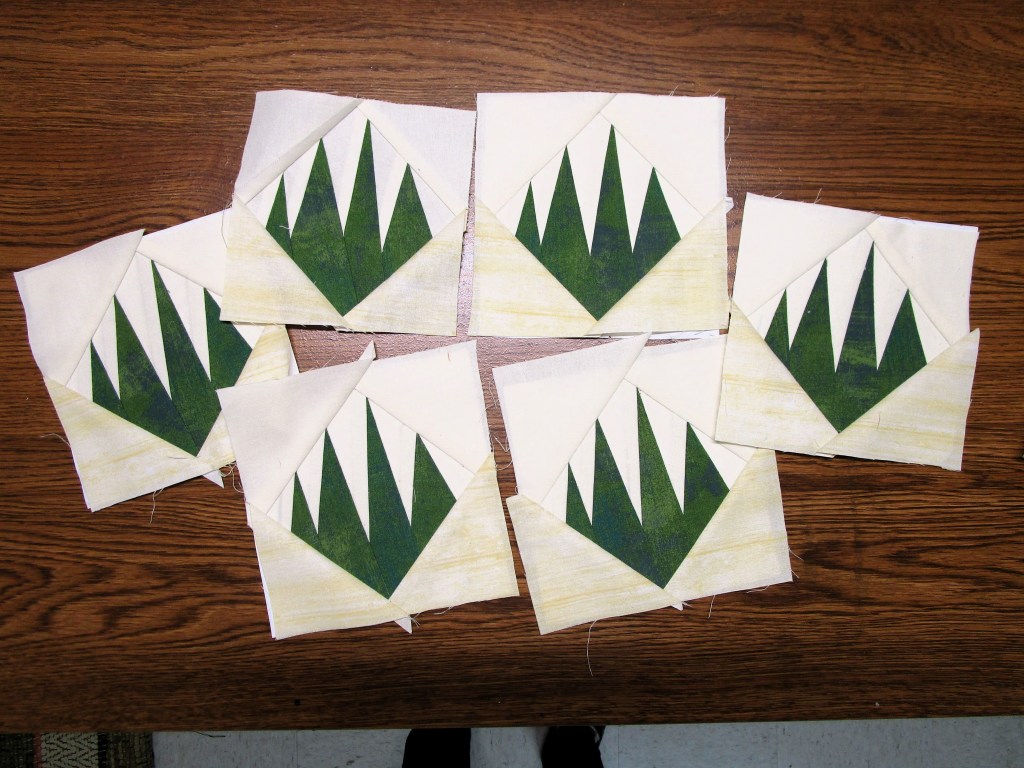
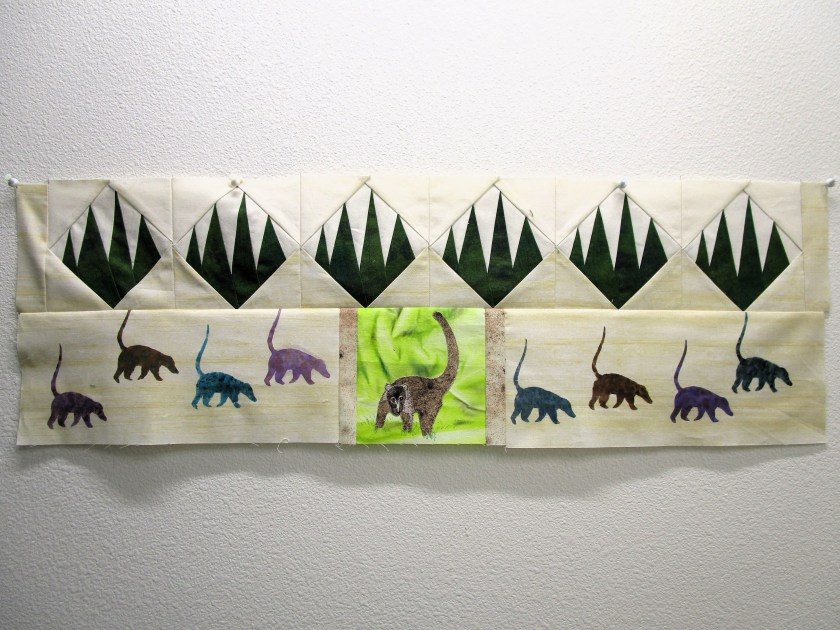
Inserting this row into my project will be easy. The background fabric will blend into the “ceramic tile” row and the pale yellow strips will blend into the coati row.

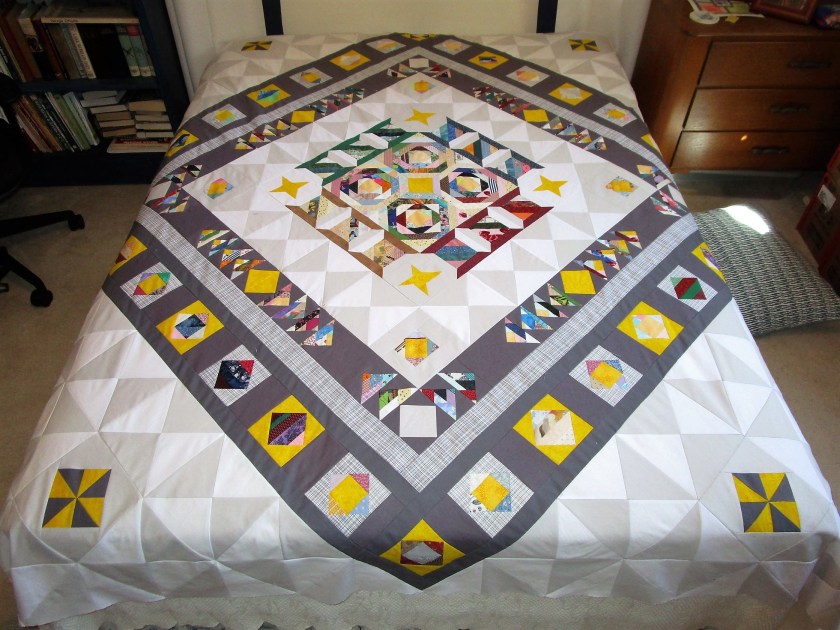
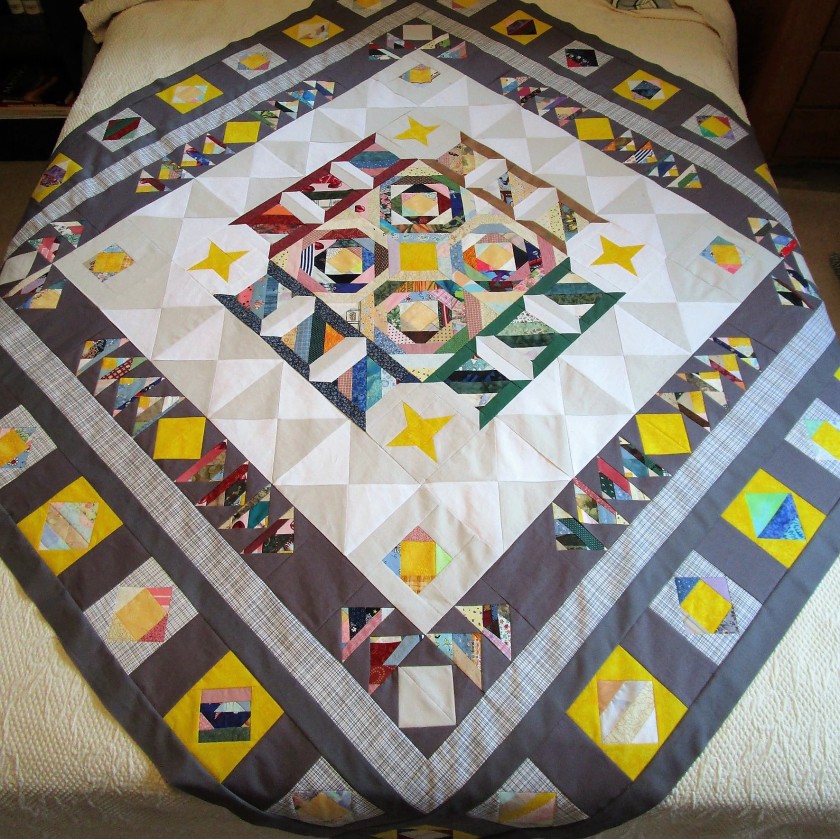
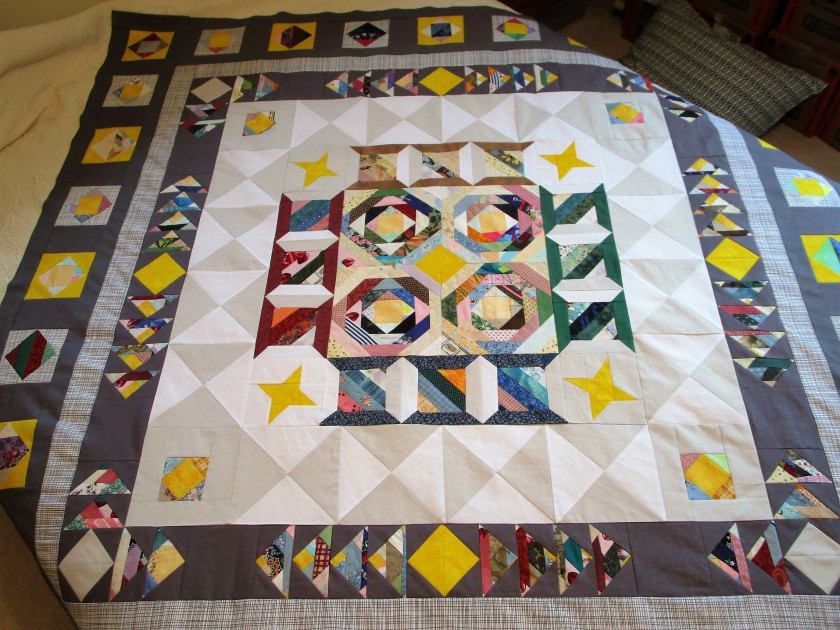
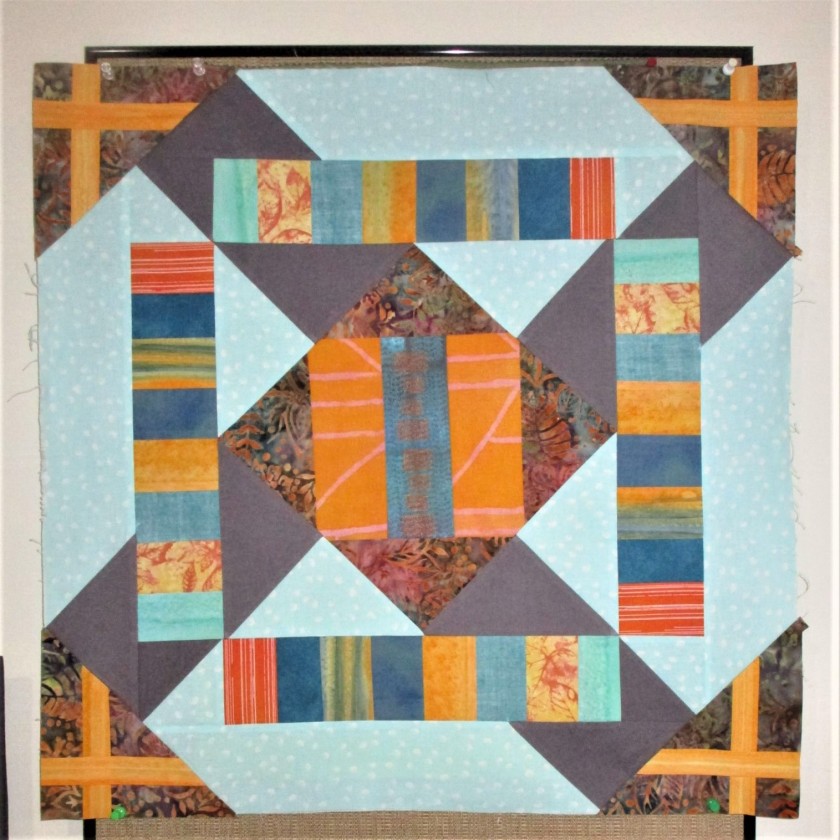
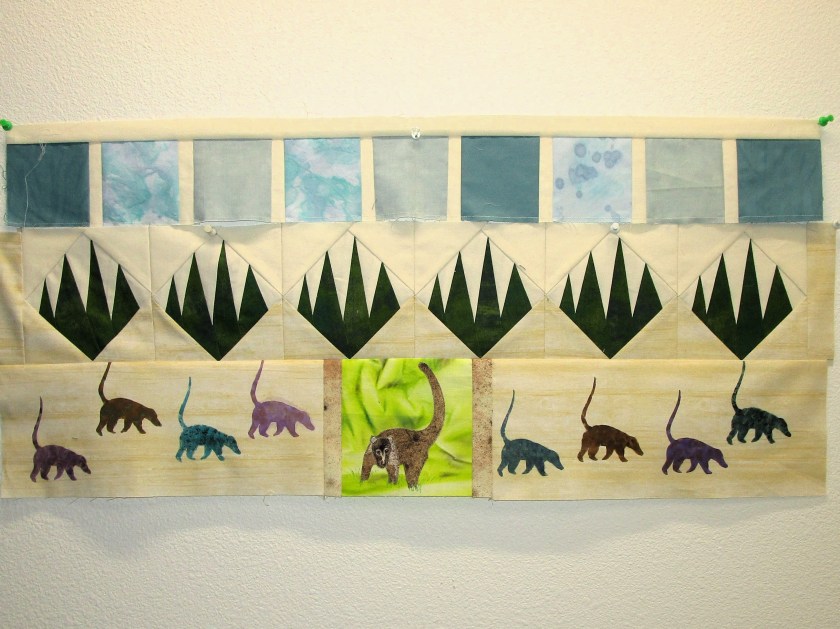
And here is the lower half of my Costa Rica quilt.

If you are now a fan of the Stay-at-Home Round Robin quilt-along, please follow along by visiting the Linky parties. This week’s can be found at Quilting Gail’s post.

Here is where you can check out all the past weeks’ work, and see what will come next.

  • January 14   Each of the co-leaders will be sharing their centre blocks (you will have to visit each of their blogs to see them). I will host the first linky party where you can show your centre block.
  • January 21:  1st Round:    Brenda @ Songbird Designs
  • January 28:  2nd Round: Kathleen @ Kathleen McMusing
  • February 4: 3rd Round: Emily @ The Darling Dogwood
  • February 11: 4th Round:   Wendy @ Pieceful Thoughts of My Quilting Life
  • February 18: 5th Round:  Gail @ Quilting Gail 
  • February 25: 6th Round:  Anja @ Anja Quilts
  • March 25:   Parade: showing all of your finished SAHRRs!
Posted in quilting

SAHRR 2023 Big Finish

This Friday, I have a final view of my Stay-at-Home Round Robin quilt. While I am describing it as a finish, there are several more steps I need to take before it can grace a queen-size bed. But, all the design elements are in place.

In my last post, you saw the pinwheel blocks made for Round Six. I used them as centerpieces of four large triangle sections constructed from hourglass blocks.

Viewed from this angle, the pinwheels seem to have shadow pinwheels as the hourglass blocks converge.

After sewing the corner pieces in place, the quilt still needed more width. To address this, I made strips of half-square triangles. At the centers of these strips I inserted a few more scraps from my recycled pineapple blocks, just to break up the long stretch of background fabric.

With the addition of the corners and the side strips, my quilt now measures 78 by 90.

Close up of pinwheel corner:

At this point, I admit that I am feeling a bit spent. There are problems yet to be solved (and do I add a border or not?) but there is a bright light at the end of this tunnel. Our town has a quilt shop that offers long-arm quilting services. I was overjoyed and relieved that I will not be attempting to quilt this on my domestic machine. My reservation to get the quilting done is set for June.

I will now add my scrappy SAHRR quilt to the quilt parade.

Thanks to six quilters who organized this quilt-along, especially to Quilting Gail. She is hosting the quilt parade, where you can ooh and ahh over all the beautiful tops made by participating quilters from everywhere. You can enter here:

Posted in quilting

SAHRR 2023 Round 6: So Close

It’s the last round of the Stay At Home Round Robin quilt challenge and I’m feeling glum. By the time I finished sewing on the coping strip, row and setting triangles of round five, my scrappy quilt measured 90 inches tall by 68 inches wide.

It is large and full and colorful. Clearly it wants to be a queen-sized bed quilt. And it’s crying out for more areas of background fabric to give some calm in the storm.

I am having trouble imagining how I could wedge in some pinwheel blocks as selected by Quilting Gail.

But I’m no quitter. I made four not-big pinwheels, trusting that they will fit in.

Somewhere.

One thought I have is to insert the pinwheels into square-in-square blocks of background fabric, then slip those blocks into the corners of the last rows.

Anyway, I’ll try to cheer up. After all, I have almost two weeks to finish the top before the quilt parade deadline.

Posted in quilting

SAHRR Round 2 – Angular Puzzle

On Monday I learned that the next prompt for the stay at home quiltalong was Plus Sign. As in the past round, several challenge participants had their additions up and posted on the first day. I was not so quick to get to work. First of all, I wasn’t sure where I should place a plus sign on my project. Secondly, I wasn’t sure what technique I wanted to use I considered all of these options in turns:

  • Nine patch blocks made with contrasting strips
  • Painted on, either freehand, stamped or stencilled
  • Applique
  • Reverse applique

As I awoke this morning, I had the answer – really, it came to me just as I got out bed! I remembered this little tool stuffed away in my sewing cabinet:

I would make plus sign appliques, but I would do it with fabric strips run through the bias tape maker. This tool folds under the raw edges making a very even tape, very quickly.

It turned out to be the only part of the project that was quick.

My first goal was to bring the gray X motif, which had a prominent place on this work, to a graceful close. To do this, I cut and pieced a border using the light blue and dark grey fabrics, with the grey piece matching the angle of the X already in progress.

Here are three of these borders, sewn and ready to be pressed.

When sewn in place, the grey X get its rectangular legs finished up.

Now I am ready to add the plus signs. It’s time for the floral batik fabric to make another appearance. I cut it into four triangles to finish the corners. It is here that the plus signs will appear.

Corner triangles and tape, ready to be fused together

One of the problems I had with using the plus sign motif is that it looked like a stubby, ungraceful pair of sticks to me. To solve this issue, I decided to elongate two sides of it. The long legs will come from the edges of the triangles, with the cross happening at a right angle in the corner.

All of this sounded very simple to me, in terms of the construction steps. This is where my lack of experience kicked in. After prepping the pieces, I started sewing them in place. Nothing would line up correctly! I measured each triangle, but didn’t find anything wrong with their angles. After spending an hour or so, sewing on and removing a few triangles, I finally realized that I had failed to true up the border edges. What a rookie mistake!

Eventually I sorted out the 90 and 45 degree edges and sewed everything together.

To see some of the other quilters’ work, you can visit their posts.

Here: