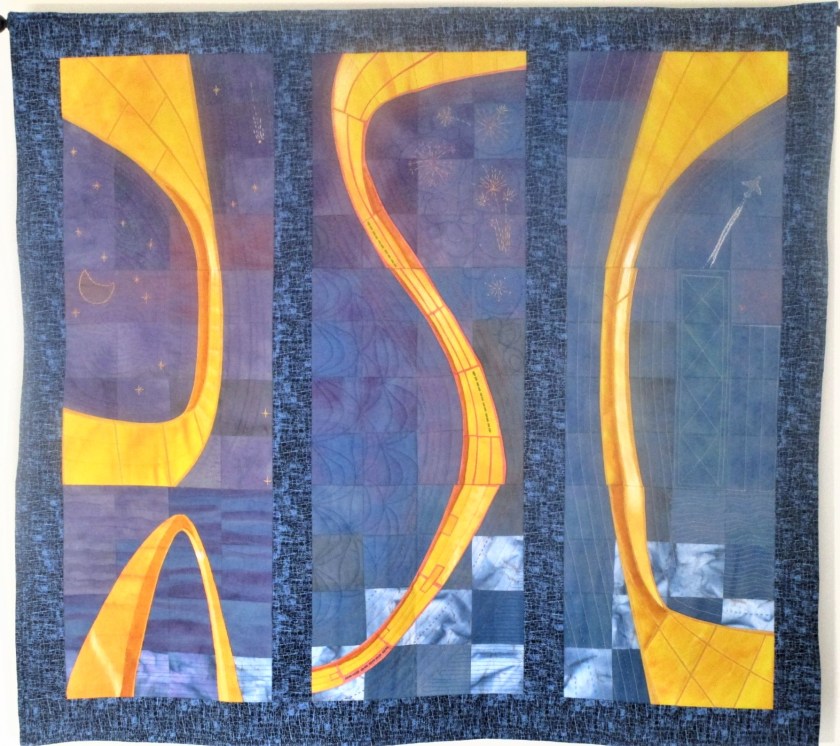
It took only a few days to determine and apply the surface decoration on this piece. And I have stretched the truth a little in calling this one finished. I have sewn on a wide border that still needs machine quilting, and the whole thing needs to be mounted to an artist’s canvas. Since I can’t purchase that item until pandemic restrictions are lifted, I am content to call this object finished.

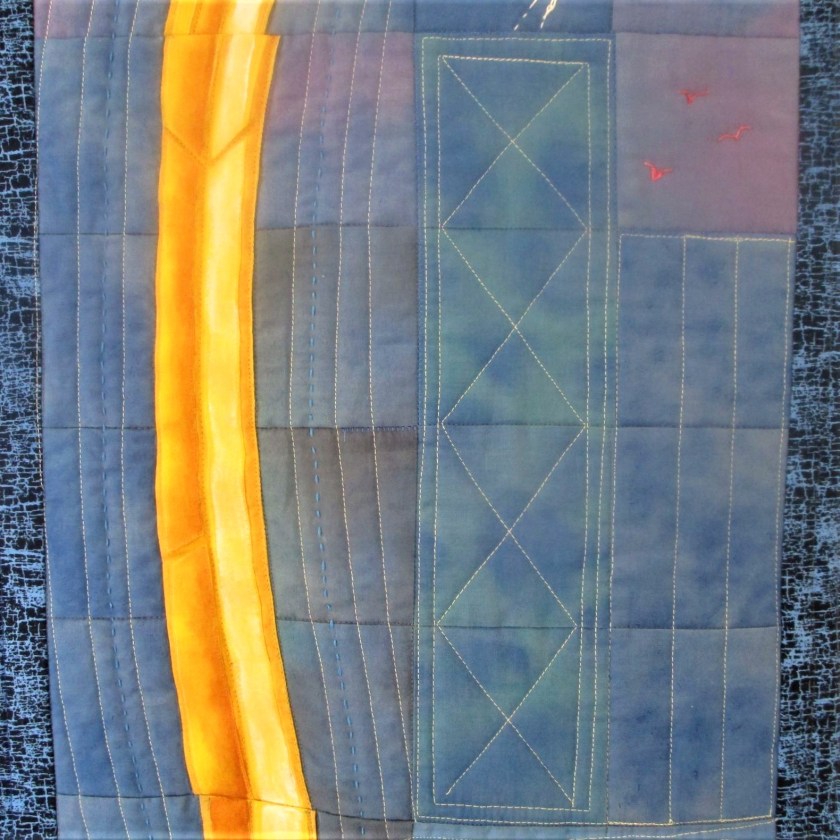
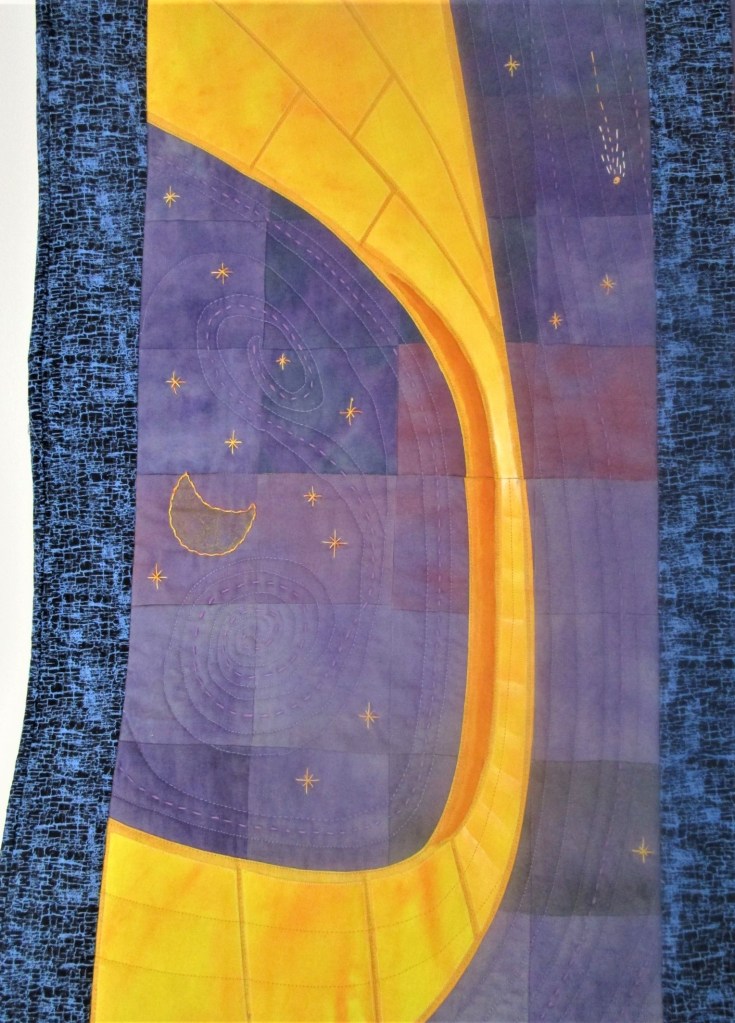
This is a detail I altered from the original image. In my photograph there was a road in the foreground. I changed it to a stream and depicted it with sunlight glinting off its waters. I achieved this with metallic yarn sewn on with couching.

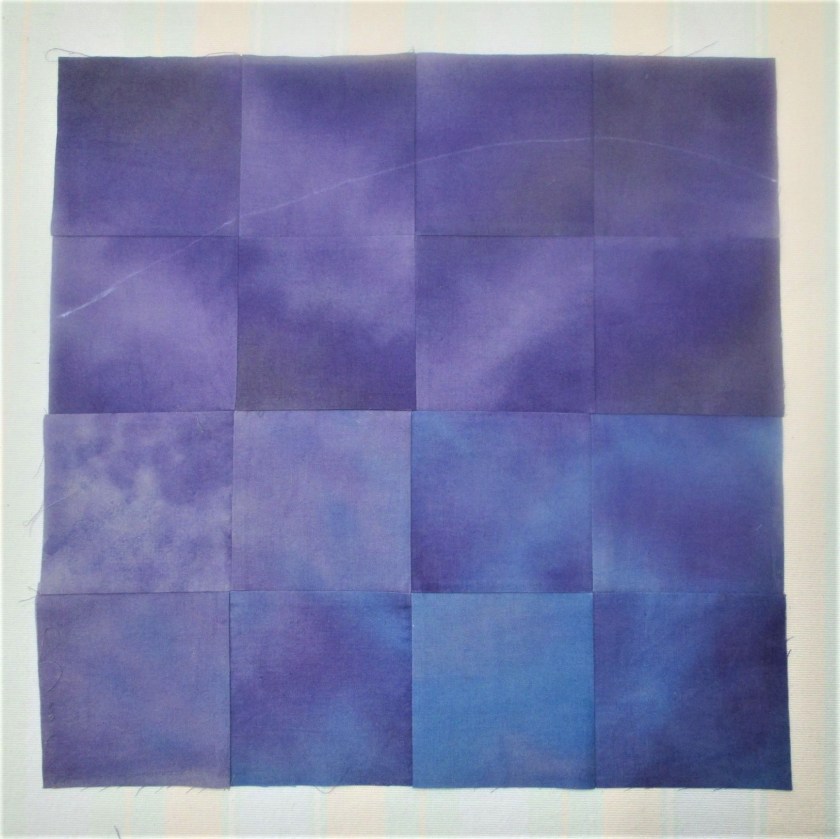
Here is my trick to get my running stitch straight. By using painter’s tape to mark my fabric, I could hand stitch while watching TV. Also I don’t have to remove marks.

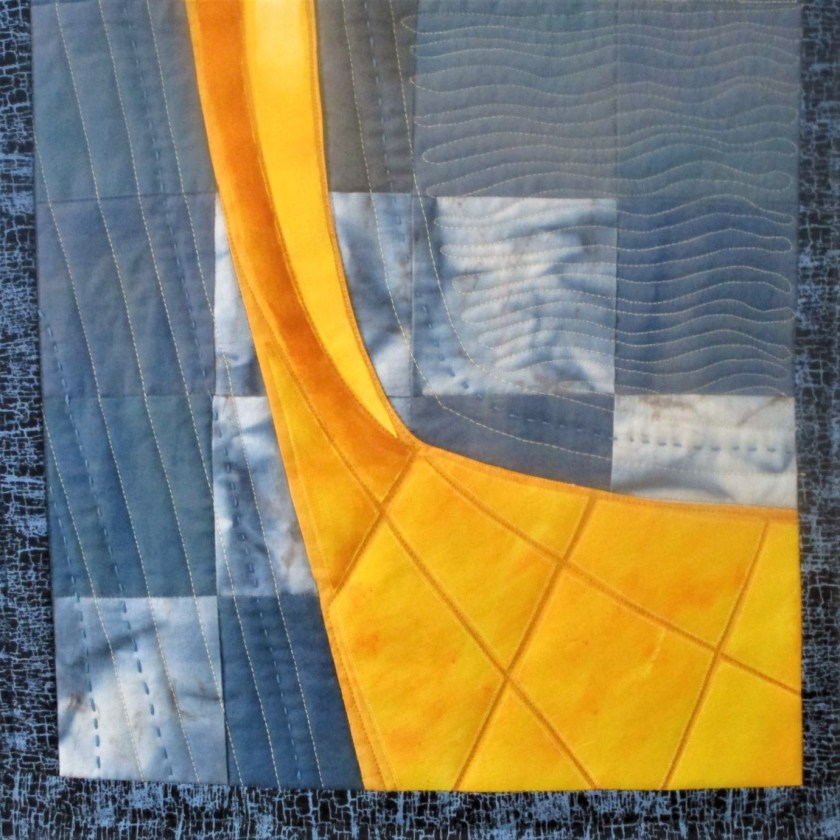
Close up of lower right section showing sun. Clouds and stream are reflecting the sunset. The triangles were stamped onto the fabric using metallic paint.
I feel pretty good about this fiber object. It communicates well the idea of sunset and its color range. I like the balance between the elements and the level of detail. And it allowed me to practice my piecing and embroidery skills.