For the second week of the Stay at Home Round Robin challenge, Chris asked us to make piano keys.

In the world of quilting a piano keys border is one with narrow rectangles in assorted colors sewn together. Oh, I get it, this is like string piecing!
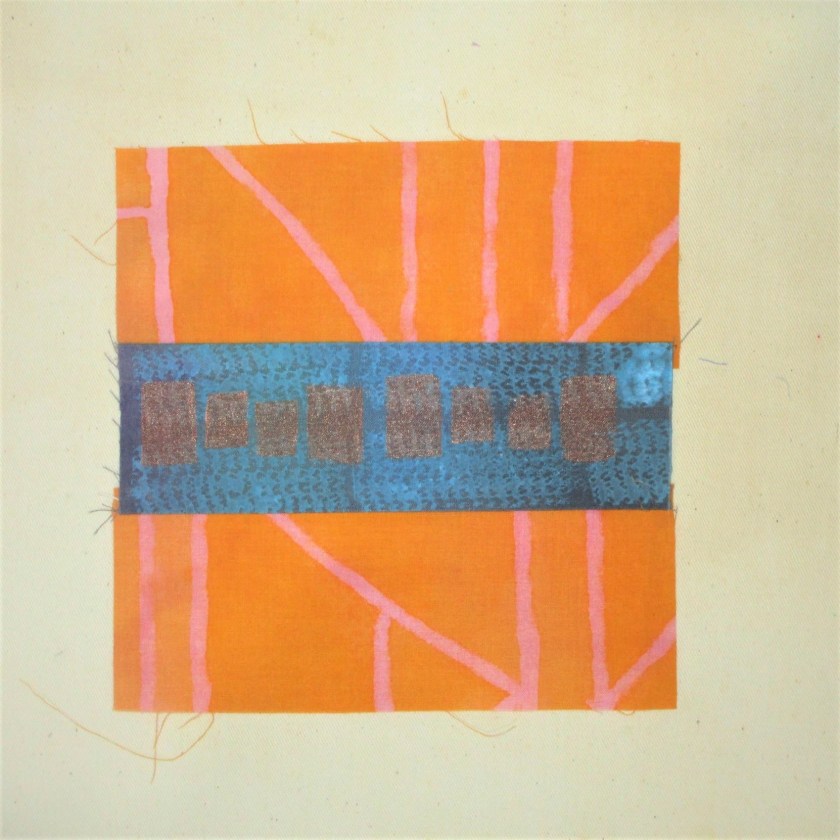
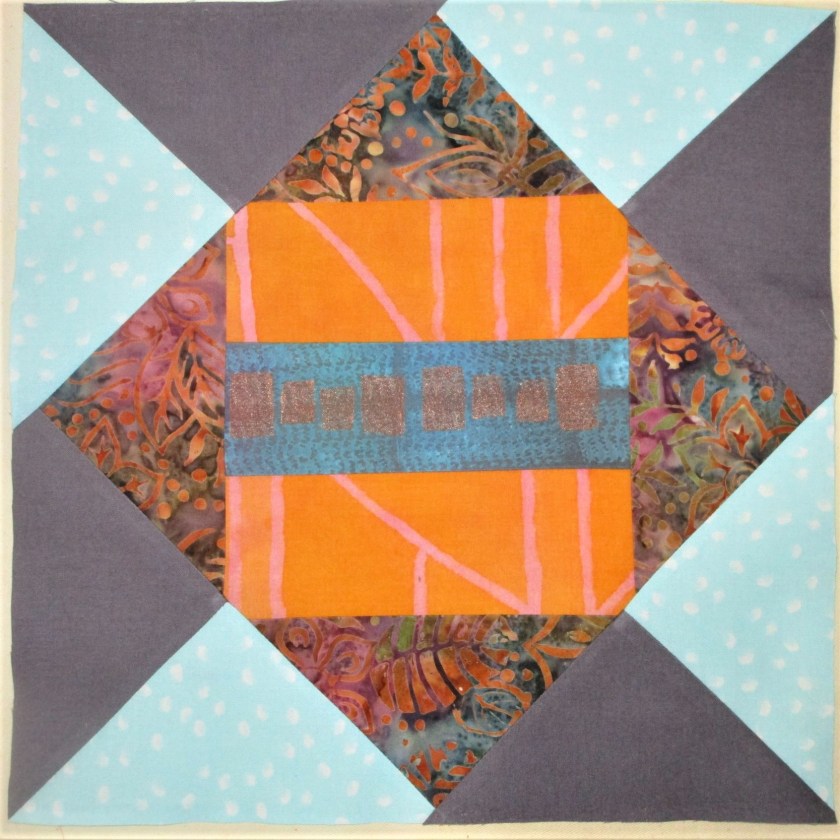
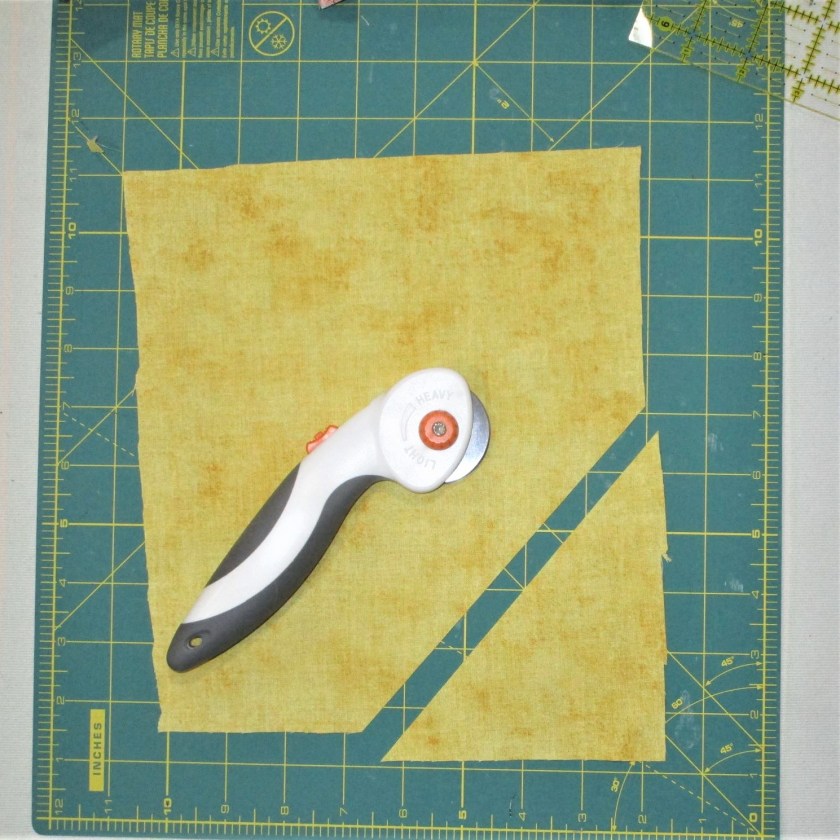
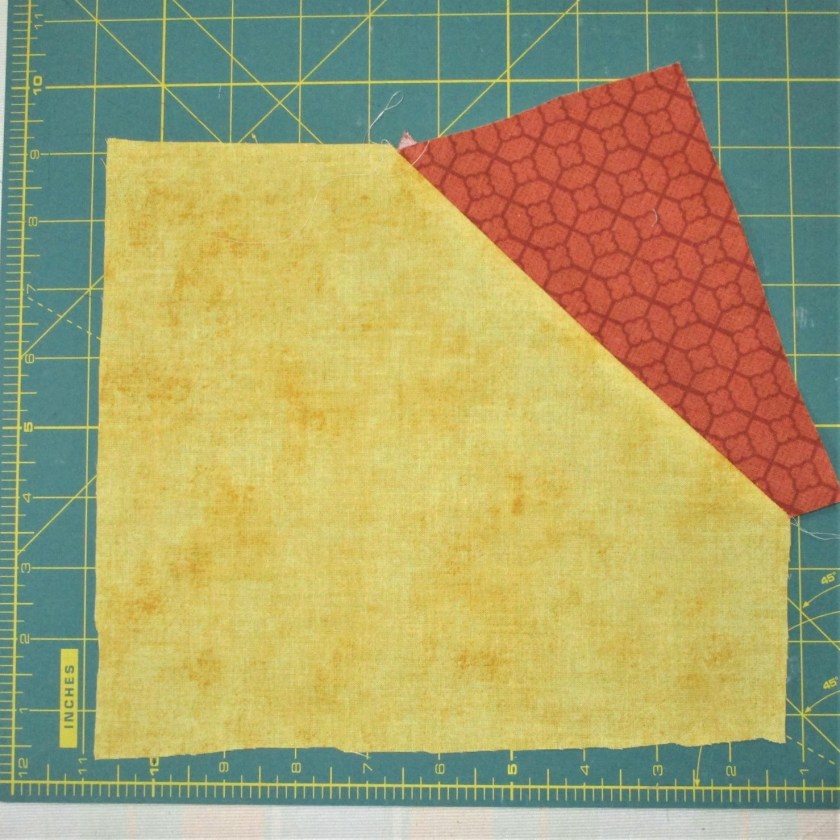
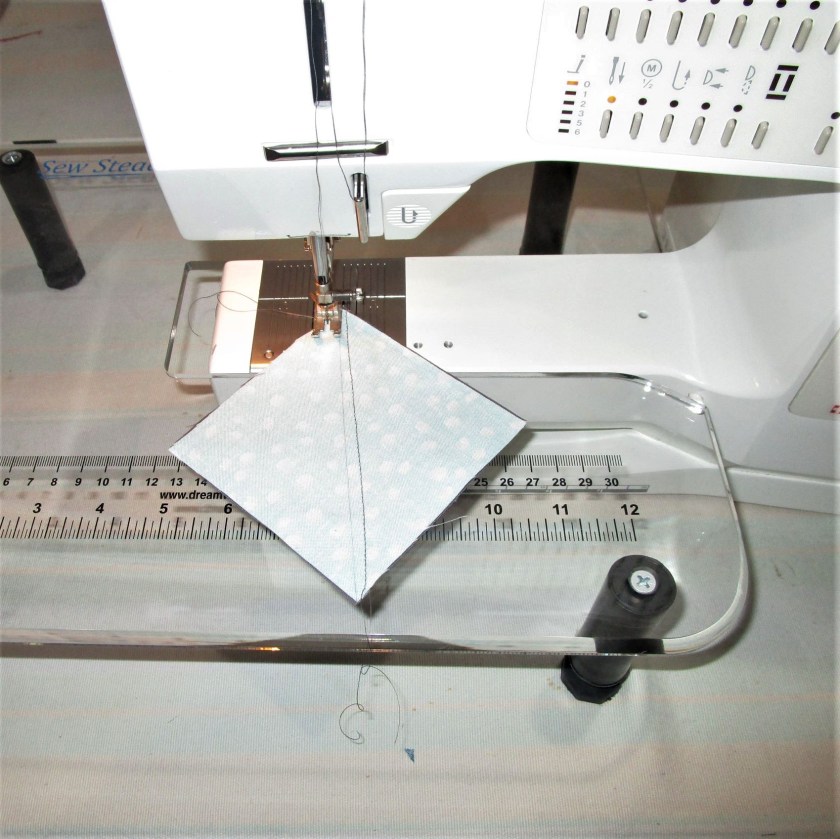
After looking at the other participant’s interpretations, I came back to my own center panel. I decided that my main objective for this round is to continue the outward thrust of the corner triangles. Using the same fabrics, I made half square triangles to use as corner posts.

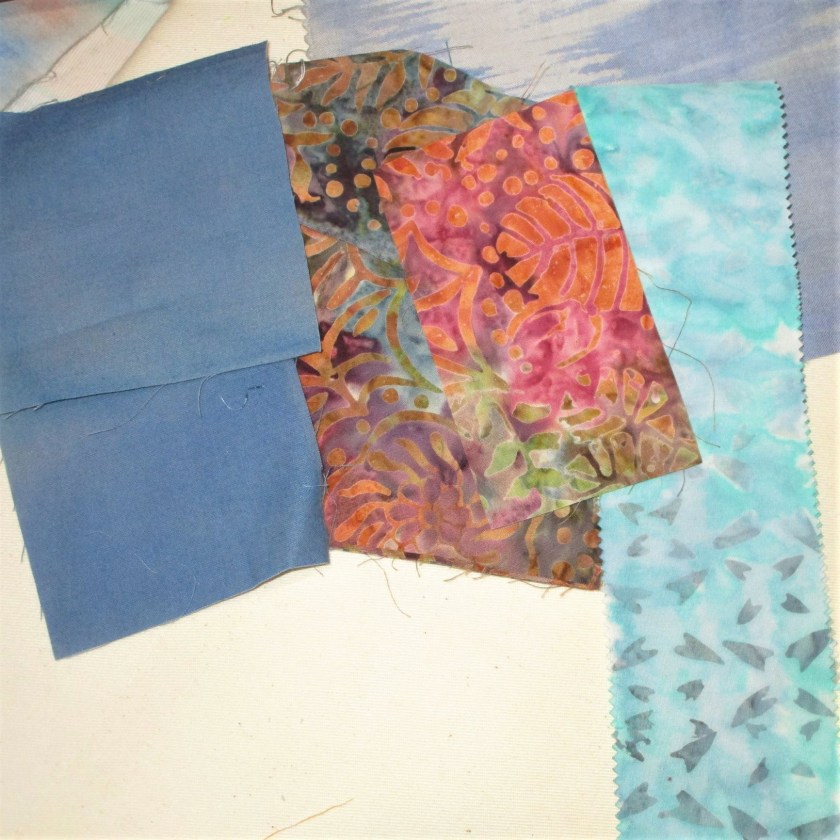
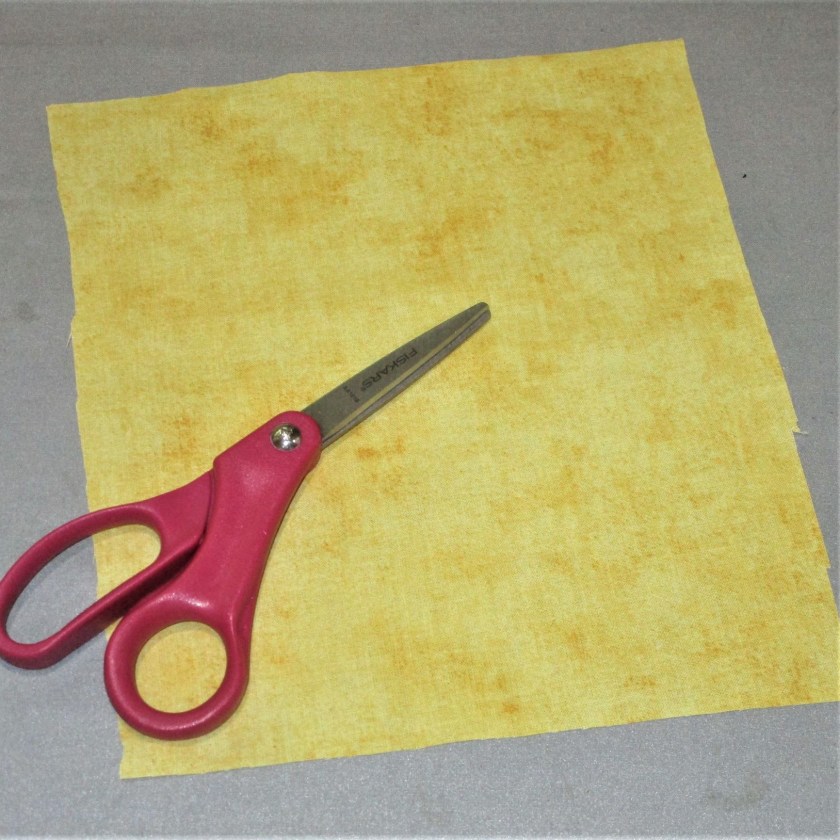
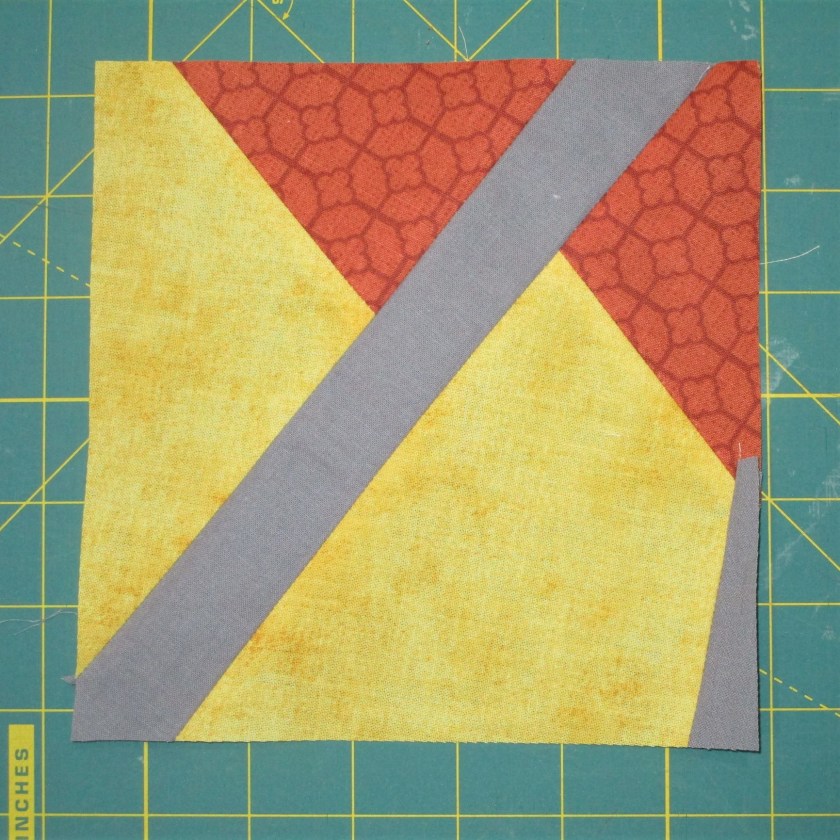
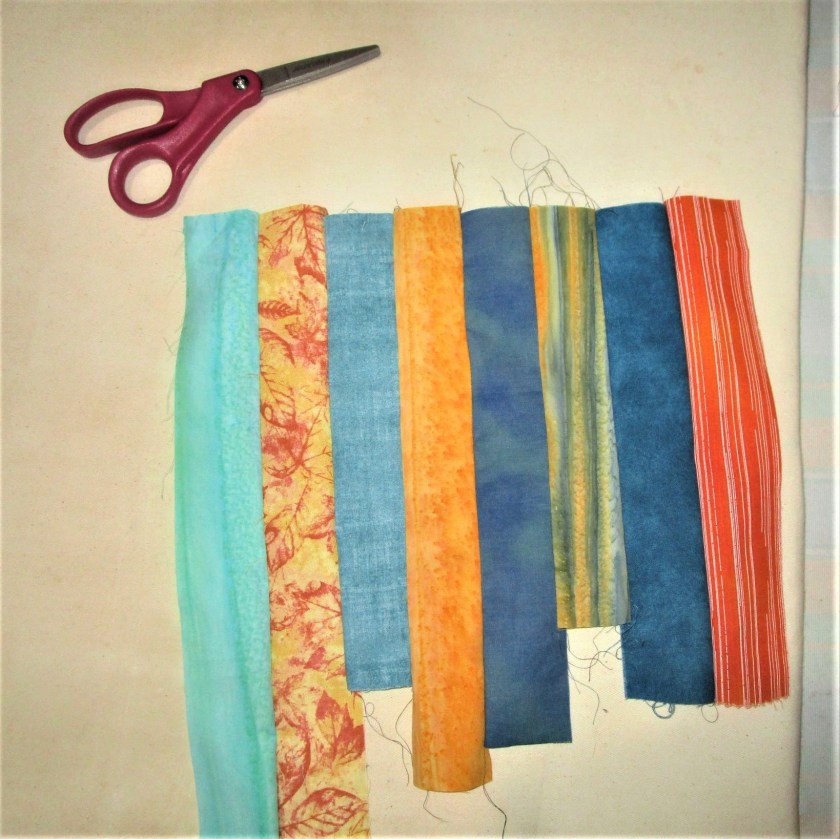
Then I got out my orange and blue-green fabric scraps, cut them into two inch wide strips and sewed the strips together on the long edge. I alternated the two hues and arranged them from light to dark in shade.
These were cut cross-wise into three inch strips, which I then attached to my panel, adding the corner posts as I went along.

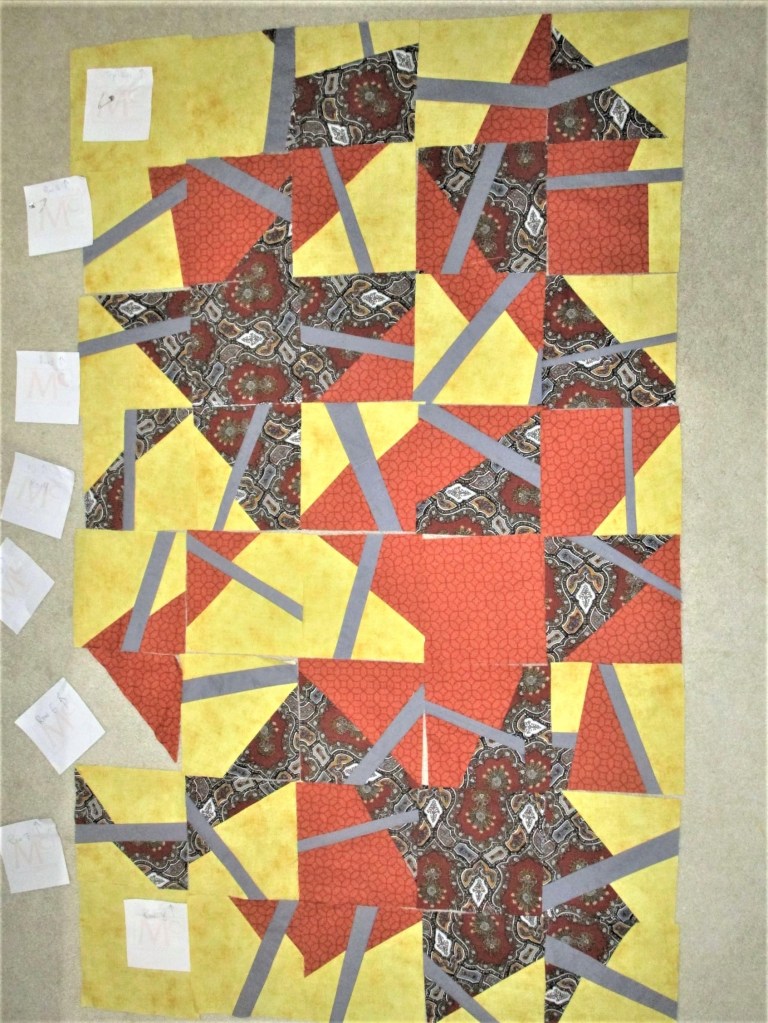
Half Way Done 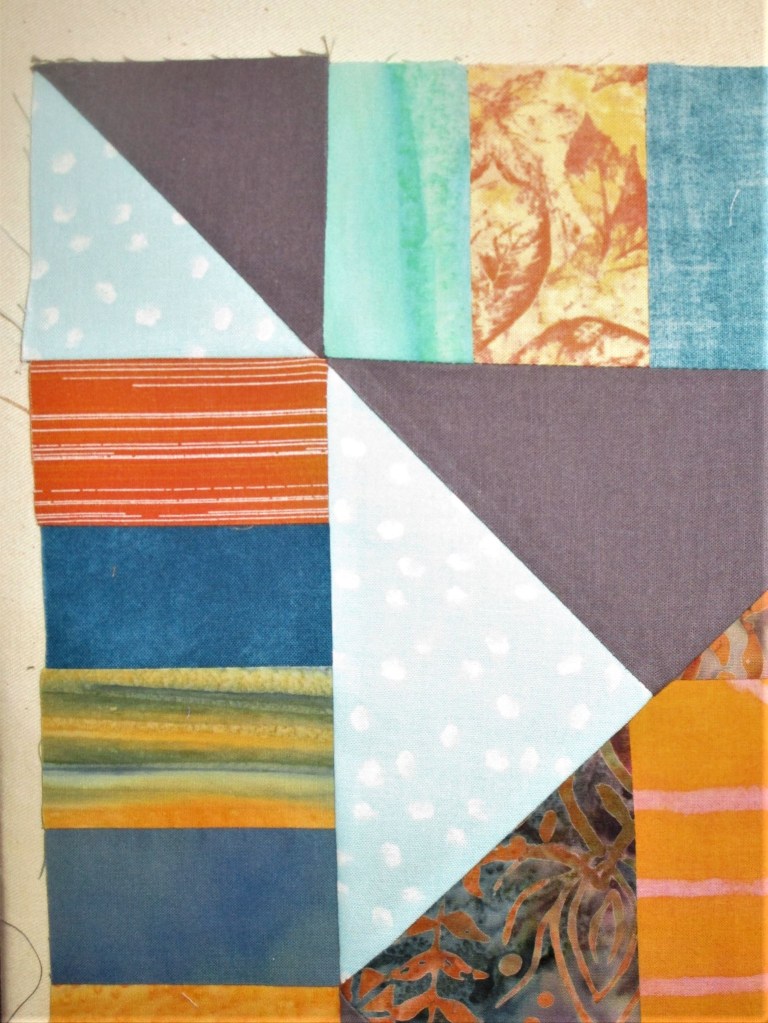
Showing a corner with color continuation into the border. 
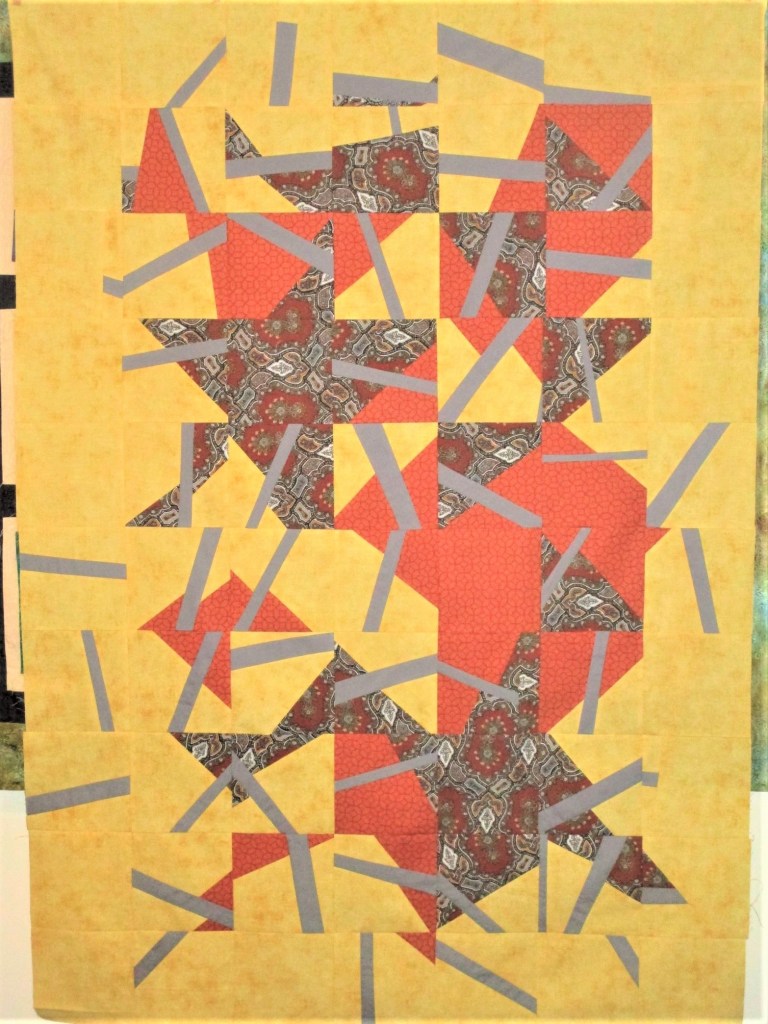
ALL DONE!!
This post is linked with the group Stay At Home Round Robin. If you would like to see the work of other members….
Here’s their links:
- Chris @ Chrisknitssews
- Emily @ The Darling Dogwood
- Anja @ Anja Quilts
- Roseanne & Sue @ Home Sewn by Us
- Wendy @ Pieceful Thoughts of My Quilting Life
- Susan @ Quilt Fabrication