Okay, I’ve lost track of which day I am on. (6-10-23: it’s days 28, 29, 30 and 31.)
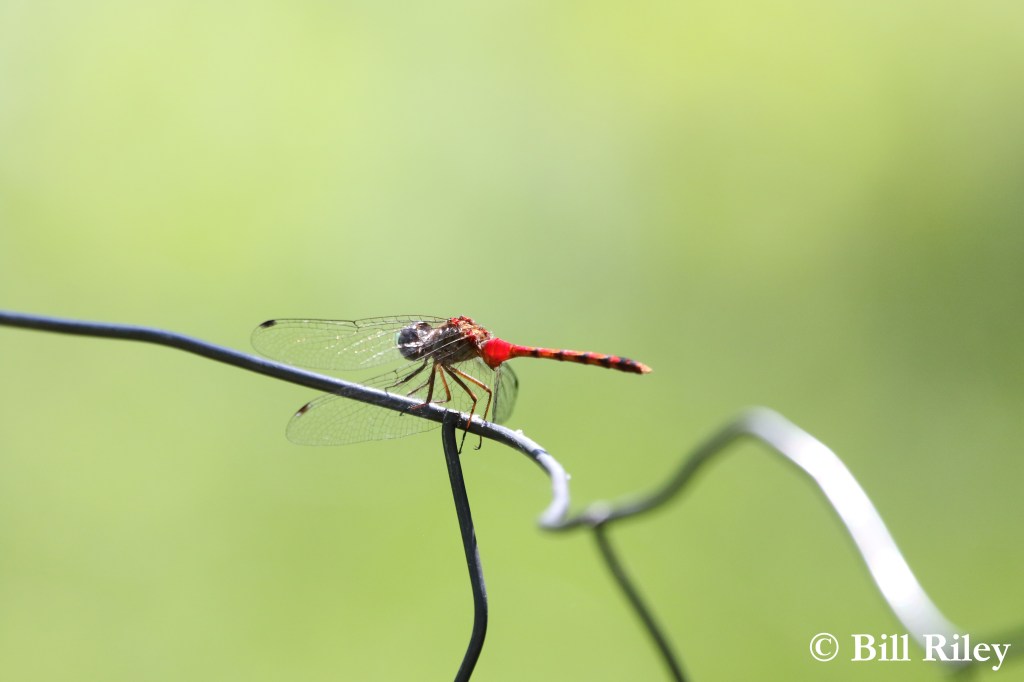
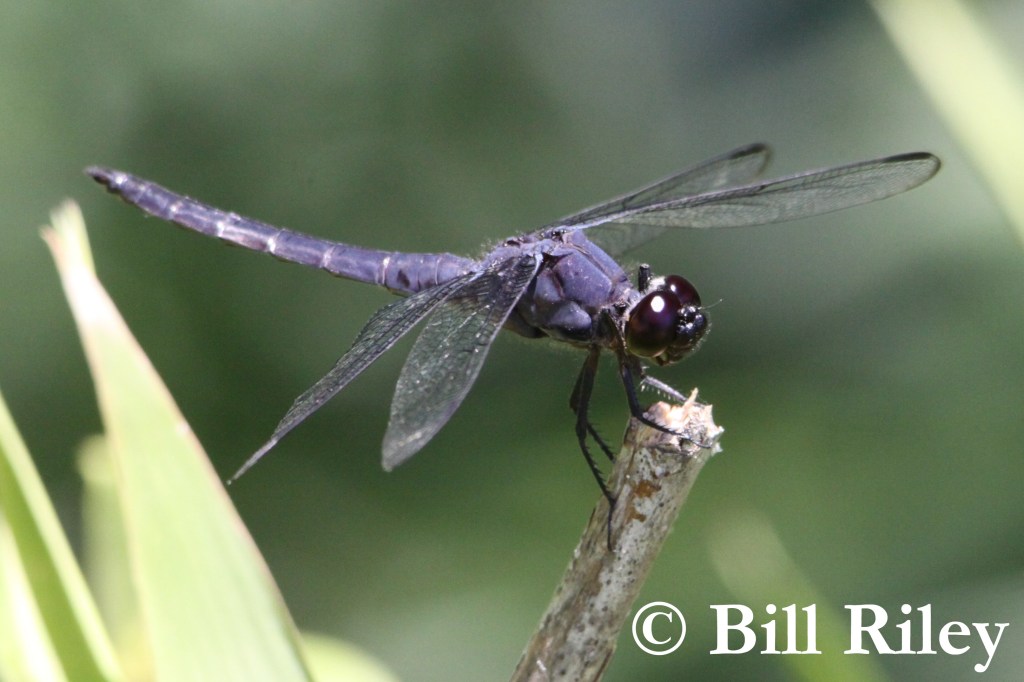
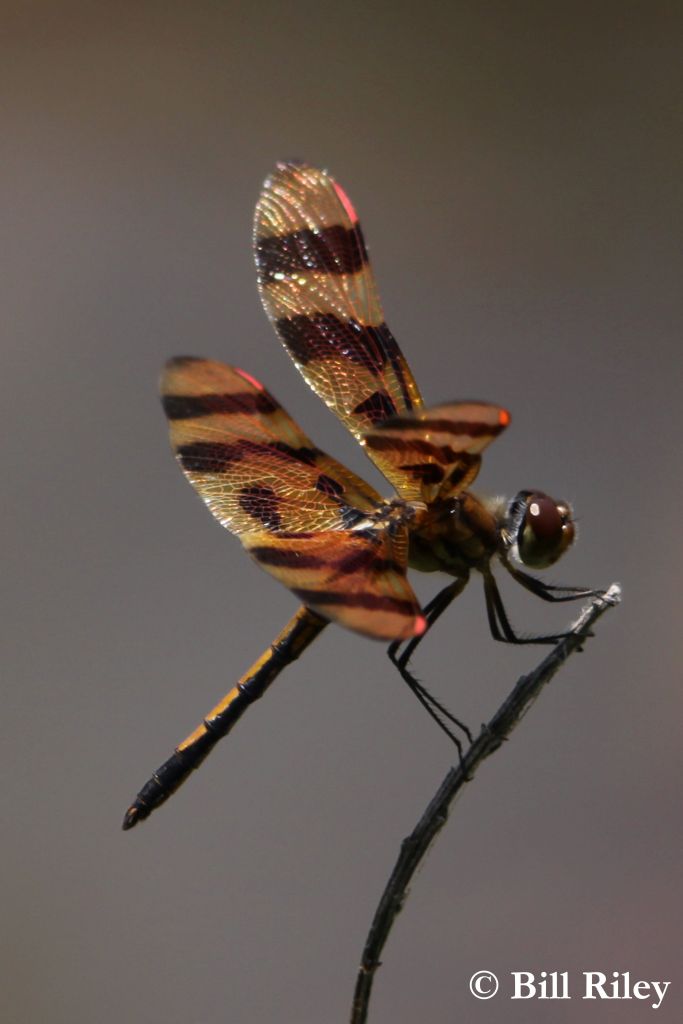
What I can say is that Bill has given me about a half dozen photos of dragonflies.
Here are five:
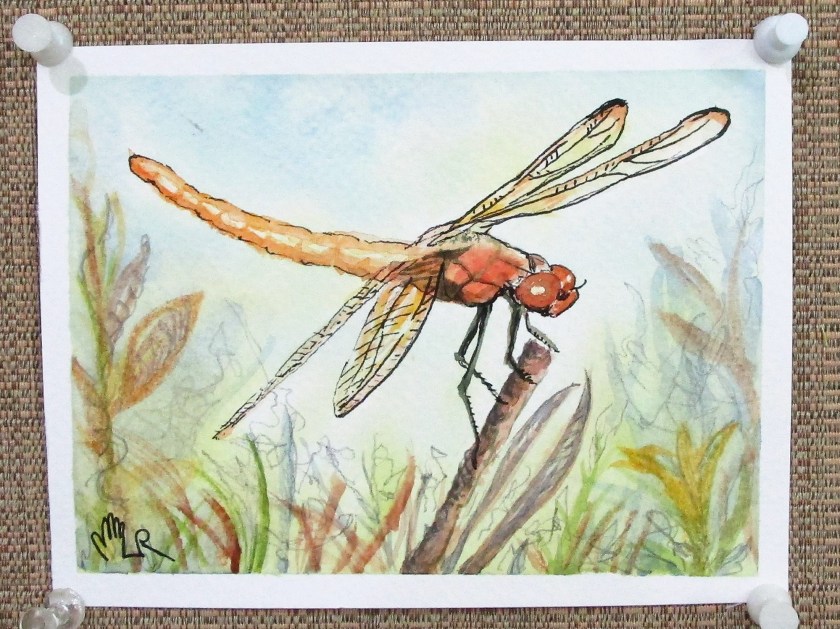
While I have an idea for making a wall hanging; quilted, embroidered, and with painted dragonflies; for now I’m painting postcards. The purpose is to warm-up and to break my funky creative block.
In the process I’ve discovered that painting these beauties is like eating potato chips. It’s hard to stop once you get started.
I’ve tried to keep the dragonflies light and loose. They are so jewel-like in real life, the painted versions are but a poor imitation.
Made on Fabriano Studio cold press using watercolors, a micron pen for linework and Dr Ph Martin’s bleed-proof white for some highlights. I experimented with a silver pen on no. 3, but the shiny bits never show up in a photograph.
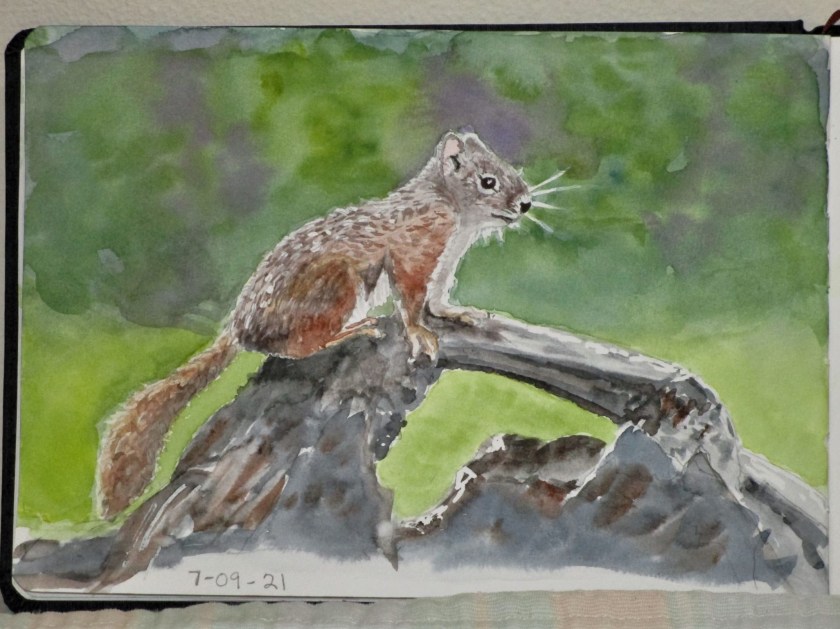
I’ve been practicing painting squirrels. Here is my reference photo of a cute one perched on a stump at the forest’s edge. It is found on Unsplash.com and was taken by Yannick Menard
Yannick Menard on Unsplash.com
He’s so little and fuzzy. Here is how I interpreted him with my watercolors.
Completing this painting in my sketchbook was a real confidence builder for me. I think now I may be ready to paint squirrels that were photographed in our backyard.
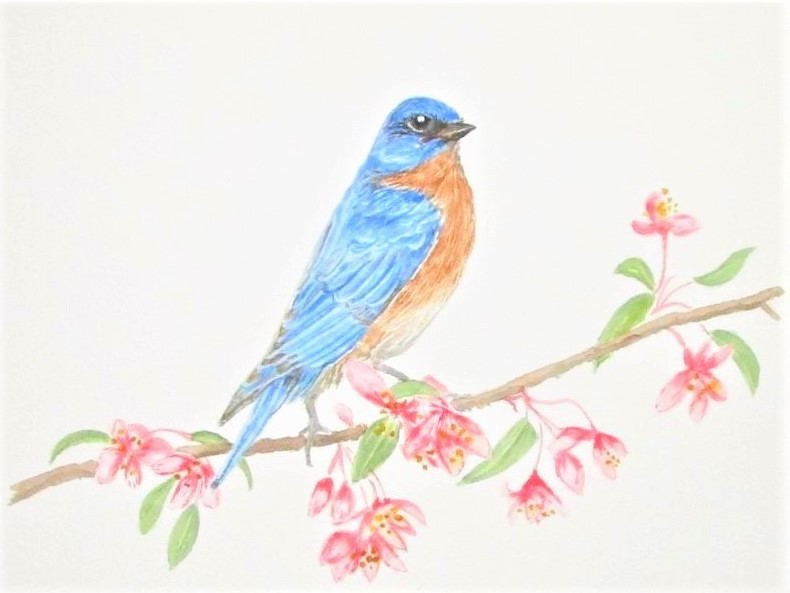
Today I spent a leisurely afternoon following a tutorial by Kateri Ewing painting this bird. This little bluebird of happiness lived up to his reputation – he brought me happiness in the form of satisfaction with my efforts. I am happy with every detail of my work, except the cluster of blossoms in front of the bird’s left foot. That seems to be a hot mess.
On a more positive note, I highly recommend Kateri’s tutorials. She has a gentle, but enthusiastic teaching style and clearly loves water color painting. You can find the links to her classes here:
My local library has just acquired her new book, “Watercolor is for Everyone.” I managed to be the first person to check it out. The book is in the how-to genre, specifically, how to develop a daily creative practice. I know there are a ton of this type of book on the market. But this one seemed right for me. I was in immediate need of emotional support for my creative efforts.
Kateri’s book guides the reader through a 21 day program of making intuitive, process-based art. There are no reference images, and very few technical instructions. The most important instruction she gives is that you give up on your expectation for results. Just show up everyday and paint for 15 minutes, minimum, drawing on your feelings and your imagination.
The process is definitely calming and even meditative.
Over the next few posts I will share some of my results from these lessons.
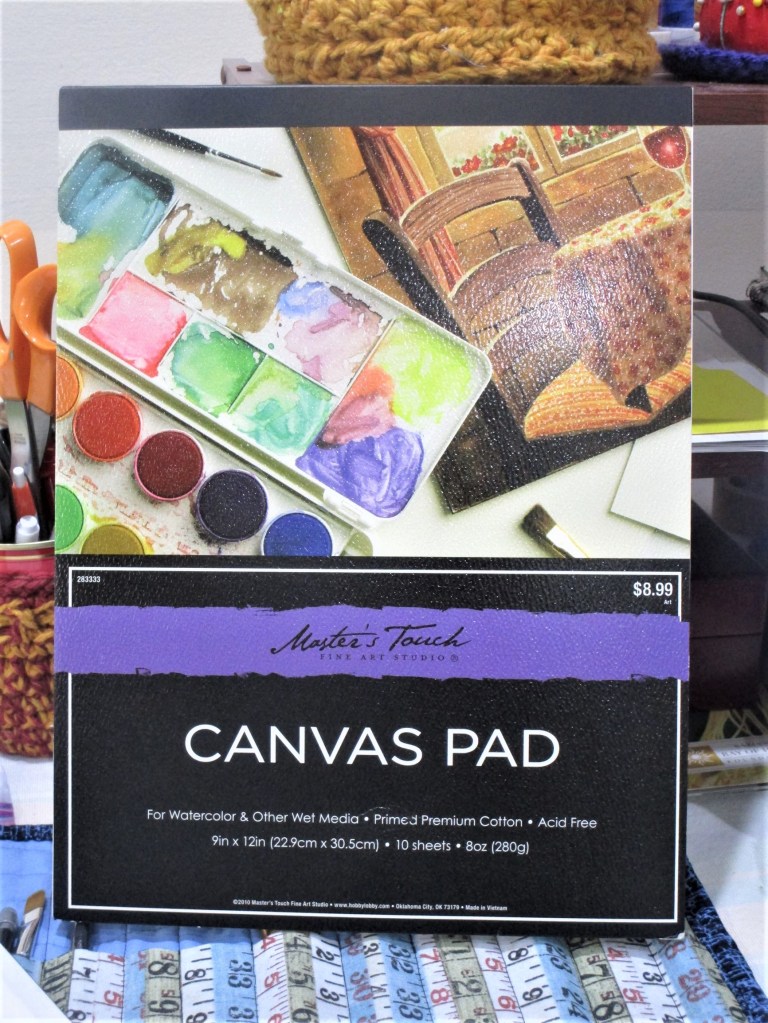
I spotted this item at Hobby Lobby, which piqued my curiosity:
It is described as a canvas pad, suitable for watercolor and other wet media. It is primed, 100% cotton. At $9.00 for 10 sheets, it’s not exactly a cheap paper. It is a soft fabric-like sheet, obviously the same sort of stuff that is stretched over wood frames used by oil and acrylic painters. Yet it promises that watercolors work as well.
I had two questions: First, does it really take paint the way standard cotton watercolor paper does? Second: Does it behave like cotton fabric? For me, that means, can I sew on it, press it and use it on an art quilt?
Today was the day to try. My current project features ducks swimming on a pond. So I got out a reference photo and started a watercolor painting.
It was weird. The paint didn’t want to soak into the canvas. Whatever primer was added made it slightly water repellent.
As I continued to paint, the canvas started to accept the paints, at least a little. My wash went down – thinly, but eventually dried just fine. Getting the colors built up on the duck took a lot of patience. Here’s what I got:
As I removed the painter tape from the edges, I noticed that the tape had not kept the paint out. So no crisp line. That’s okay, I can always cut off the margins.
Next I had to see if the paint would stay put. I wet a brush and moved it along the wash area. The paint was lifting quite a lot, and quickly. So I can’t use a painted canvas in an item that will be exposed to water.
What about heat? I took the iron to the image, pressing gently at first. With a cloth over the duck, I then pressed at a higher heat (rayon setting) and held the iron in place for several seconds.
At first, there appeared to be no effect. Eventually I noticed that the canvas had rippled in response to the heat. The paint looked fine, but I also noticed some shiny places on the ducks’ head and neck. Obviously, at least one of the paint pigments had a binder or bit of metal that melted in response to the iron.
At this point I stopped my experiments. Next time I plan to apply my needle, thread and scissors. Maybe even run it through the sewing machine.
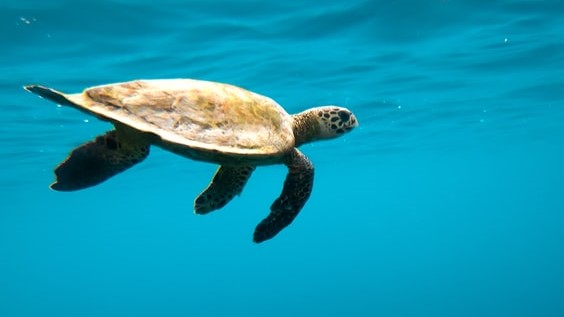
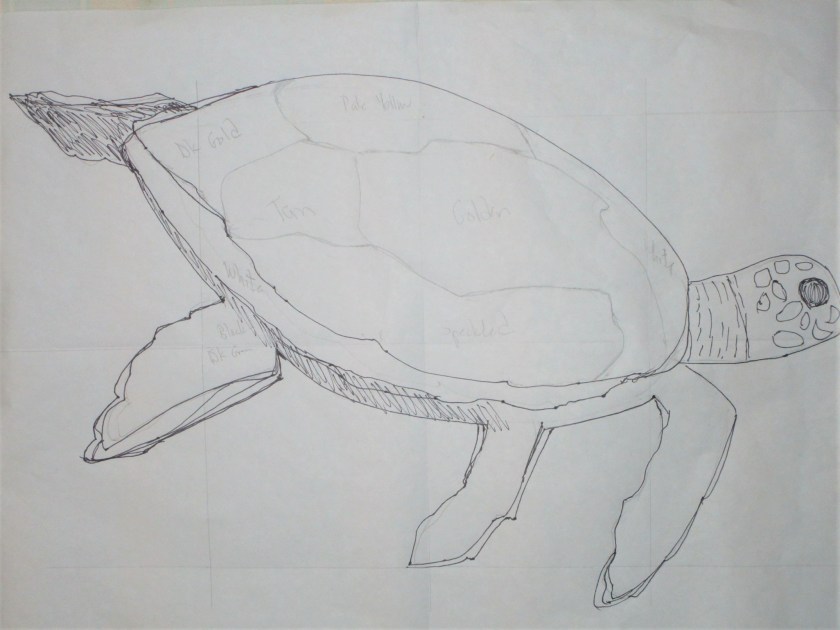
I have a bag full of fabric, sketches and some small quilt blocks that have been languishing in my closet for too long. The time has come to start working in earnest on this quilt. The tipping point came when I decided to organize the blocks around a medallion center. I chose this photograph as the feature image.
After making a sketch,
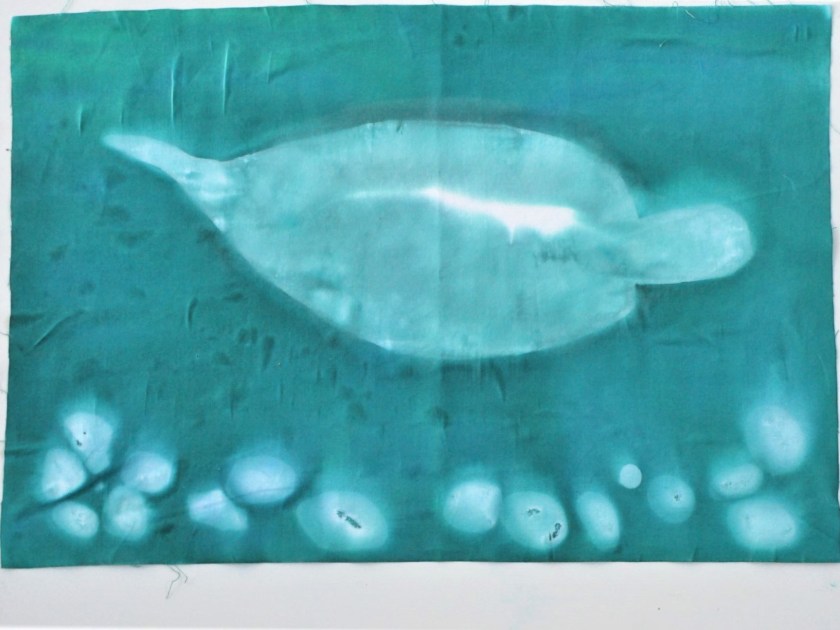
……. yesterday I grabbed my last piece of white fabric and painted it a sea green color with Dye-na-flow paint. I used a “mask’ and some stones on top of the fabric while it dried in the sun to reserve a turtle-like shape.
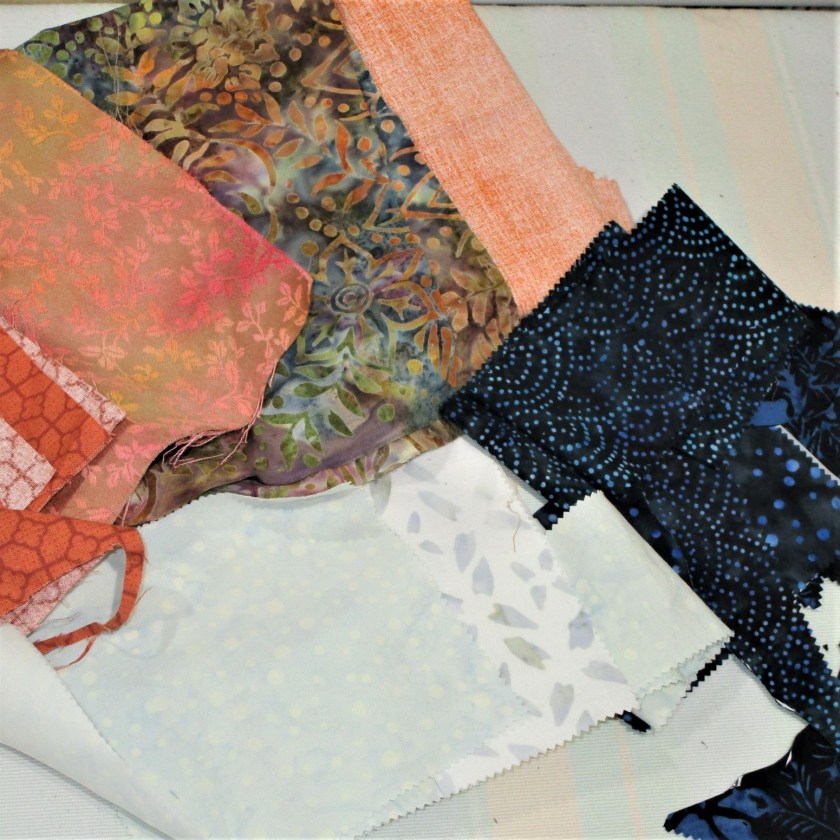
Now I can select some fabrics to applique on top of the base fabric. Here is a selection that will be used to make the sea turtle.
Oranges for the shell, blacks for the flippers and shadow areas. The white is for the head.
Once I get the shapes cut and fused to the base fabric, I will hand paint any needed details.
This is a short post. I’m keen to keep my momentum going. More details will be revealed soon.