Posted in quilting, weaving

WIP Wednesday: Creation Quilt

Today I have a progress report on my quilt inspired by a medieval manuscript.

Here is the center of the quilt. It is formed by the four corners of each four-by-four block. Upon first seeing that blank white diamond, I knew that it would work beautifully for a God’s Eye. After practicing on scrap fabric, I wove the centerpiece design into place. The four arms of the weaving are gold satin cording which I couched into place. The weft yarns are a combination of cotton embroidery twist and wool fingering weight yarn leftover from many a sock project.

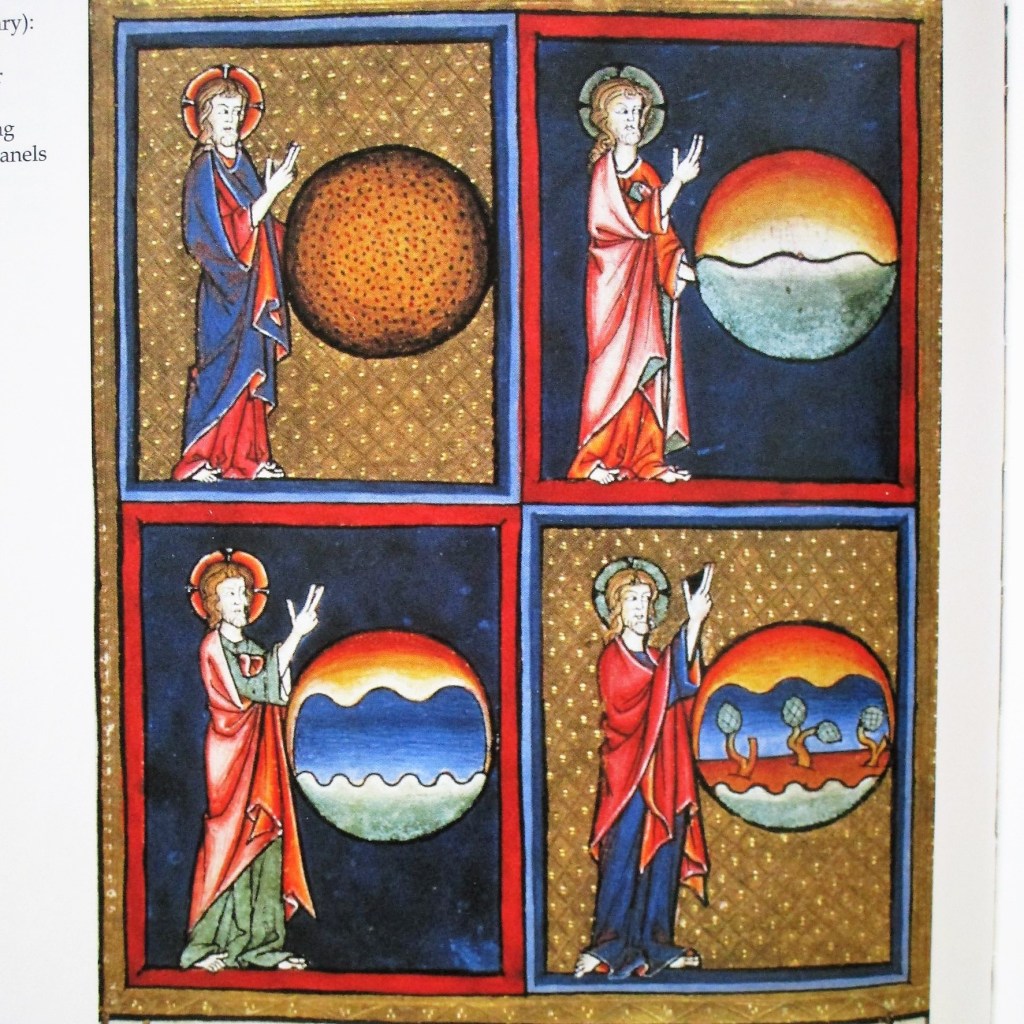
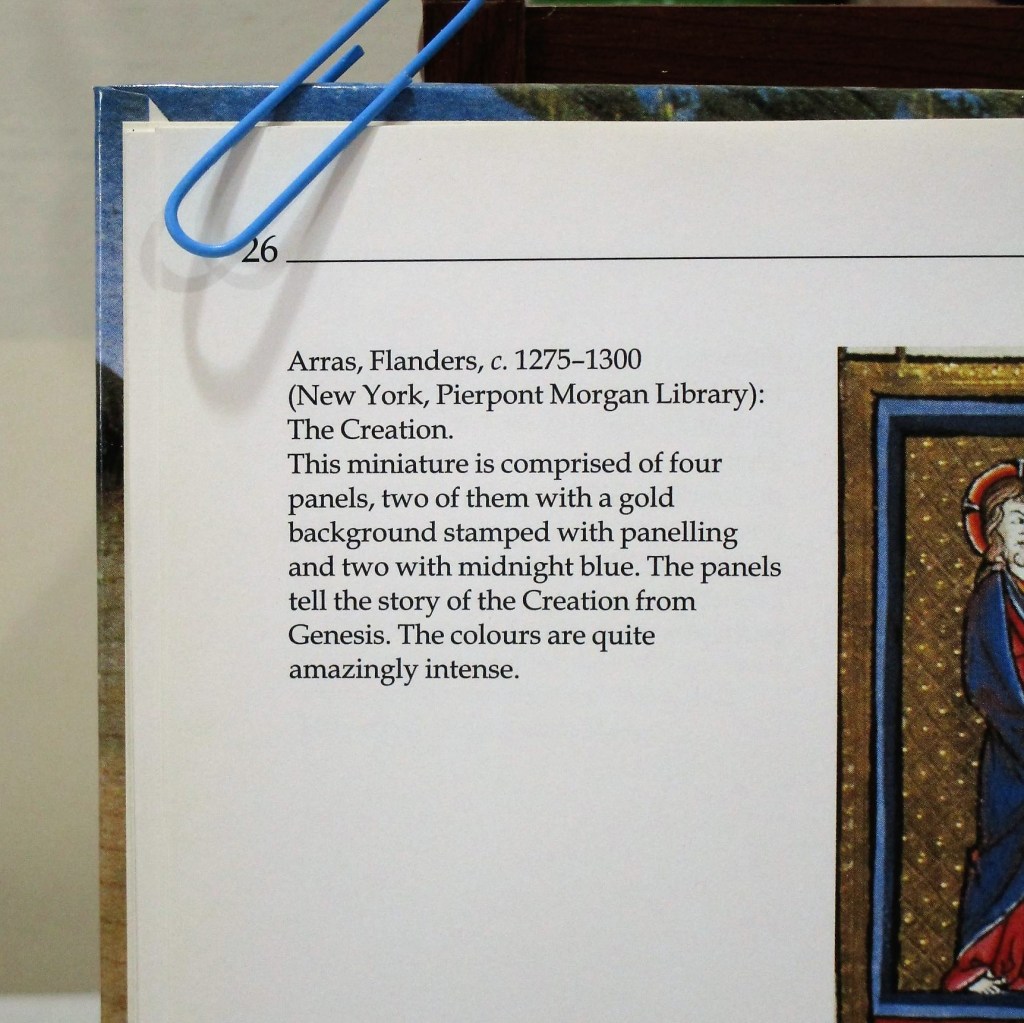
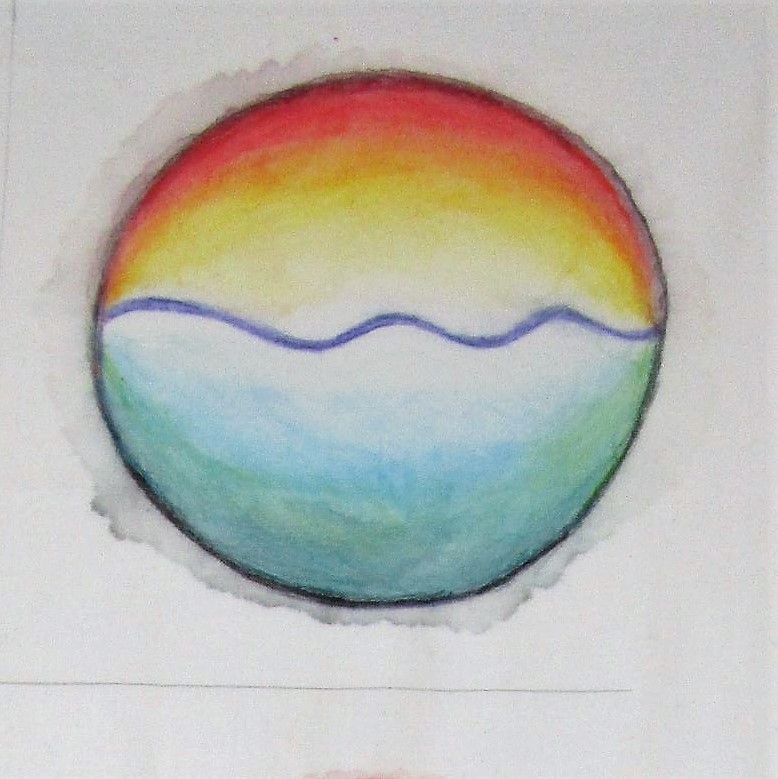
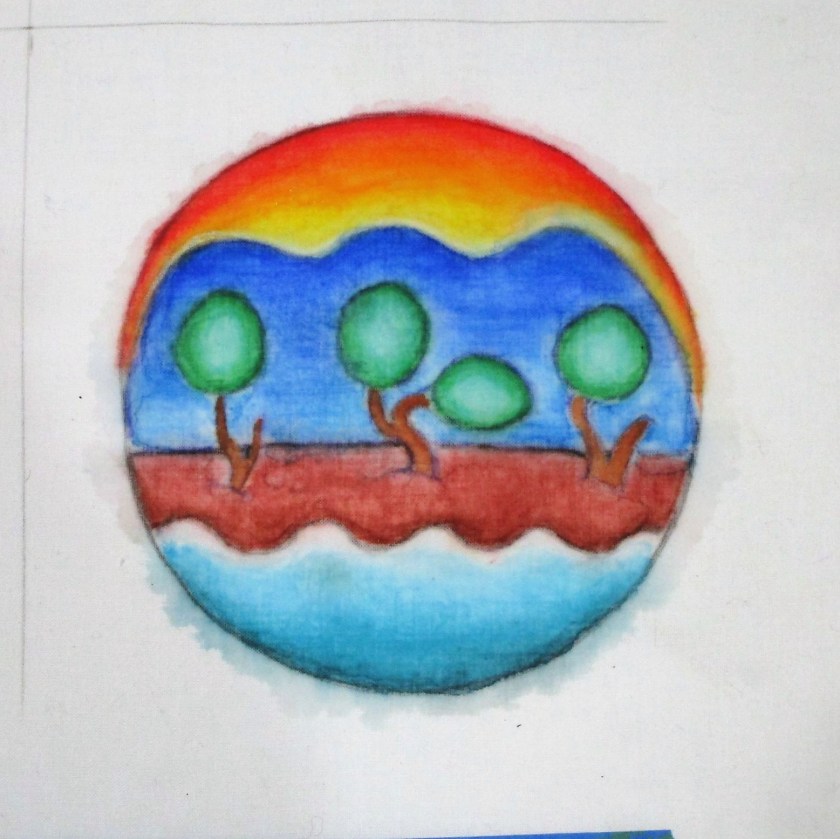
I think it balances the four creation paintings beautifully.

Here are the quadrants of the piece at this point.

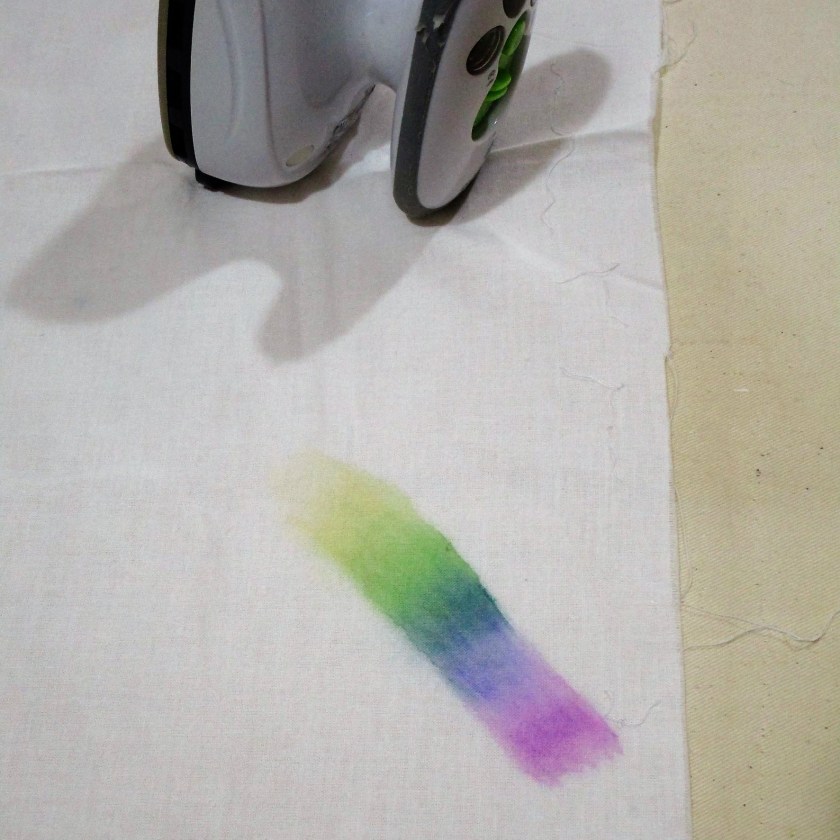
Now I can begin quilting. To start, I will stitch into the seamlines of all pieces. (AKA stich-in-the-ditch.) Next will come the free motion quilting. I have something special in mind for the light color patches which will involve more colorwork.

Stay tuned……..

Posted in colorwork, drawing, painting

More Fun with Watercolor Pencils

If you follow this blog, you may well guess what my next experiment must be:

Yes! I had to try my new pencils out on fabric! You see here a piece of cotton muslin. I have marked a part of a rainbow, running the colors into each other. After liquifying the colors and letting the fabric dry, I used my hot iron to set the pigment. Then I sprayed on more water, just to see if the color bled further. The paint passed this test, so I moved on to a bigger experiment.

There is something about the medium that reminds me of stained glass. Thinking deeper about the possibilities of blending colors, I decide it is more like medieval illuminated manuscript. Then I remembered that I have a book.

What if I reproduce one of these paintings on my muslin cloth? I flipped through the pages to find a likely subject and landed on this image depicting the creation of the world.

First, I drew a series of four circles on the muslin. Next, I used my swatch card to find matches to the hues of the illustrations. I began working the two days on the right side of the panel.

DAY TWO
DAY FOUR

This was very fun and pretty satisfying. Despite the slight bleeding outside the margins (totally fixable) I find the results most acceptable. I did notice that there are tide marks left behind by some of the blue and green pencils. But this extra texture seems very much in keeping with the pigments and style of the era.

After I paint days 1 and 3, I’ll put the fabric in a gentle cold-water bath to look for more fading or bleeding. If the piece passes this test, I’ll move on to a bit of quilting.

I hope you are enjoying your year-end holiday. Please do let me know what you think of this experiment or share what you are planning to make in 2023. Happy New Year.