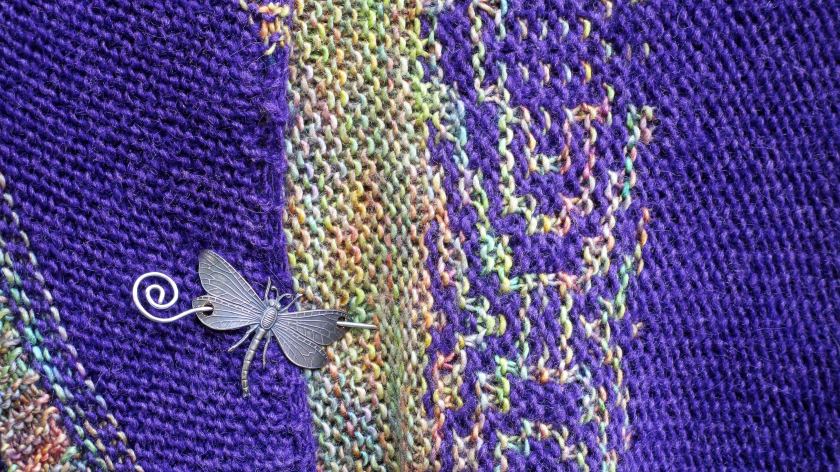
As promised, here is my purple shawl. The close-up photo shows all the sections: neck area, mosaic section, lower section and finishing band. I like the colors very much, especially the purple.
Stretched across a chair, the pattern looks just fine.
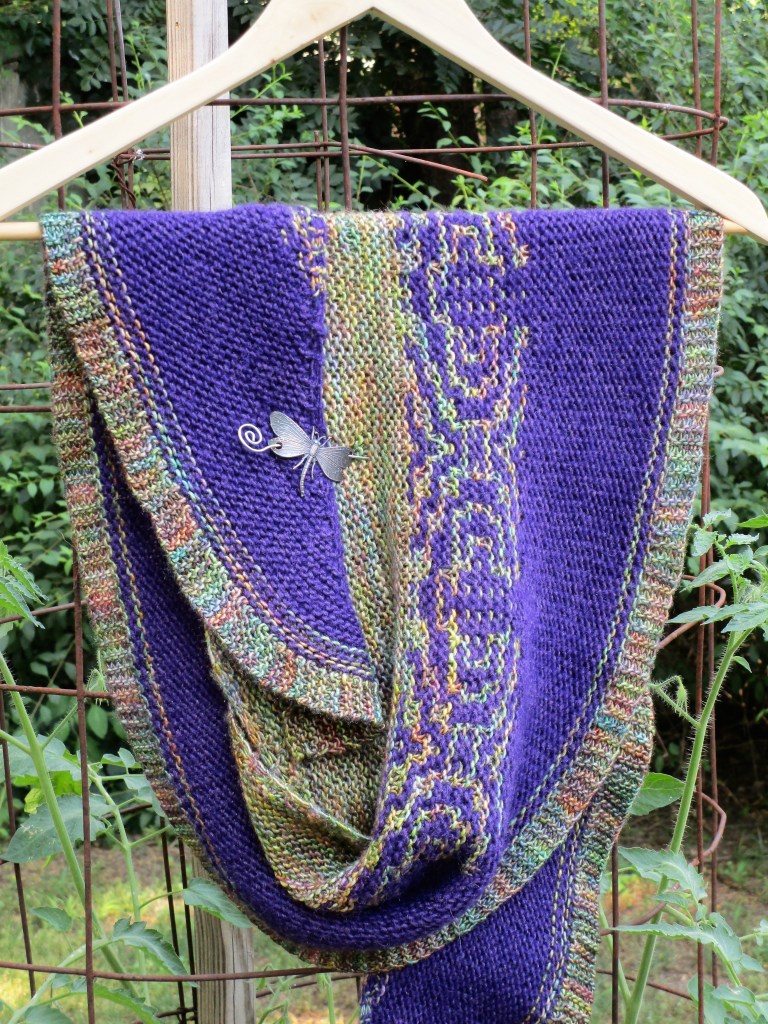
But once the shawl is wrapped around one’s neck, it become obvious that the neckline area is far stretchier than the mosaic, so it turns into a little collar.
The collar then covers over the patterned section. So, it ended up being a waste of time and energy to design and knit the mosaic pattern.
I’ll probably hang on to this shawl, at least until I get a chance to wear it a few times. It looks kinda pretty draped over my tomato cage.
Off I go to my yarn closet, for the next stash-busting project. In a future post, I’ll share my plan for how I am organizing projects from stash yarn.
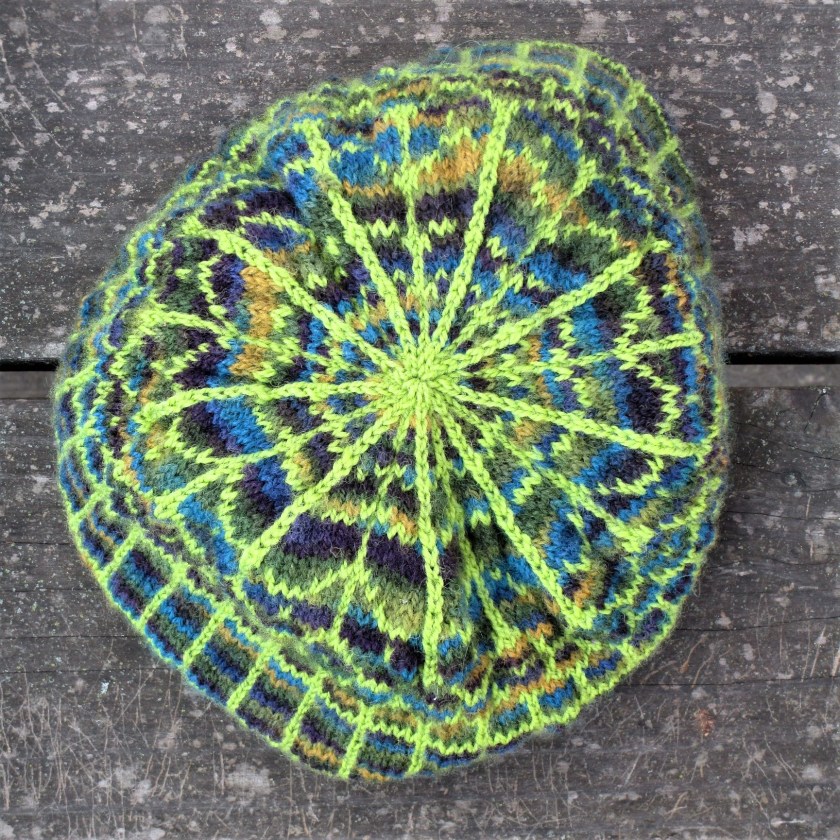
Well, it started out as a bad knitting week. The hat that I cast on the prior week was progressing. But it seemed to be pretty small for an adult hat. After I knit a few inches of the 1 x 1 ribbing, I took a quick measurement. My measurement suggested that it was indeed too small. So I started again, but knit the next larger size. In the bigger size, the ribbing took forever to knit. I rejoiced when I got to the crown. The colorwork was quite fun and I worked quickly to the bind off.
Immediately after I took it off the needle I knew I was in trouble. It was so big! There’s no way that this hat would stay put on my head. Even after washing and drying (I tossed it in a warm dryer to try to shrink it a little,) it was huge.
There ensued a few days of low spirits. (The news cycle, of course, made me feel even worse.) Eventually I stopped moping and tried to solve my problem. My first thought was to cut off the ribbing, pick up the stitches, knitting several together, and work down to the edge. But then I decided to fold the brim in half, folding to the inside and whip stitch it in place. That’s a little better. What if I added a hat band with less stretch in a slightly smaller diameter………..
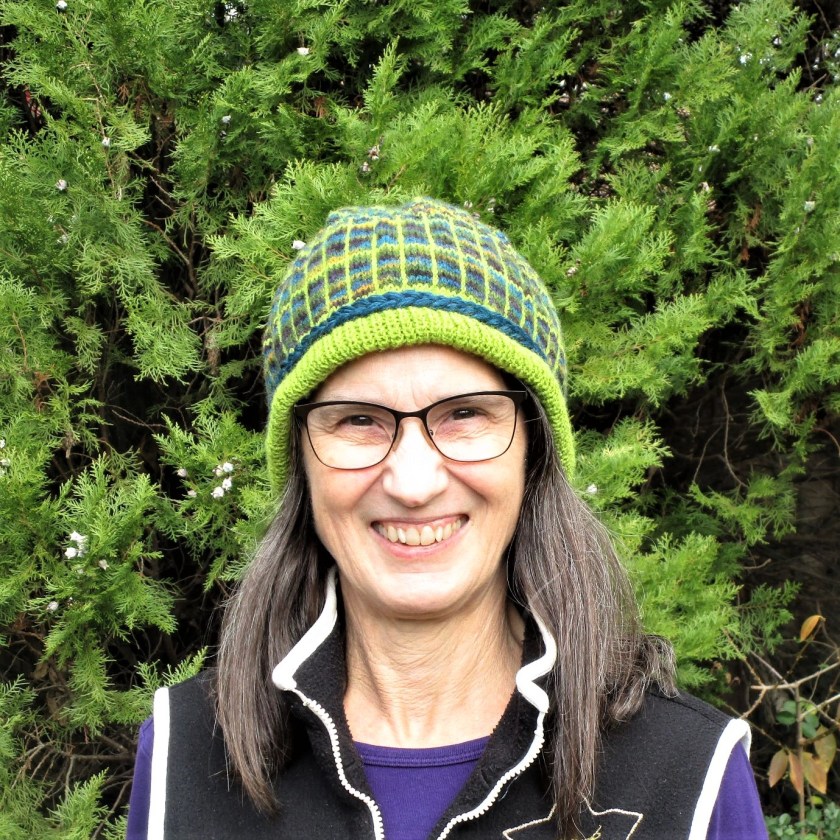
I found a coordinating color yarn in my stash and cut six lengths. These were crocheted into a chain about 21 inches long. Stretching the chain slightly, I sewed it around the upper part of the ribbing, where a hat band is generally located.
Bingo! Problem solved.
And I have enough variegated yarn left to knit a pair of gloves.
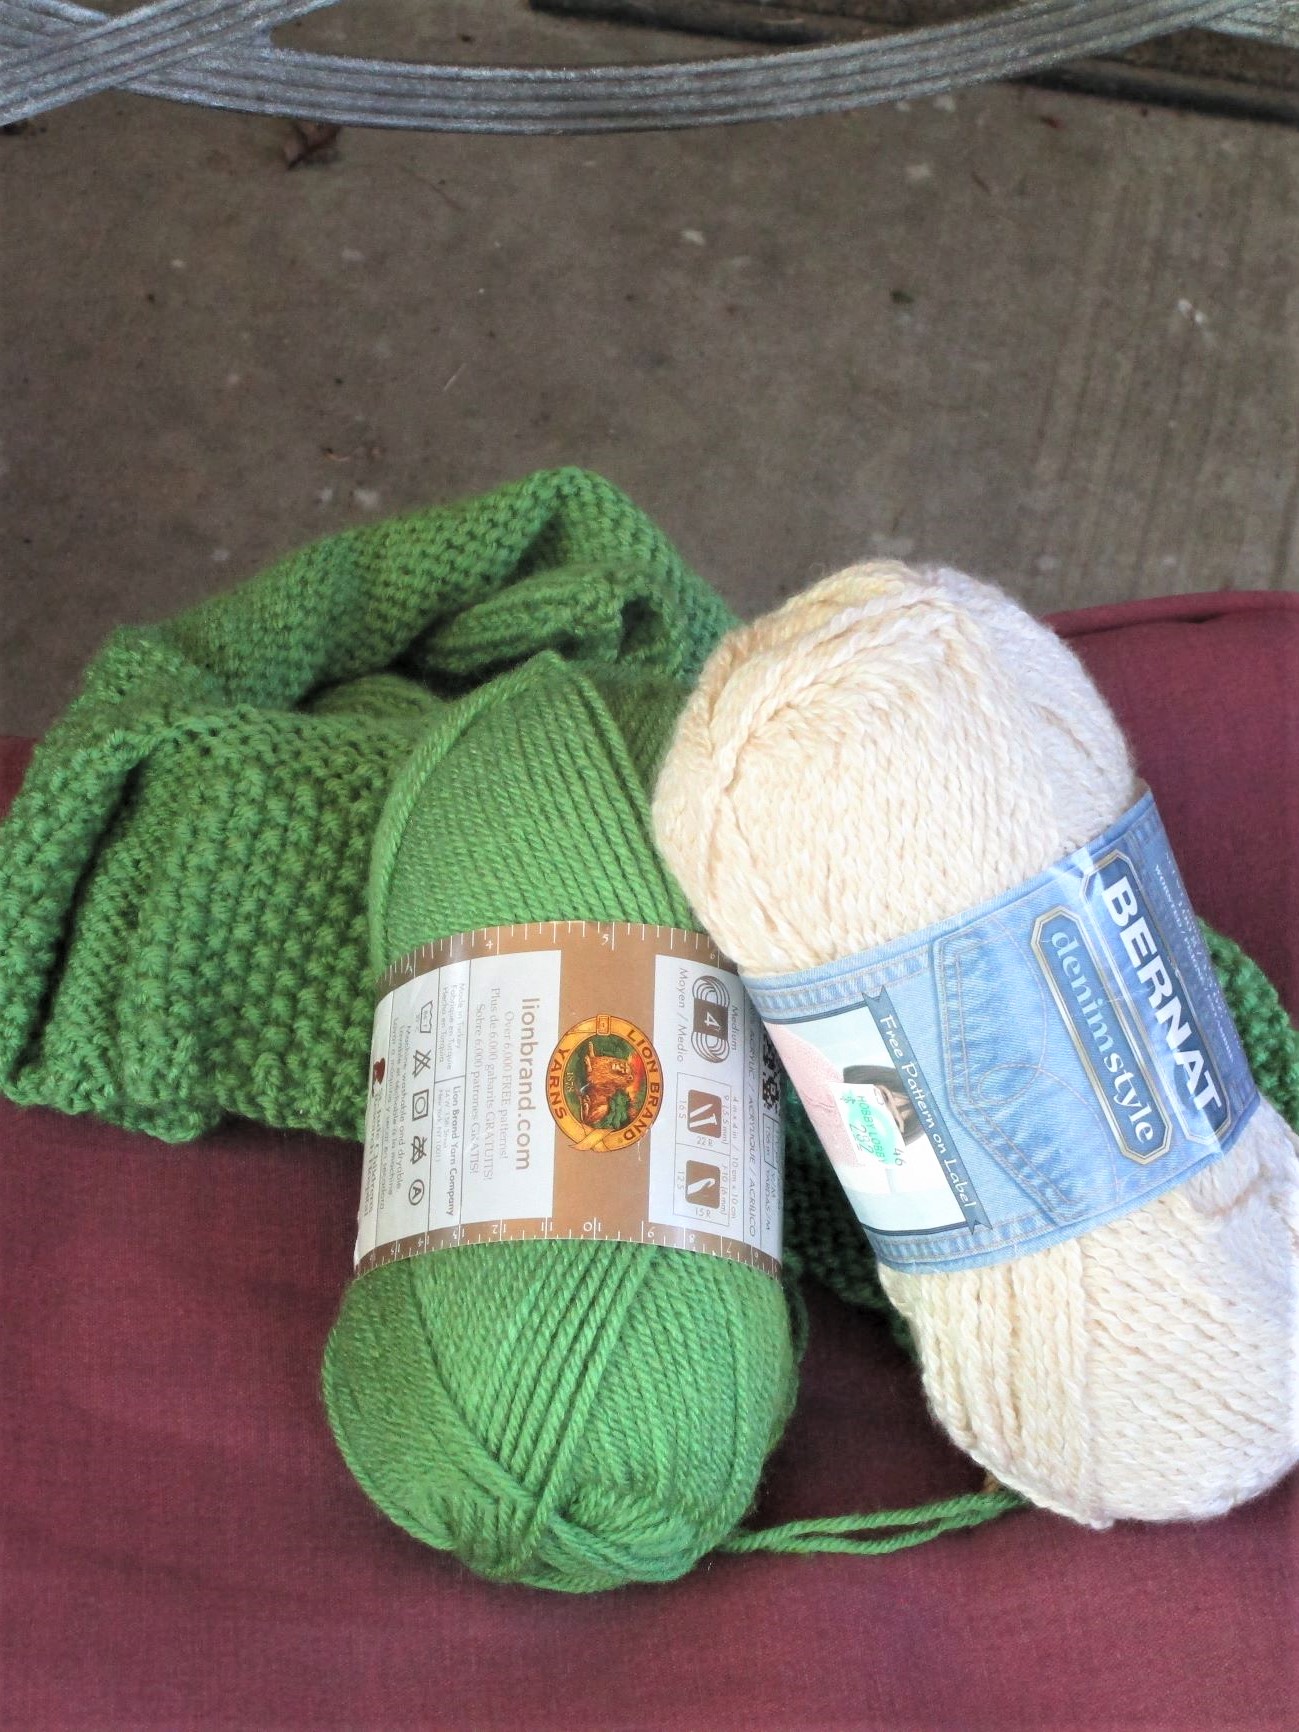
About a week ago, my friend Kathy suggested we visit a church garage sale because she knew there would be yarn. After perusing the options, I chose these.
There were two skeins of the green Vanna’s Choice and one of the cream color Bernat cotton blend. $1 each. I had been looking for some bulky yarn to use in making this funky toddler coat.
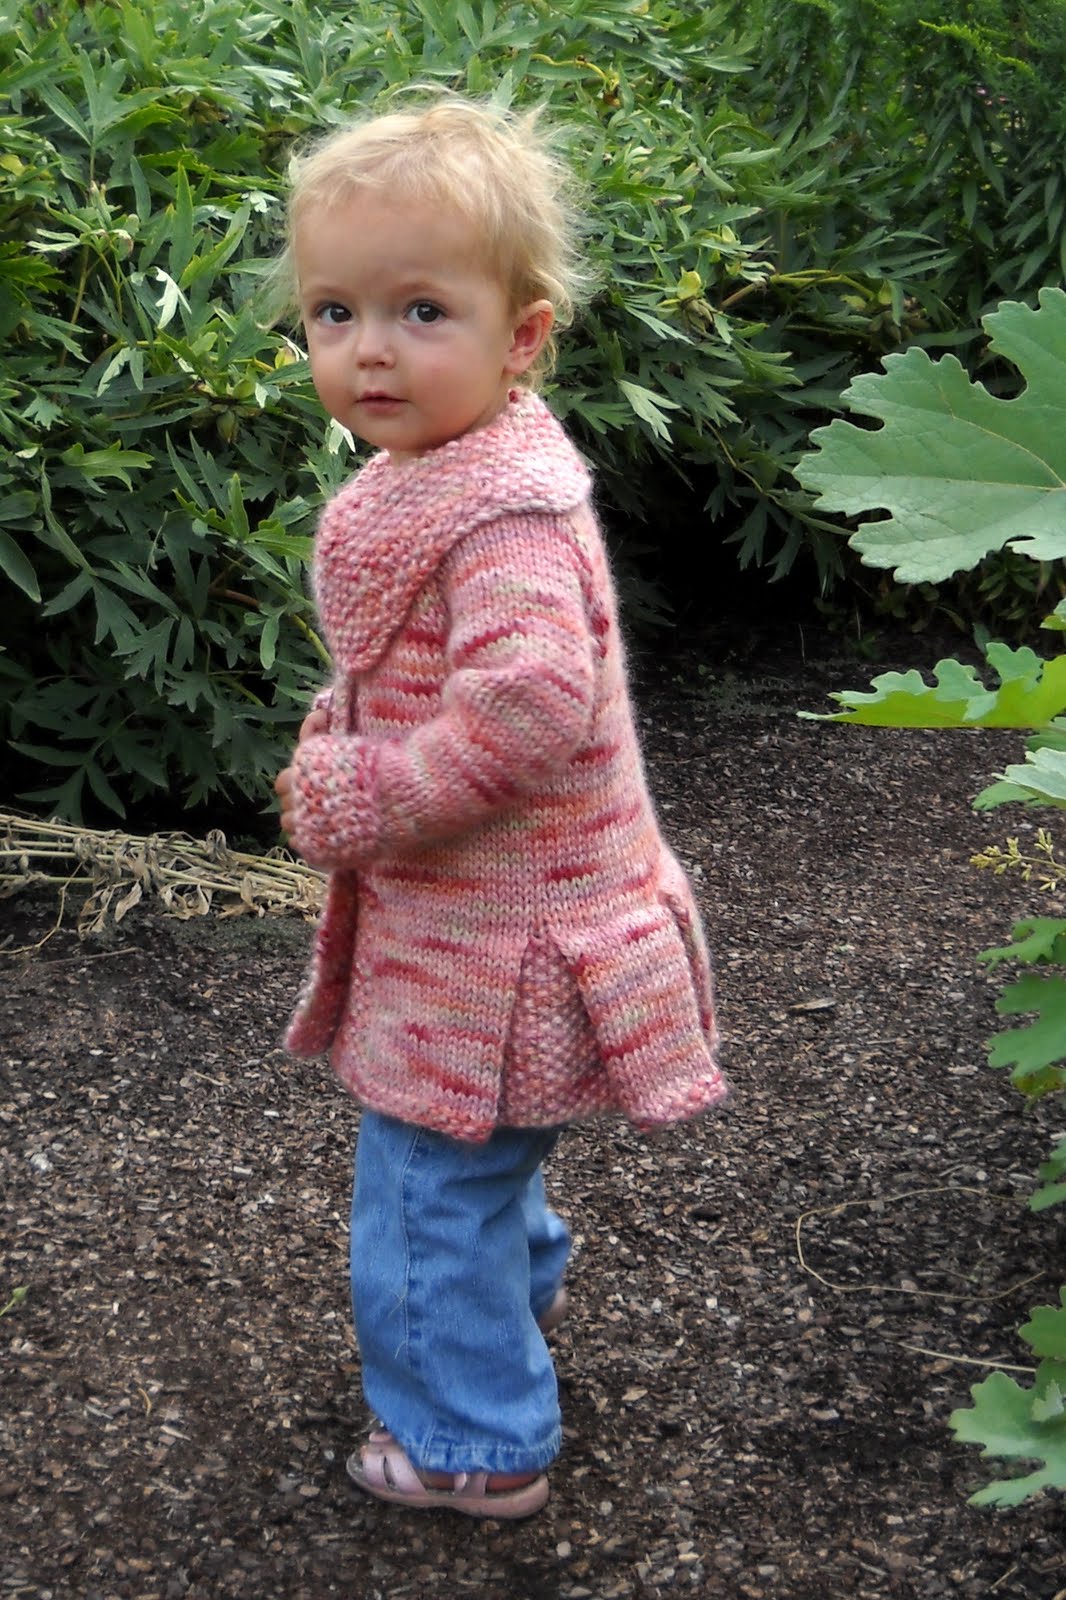
Pretty cute. It is offered by Megan Jones of littlenutmegproductions.com.
Since the green did not have enough yardage to complete the size 2T version, I plan to use the Bernat yarn for cuffs and collar. Here is what I have knit so far:
Does this color combination suggest anything to you? To me, it looks like the beginnings of a Christmas elf costume.
While I’m not sure how I feel about that, I will continue knitting. It amuses me to think of my granddaughter as an elf.
So far, the hardest part was pleating the lower edge. The rest of the coat will be knit up with a raglan sleeve-yoke construction. The collar is picked up and knit down from the neckline. I should be able to finish within the next week.
You knitters who have made many a toe-up sock are encouraged to skip this little blog. But those who are new to knitting socks may find the following somewhat interesting. It’s time. After ten years of knitting I am finally making a pair of socks knitted from the toe up.
My inability to learn toe-up sock knitting is 100% the fault of Judy’s Magic Cast On.
Judy, I am sure that you are a fabulous knitter and a wonderful person. But I just couldn’t get my head or my hands around this technique. All the talk of top and bottom needles, wrap the tail end of the yarn around the top and the ball end around the bottom, (being careful not to let go of your needles or wrap the yarn too tight or too loose) it was just awkward and more than a little confusing. So sorry about that. My fault entirely, I am sure. But I ask, why not start with a crochet chain?
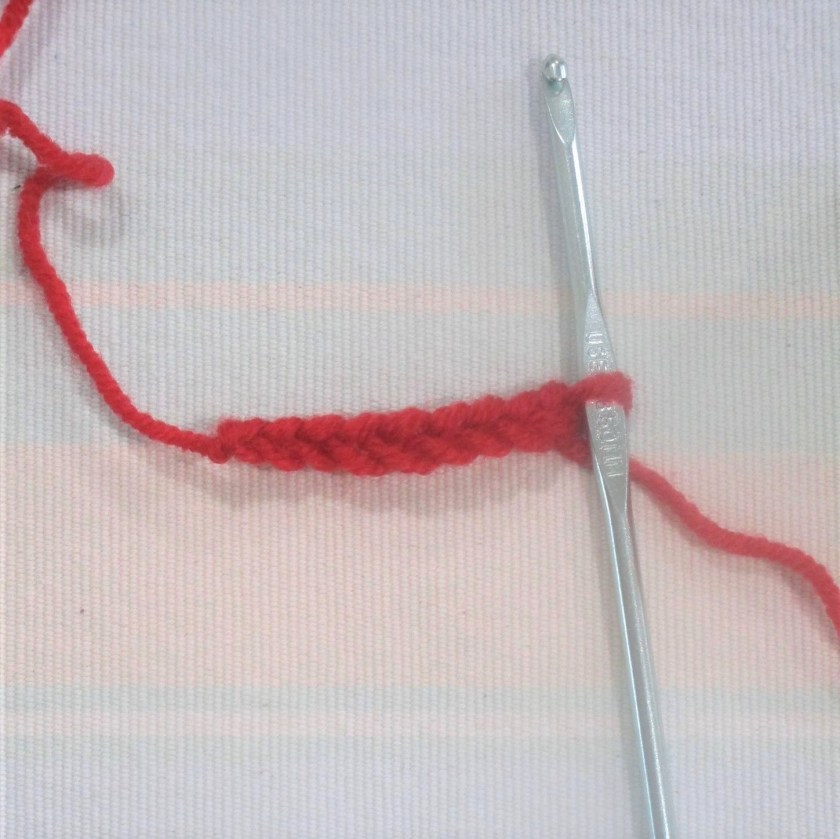
Starting with a slip knot and using a hook close in size to your sock needles, chain the number of cast on stitches specified in your pattern plus one. In my example I chained nine stitches. If you study the image above, you will see a top set of loops and a bottom set of loops. Now replace the crochet hook with your first needle. Pick up the loop next to your needle and knit it, then pick up and knit all of the others loops along the upper edge. Rotate your work clockwise until the bottom loops are now on top and to the left of your working yarn. Using another needle, pick up and knit all of the bottom loops (Ignore the slip knot. It will be hidden inside the toe.) When you get to the end of the round your work will look like this.
Divide the stitches over four needles so that there are an equal number of stitches on each needle. Continue with your pattern.
After knitting the next round on four needles.
I know some of you are already pointing out that the toe seam created by this method seems to have purl bumps. I say have courage and knit on. Your seam will not look perfect, but it will smooth out somewhat.
After knitting all the increase rows.
And, by the way, the toe seam will be hidden inside the shoe during wearing, so no one will see. And I promise not to tell.