Posted in hand embroidery, quilting

Mojo Mini Quilt no 2

Yesterday, during my daily browse of WordPress blogs, I came across Cindy Anderson’s post announcing her one-woman quilt show featuring her art quilts. These are exquisite little works – no wonder she was invited to display them. After viewing her blog I became energized to make another mojo mini in the same style as the one I made last month. But the inspiration for this quilt actually originated in last Wednesday’s yoga session.

The instructor ran a playlist of music that started with a mantra. After five minutes, those words lodged in my brain and wouldn’t let go. Arriving home later, I quickly wrote down the mantra as a potential inspiration for a fiber object.

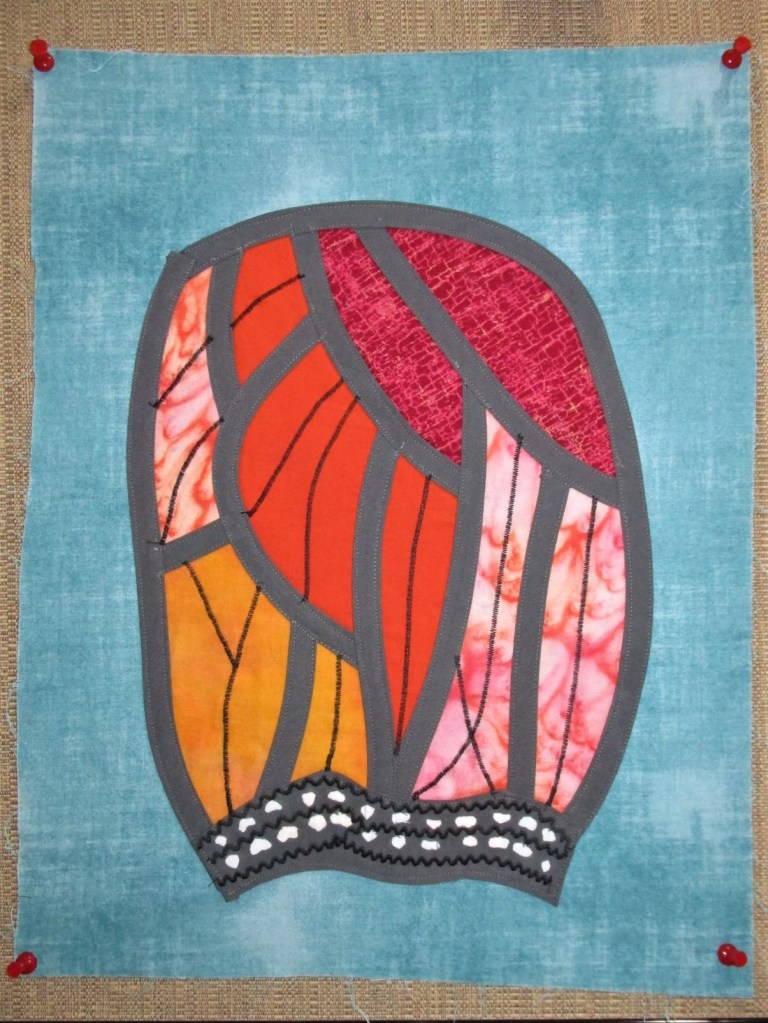
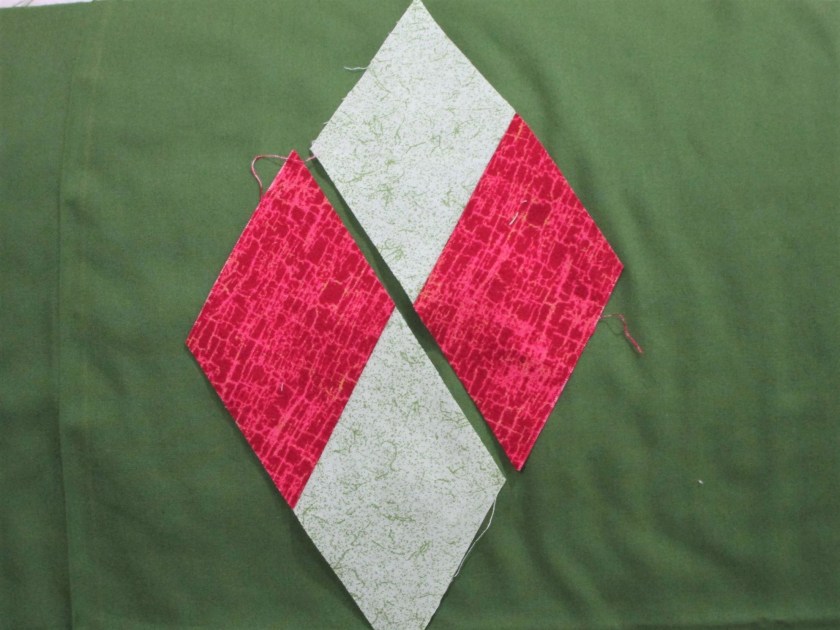
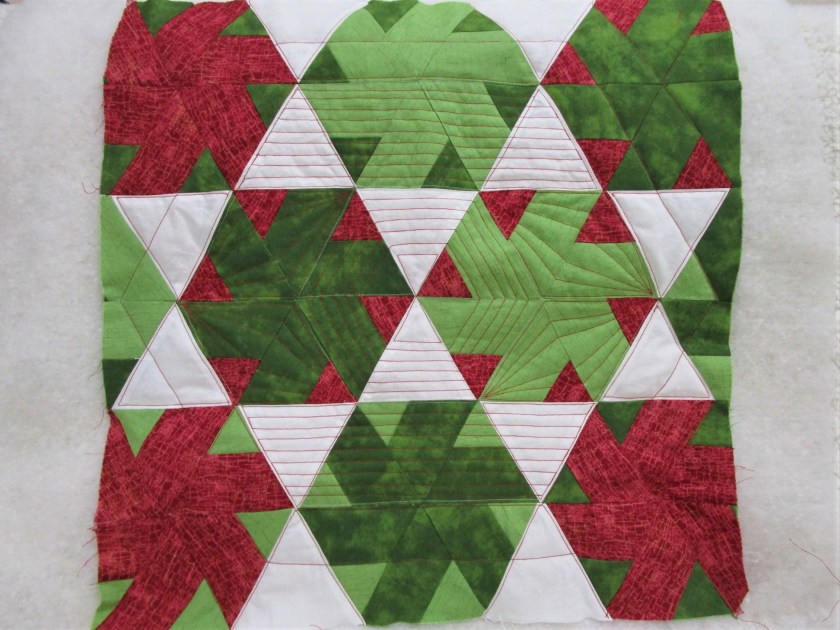
So yesterday, when the energy took hold, I reached for the mantra, grabbed scraps of fabric with colors like those in my mind’s eye during yoga practice, and scribbled a quick sketch of interlocking arches.

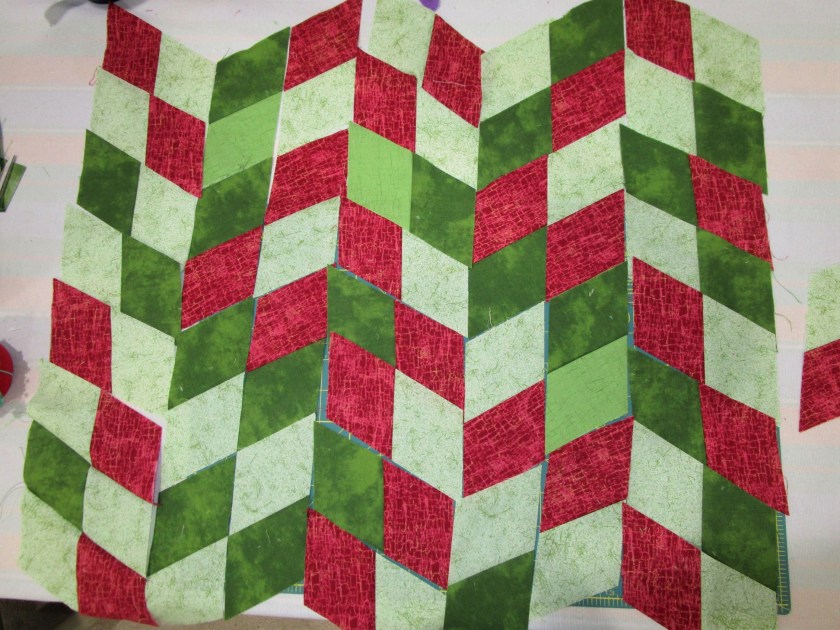
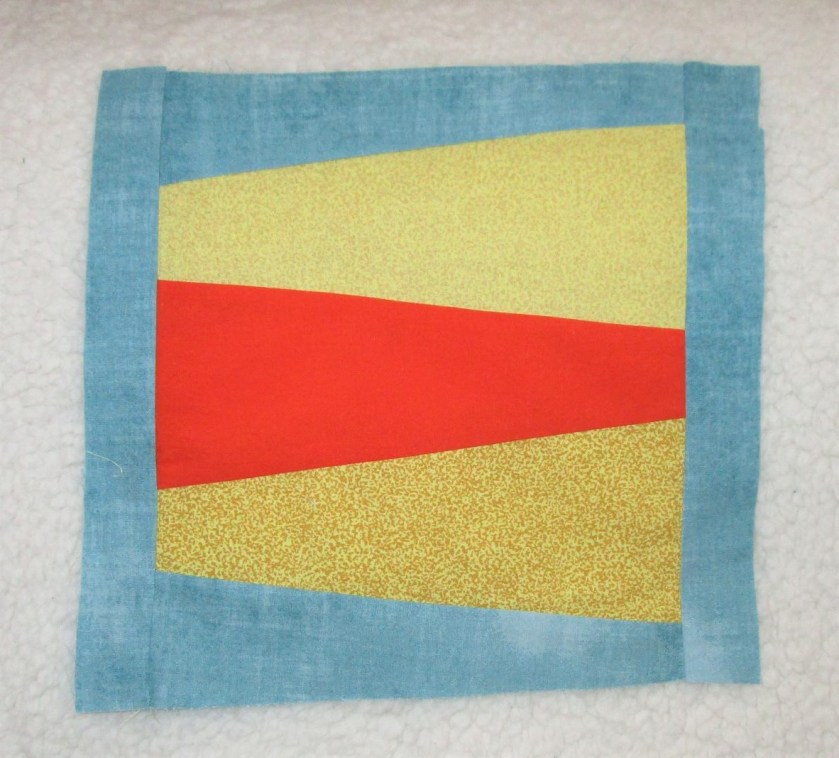
The structure of this mini will be built up with raw edge appliques and it will also rest on a gray background. But to make things more interesting for me, I decided to start with a paper pieced object.

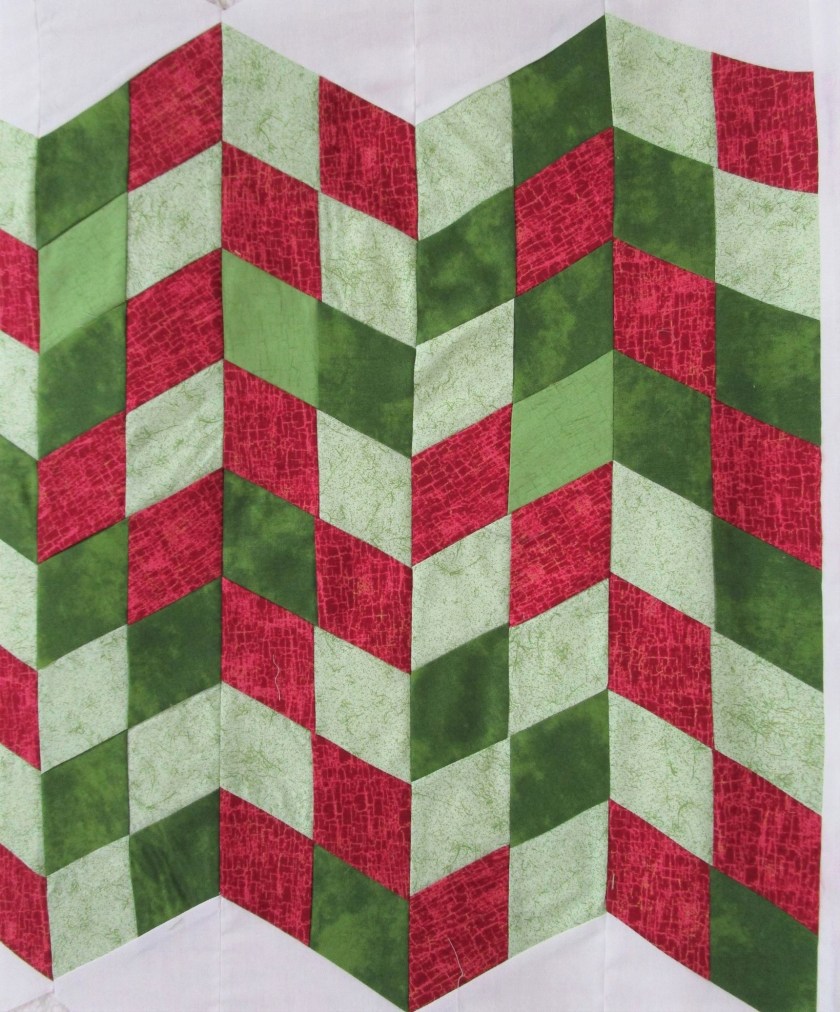
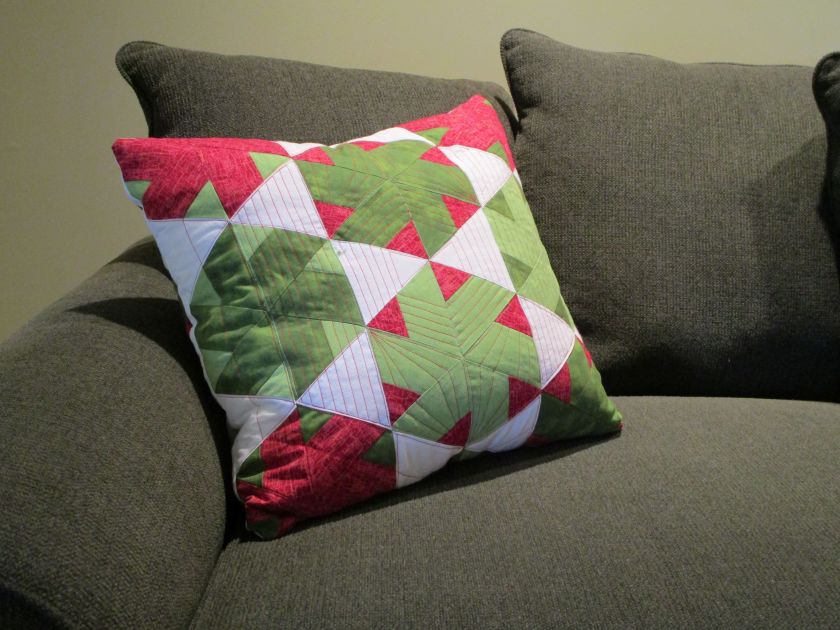
Okay, I’ve never done paper piecing before. But I’ve watched it! Thankfully, I only made two or three mistakes as I cut and sewed this little section. I had to rip out AND also re-cut a scrap that I had trimmed incorrectly. Here is the finished applique.

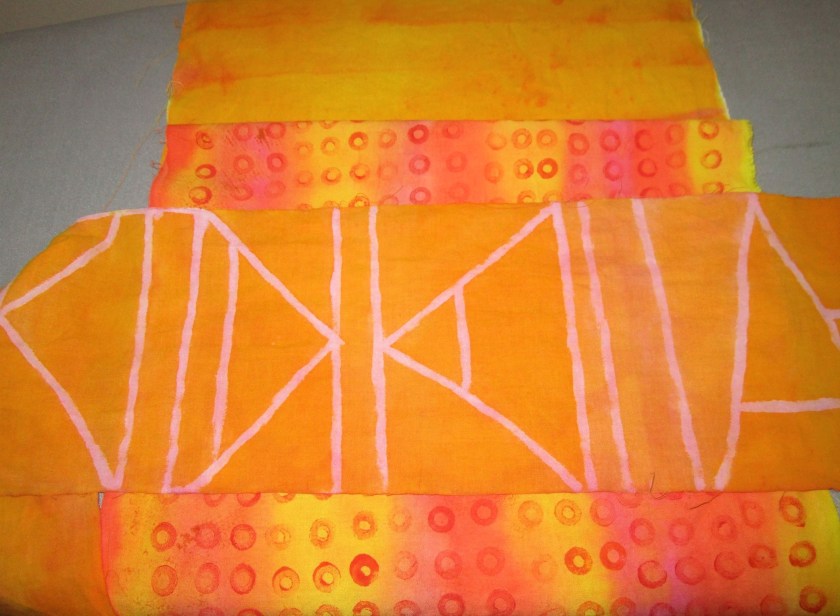
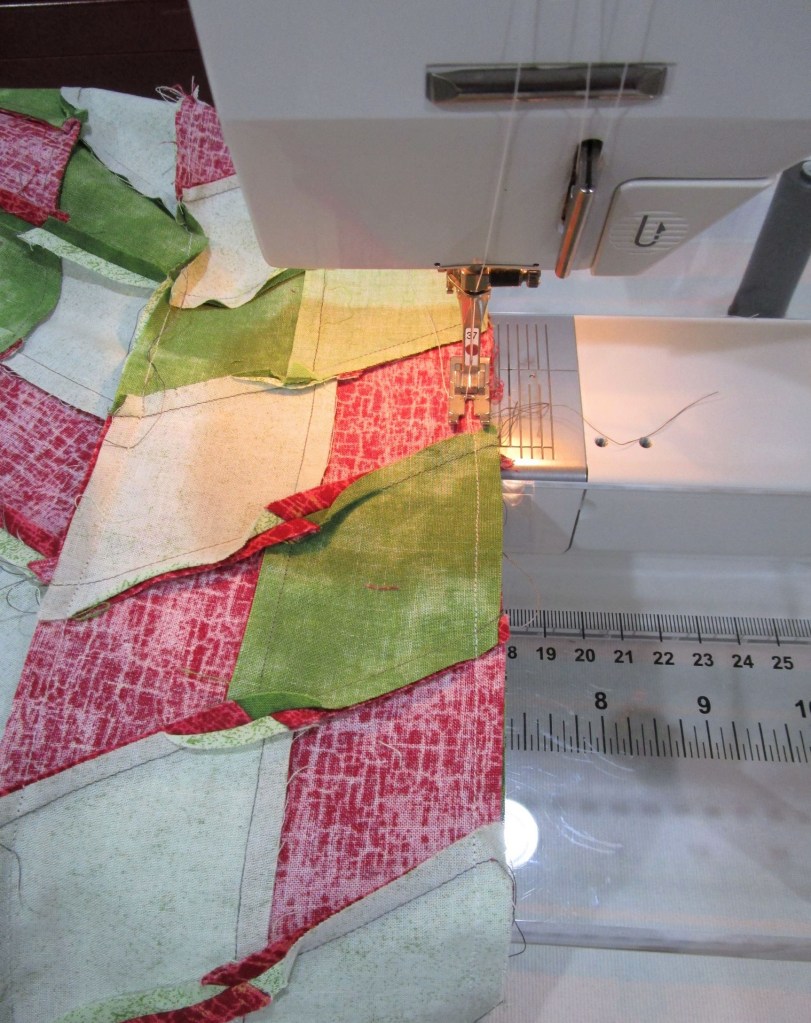
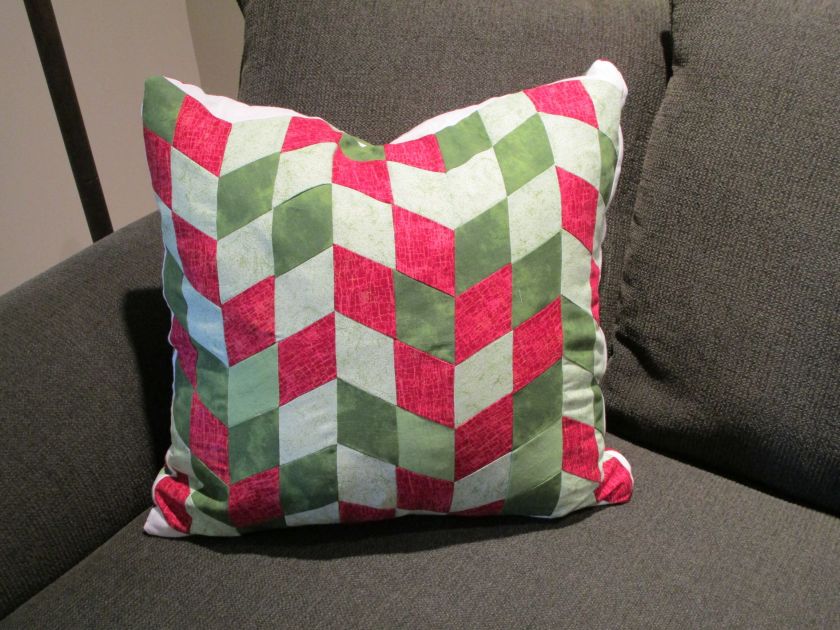
After mulling over the top half of the design, I sewed an arch from thin strips of fabric. Here is it.

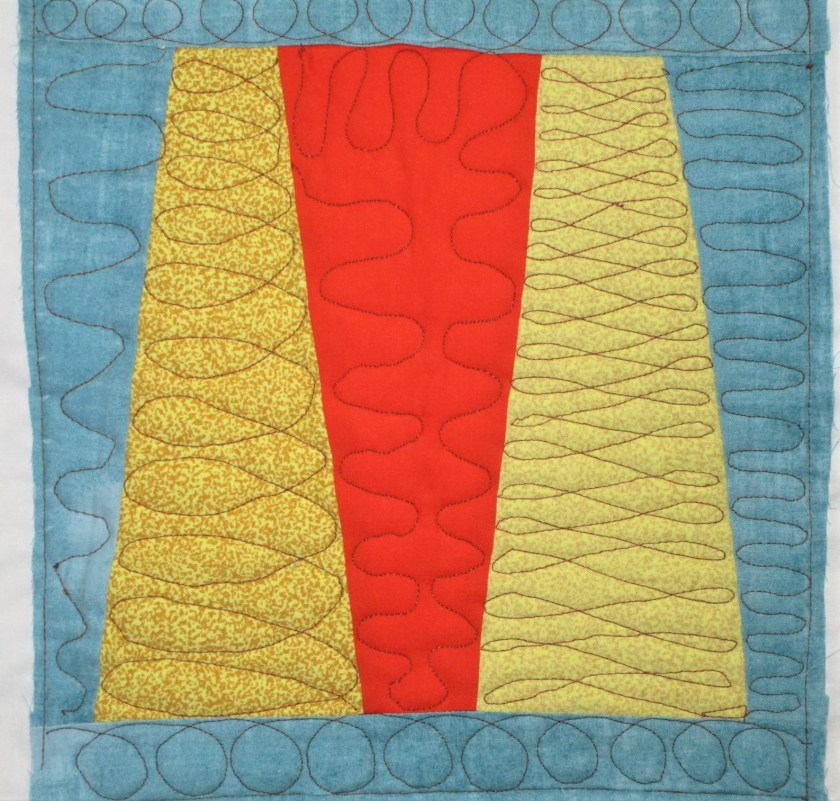
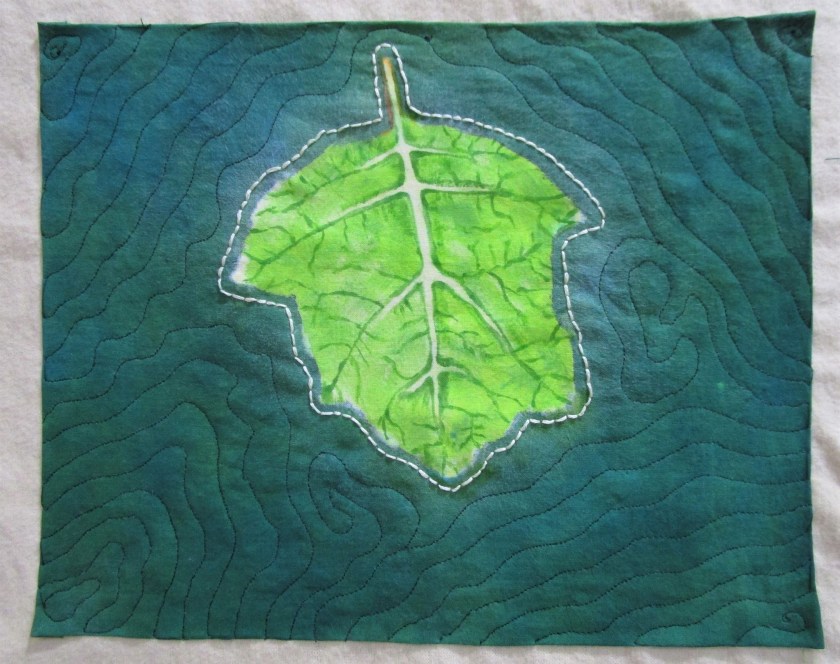
And that is essentially the design of this mini quilt. After glue basting and stitching down the two appliques, I wrote the mantra on the white arch.

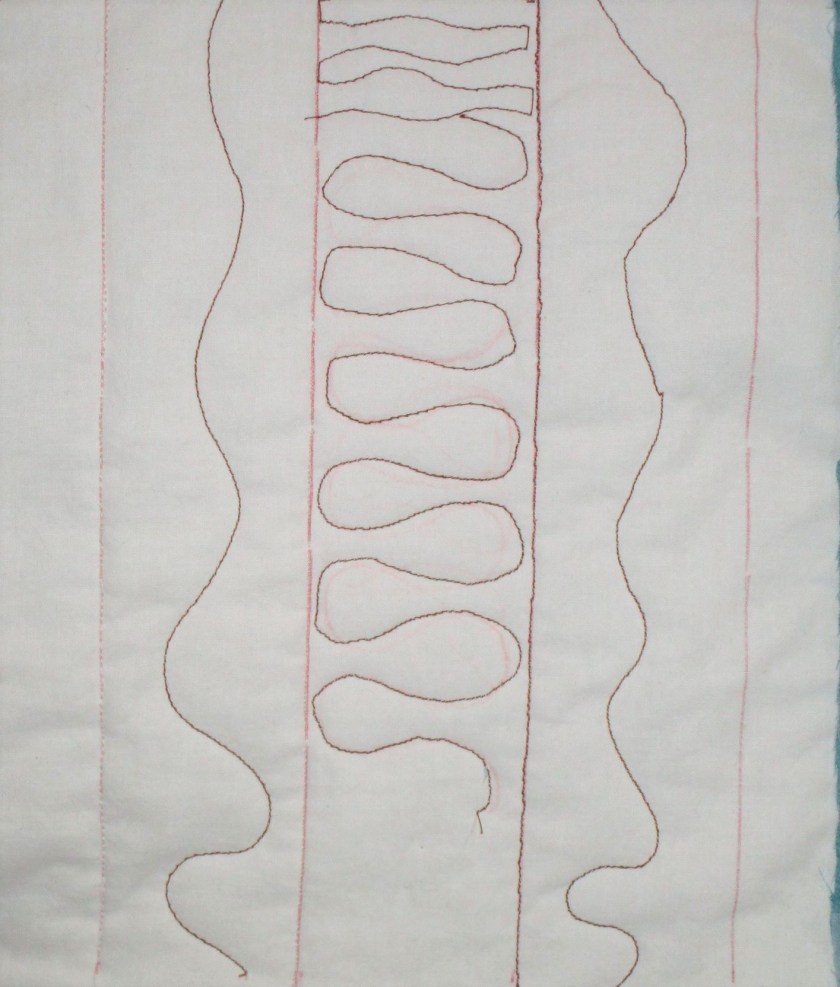
…..machine quilted the strips and hand embroidered the background.

I used a couple of my painted fabrics. The red-orange planet is from a printed fabric.

It was very satisfying to make this mini. Thank you to Cindy Anderson for motivating me to get started. You can see Cindy’s art quilts here. https://wordpress.com/read/feeds/2331528/posts/2396379576

Posted in quilting, recycling

Addressing UFO Sewn Objects

Six months into my adventures with Daily Fiber Fun, I find myself surrounded by a bunch of Unfinished Objects. Here they sit, silently reproaching me for leaving them in a partial state of completion: unfinished, unused, unloved.

Resolved to address the cries, I have selected this guy to work up into an FO.

I made this 21 inch square block of hexagons during my week of learning to piece angular shapes. The teacher behind my success is Joanna Figueroa and her class on Bluprint, “Smarter Strip Quilting.” Since I had a bunch of fabric left, I turned to Joanna’s class again for another lesson. This time, I used the same type of piece – a 60 degree triangle, but cut in a way that makes diamonds.

I reasoned that this shape would work nicely with the hexagons as the back side of a large sofa cushion (!) After sewing and cutting many 1/2 diamonds, I came up with an arrangement that ignores the diamond shape (!) I’m going with chevrons instead.

Five columns of diamond shapes, roughly 21″ wide.

Skills that I learned in class the first time helped me speed through any little technical difficulties encountered while making this block.

Nesting the seam allowances together makes it a breeze to match points.

That said, it still took me the better part of Sunday and Monday to make.

I added white triangles to balance and fill the chevron ends.

The next step is quilting. There was so much going on in the chevron block, I decided not to risk messing it up with bad machine quilting. But I did choose to quilt the hexes, using parallel and dot to dot machine quilting technique.

I Love the red cotton thread.

Now to construct the pillow: I recycled a zipper from a disassembled cushion and a king-sized feather pillow which had got slightly mashed over the years. After I squared up the two blocks, the zipper was inserted into a side seam and the four sides sewn together. Using 1/2 inch seams and zig-zagging the seam allowances make it sturdier. Here is the completed pillow, resting peacefully on my sofa:

And here it is showing the chevron side:

Which side do you like better?

A big shout-out to Joanna Figueroa. You can find her class here: https://shop.mybluprint.com/quilting/classes/smarter-strip-quilting/40436?utm_expid=45q-ktsMT9eh9lDyPHy43Q%3A2&utm_referrer=https%3A%2F%2Fwww.mybluprint.com%2Ftopic%2Fquilt&redirect=svodPlaylist&skipMod=true

Posted in hand embroidery, quilting

Mojo Mini Quilts

This project is inspired after viewing a class by Suzie Williams, on BluPrint.com. The gist of the lesson is to improvise a mini quilt which illustrates one of various design principles. These quilts are sized to be framed as wall art. I chose to base my design on the concept of Rhythm. Here is my sketch (just a few swooping lines, really minimal) and my chosen fabrics.

I had recently purchased the black printed fabric, which is just a scrap in the picture. I like the idea of repeating bars of the circle shapes on a background of orange.

The design is cut up, so that it can be pinned to the fabric and fabric cut out. I am using a gray background fabric. Each element is appliqued to the background, using glue as baste. I had never basted fabric with white glue before, but it seems to work just fine. Here is the design at the beginning of the layout stage.

Truly fun little cogs in multi colors.

After a few adjustments to the design, and more than one re-cut of the shapes, I finally have all the pieces in place, glued down, pin basted and ready for sewing.

Hmm, what color thread will I use?

I started by zig-zagging along the raw edges, to minimize fraying. Next I stitched some swoops of machine quilting in black and orange. Finally, I finished up with hand embroidery. It was fun choosing floss and stitches to accentuate the circles.

Here is the finished mini quilt, ready for framing or binding.

Detail of hand embroidery

What a fun project, even if it did take most of the day to complete! The Mojo Mini quilt class can be found here: https://www.mybluprint.com/playlist/11422/20696

Posted in quilting

Little by little, piece by piece

So far my quilt-making efforts have been limited and tentative. I have a pretty good grasp of applique technique, and can put together a log cabin block. Now it is time to move on to new skills. To celebrate my decision, I have acquired a few more items.

Twelve inch square blocking ruler, Fisker 45 mm rotary cutter and wash away adhesive tape

For the past three days, I have been viewing lessons on BluPrint.com and checking out U-Tube videos. Now I am ready to try an exercise in free-motion quilting. The lesson, “Free Motion Quilting Essentials,” was presented by Christina Cameli on BluPrint. First I selected some fabrics to piece together into a practice block.

These remind me of a cheese plate.

Here is the block assembled.

Before I continued on to the quilting, I squared the block using my new Omnigrid ruler. Then I made the traditional quilt sandwich of backing, batting and top. I used a muslin top for the first practice stitches.

It took a little effort to get my Bernina working correctly. I had to clean out the lint, change needles and try a couple of different threads. Here are my first efforts:

Pretty wobbly. I discovered that I got better results by working from right to left instead of left to right. This may be due to my left-handedness. Whatever the reason, it was a relief to find a method that gave improved results.

WIGGLES AND LOOPS.

The block shows a little more mastery of technique. I do believe that I will need several hours of practice before I am comfortable with free-motion quilting.