Posted in painting

More Fun with Printmaking

Today I got out my lino-cutting tool to make another stamp based on a sketch. Last week I drew this monarch butterfly, referencing a free-use photograph from UnSplash.

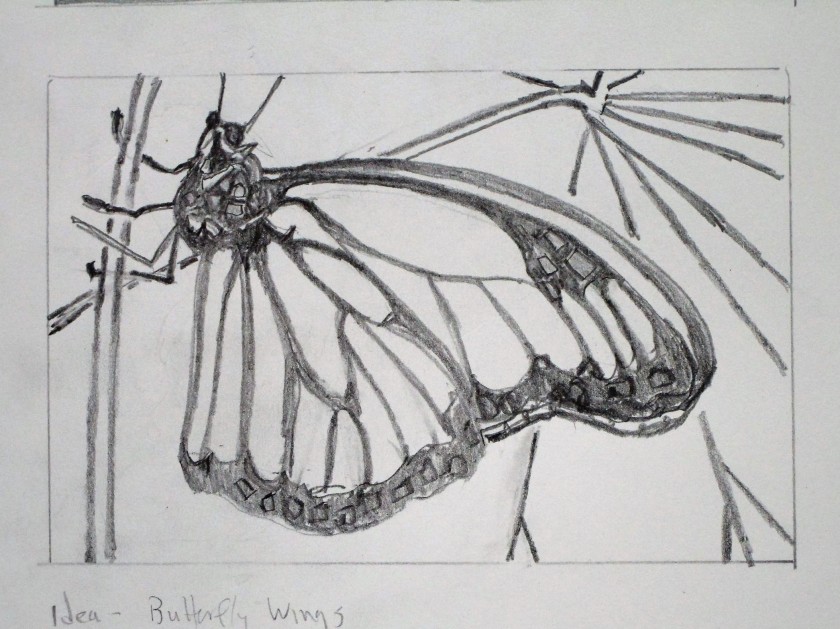
Using tracing paper I transferred the drawing to a softcarve 4 x 6 block. It took me about an hour to carve out the image.

I did a few test prints and touched up the lines a bit. Here is the ink that I chose.

I find the types of stamping ink very confusing. Also, I paid $5 for this pad and there is hardly any ink in it. Eventually I got at least one decent print on a sheet of Canson Smooth Bristol paper.

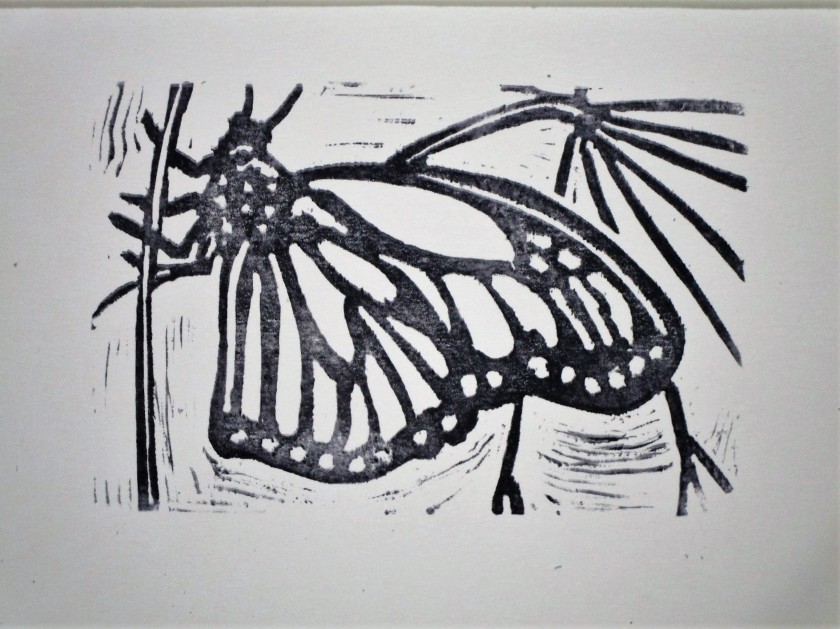
While there are a few too many “echo lines” for my taste, I decided to carry on. Next came color. I was keen to see how easily paint would go over the permanent ink. I wasn’t terribly concerned that the black would be covered up, since watercolor paint is transparent.

I finished off by adding a little Micron pen – doing some stippling in black and drawing lines in yellow and orange to represent some of the details that I observed in the reference photograph.

I think this came out great. I will probably make several of these prints to use as greeting cards.

If any of you crafters out there in the blog-sphere have a recommendation for printing inks, please share.

Posted in drawing

Lino-Cut Fun

On Sunday I posted the sketches that I did in anticipation of a print-making class I was planning to attend. Today I’m showing the fun stuff I made at that class.

The instructor, Justine Cherwick, was quiet, modest and thoroughly prepared. She started us off with a circle-in-a-rectangle design for practice. Each quadrant was carved in a different design.

Stamp and Print

That was quite easy and very satisfying. Next, Justine transposed our initials in reverse on a blank block and we carved stamps of them.

So far, so good. For our third exercise, we each selected from a group of Halloween designs to carve a 3 x 4 block. I loved this cat with a skull and sickle.

The stray faint lines and dots you see around the edges of the main design are called “noise.” Some artists like this effect, others not-so-much. It’s easy to carve them off after you’ve done your test print.

And now for the big finale. I chose to carve the beach scene. Here is my sketch.

You will have to imagine that the dark marks will become white and the white background will print black. Here is my finished block.

And my print.

For a first try, it’s not too bad. Good enough to encourage me to try making more lino-cut work.

And finally, here are the Halloween postcards I printed and sent to the grandkids.

Dressed up with some echo lines.
A touch of orange and a barbed wire border
Posted in drawing

Sunday Sketches

I spent some time this week-end preparing for a class in printmaking. This will be an introductory class for me, since I’ve had no previous training in the art. After dreaming up a few ideas for print images, I started sketching them out. Here’s what I came up with in the space of a few hours.

To start, I went to my photographs of Belize for inspiration. Here is one that I snapped of the beach as seen from our front porch. The view faces east and the time is shortly after sunrise.

Nice, huh? The tree and hammock are silhouetted against the water and sky, so I made them the primary subjects. Keeping in mind my inexperience with carving a print block I vastly simplified the scene. I also chose to reverse the tones and turn day into a night with the moon rising.

Next I went through previous saved photographs. This is one of a monarch butterfly I downloaded from a free use site. I was attracted by the strong contrast of its black body and wing edges with the warm background

For my third sketch I worked from my imagination. I wanted to play with a basketweave pattern, but in an unusual context. The idea of a cloak came to mind.

The class took place yesterday. It went well and I had a great time. I’ll show you the subject I chose and the block and print I made in the next post.