Posted in sewing

Sashiko Sunday – Updated

By the end of last week, my order of supplies had arrived.

My new supplies: thread, needles palm thimble, leather thimble Clover white marking pen

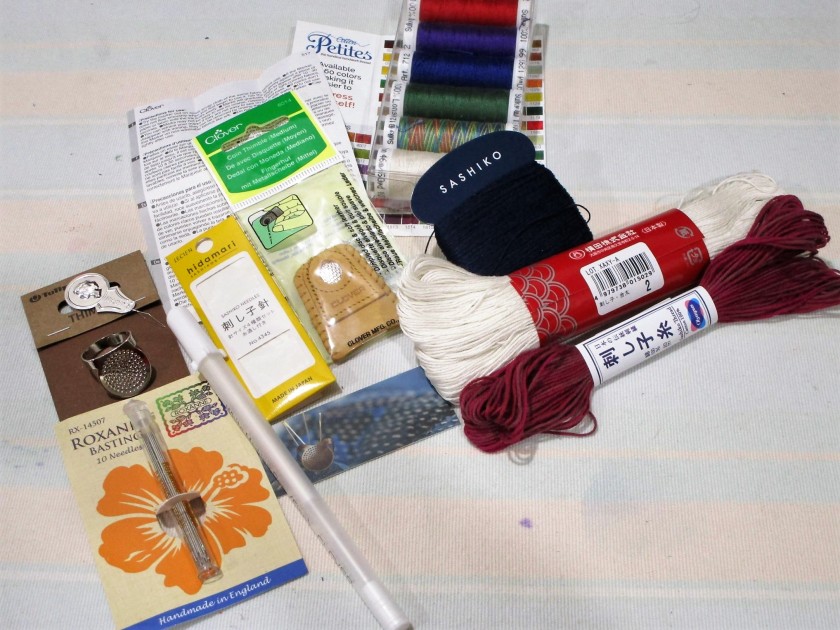
After spending time reading about sashiko (pronounced sah’ shee koh, by the way) I realized that it would require special tools and materials to work this style of stitching successfully. Fortunately, nothing was terribly expensive. I have to give a shout out to KimonoMomo’s Etsy site for its diversity of product, reasonable prices and swift delivery. I purchased needles, thread, thimbles and a marking pen there.

https://www.etsy.com/shop/kimonomomo?section_id=20099573

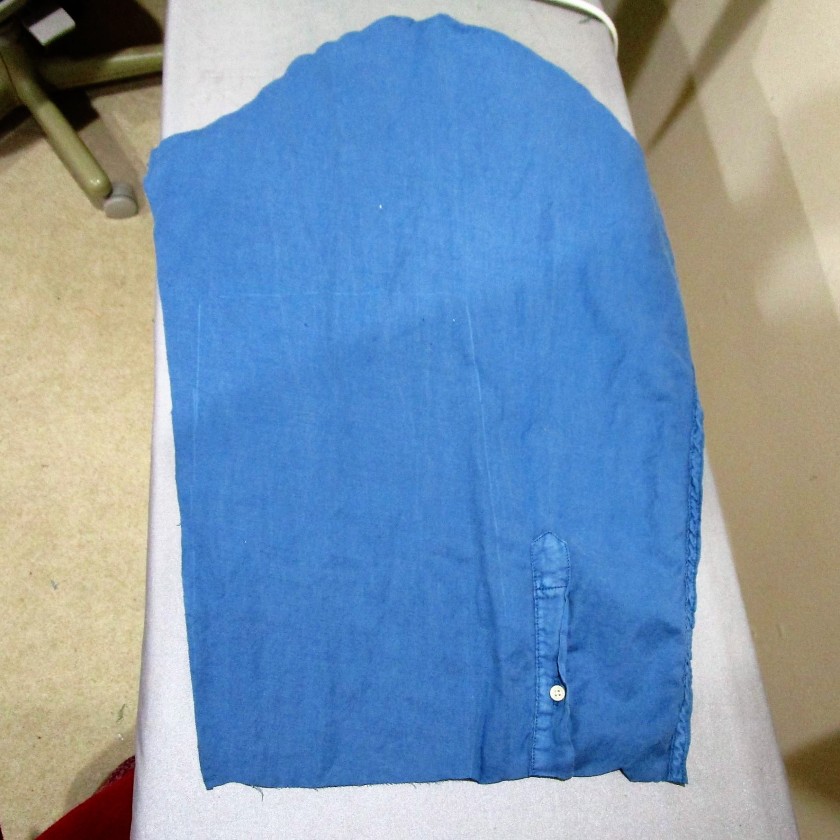
Today was the day to get started. I chose the sleeve of a man’s blue shirt to practice on, because blue is the traditional color for sashiko-stitched fiber objects.

A piece of beige cotton flannel became a backing.

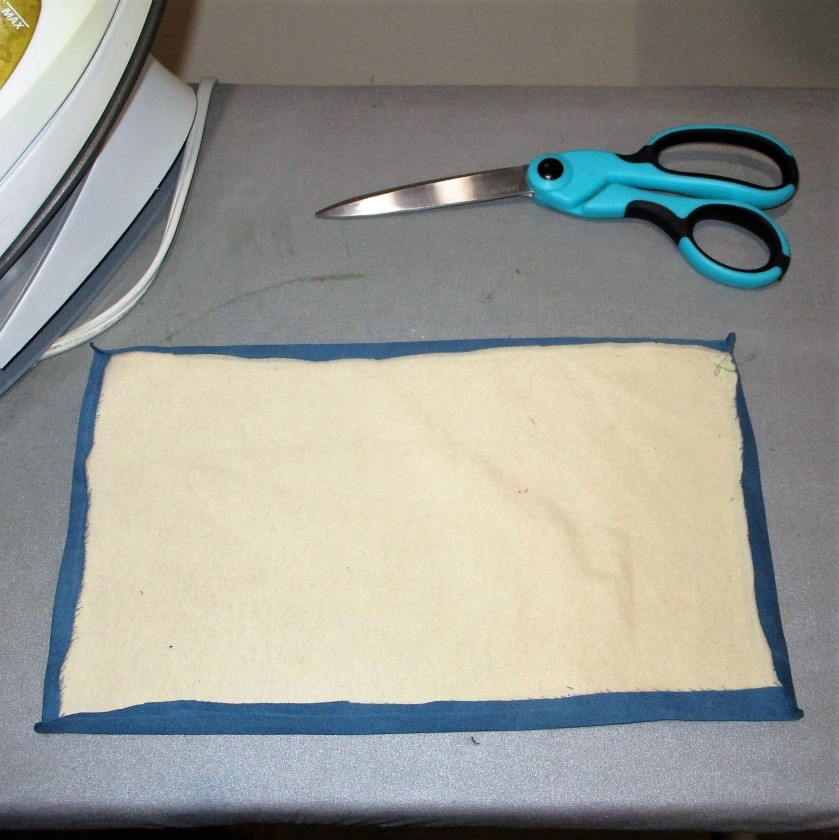
I started by folding the edges under, gluing the corners, and basting the swatch around all sides with ordinary sewing thread. Next came the marking. I just used my rectangular clear quilting ruler to create a diamond grid.

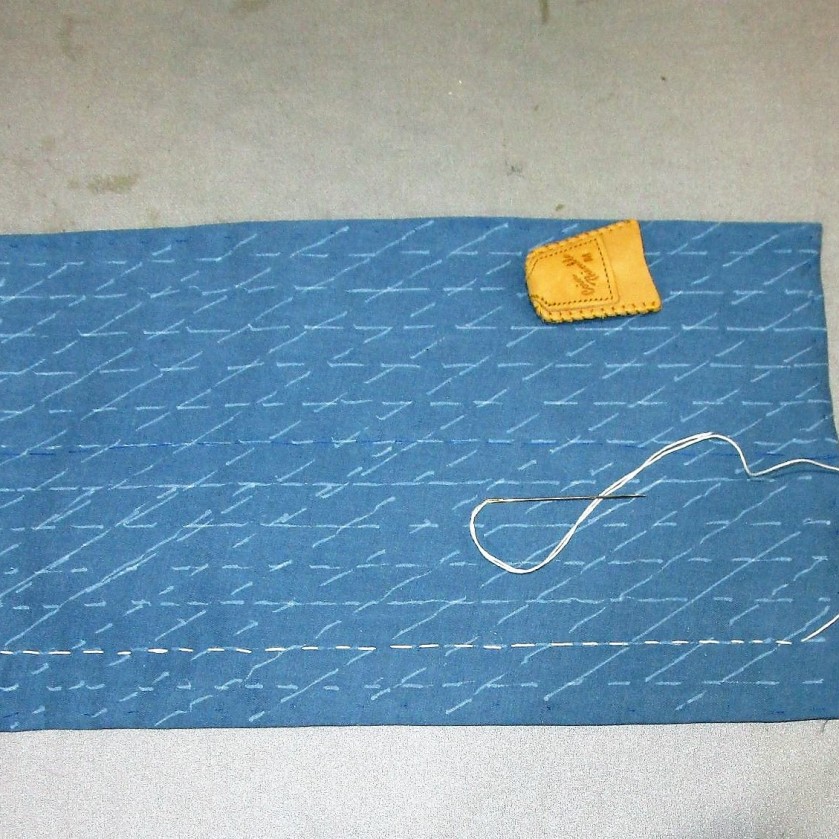
The traditional sashiko thread is sold in a skein. After carefully stretching the skein out fully, I found where it was knotted, then moved to the opposite end of the loop from the knot and cut the skein through. Next the skein is braided loosely and tied. To remove a length of thread, it is pulled out at the top, near the knot.

Here are my materials, ready to work.

And here is the first row of stitches.

Sadly, it was necessary that I perform other tasks, did not get to practice any more today. But I am confident that I have the knowledge and skill now to use sashiko as a tool in my fiber manipulation toolbox. I’ll post a photo of the finished sample in the near future.

Update, Jan 21, 2022: And here is my finished sample.

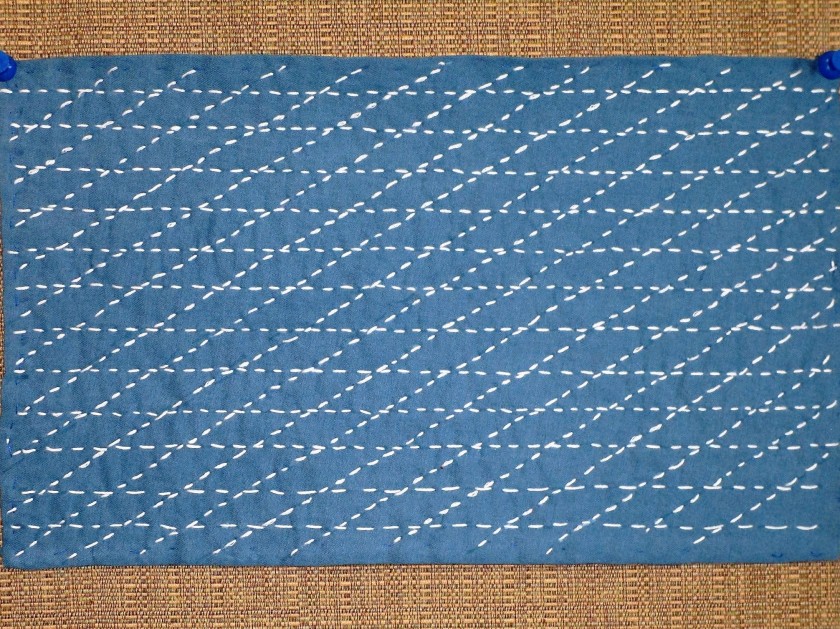
As I stitched along, I began to develop a little more consistency in my stitch length. It didn’t take nearly as long to complete as I feared.

Posted in collage

Collage 101

I am standing firmly at the nexus of art and craft this week.

On Tuesday I attended an introductory class at my local art association’s studio. About ten of us were there to learn how to do collage technique. Our instructor was Debbie Finch

Here she is giving us some preliminary instruction.

After selecting a subject and tracing it onto a canvas board, we spent a lot of time hunting through magazines to find images with colors that we wanted to use.

Debbie offered the option to use a pattern of a peacock for our design.

Some chose to use it,

Others brought an image or improvised from what they pulled out of the magazines.

There was one artist who clearly came with an idea in mind. She worked swiftly and finished her collage in about an hour.

Note the googly eyes, which she must have brought to class.

Kerry told us this was to be a gift for a grandchild. I was impressed – very impressed.

Me – I started out pretty well. I was prepared. I had brought a copy of my hummingbird drawing, and had pre-selected magazines and torn out several pages in advance. But after three hours of struggling with paper and glue, I had barely finished the background.

Debbie was kind enough to compliment my ” blending of soft shades.” Hm.

I took it home, and have been fussing over it for the last two days.

I soon realized that the collage technique does not lend itself to realism. As I worked through my magazines, I was taken by some appealing images unrelated to my original design. In the end I inserted a woman’s face, a tree frog and a trio of flies onto the surface. I’m going for Whimsy.

To finish up I added a little metallic paint and a few pen lines.

MAGICAL HUMMINGBIRD

Before I can seal the collage with top coat, I will need to buy a wide flat brush. I have no desire to ruin my 1 inch flat watercolor brush by using it to spread glue.