Posted in crochet, knitting, sewing

OMG: UFOooooooossss!

Did you ever decide to organize your yarn closet, and in the process discover an overwhelming number of Unfinished Objects: I have!

I have clearly been in denial about the quantitiy of UFOs piling up on my watch. To be honest, I knew about a few of them. Some are over five years old. They were slumbering quite peacefully until disturbed today in my zeal to clear out the yarn cabinet. They are the dirty dozen, plus one. Here is a brief run down.

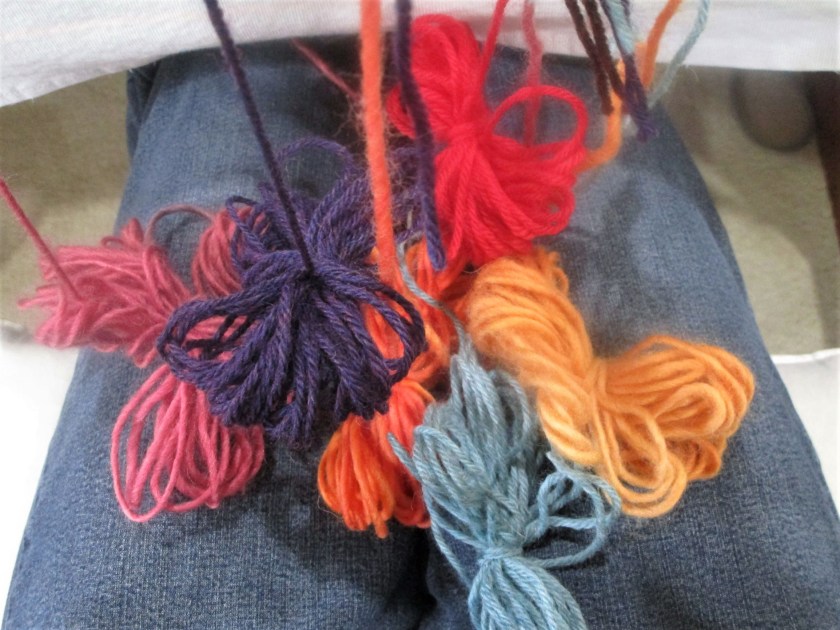
From the top, left to right:

  • Cabled gloves in dark green yarn. Pattern by Brooklyn Tweed, from Vogue Knitting magazine Winter 2009. I started with great enthusiasm, but lost steam when I fully understood the complexity of making cables up Each Finger. Tossed the pattern about six months ago.
  • Sparkly and beaded water bottle purse. I was making it for a former boss as a gift about six years ago. I couldn’t decide how to make the closure and strap.
  • Granny Square whimsical bird house. This was an experiment to see what Else could be done with granny squares.
  • Ladies’ woolen slacks. Frustrated with my inability to buy wool trousers that fit I decided to re-fashion a pair of men’s wool trousers. Purchased the pants at Goodwill, the pattern for $1.00 at Hobby Lobby.
  • Made the mistake of buying extra fine alpaca lace weight yarn. Tried to knit it held two strands together into a shawl. It’s not going well.
  • This is almost done. It is a serape-style poncho knit in a Northern Woods colorway yarn. Today I blocked it and expect to finish it soon.
  • This collection of yarn is set aside to make fingerless gloves. Still working on a design.
  • This is the pattern and fabric for making quilted baskets. I’ve made two so far. Eventually I will have enough little baskets to organize and store all my fabric.
  • This is a piece that I knit from Icelandic wool received from my daughter. I intend to felt it into a little purse – at some point in the future.
  • This shawl kit, designed by Laura Nelkins, includes beads. Someday it will be done.
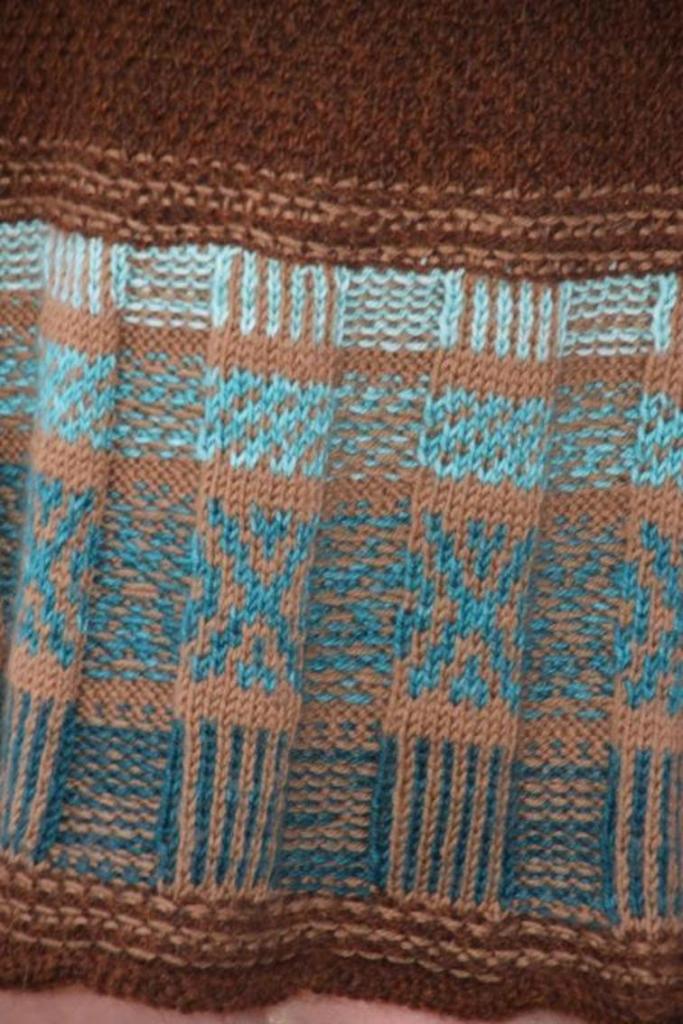
  • Here is the 8 by 10 inch weaving that I made as an example for my fiber arts students. It’s nearly finished. But I ask – what do I do with it when it is?
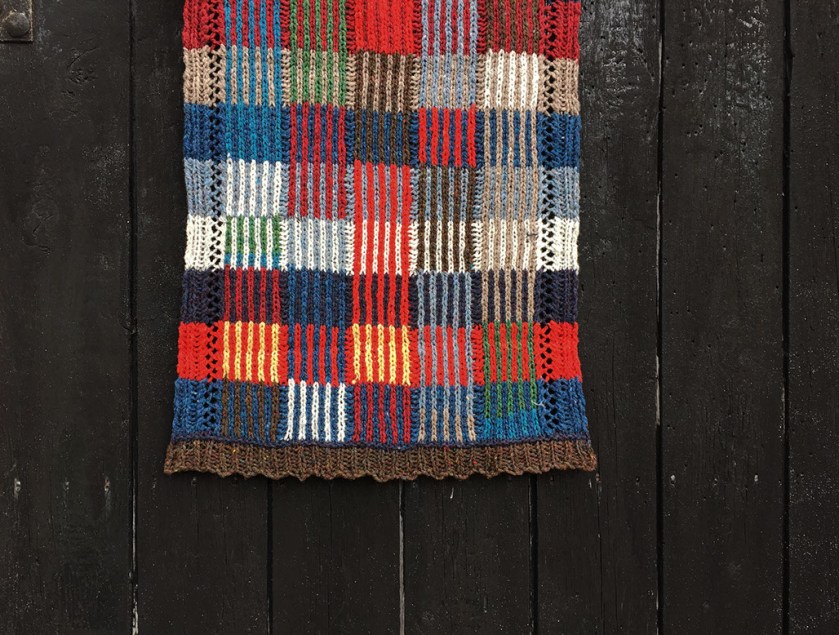
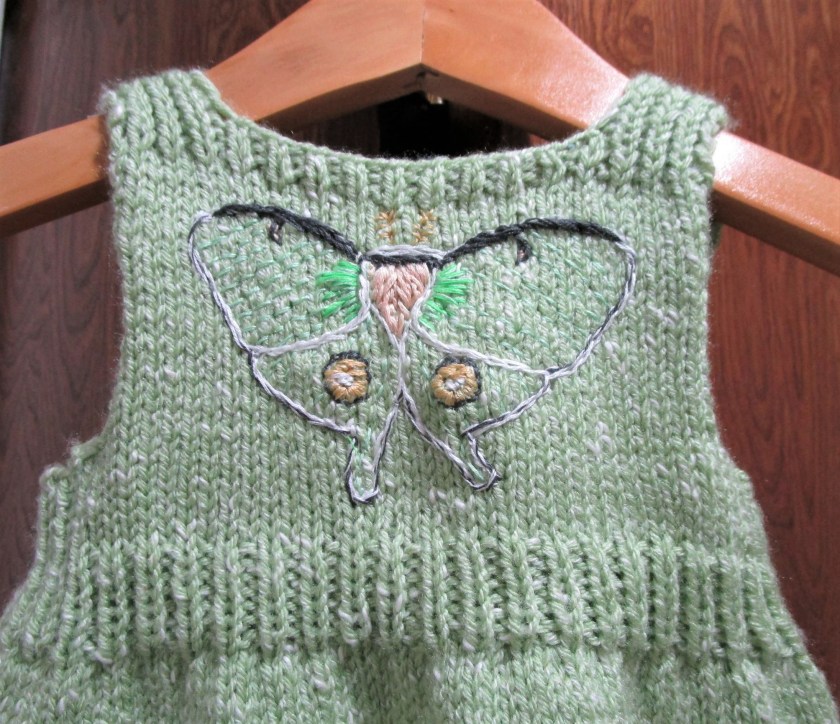
  • And finally, I recently started a triangular cardi-vest designed by Melody Johnson. I thought it would be a good way to use up the odd balls of yarn.

Oh yes, I did say a dozen plus one. The last UFO is a felt coat.

It needs to be altered. I removed the first sleeve and then hid it in the back of my closet. It will likely stay there until next winter.

So, my fellow fiber artist – which UFO looks the most appealing to you?

Posted in knitting

Weaver’s Square Vest Reveal

Completing the front of the vest didn’t take very long. I chose to use a 1 by 2 rib which matched the edge rib of the vest back. The front hem carries on the same stitch and colors of the back hem – brown with a purple stripe – to provide more unity to the garment. The neckline is a wide V and the button placket is garter stitch. The only hiccup I encountered was that the garter rows proved to be tighter than the rib rows, (naturally) and I had to throw in a few short rows to compensate. Here are the front pieces on the blocking mats.

And here is the finished vest.

I’m pleased with how it turned out. And here I am turned around.

The side seams were sewn with mattress stitch. I like that the vest shows both the serious side and the fun side of the wearer’s personality.

All yarn is from KnitPicks. Thank you to Kieran Foley and knit/lab for creating the Weaver’s Square design.

https://www.kieranfoley.com/

Posted in knitting

Butterflies In My Lap

Not the usual place one finds butterflies. These little twisted pieces of yarn are called butterflies, wound up in pursuit of knitting multiple colors at once. I am attempting to make a colorful vest for my daughter. Here is what I have so far:

This is the start for the back of the vest. The concept is to create a riot of color while keeping the front very plain. Back interest is a tactic that I use frequently in my knitting designs. Sometimes I use a dramatic over-sized cable, sometimes a fancy lace panel. I like to make a good impression both entering and leaving the room.

In the picture above you can see a chart that I made for this project. The actual concept, however, isn’t mine. I have to give credit to Irishman Kieren Foley, the creative force behind knit/lab.

https://www.kieranfoley.com/index.html

I have been a fan for years. The first project I made inspired by his work was a skirt. I incorporated one of his fair isle designs into the hem area. Completing this project really helped me to gain confidence as a knitwear designer.

The next project I made was men’s scarf. I actually made two of them – one for my dad and one for my husband. The pattern, available for free on Ravelry, is called Fair Isle Rapids. Here it is on the knit/lab site.

https://www.kieranfoley.com/knit_lab_fair_isle_rapids.html

The design I am aspiring to follow for daughter’s vest is called Weaver’s Square. Here is how it looks on the Knit/Lab site.

My version omits the lace trim and adds another vertical band of color, so that I can achieve the width I need.

Foley’s website offers detailed charts of his beautiful designs in the form of pdf files, for a very reasonable price. If you like color work, I encourage you to visit knit/lab.

Posted in Uncategorized

2019 Best Loved Fiber Objects

As many of you are doing right now, I also am looking back at my work in 2019 for the purpose of choosing favorites. It was an interesting exercise. I especially was surprised when comparing the difference between most popular projects and my own favorite projects. They didn’t always match up. Here are the top picks in each discipline.

1. Embroidery: Prayer Flags.

This fiber object was actually a mixed media work, including the crafts of painting and applique. But embroidery was the new skill that I was practicing and I was thrilled with the results.

2. Knitting: Luna Moth Baby Dress.

Starting with some yarn purchased the prior year and a design of my own featuring a ruffled hem, this project morphed into something special when I discovered a Luna moth resting on a blade of grass in my backyard. She looked so much like the dress I was knitting that I decided to embroider her image on the back.

3. Mixed Media: Henry’s Haiku

When my grandson handed me this little poem, I felt that it was special. To illustrate it, I chose an image of a jaguar which I painted and embroidered. The background fabric is treated with candle wax drips and overpainted. I embroidered the poem so as to match the author’s handwriting as closely as possible.

4. Drawing: Overgrown Garden Shed.

While not my favorite sketch, this one received the most likes and comments. All of these skills were new to me, especially using ink wash and brush pen.

5. Quilting: Oakleaf Hydrangea Study

Every day is a happy one, when I see this quilt in the morning light. New skills included working with resist and free-motion quilting.

6. And finally: Crochet: Purple Yogi.

This object is so silly, and yet it turned out to be the most popular by far. Perhaps I had accidently connected with the current Zietgeist. The doll has florist wire bones so that it can bend and twist as needed to strike a post.

Happy New Year to all, and may 2020 bring you your most creative work.

Posted in knitting

Toe-Up Socks

You knitters who have made many a toe-up sock are encouraged to skip this little blog. But those who are new to knitting socks may find the following somewhat interesting. It’s time. After ten years of knitting I am finally making a pair of socks knitted from the toe up.

My inability to learn toe-up sock knitting is 100% the fault of Judy’s Magic Cast On.

Judy, I am sure that you are a fabulous knitter and a wonderful person. But I just couldn’t get my head or my hands around this technique. All the talk of top and bottom needles, wrap the tail end of the yarn around the top and the ball end around the bottom, (being careful not to let go of your needles or wrap the yarn too tight or too loose) it was just awkward and more than a little confusing. So sorry about that. My fault entirely, I am sure. But I ask, why not start with a crochet chain?

Starting with a slip knot and using a hook close in size to your sock needles, chain the number of cast on stitches specified in your pattern plus one. In my example I chained nine stitches. If you study the image above, you will see a top set of loops and a bottom set of loops. Now replace the crochet hook with your first needle. Pick up the loop next to your needle and knit it, then pick up and knit all of the others loops along the upper edge. Rotate your work clockwise until the bottom loops are now on top and to the left of your working yarn. Using another needle, pick up and knit all of the bottom loops (Ignore the slip knot. It will be hidden inside the toe.) When you get to the end of the round your work will look like this.

Divide the stitches over four needles so that there are an equal number of stitches on each needle. Continue with your pattern.

After knitting the next round on four needles.

I know some of you are already pointing out that the toe seam created by this method seems to have purl bumps. I say have courage and knit on. Your seam will not look perfect, but it will smooth out somewhat.

After knitting all the increase rows.

And, by the way, the toe seam will be hidden inside the shoe during wearing, so no one will see. And I promise not to tell.