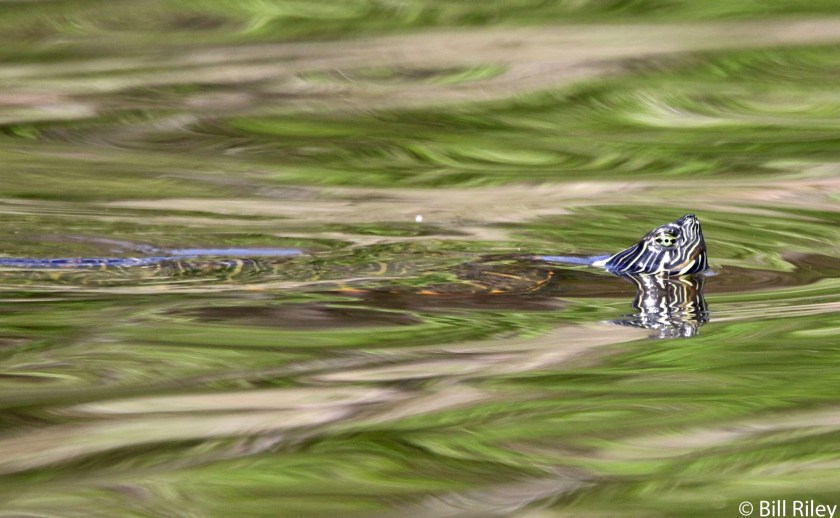
Lately I have been so inspired by the fresh green-ness of springtime. I am eager to make fiber objects that memorialize what I see. While viewing some of Bill’s photographs from our recent camping trip at Lake Montgomery, I was amazed by his images of red-eared slider turtles. They were paddling around in a quiet inlet. The colors of the surrounding trees were reflected in the water and bent by its ripples. That water surface reminds me so much of silk moire. I would love to re-create the image in fabric.
To get started, I reach for my old stand-by medium: Jacquard Dye-Na-Flo.

I’ve mixed up a leafy color by blending yellow, green and a bit of orange. Black will be dabbed on in small quantities.
I think that I can manipulate the paint into ripples by sewing the fabric into pleats – much like a Shibori technique. Studying the photograph, I organize the pleats by direction and number to match what I see.

The fabric is wet thoroughly. I don’t want any of the fabric inside the folds to remain white. Then I sponge the green paint onto the top and bottom sides of the fabric. A little extra paint, including dabs of black, is applied to the edge of the folds. Here is my piece after the painting is finished.

The fabric will need to remain tied up until it is thoroughly dry. This technique works because the parts of the fabric that dry fastest hold the most color. The slowest drying sections will be the lightest in color.
And here is the finished, pressed cloth:

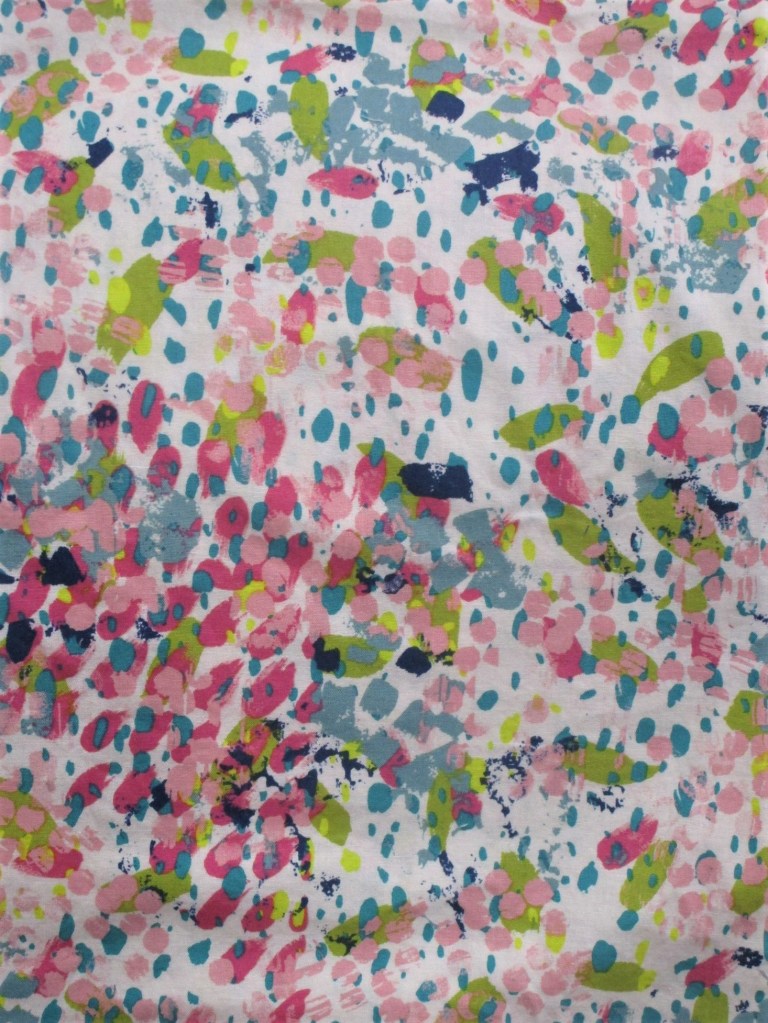
It may be difficult to tell from the photograph, but yes, this fabric is completely flat. I was pleased. There is an uncanny resemblance to the lake water in the photograph.
My next step will be to imitate the ripples by brushing on thicker textile paint. It will be interesting to see if I can do it.