Posted in painting

Channeling Vincent Van Gogh

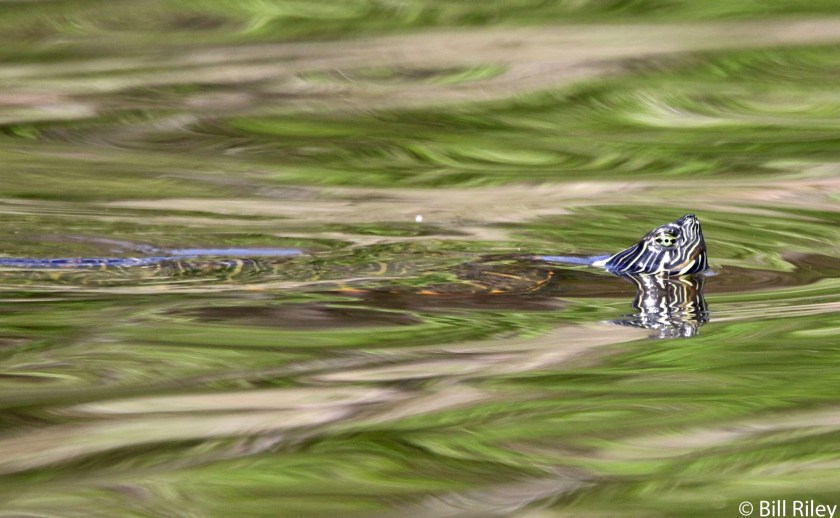
If you read my post dated October 1, you will remember that I have a desire to make a fiber object featuring sunflowers. As a reminder, here is the photograph I took this summer that will form the basis of my design.

I got pulled off my work when I decided to make a “confetti” sample on October 1st. It was great fun, but it won’t really give me the effect I want for this background.

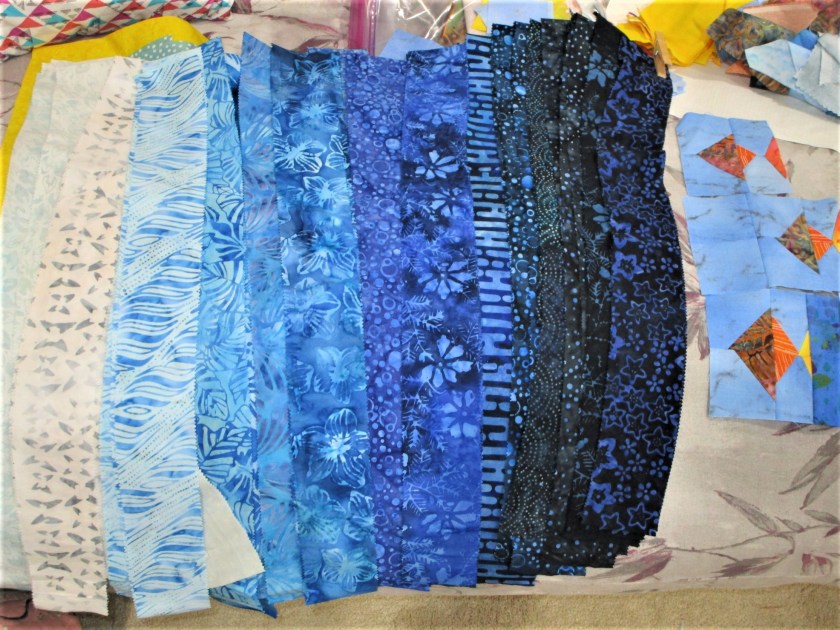
So today, I am back on the trail of Van Gogh. I’ve studied some of his still life paintings, enough to get a handle on how he painted those dotted backdrops. I am trying it on the background fabric I have selected. It is a mottled pattern in a Prussian blue color. Certainly, it looks painterly in its own way, but it lacks the dynamic quality I seek.

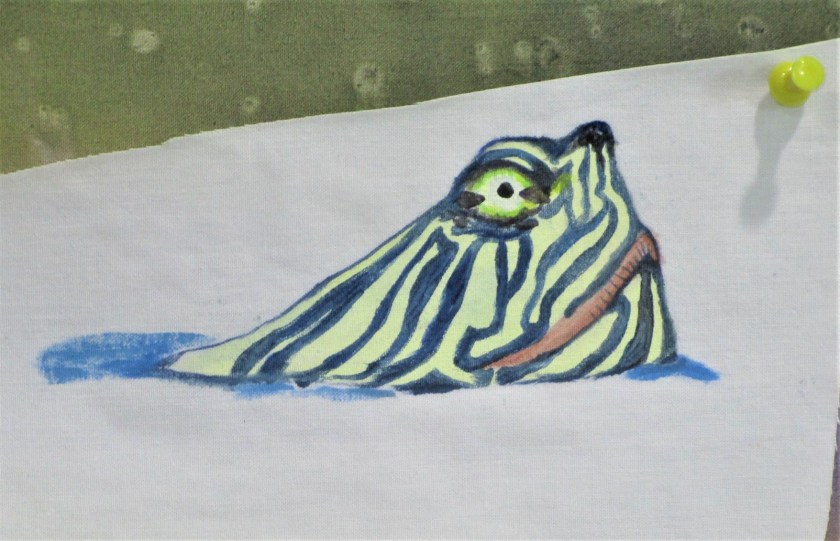
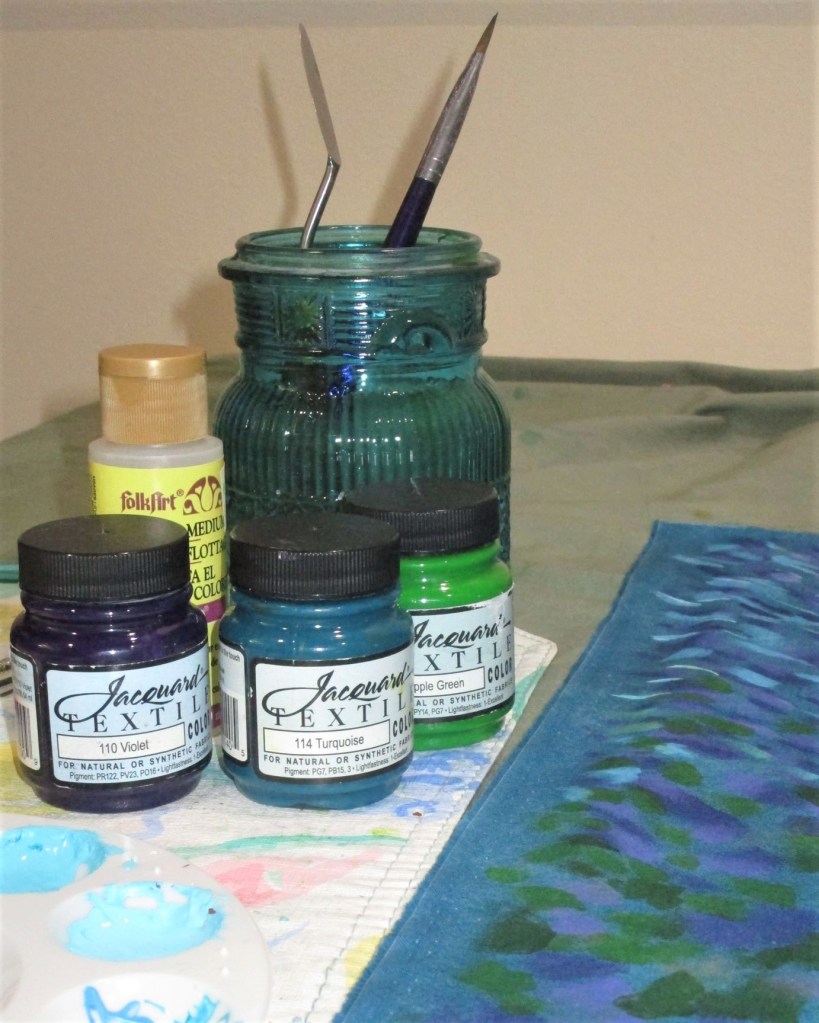
I get out my Jacquard textile paints and, with new brush in hand, start at the top of the fabric. Directional lines and dashes are what I’m going for.

Sky complete, starting on foliage background.

As I work my way down the fabric, I move from thinner lines to fatter, more blocky shapes. These represent what I see when looking at the background of my photo: mottled light and shadow of leaves, branches, etc.

Middle section painted.

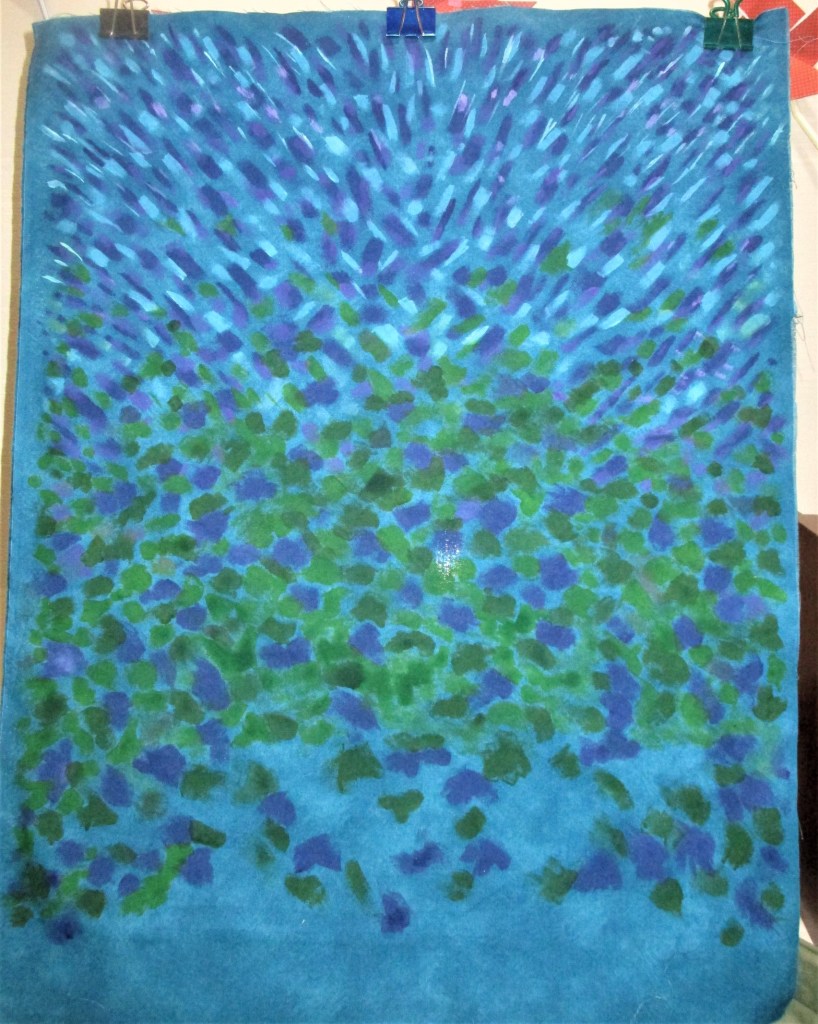
I leave the bottom of the fabric blank, because the foreground is the fence. I have another piece of fabric for this element. It will be painted with a dry brush technique to portray the weathered state of the boards.

Background with my test swatch of fence fabric. I make the marks in violet paint.

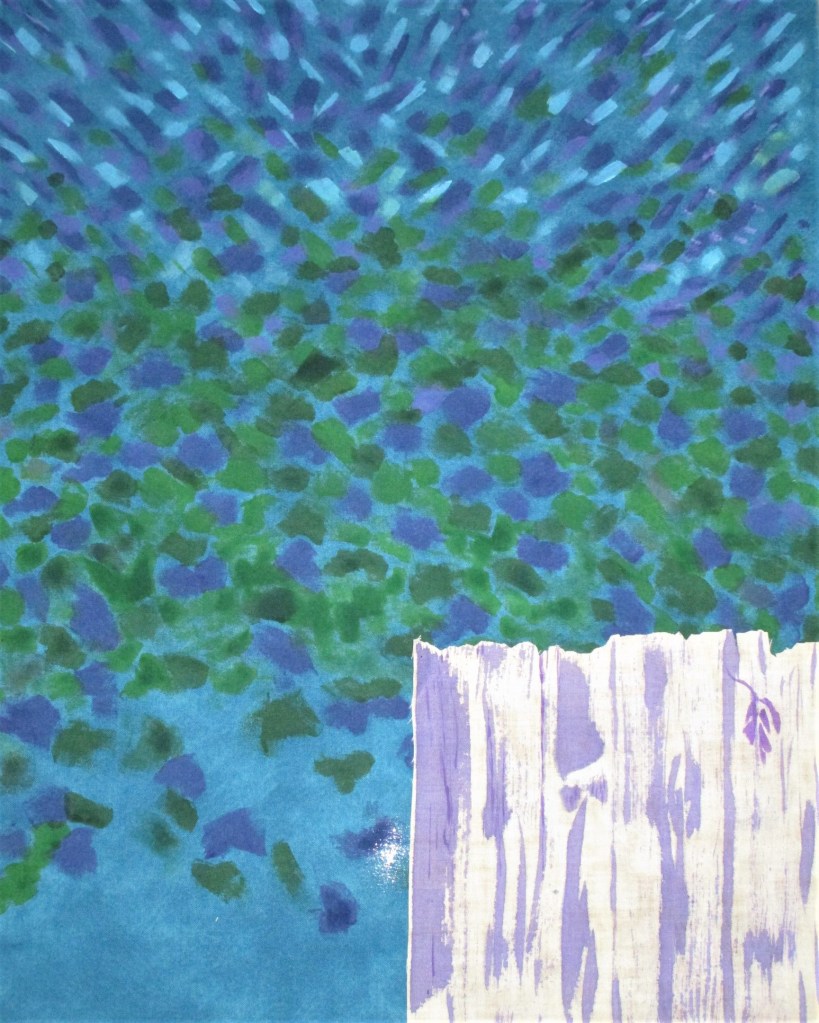
I found this process quite meditative. As the fabric gets filled with splotches, one pauses, studies the work, and asks oneself: Where do I put the next mark? What is it calling for? How will I know when it’s finished?

Mr. Van Gogh might have known, but I am only guessing.

Posted in quilting

Gorgeous and Productive Day

Today’s weather was quite remarkable, for August. Upon rising, the air was 66 degrees and winds were calm. It stayed so cool all day long that the A/C didn’t even turn on until early evening. I enjoyed the backyard for an hour or so and did a modest amount of gardening. It was almost 11 before I resumed work on my current project.

Appliqueing the turtle was really fun. After some fiddling about with the shapes and color choices, my center medallion looks like this:

Combination of batiks and hand-painted fabrics.

More dimension and texture will be added when I stitch it. I painted the turtle’s head Very Slowly, using Jacquard Textile paint mixed with floating medium. I rather like the primitive-like quality resulting from the bright colors and blocky shapes. This piece is roughly 20″ by 14 and 1/2″. To make it into a square, I made a strip with my baby turtle stenciled blocks and added it at the top.

I like what I see so far. But now, the hard part. I will need to build a quilt around it. I’m thinking about log cabin blocks, mostly because I purchased a package of pre-cut 2 and 1/2 inch strips. Here they are:

These are all so pretty. And a nice range of tones.

You can see also see a few fishy blocks that I made months ago using the stitch n flip technique. These could become log cabin centers……..or I could group them into a block of their own. That would make a school of fish.

Okay, quilting bloggers, this is an invitation to weigh in on this design. Any thoughts?

Posted in sewing

Stash-busting: Open Wide Zip Pouch

Okay, so I’m making this zip pouch because Chris at Chrisknits can’t stop making them! They are just so darn quick and useful. You can check out her blog here:

https://wordpress.com/read/feeds/32776

Do I have what I need? Let’s see. The project requires about 1/4 yard of fabric each for the outer shell and lining as well as a zipper. This one is about ten inches long.

I also required the better part of a cup of coffee to get started.

The gold cotton damask on the left is left over from a bedspread I made about 15 years ago. This scrap has been used in an experiment with Dye-Na-Flow fabric paint. I applied the paint to the back side of the fabric, to see if the color would seep through the woven vines but not through the shiny gold parts. It sort of did that. Now I have a use for it.

I also have this scrap, printed with shiny gold dillweed stems. I’ll use it for the bottom section of the bag.

Instructions for this project come courtesy of Anna Graham, at Noodle-head. com. You can get the details here:

open wide zippered pouch: DIY tutorial

My first attempt took about an hour or so to complete, with only one rip-it-out moment.

This is very girly looking, with the pairing of flowery and metallic prints.

Here’s a peek at the inside. It does indeed open wide.

This will be a nice item for gift-giving. I think I will make the next one with a wrist strap.

Posted in painting, quilting

Update on Turtle Fiber Object

The past five days have found me in a creative slump. Having got my turtle idea started, I am mulling ideas and fiddling with techniques for the next steps. As a reminder, here is my inspiration photograph.

There are two tricky parts for me: 1. How to portray the reflections, and what other elements should be included.

I did get the subject-turtle painted onto to white fabric, in two pieces.

I also added more wash to the background. My goal was to achieve some depth of color and depict some of the swirls and waves in the pond. That didn’t happen but I did achieve some nice shadows. Next I fused the turtle in place with Wonder-Under.

After practicing on scraps, I decided that I have enough skill to machine quilt the reflections. The advantage of this technique is that the thread can be very light colored, even shiny, against the dark background.

For additional elements, I may go with pond grasses….

… and damselflies. Maybe a willow branch or two. But I have yet to work out the specific images and techniques.

This morning when I entered the studio, I felt momentary pleasure at seeing my recent work. Maybe it’s a sign that today I will get my mojo back.

Posted in painting

Spring Creations – Watery Images

Lately I have been so inspired by the fresh green-ness of springtime. I am eager to make fiber objects that memorialize what I see. While viewing some of Bill’s photographs from our recent camping trip at Lake Montgomery, I was amazed by his images of red-eared slider turtles. They were paddling around in a quiet inlet. The colors of the surrounding trees were reflected in the water and bent by its ripples. That water surface reminds me so much of silk moire. I would love to re-create the image in fabric.

To get started, I reach for my old stand-by medium: Jacquard Dye-Na-Flo.

I’ve mixed up a leafy color by blending yellow, green and a bit of orange. Black will be dabbed on in small quantities.

I think that I can manipulate the paint into ripples by sewing the fabric into pleats – much like a Shibori technique. Studying the photograph, I organize the pleats by direction and number to match what I see.

The fabric is wet thoroughly. I don’t want any of the fabric inside the folds to remain white. Then I sponge the green paint onto the top and bottom sides of the fabric. A little extra paint, including dabs of black, is applied to the edge of the folds. Here is my piece after the painting is finished.

The fabric will need to remain tied up until it is thoroughly dry. This technique works because the parts of the fabric that dry fastest hold the most color. The slowest drying sections will be the lightest in color.

And here is the finished, pressed cloth:

It may be difficult to tell from the photograph, but yes, this fabric is completely flat. I was pleased. There is an uncanny resemblance to the lake water in the photograph.

My next step will be to imitate the ripples by brushing on thicker textile paint. It will be interesting to see if I can do it.