Posted in quilting

Another Round Robin Quilt Challenge

Quilting Gail is at it again! She has organized five of her quilting friends in a stay-at-home round robin quilt for 2022. I’ll not go into details about how it all works. Instead, I’ll recommend that you check out Gail’s blog.

Last year was a blast for me. I was greatly challenged to expand my quilting skills. In the end I loved what I made. Its success was due in a big way to the weekly challenges, requiring me to stretch my imagination while improvising my design.

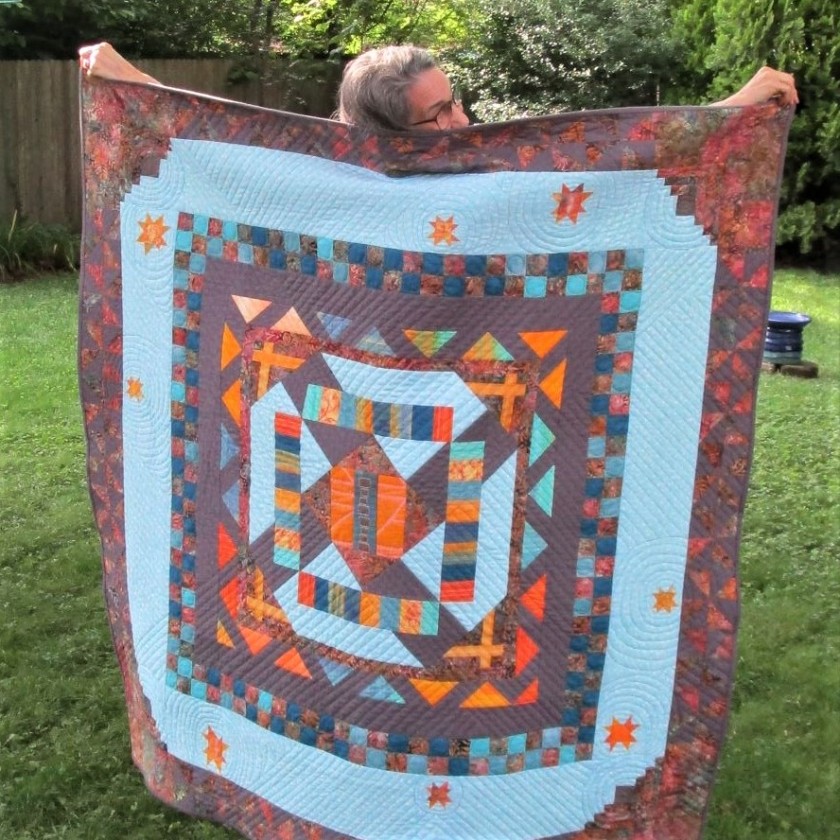
Expanding Universe lap quilt, made during the 2021 SAHRR quilt challenge.

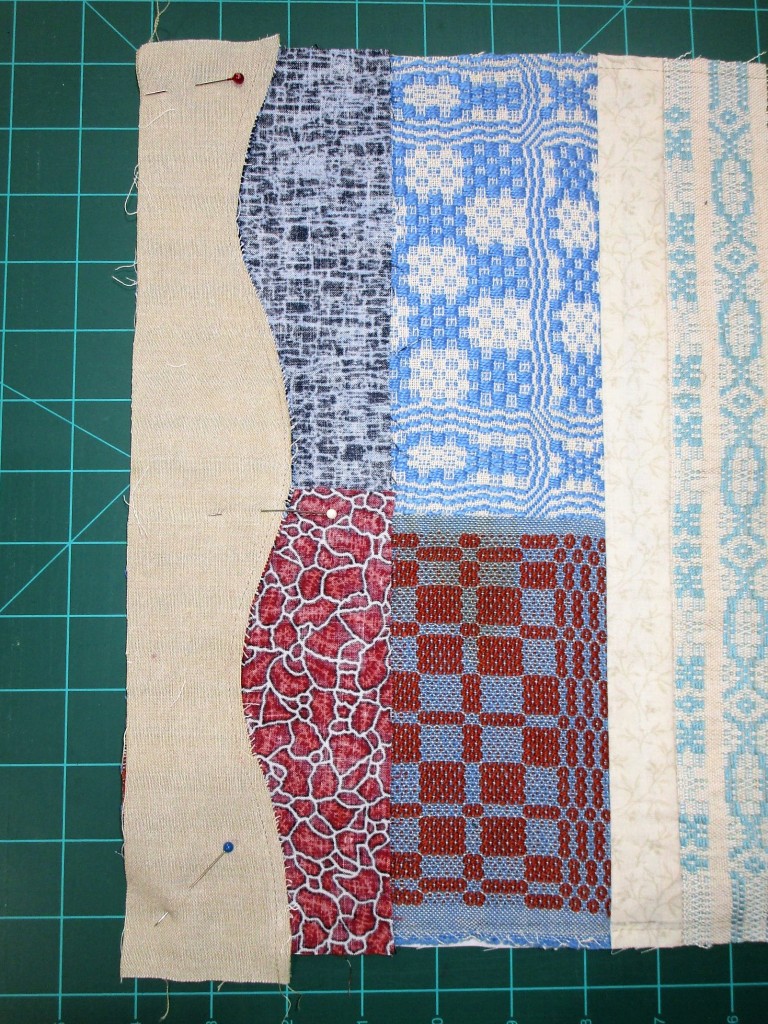
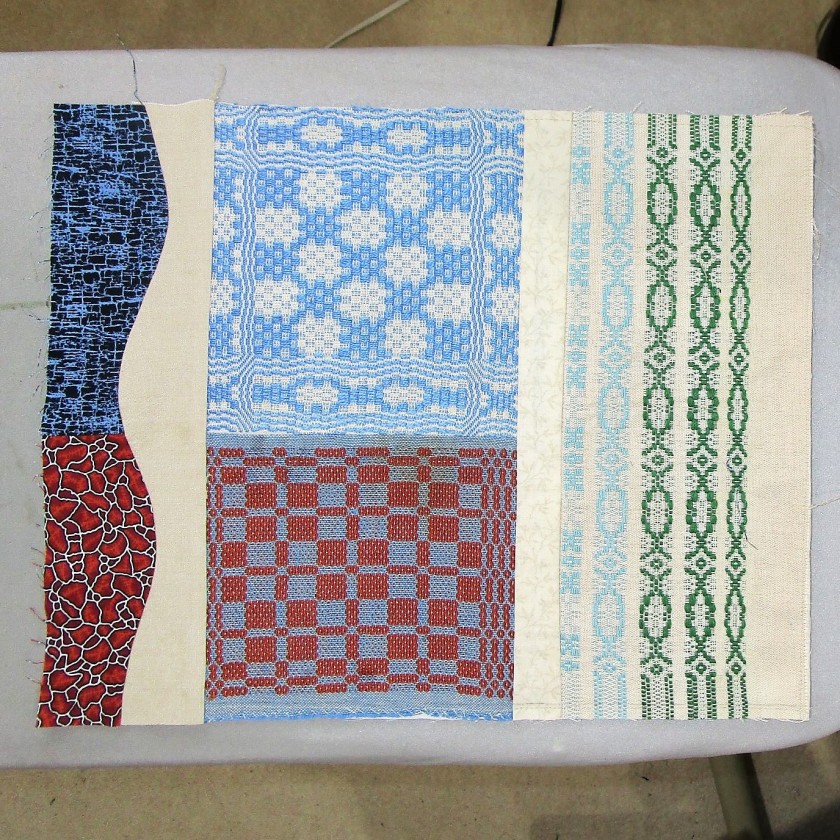
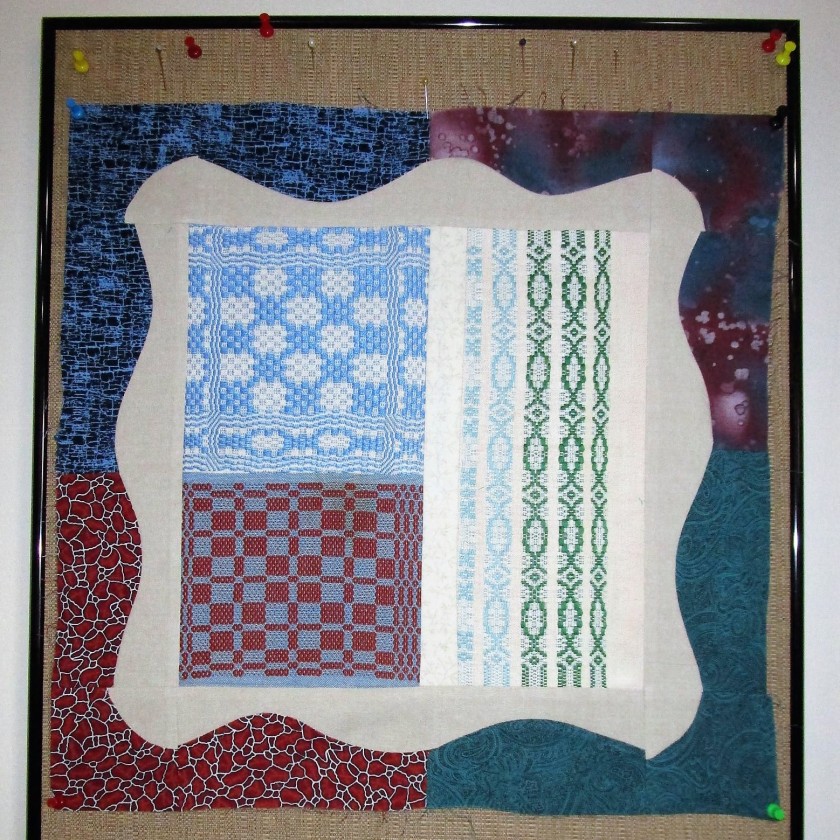
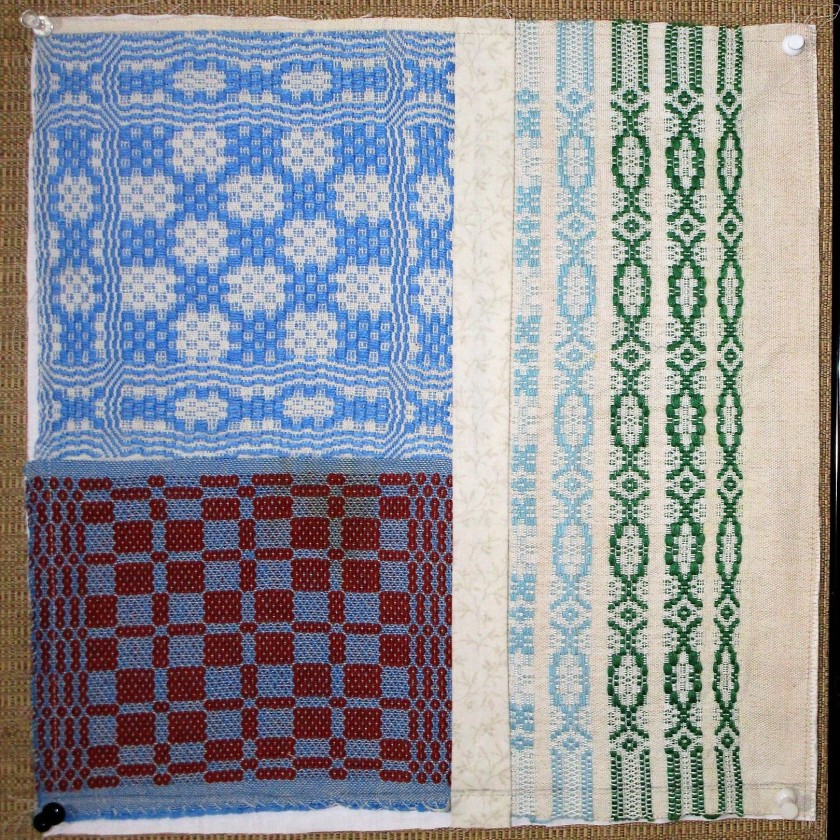
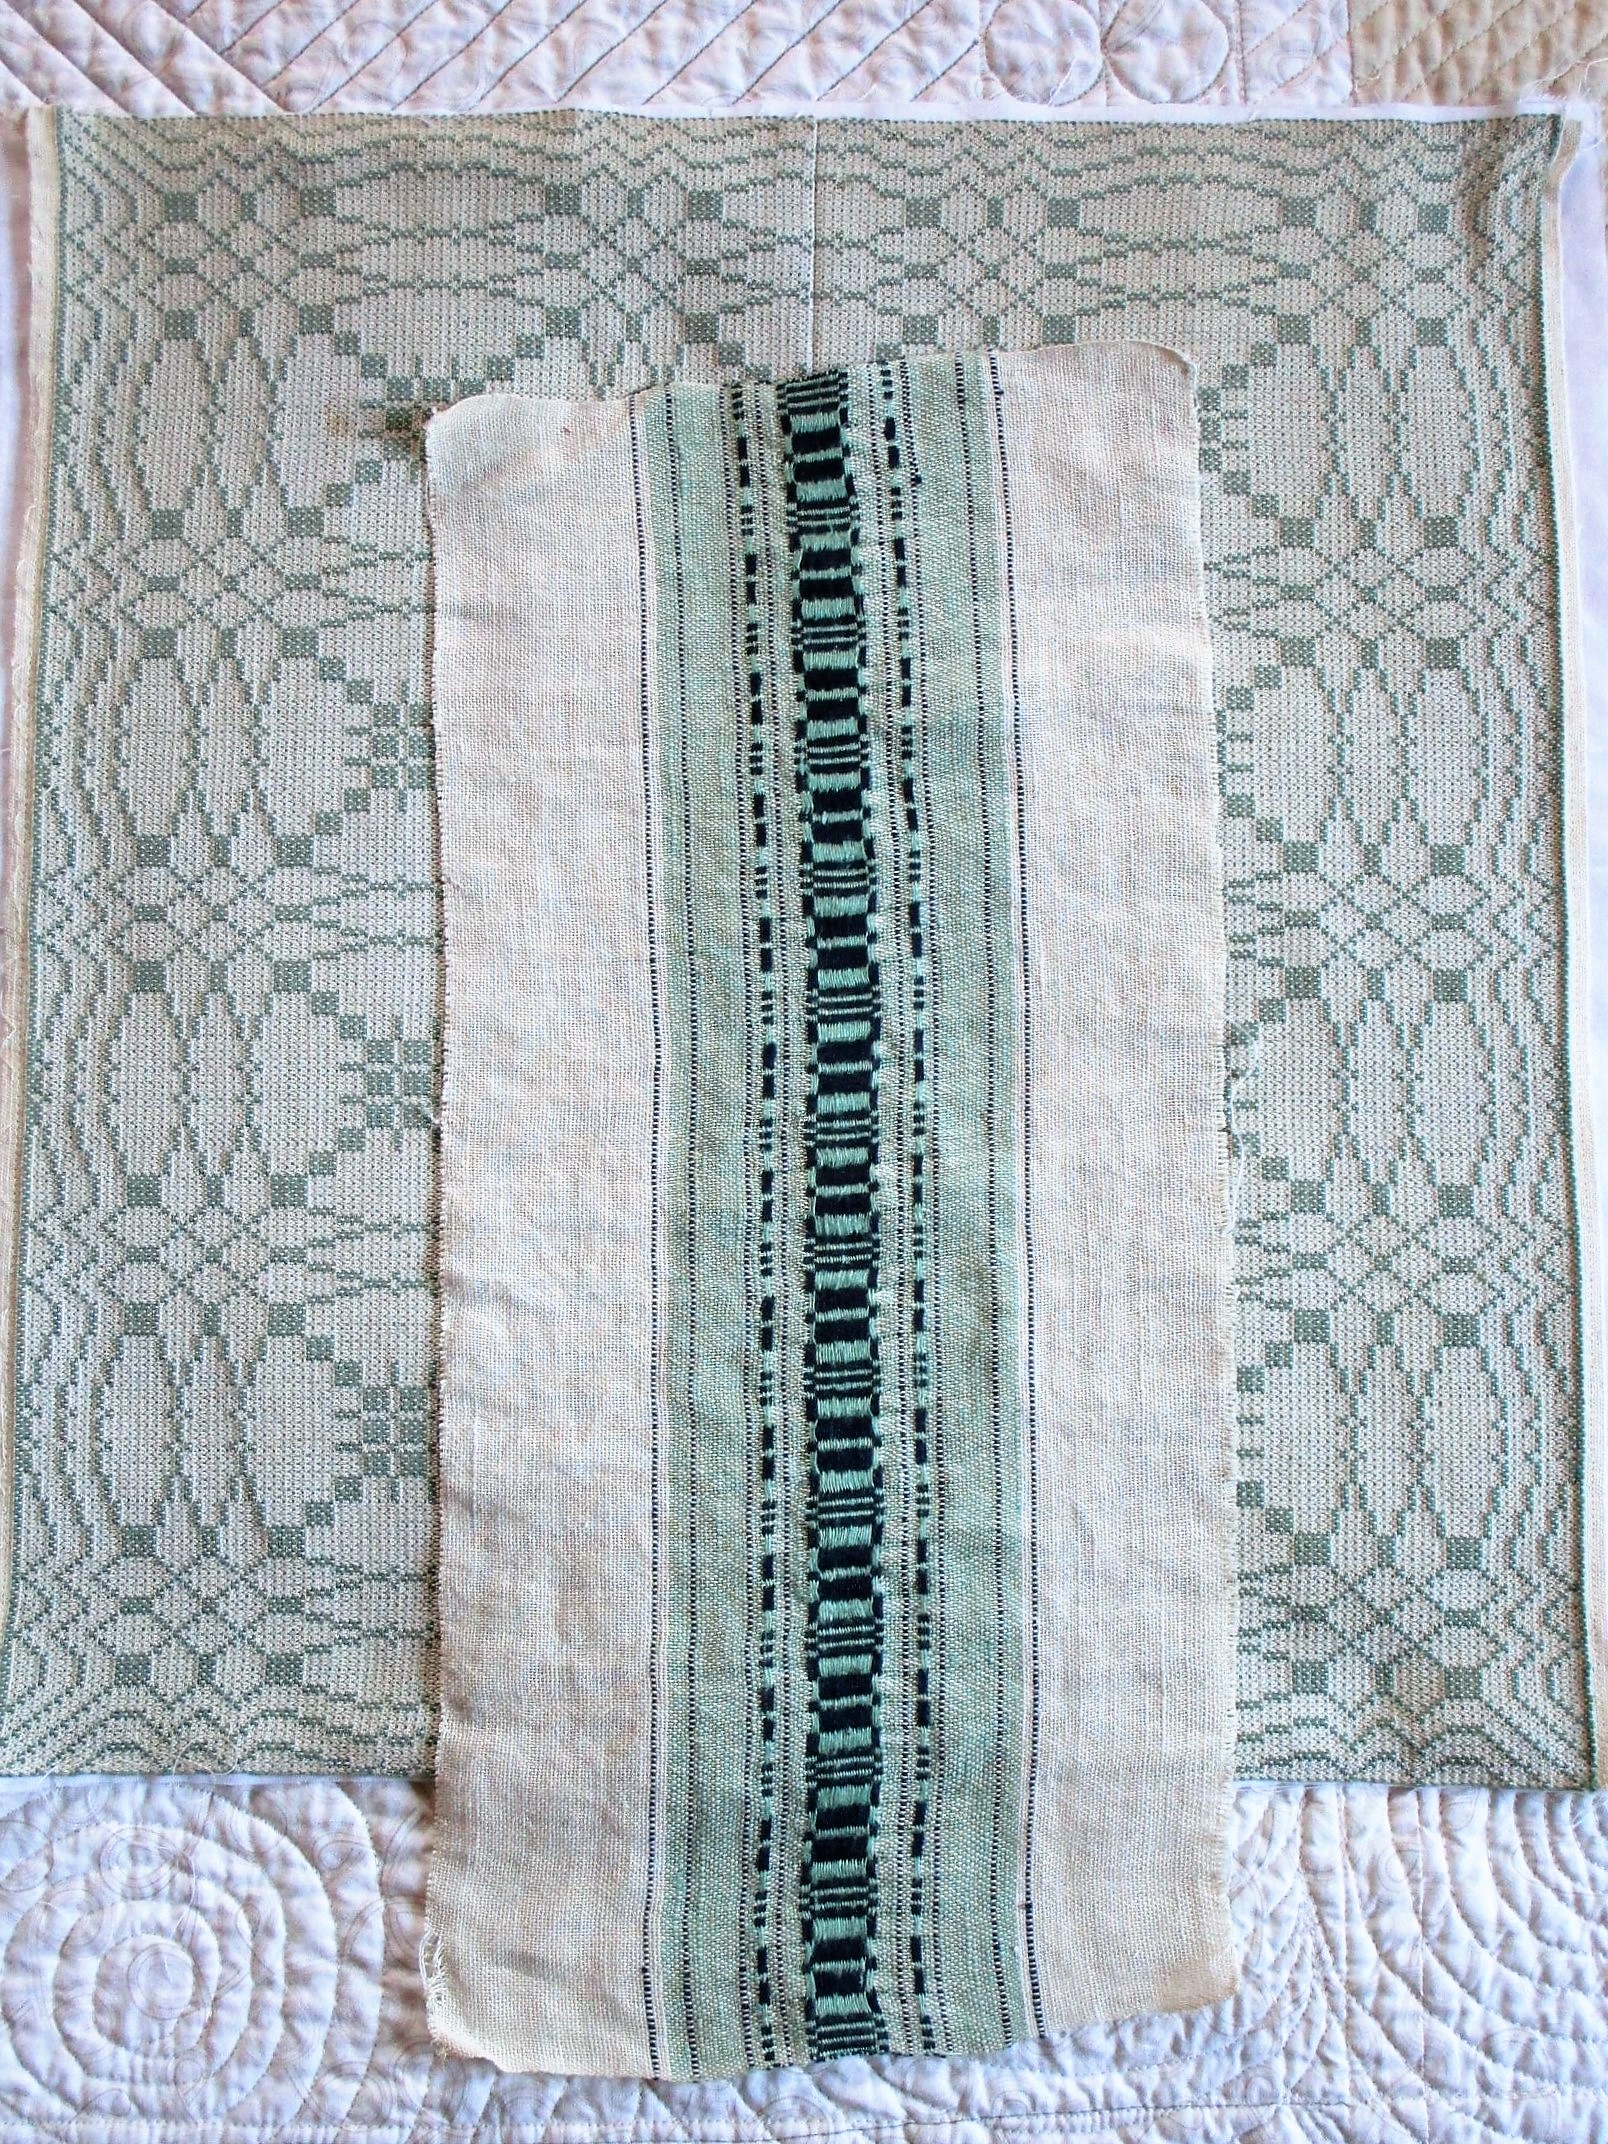
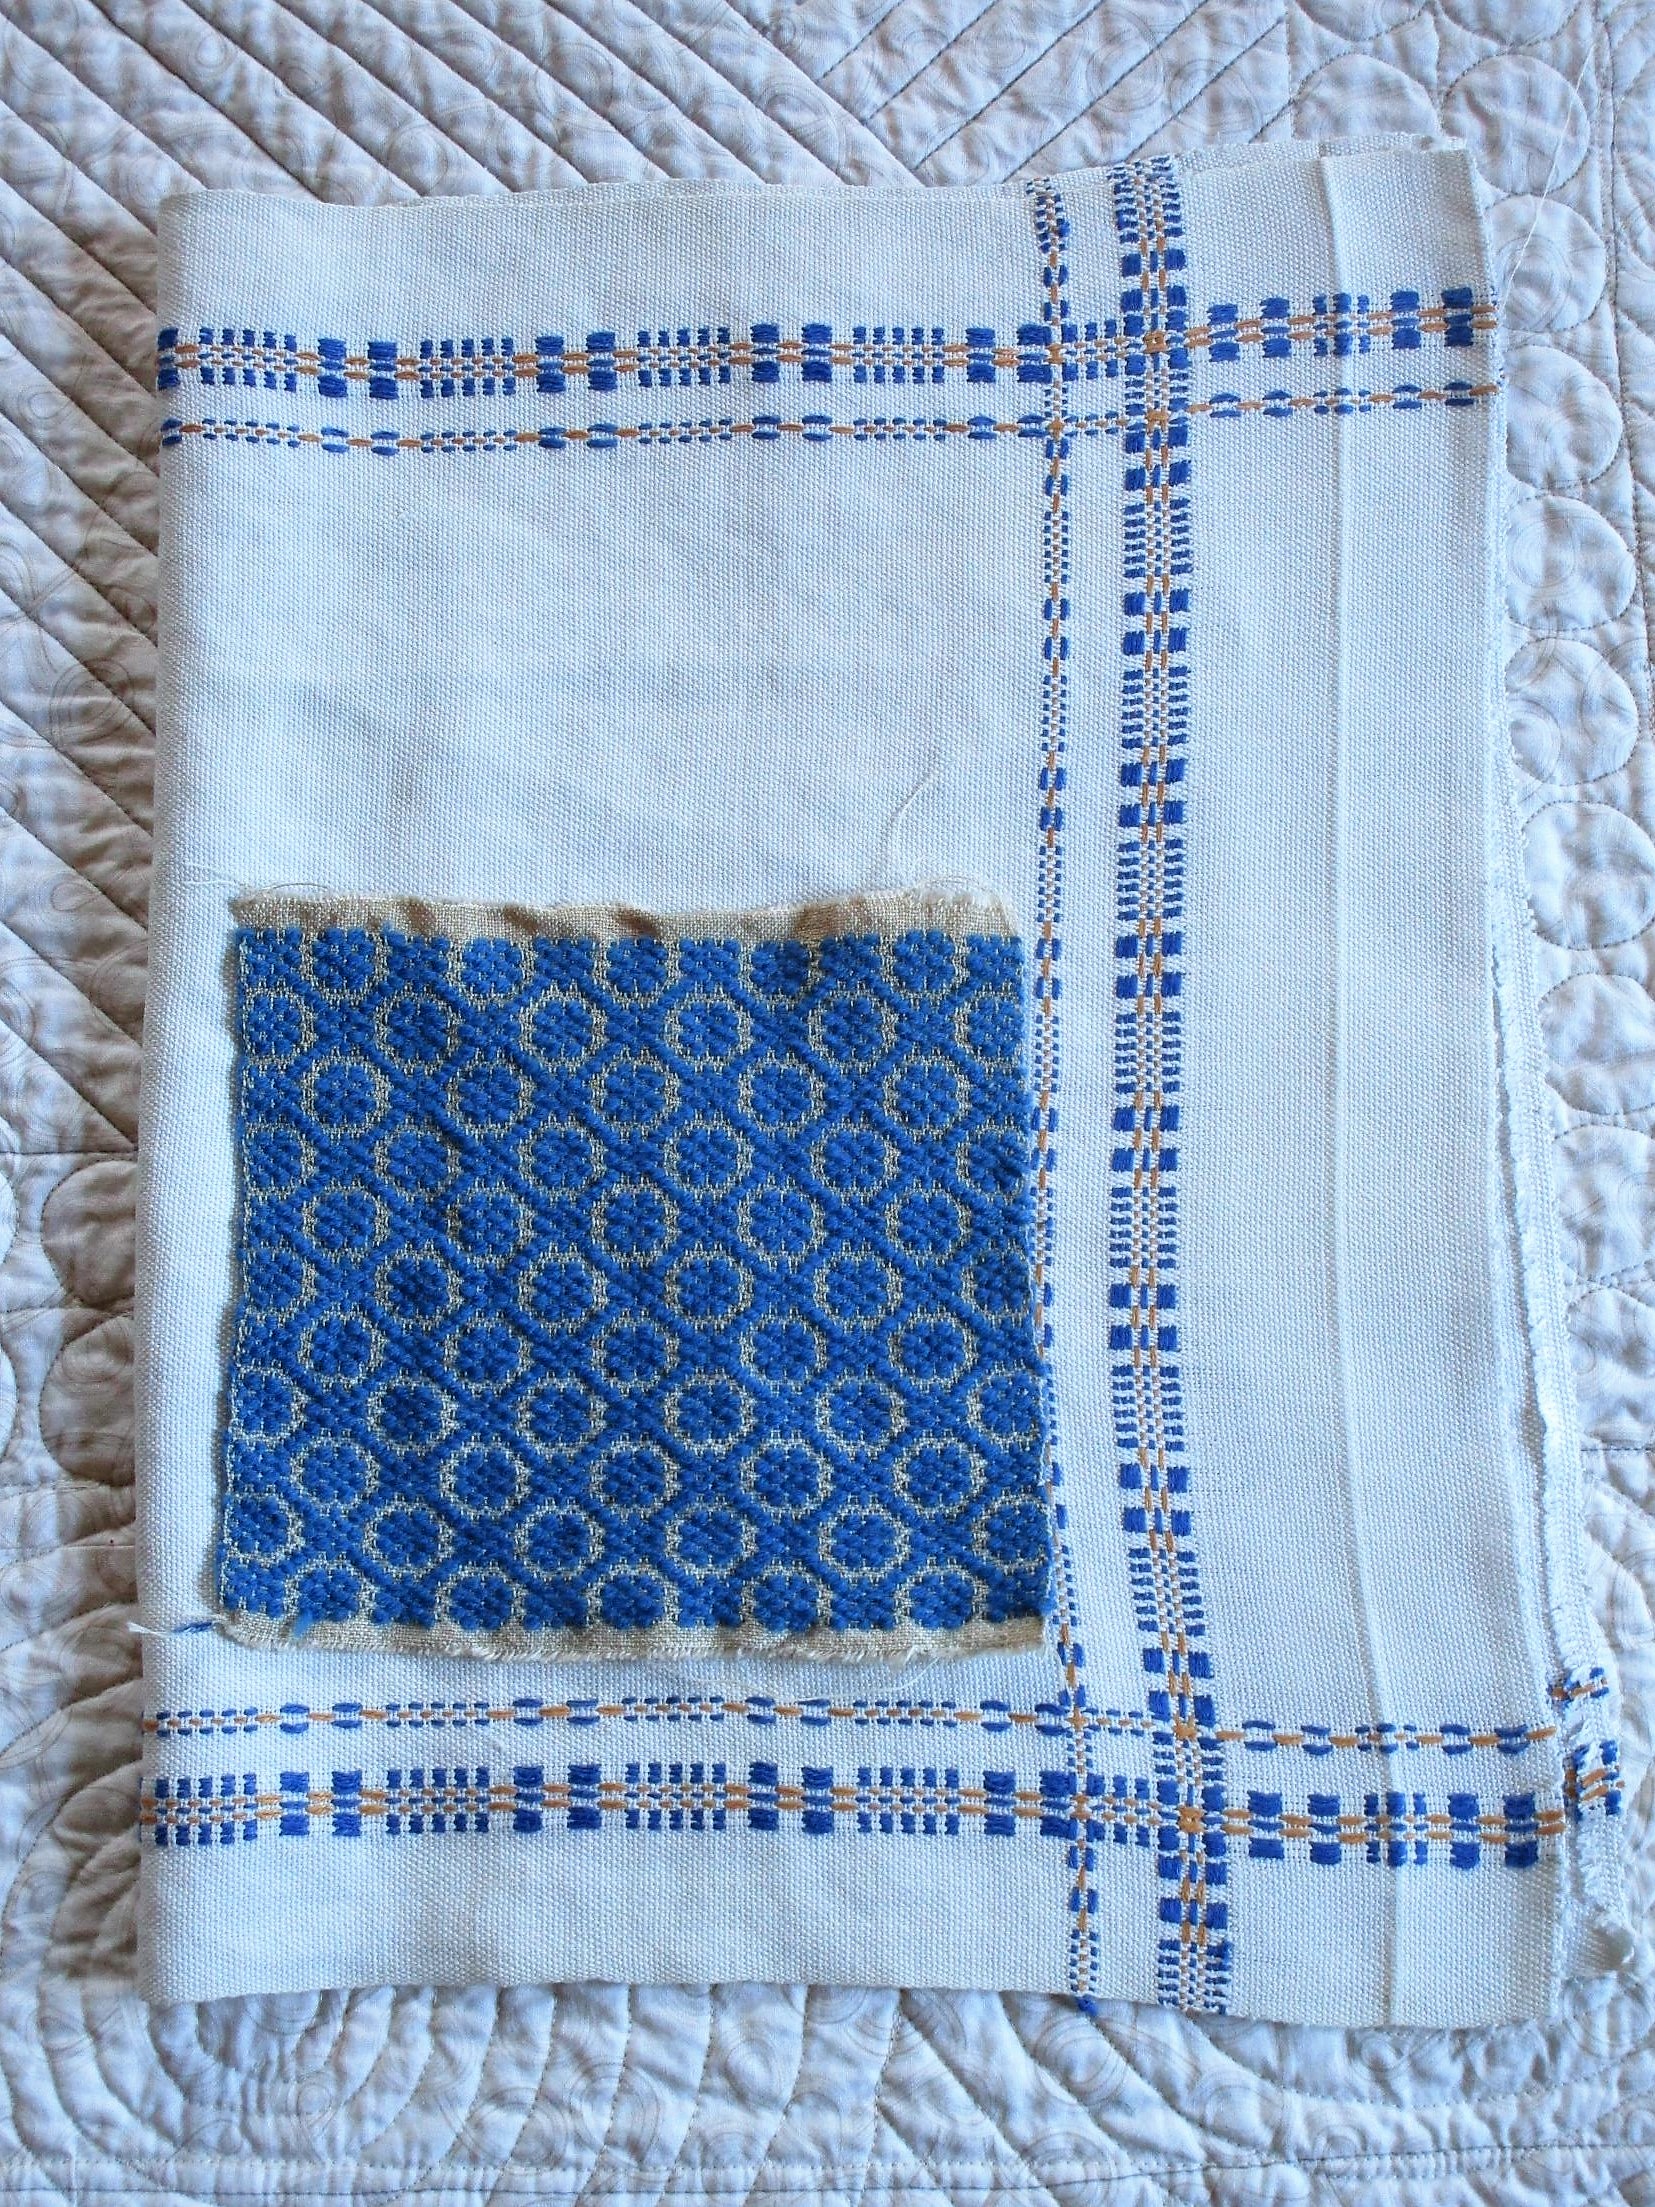
I have an unconventional approach for this year. It will involve quilting together hand-woven vintage fabric samples that have been entrusted to me by my daughter. Here is my center block using three samples. It will have finished size of 12 inches square.

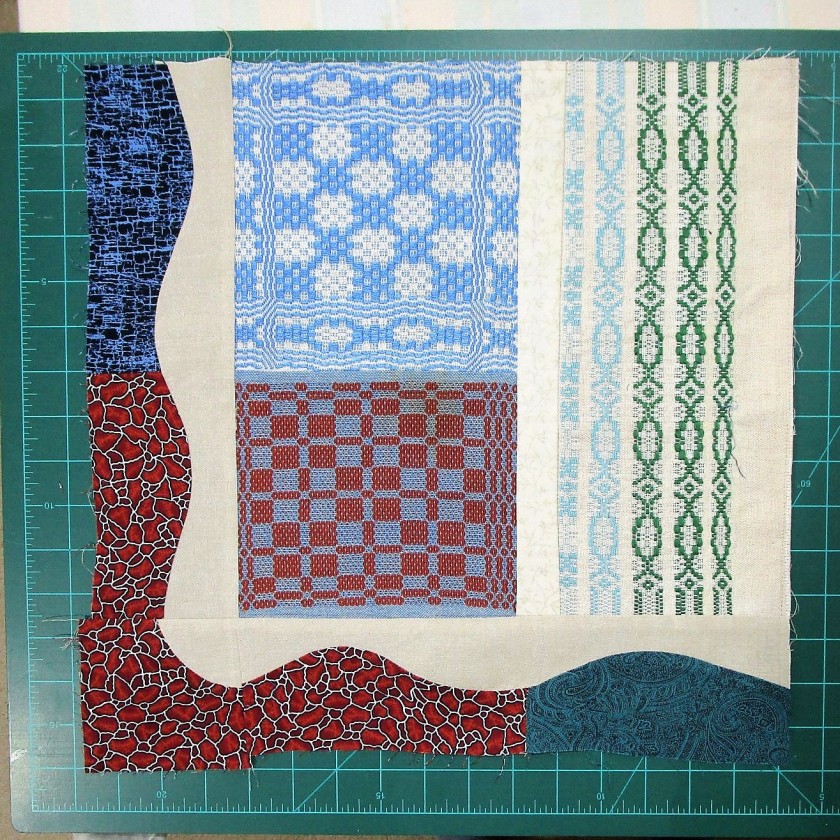
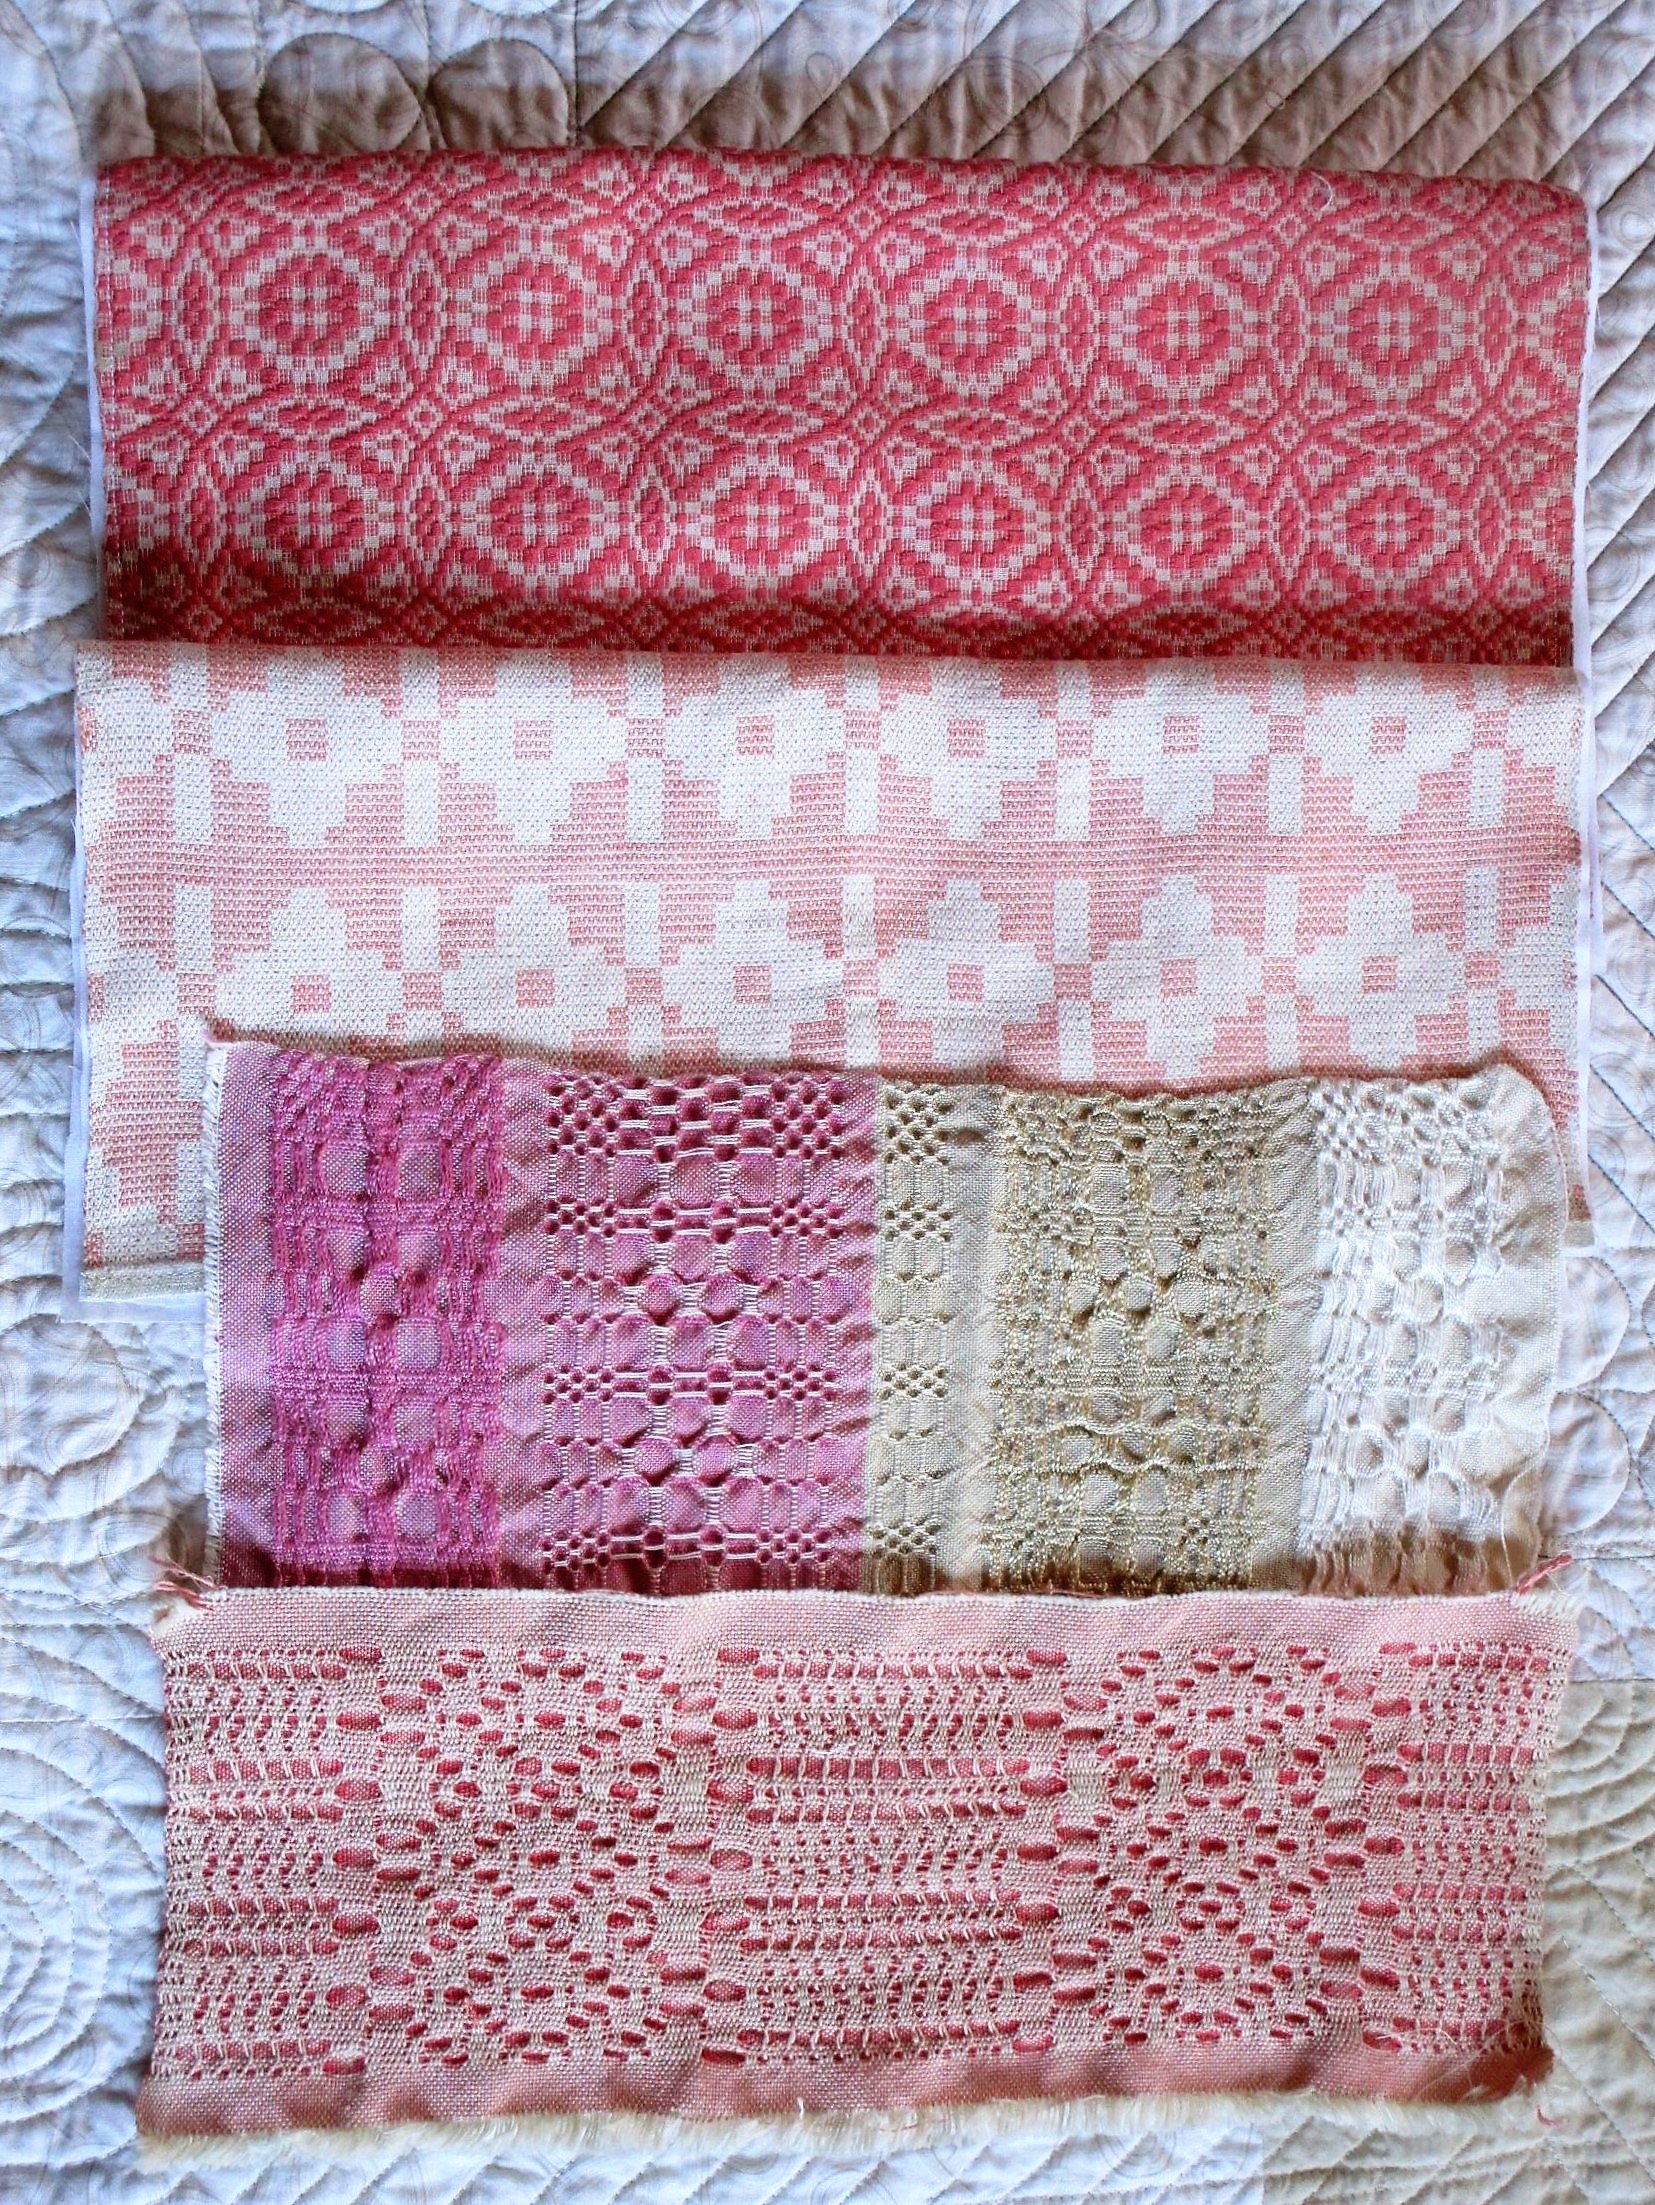
In addition to the wonderful textures of the weavings, this block cements together a split complimentary color palette utilizing red-orange as the primary color with blue and green as the supporting colors. Below are pictured more pieces, which will illustrate the palette clearly.

If this type of project interests you and you want to see more center blocks, check out the co-hosts’ posts, here.

Posted in colorwork

Wednesday Color Experiments

While perusing Bethan Ash’s book on quilt collages, I suddenly realized something.

I have been experimenting with fabric paint on quilt cotton for the past two years. And yet I have never used the most basic of all paint techniques: Spatter!

I decided to remedy that omission today. First, I went to my fabric stash and picked up some muslin.

This most basic of all fabrics is lightweight and inexpensive. I cut a width of fabric piece, dividing into three rectangles to match the size of my work surface.

I decided on three color schemes: primary colors, secondary colors and artist’s choice option. For my spatter tools, I chose a 2 inch brush, 1 inch foam brushes and a toothbrush.

After pressing the muslin, I laid the first piece on my white board. Then I spritzed it lightly with water. Working from lightest to darkest shade, I dipped the brush into the paint and then shook, jiggled, and tapped it over the muslin until the drops reached all areas of the fabric.

Yellow, Red and Blue

Since it was a sunny day, I took the first one outside so it could dry quickly right on the board. Once dried, I moved on to the secondary colors.

Orange, Green, Violet

This is a very pretty combination.

For my last combination of colors, I chose magenta as the first color. I had purchased this paint recently and hadn’t even opened the jar. To accompany the magenta, I mixed the left-over violet with the left-over blue to get a cool purple. The third color will be black.

I like this sample the best.

You may be wondering how I plan to used these samples. Well…….I’m not exactly sure. But since I am pondering improvisational collage quilts today, odds are good that they will get fusible adhesive attached to them and cut up into smallish pieces.

Then I will play.

Posted in quilting

F.O. Friday: Round Robin Quilt

I’m so happy to get this fiber object moved to the finish line.

CAN YOU TELL HOW HAPPY I AM?

This is my Stay at Home Round Robin quilt, a group quilt project that took place in January and February. You may recall some of my earlier posts on this topic.

After all the piecing was complete, I was unsure of how to quilt it. In the quilt’s center I had used the walking foot to sew parallel lines that pinwheeled outward. But the checkerboard border seemed to act as a visual line, stopping the progress of the parallel stitch lines.

After months of procrastination, I made some decisions. The checkerboard border was quilted free motion in a sort of figure eight pattern (the symbol for Infinity.) Each square ended up with a circle inside it. I then continued my parallel lines beyond the checkerboard all the way out to the edge. EXCEPT: I sewed spirals (the shape of galaxies) around the stars and log cabin corners. The straight lines filled in everywhere else.

I call this quilt Expanding Universe. Each challenge caused the quilt to expand over and over. And the choice of a pinwheel block in the center, with corresponding smaller pinwheels in the last border reinforced the idea of spinning outward. The finished quilt measures 60 inches square.

Thanks to brother-in-law Steve for snapping these lovely photos of me enjoying my Expanding Universe.

Posted in quilting

Finished Object Friday – Quilting

After three months, I have finished the pet-friendly quilt that started with this fabric.

Inspired by Rayna Gillman’s improvisational piecing technique and using a combination of log cabin and strip pieced squares, I designed a pair of blocks I call Dog House, Cat Barn.

The blocks finish at 12 inches square. But how can they turn into a bed quilt? After mulling it over for awhile and making several sketches on graph paper, I found that I could fit four blocks across five rows to come up with a twin-size quilt. To create balance, I staggered the rows by four inches with a spacing strip, alternating between left side and right side every row.

I also felt that the balance would improve if the center row was different. Thus was conceived the Pet Condo construction project in “mid-town,” (if you will permit my flight of fancy.)

Four inches of sashing in a grey polka-dot fabric between the rows made a “street,” giving the animal neighbors a nice boulevard for walking over to visit. With my concept complete, I re-named the quilt Animal Friends.

Oh, another group of animal friends were introduced via the background fabric: Our hardworking and very dear bees.

The Animal Friends quilt measures 57 by 84 inches. It was quilted with a combination of walking foot “stitch in the ditch” and free motion stitching on my Bernina.

Posted in quilting

SAHRR #5 – The Stars Above Us

After putting in a few hours of sewing yesterday and today, I find that I have something to show for this round after all. First of all, here is my assortment of wonky stars.

There are two sets of four – the smallest will finish out at 3 inches, the larger at about 4 1/2. While it took some patience to stitch on the tiny scraps of star points, I found myself enjoying the process. And in the end, they are so darned cute! I also made them fiery stars, in hot shades of yellow, orange and red. They jump right out from the pale blue background.

As I stitched along, though, I found my stars getting less and less wonky!

First Star
Last star

The blue border will be six inches wide. This will give the eye a good break from the dark and busy center of the quilt while allowing the stars to shimmer. Here are the assembled borders laid in place.

This project is so big, it is almost impossible to take a decent picture.

As you can see, the border is not attached yet. I am in the process of quilting the center body. My plan is to make separate quilt sandwiches for each border, attach them and then finish up the quilting by working around the edges. Or perhaps I will quilt them before sewing them on. Anyone have a recommendation for me on how best to manage this step?

If you would like to see the work of other quilters doing this challenge, follow these links: