Posted in quilting

Fabric Strips Saga: Chapter Three

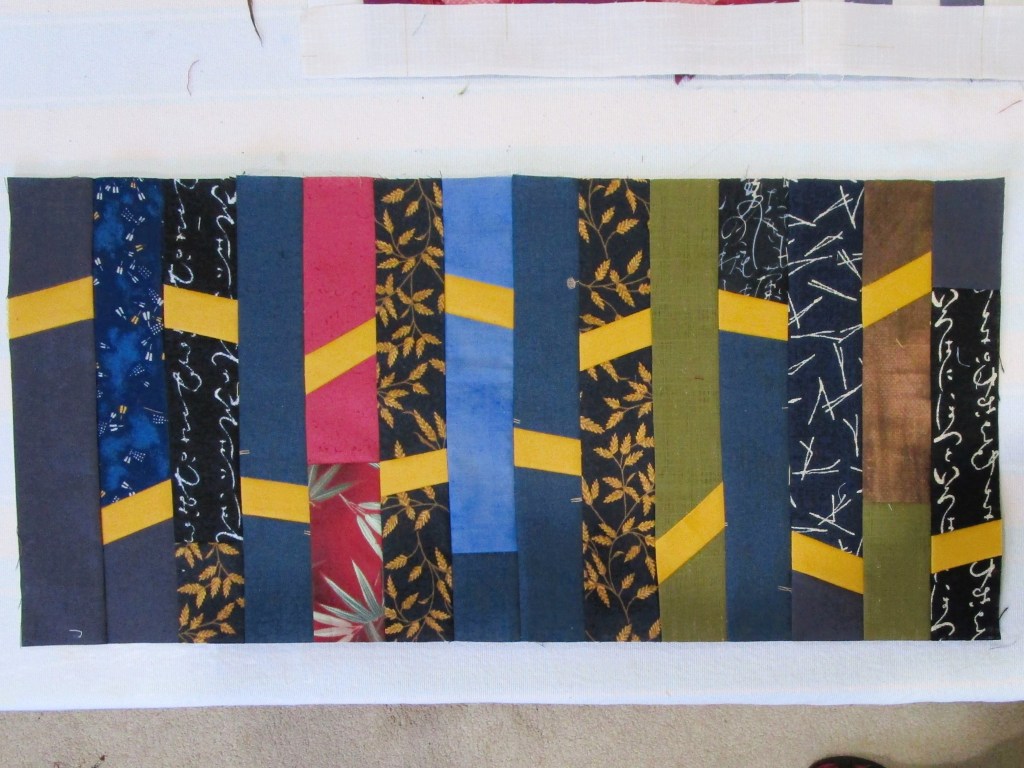
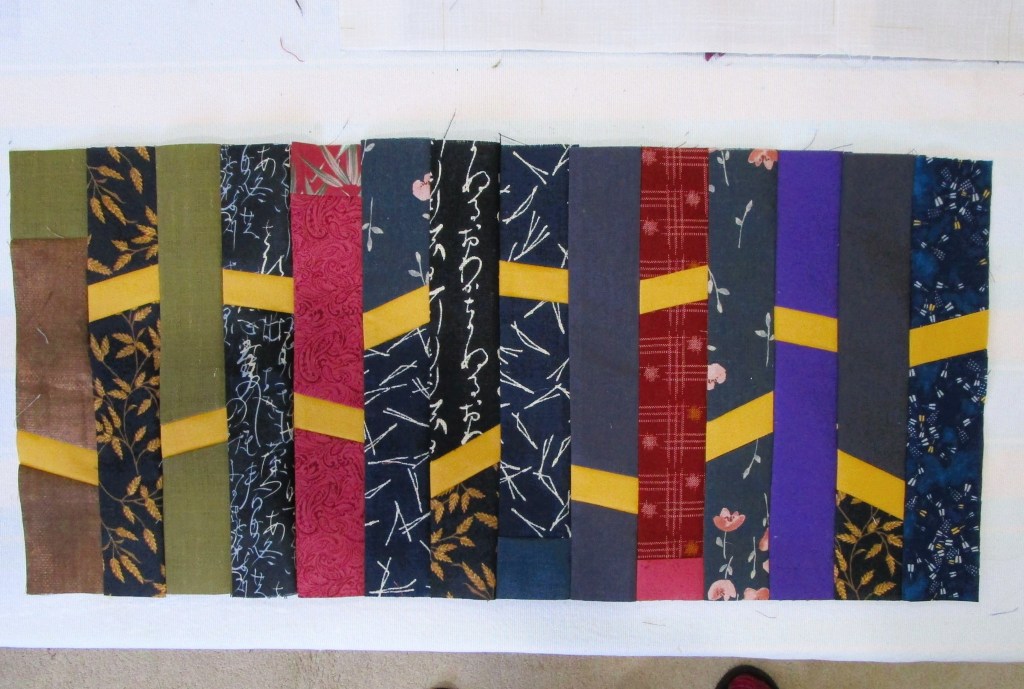
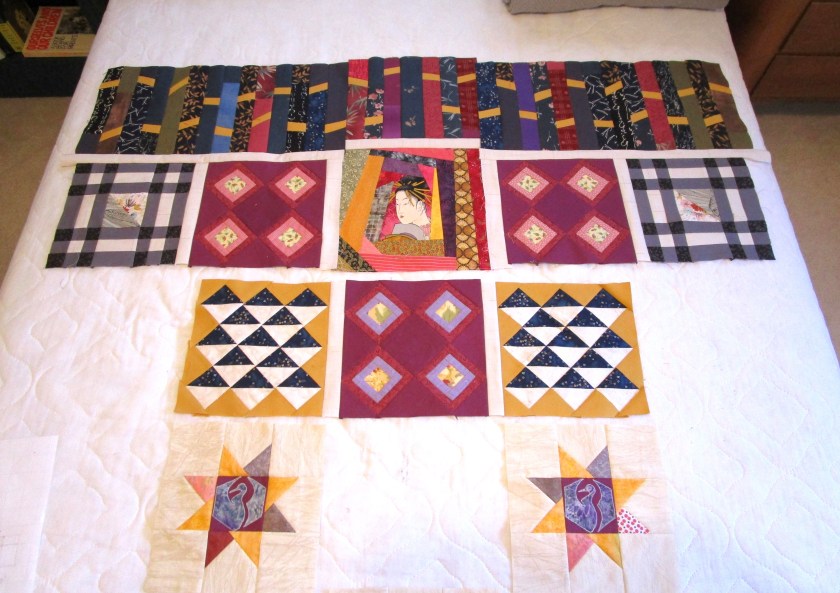
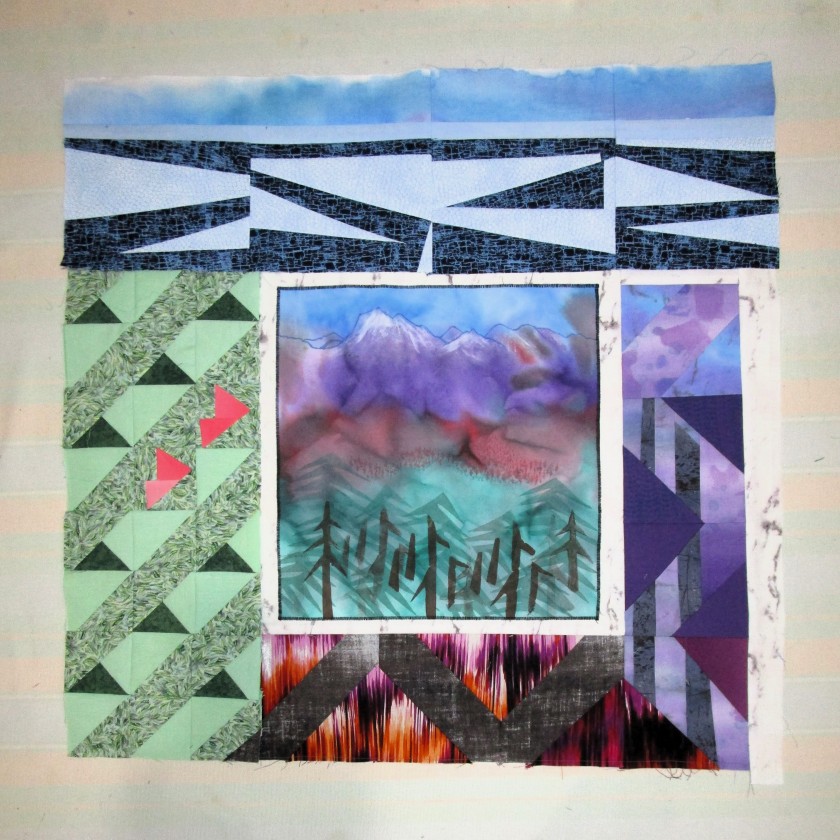
My obsession with strips continues. First, let me share an image of the pieced abstract landscape that I have been working on most recently.

The work at this stage looks about as I expected, although I feel kind of let down by it. I’m also stumped as to how I will proceed with the surface embellishments and quilting. As I ponder, I have laid it aside.

Leftover strips are hanging out, and they keep drawing my attention. I started noodling around with them, cutting and sewing together. Since I had used the 1- and 1/4-inch-wide strips for the landscape art quilt, I wondered what else I could do with this size. Pulling out some 2 and 1/2 inch scraps, I start sewing strips together, again.

Well geez, first I need a little bit of structure to this game. How about a palette? I decide to try analogous colors. Pulling out my color wheel, I spun it around to show that teal blue color in the center, surrounded by its four closest relatives.

Now I am really in my comfort zone. My stash contains many scraps in this range, leftovers from some favorite projects.

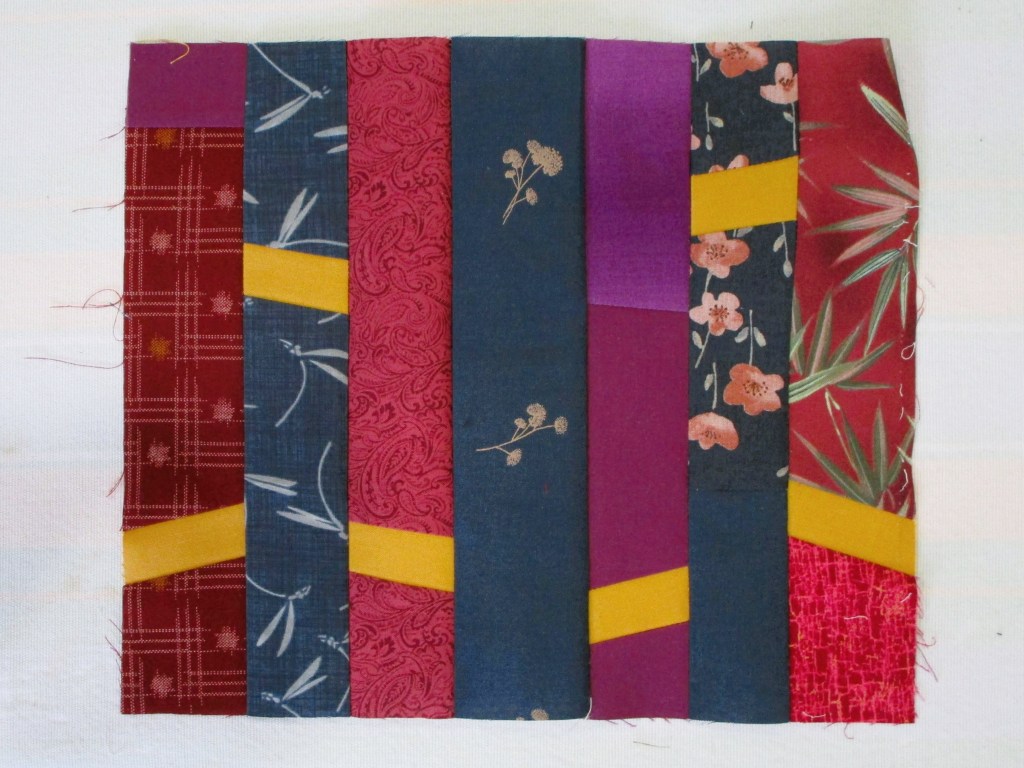
If I sew two thin strips on either side of a 2 1/2 inch precut, then cut that piece down to four inches, I get a nice-looking square block. I decided to stick to monochromatic fabrics for each. Here are some examples.

Combining four of these gives me a seven and 1/2 inch square.

What if I sew four of these together?

Hm. To me it looks too busy while also looking kind of boring. I can do better.

How about inserting some sashing? I have a longing to try dark background fabric with this palette.

Now we’re talking. But to get more negative space into the picture, I could put the blocks on point and space them out with a background block.

Ah, the drama it beginning to happen. I sit down with graph paper and plot out a lap sized quilt using this on-point configuration.

This could be wonderful. Perhaps I can create focal points in the dark blocks by inserting some bits of hand-painted fabric. Something like this leaf, which is left over from my very first quilt.

Gosh I feel better. Going from a vague notion to a planned design is so satisfying. Even though I had no intention of sewing up another lap quilt, I’m ready to go. The trick will be to buy as little fabric as possible and still get the look I want. I’m up for that challenge as well.

Posted in quilting

SAHRR Round #5: Moving forward with 4

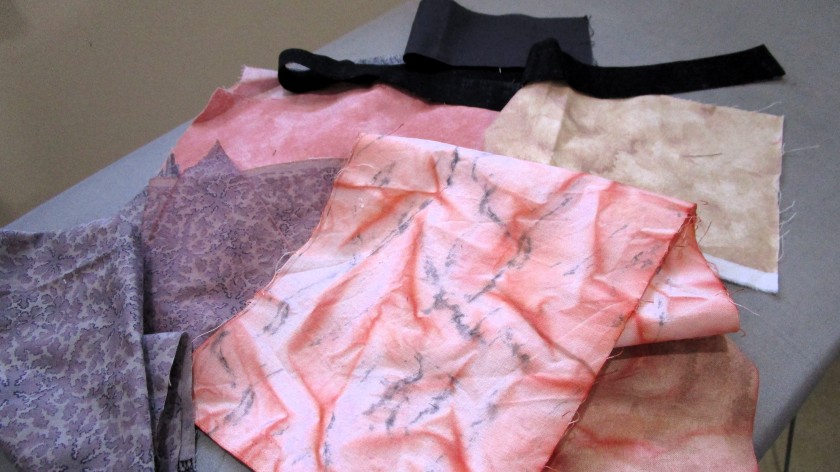
Our quilting guru for this round is Quilting Gail. She has suggested that we make this border inspired by the number 4. That can cover a lot of turf. One could use blocks made of 4 patches, or 4 different colors in the block, or build the border to be 4 inches wide, or all of the above. Here are the fabrics I have selected for the bottom row of my SAHRR quilt.

The warm and earthy palette of this round is informed by the colors of the American Southwest desert. My goal is to depict a (deadly) drought.

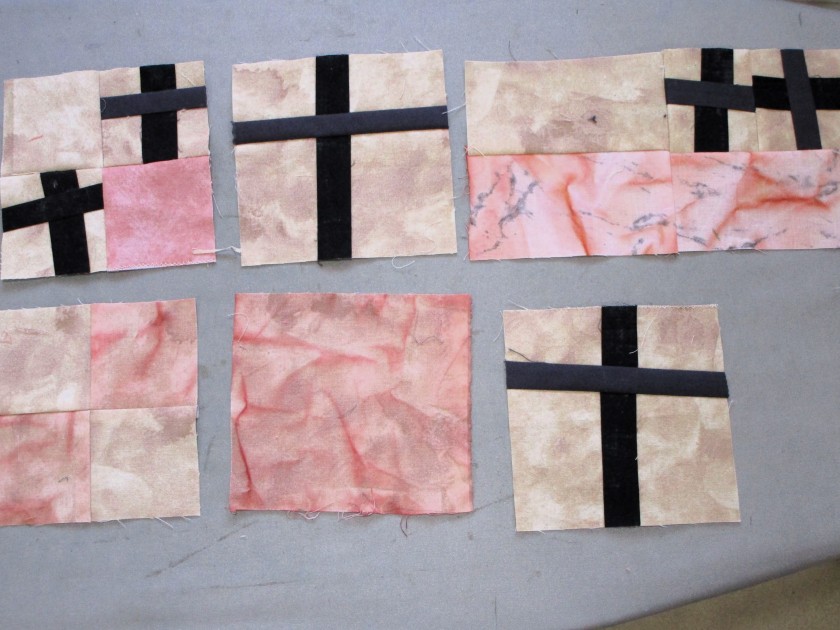
Here are the aspects of my border that accomodate the number four. I started with a piece of fabric about 5 inches square. I then transected it vertically, inserted a strip of black, cut across the block and inserted another strip. Four sections are divided by the sign of a cross. I proceeded to make four blocks containing crosses.

I also made a few four patch blocks, a few blocks sewn from 2 1/2 inch strips and a few one-piece blocks.

Here is my collection of blocks for the four-inch bottom border.

After this week, my quilt looks like this:

There is much left to do before I can proceed with round 6. I need to make the left and right borders of this round. I also need to finalize the top border, which now contains the fishy square in squares. While I will be seeking additional inspiration, I can reveal one thing: There will be more butterflies landing on these borders.

If you are curious to see how other Stay at Home Round Robin challenge participants have interpreted this week’s prompt, you can find the link to their posts here.

Posted in quilting

Finished by Friday: SAHRR Border 2

The challenge we received from Anja this week was ideal for my project. She had a very simple directive: Choose two colors for this week’s border. Sew them together in any way that you like.

The plan I made for this project included color assignments for each round. When pulling fabrics, I made a bag of scraps for each color. I quickly pulled out my green and my blue fabrics and spread them out. How will I sew them together this week?

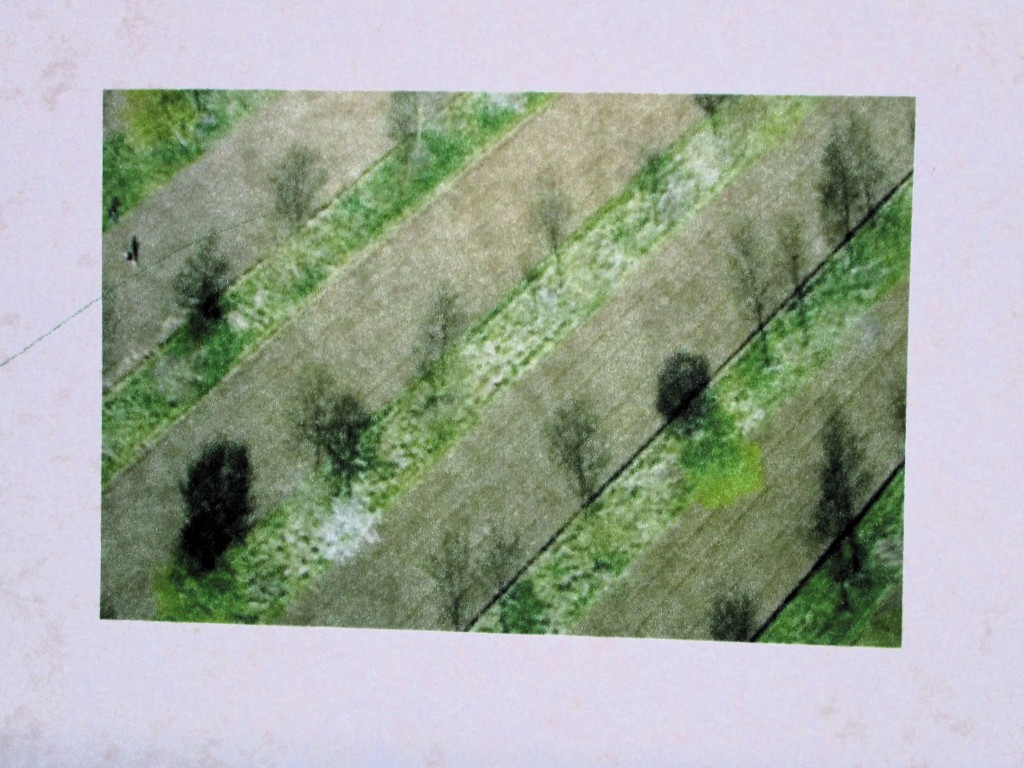
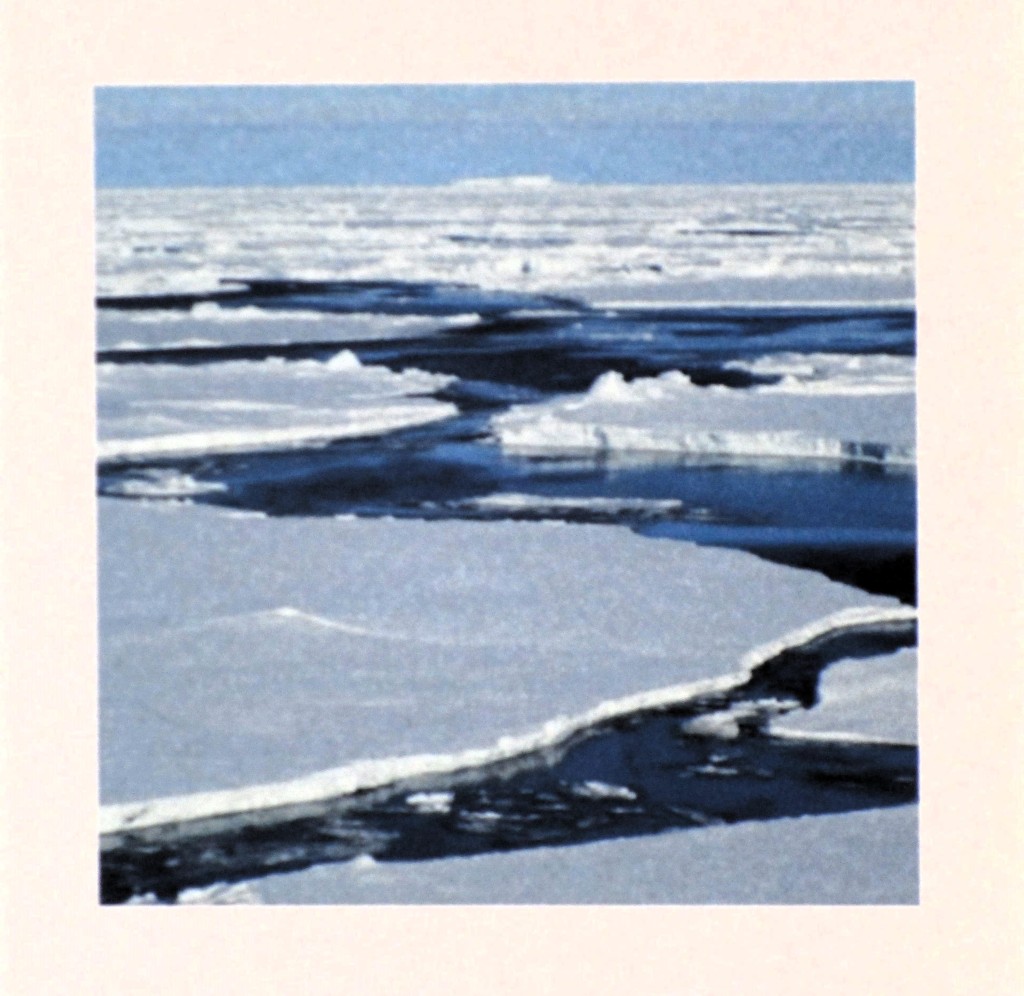
To get me thinking about shapes and lines, I browsed for photographs that illustrated subjects in my theme. For the green border, I wanted to depict the re-planting of a forest after a fire has destroyed it. For the blue border, the subject was to be melting polar icecaps.

Here are my two inspiration photographs:

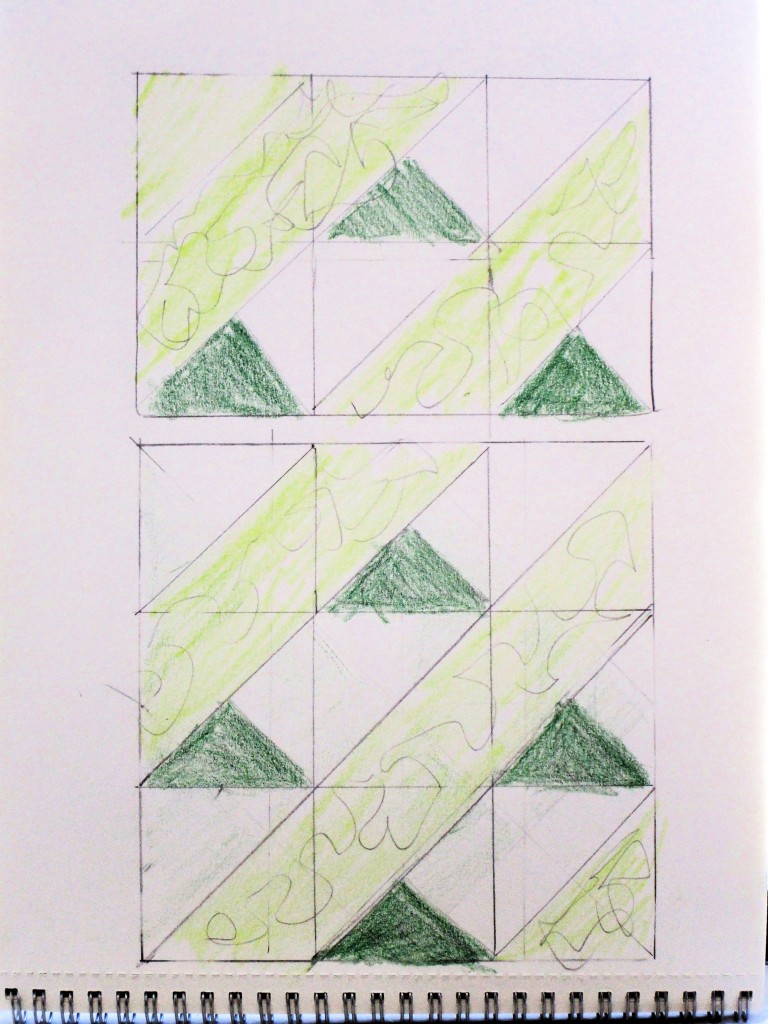
I started with the green image of young trees planted in orderly rows. To be honest, I don’t think large forests are re-planted in exactly the same manner. I chose the photo for the graphical quality. This representation made it easy for me to see a quilt block pattern “hidden in the trees.” Getting out my sketchbook, I drew a grid and placed the trees within it.

Voila – a nine-patch block made of half-square triangles.

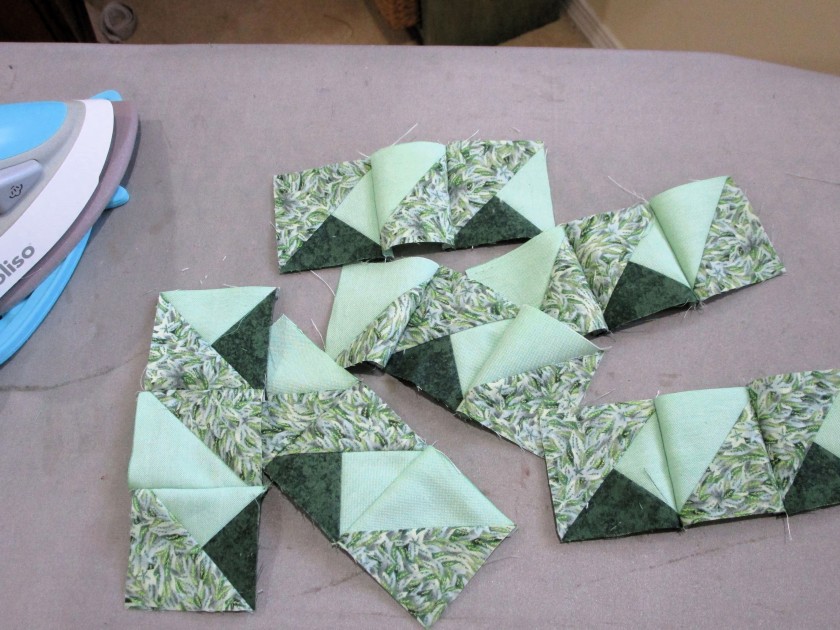
It wasn’t so fast for me to put the squares together. I have very little experience in making most basic quilt blocks. But eventually I had them sewn up into rows.

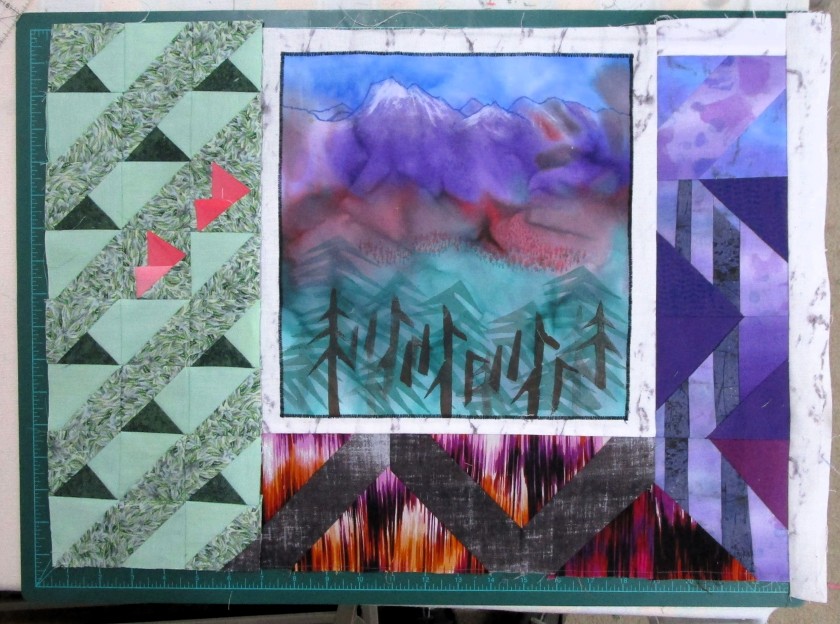
Here is the green border sewn together and attached to the quilt.

While my back was turned, a few butterflies flitted into view and perched on the border. They are not green, but I hope they will stay.

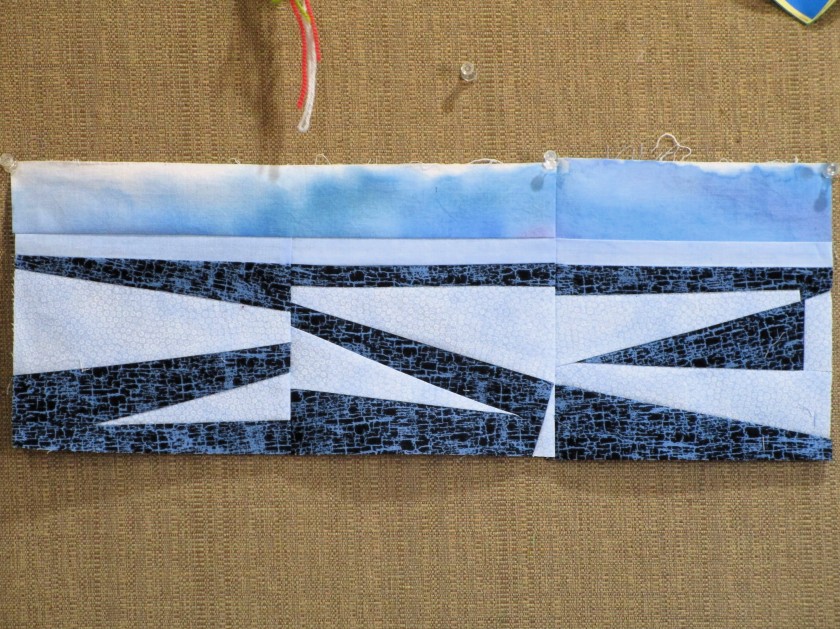
The blue border is next. In my inspiration photo, the shapes of ice and open water are not regular in the least. But I knew what to do. I will make this border with improvisational piecing, using a “slash and sew” technique.

I topped the ice and water piecing with a sky cut from hand-painted fabric.

And here is my quilt with my blue and green borders.

Now that you’ve seen my challenge completed, have a look around at the other quilters who are playing. You can find their quilts at the Linky party.

Click HERE.

Posted in embellishing, painting, quilting

Experiment with Stitch and Slash

While perusing available art quilt technique tutorials, I discovered another use for my hand-painted fabrics. Carol Ann Waugh teaches a modern take on reverse applique in her class on Craftsy. She calls it Stitch and Slash. It was inspired by the traditional molas made by the Kuna women of Panama.

In Carol’s interpretation of the mola, four pieces of fabric are selected and layered together. Then a design is chosen, marked on the back of the pile and stitched into layers. The similarity with the traditional molas stops here, when Carol gets out her seam ripper and slashes away at the assembled fabric Instead of nice, neatly stitched edges, she ends up with frayed, textured ones.

Okay, I thought, I have the perfect set of fabrics to try this out.

The two painted pieces are layered with a dark green batik print and a brown textured print. You see here the back side of the brown fabric, which I will be using for the top layer. Nearly all of the this layer will be cut (or torn) away.

Here is the back of my piece, showing marks stitched through.

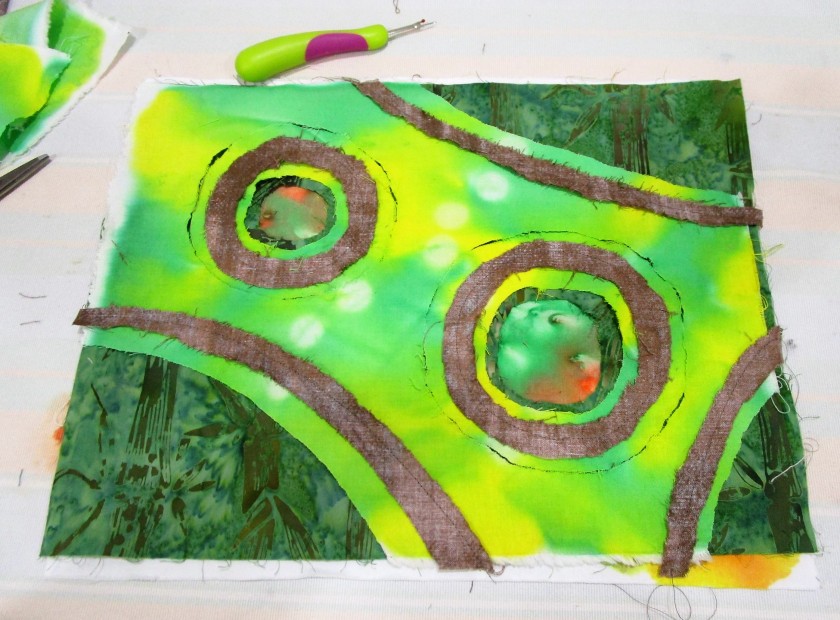
Getting started with the slashing: You see in this photo all the top layer is gone, part of layer two gone, and the center of the circles showing the bottom layer.

This ripping took more time and was a little trickier than I expected.

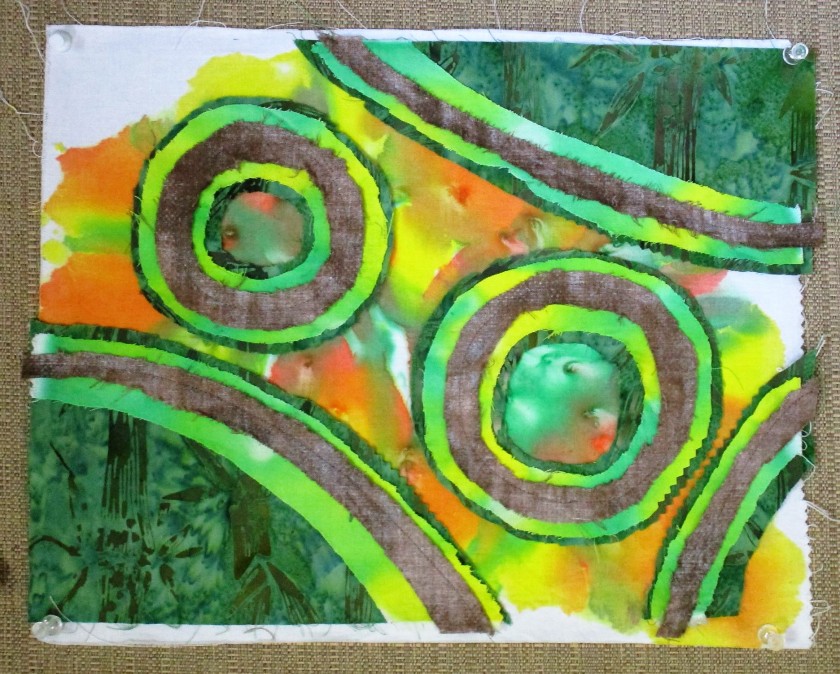
All the excess fabric is now removed.

I was excited by how well the painted design is showcased.

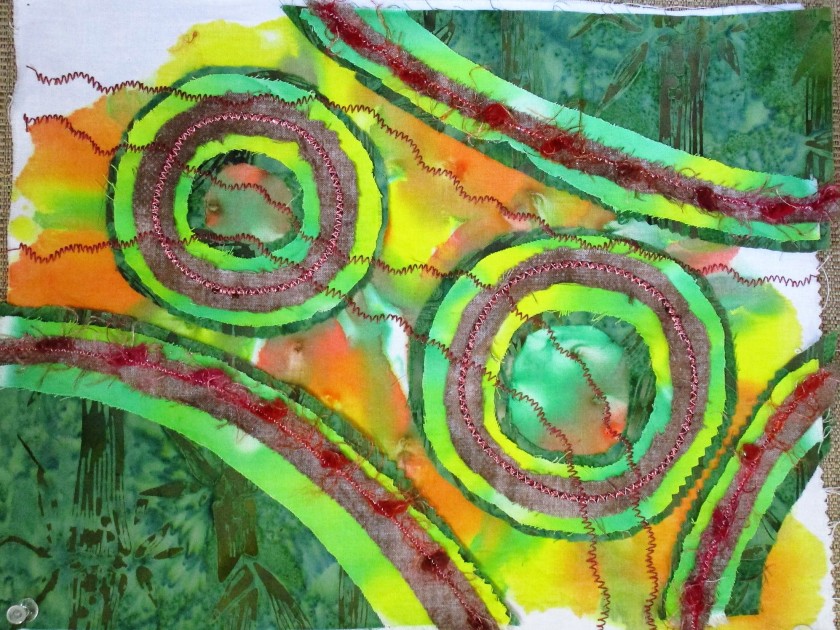
The next steps are really just embellishments. To start, various ribbons and yarns are couched down over the seams. (Couching is just a zig-zag stitch worked over the ribbon/yarn/cord.) After that, it’s time to explore thread and machine embroidery options. I went with metallic yarns and threads in warm colors and dark shades.

To finish up, I made a quilt sandwich with batting and backing and stitched it together using free motion quilting.

My Stitch and Slash sample suggests to me how much the trees are suffering from drought and temperatures above 100 degrees. I will call it Heat Wave.

You can find Carol Ann Waugh’s class here:

https://www.craftsy.com/class/stitch-slash/

Posted in quilting

SAHRR Quilt Round 1 Challenge

I was so glad that Anja chose the prompt of Curves for the first round of this year’s Round Robin quilt along. In working with the vintage weavings chosen for my center block, I had observed that the maker had used lots of curved lines in her color patterns. Some were vine-like, some looked like hairpins and some are just little wriggles. I was keen to echo these curves in the quilt as I built it.

To start my round, I chose four fabrics with colors and patterns that reinforce the theme of the four elements. I am using the linen-colored background fabric to make the other side of the curve. Next I made a little template for the corner blocks. These will have a quarter circle in the inside corners using the background fabric. Here are my pieces, cut and ready to be sewn.

First I joined strips of two different colors for each side of the block. Then I cut strips in the background fabric to match the length of the block sides

After sewing together the corner blocks, it was time to make my curves. With the front of fabric facing me, I overlapped the two strips and just sliced a curve through the center of the strips with my rotary cutter.

Here is the first side sewn together and ready to attach to the center block

And here it is, sewn and pressed.

Side two and one corner block are added.

Working carefully, matching up edges as well as I could, I finished this round in about three hours. Here is my block, pressed and squared up.

I like the way the dark colors draw the eye to the three woven pieces,
which are outlined in the background color.

It now measures 18- and 1/2-inches square and is ready for the next round. I had no trouble with the woven samples shifting or bunching. I think my tactic of backing the pieces with muslin did the trick.

If you would like to see how other participants are making their curves, check out the linky-party, below.

https://anjaquilts.blogspot.com/2022/01/stay-at-home-round-robin-round-1-curves.html

To learn more about the Stay At Home Round Robin event, visit Quilting Gail’s blog.