Here in the central time zone we are mere hours away from the winter solstice – the official start of winter. With all the busyness of Christmas preparations, I didn’t make a special fiber object to celebrate the change of season. Instead today I am recycling one of my Inktober drawings made on the prompt of Snow. The reference photo I used for this charming scene was taken in front of my brother’s home in Ohio. While I did use artistic liberties with the content of the background across the pond, the scene is essentially like reality. There is an air of nostalgia about it, not unlike the way I feel at this time of year.
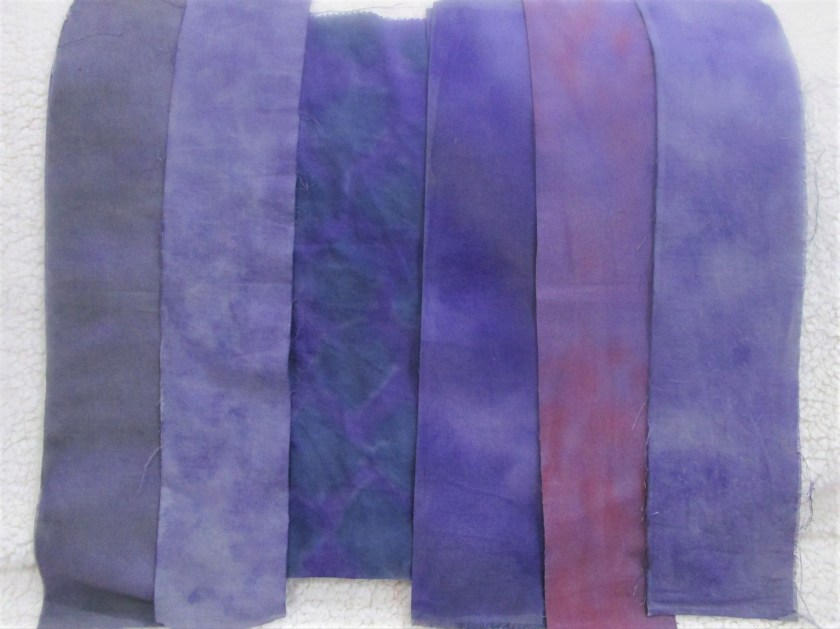
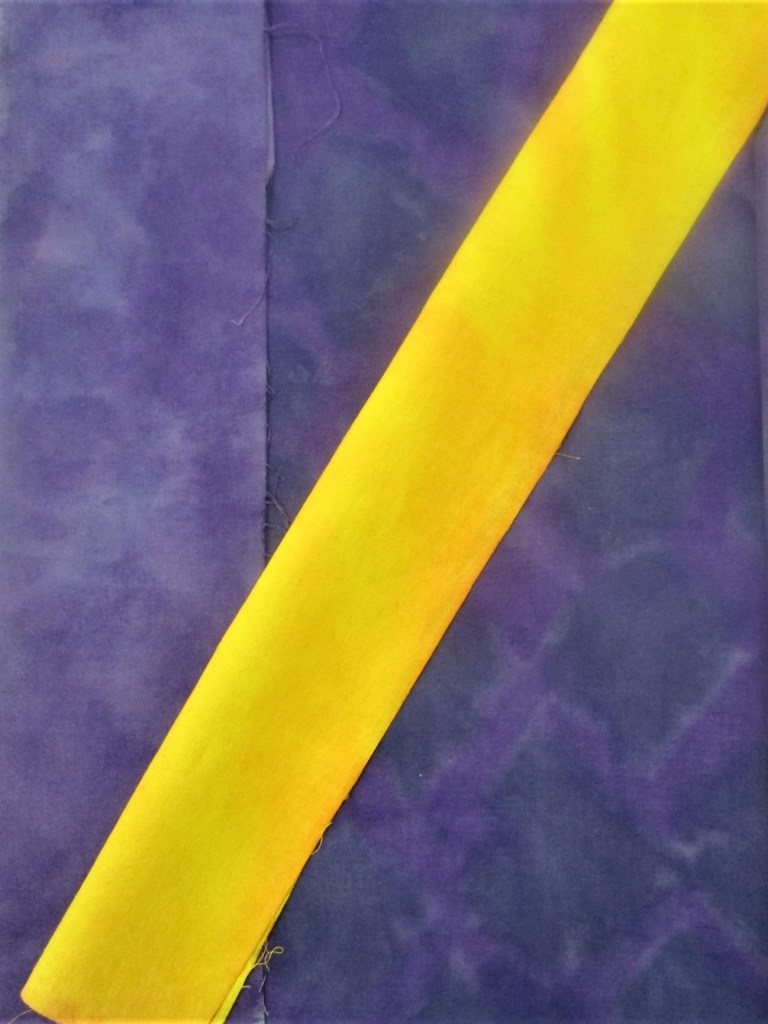
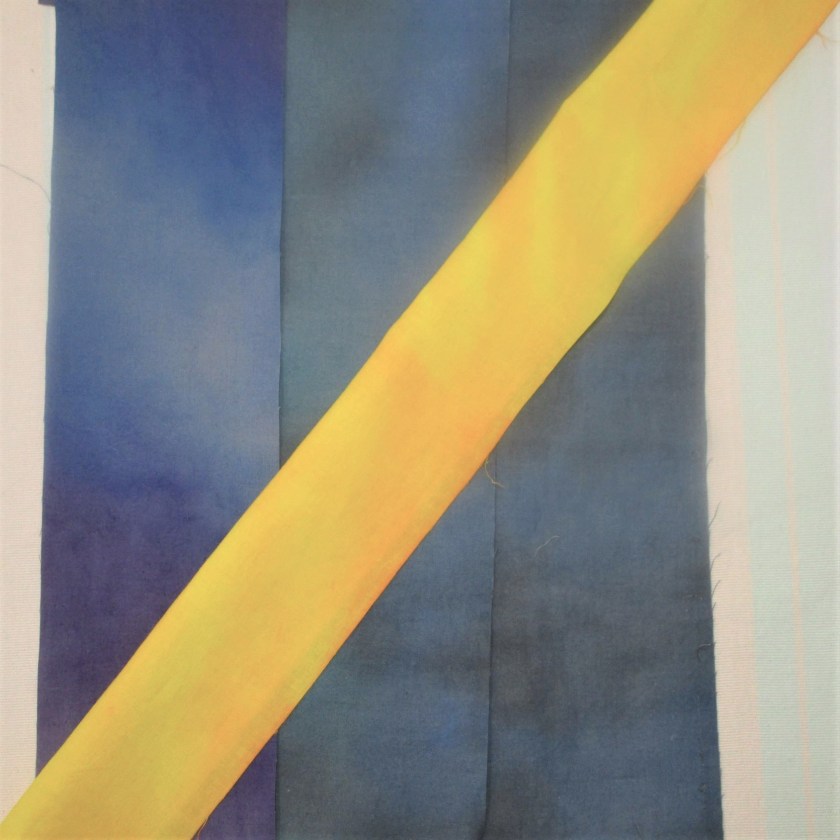
Work on the Arches quilt continues. I have solved some of the technical issues facing me in piecing the blocks together. The blocks on the right edge of the quilt have been pieced and pressed. Here are two.

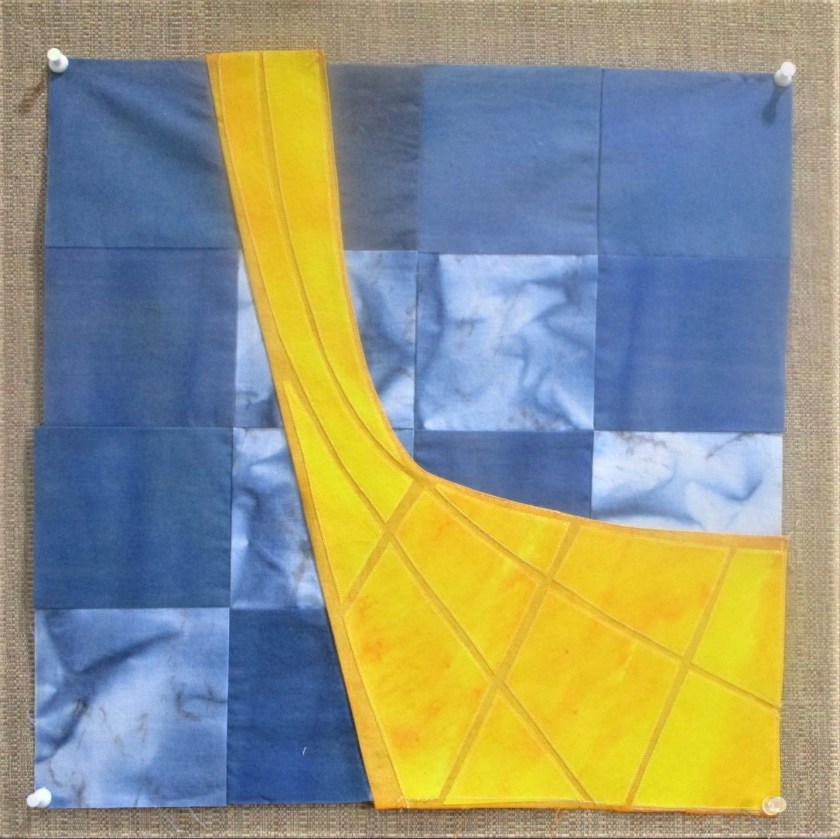
As I finished stitching the lower right block, I started to feel a real sense of accomplishment. My idea is actually coming together, just the way I envisioned it.